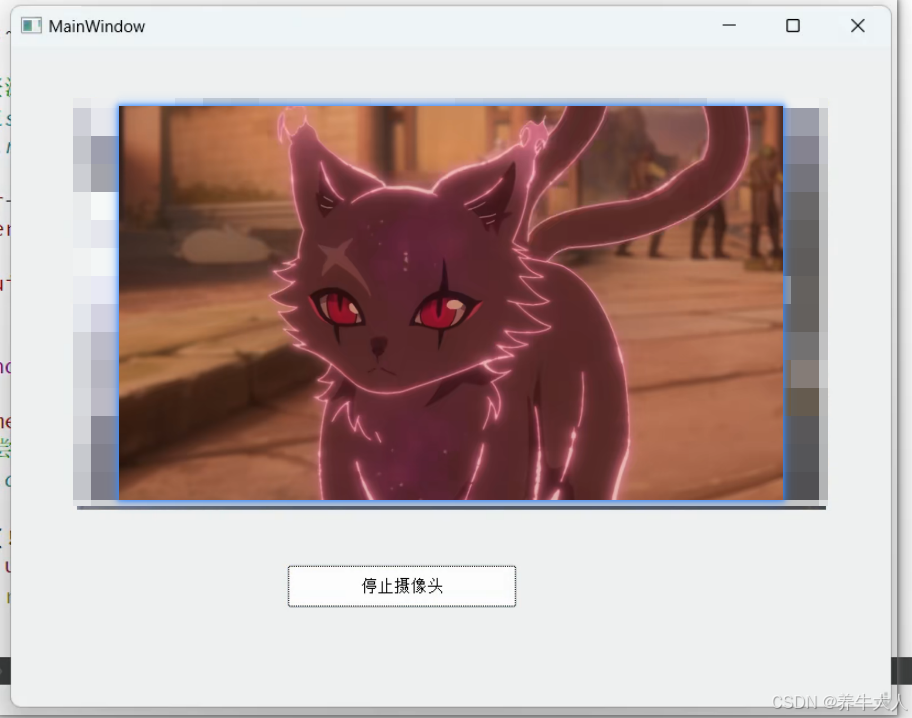
ui界面添加一个Qlabel名字是默认的label
还有一个button名字是pushButton
mainwindow.h
cpp
#ifndef MAINWINDOW_H
#define MAINWINDOW_H


#include <QMainWindow>
#include <opencv2/opencv.hpp>  // 添加OpenCV头文件
#include <QTimer>              // 添加定时器头文件


QT_BEGIN_NAMESPACE
namespace Ui { class MainWindow; }
QT_END_NAMESPACE


class MainWindow : public QMainWindow
{
    Q_OBJECT


public:
    MainWindow(QWidget *parent = nullptr);
    ~MainWindow();


private slots:
    void on_pushButton_clicked();
    void updateFrame();  // 新增的帧更新槽函数


private:
    Ui::MainWindow *ui;
    cv::VideoCapture cap;  // OpenCV视频捕获对象
    QTimer *timer;         // 定时器对象
};
#endif // MAINWINDOW_H
mainwindow.cpp
cpp
#include "mainwindow.h"
#include "ui_mainwindow.h"
#include <opencv2/opencv.hpp>
#include <QTimer>
#include <QImage>
#include <QPixmap>


MainWindow::MainWindow(QWidget *parent)
    : QMainWindow(parent)
    , ui(new Ui::MainWindow)
{
    ui->setupUi(this);


    // 初始化定时器
    timer = new QTimer(this);


    // 连接信号和槽
    connect(timer, &QTimer::timeout, this, &MainWindow::updateFrame);


    // 设置Label的缩放策略
    ui->label->setScaledContents(true);
}


MainWindow::~MainWindow()
{
    // 释放资源
    if(cap.isOpened()) {
        cap.release();
    }
    if(timer->isActive()) {
        timer->stop();
    }
    delete ui;
}


void MainWindow::on_pushButton_clicked()
{
    if (!timer->isActive()) {
        // 尝试打开摄像头
        cap.open(0); // 0表示默认摄像头


        if (!cap.isOpened()) {
            ui->label->setText("无法打开摄像头");
            return;
        }


        // 设置摄像头分辨率(可选)
        cap.set(cv::CAP_PROP_FRAME_WIDTH, 640);
        cap.set(cv::CAP_PROP_FRAME_HEIGHT, 480);


        timer->start(30); // 每30毫秒更新一帧
        ui->pushButton->setText("停止摄像头");
    } else {
        // 停止摄像头
        timer->stop();
        cap.release();
        ui->pushButton->setText("启动摄像头");
        ui->label->clear();
    }
}


void MainWindow::updateFrame()
{
    cv::Mat frame;
    cap >> frame; // 从摄像头获取一帧


    if (!frame.empty()) {
        // 将OpenCV的BGR格式转换为RGB
        cv::cvtColor(frame, frame, cv::COLOR_BGR2RGB);


        // 将cv::Mat转换为QImage
        QImage img(frame.data,
                  frame.cols,
                  frame.rows,
                  frame.step,
                  QImage::Format_RGB888);


        // 将QImage转换为QPixmap并显示在Label上
        ui->label->setPixmap(QPixmap::fromImage(img));
    }
}