准备linux源码
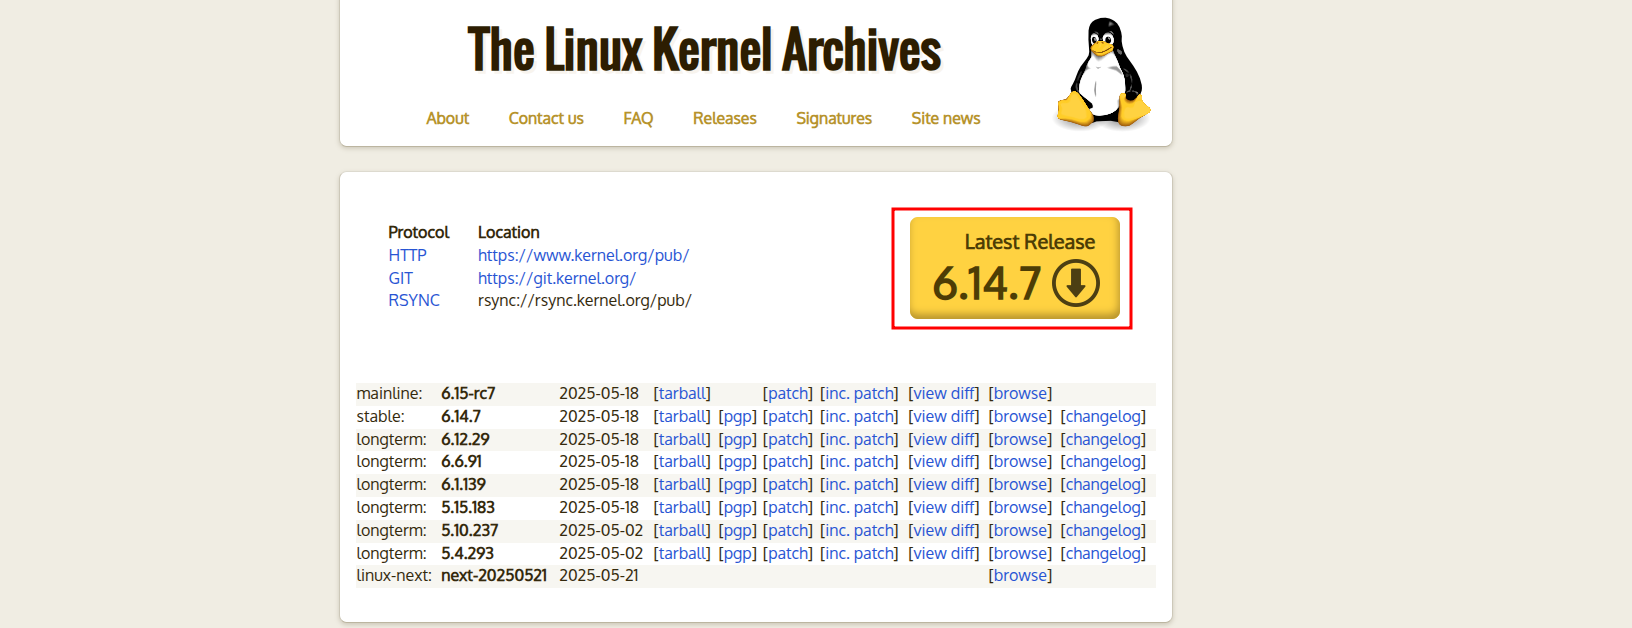
linux官网下载源码压缩包
解压
由于源码是经过两次压缩的,所以需要解压两次
xz -d linux-6.14.7.tar.xz

tar xvf linux-6.14.7.tar
编译内核
生成.config文件
假设是需要生成x86_64下的架构下的编译框架
bash
cd ~/code/linux/linux-6.14.7/
make ARCH=x86_64 defconfig
bash
sinizu@sinizu-GP65-Leopard-9SD ~/c/l/linux-6.14.7 [1]> make ARCH=x86_64 defconfig                                                                                                      (base)
  HOSTCC  scripts/basic/fixdep
  HOSTCC  scripts/kconfig/conf.o
  HOSTCC  scripts/kconfig/confdata.o
  HOSTCC  scripts/kconfig/expr.o
  LEX     scripts/kconfig/lexer.lex.c
  YACC    scripts/kconfig/parser.tab.[ch]
  HOSTCC  scripts/kconfig/lexer.lex.o
  HOSTCC  scripts/kconfig/menu.o
  HOSTCC  scripts/kconfig/parser.tab.o
  HOSTCC  scripts/kconfig/preprocess.o
  HOSTCC  scripts/kconfig/symbol.o
  HOSTCC  scripts/kconfig/util.o
  HOSTLD  scripts/kconfig/conf
*** Default configuration is based on 'x86_64_defconfig'
#
# configuration written to .config
#
查看.config文件,实际上就是内核的配置,是否要开启某些功能,这里咱们已经选择了默认的配置,如下所示
bash
sinizu@sinizu-GP65-Leopard-9SD ~/c/l/linux-6.14.7> cat .config                                                                                                                         (base)
#
# Automatically generated file; DO NOT EDIT.
# Linux/x86_64 6.14.7 Kernel Configuration
#
CONFIG_CC_VERSION_TEXT="gcc (Ubuntu 13.3.0-6ubuntu2~24.04) 13.3.0"
CONFIG_CC_IS_GCC=y
CONFIG_GCC_VERSION=130300
CONFIG_CLANG_VERSION=0
CONFIG_AS_IS_GNU=y
CONFIG_AS_VERSION=24200
CONFIG_LD_IS_BFD=y
CONFIG_LD_VERSION=24200
CONFIG_LLD_VERSION=0
CONFIG_RUSTC_VERSION=108600
CONFIG_RUSTC_LLVM_VERSION=190107
CONFIG_CC_CAN_LINK=y
CONFIG_CC_CAN_LINK_STATIC=y
CONFIG_CC_HAS_ASM_GOTO_OUTPUT=y
CONFIG_CC_HAS_ASM_GOTO_TIED_OUTPUT=y
CONFIG_TOOLS_SUPPORT_RELR=y
CONFIG_CC_HAS_ASM_INLINE=y
CONFIG_CC_HAS_NO_PROFILE_FN_ATTR=y
CONFIG_LD_CAN_USE_KEEP_IN_OVERLAY=y
CONFIG_RUSTC_HAS_COERCE_POINTEE=y
CONFIG_PAHOLE_VERSION=0
CONFIG_IRQ_WORK=y
CONFIG_BUILDTIME_TABLE_SORT=y
CONFIG_THREAD_INFO_IN_TASK=y
开始编译
由于内核项目中make工程已经提供了生成compile_commands.json文件的配置,所以可以直接使用,只需指定框架即可
bash
make ARCH=x86_64 compile_commands.json
bash
sinizu@sinizu-GP65-Leopard-9SD ~/c/l/linux-6.14.7> make ARCH=x86_64 compile_commands.json                                                                                              (base)
  SYSHDR  arch/x86/include/generated/uapi/asm/unistd_32.h
  SYSHDR  arch/x86/include/generated/uapi/asm/unistd_64.h
  SYSHDR  arch/x86/include/generated/uapi/asm/unistd_x32.h
  SYSTBL  arch/x86/include/generated/asm/syscalls_32.h
  SYSHDR  arch/x86/include/generated/asm/unistd_32_ia32.h
  SYSHDR  arch/x86/include/generated/asm/unistd_64_x32.h
  SYSTBL  arch/x86/include/generated/asm/syscalls_64.h
  HOSTCC  arch/x86/tools/relocs_32.o
  HOSTCC  arch/x86/tools/relocs_64.o
  HOSTCC  arch/x86/tools/relocs_common.o
  HOSTLD  arch/x86/tools/relocs
  HOSTCC  scripts/selinux/mdp/mdp
  HOSTCC  scripts/kallsyms
  HOSTCC  scripts/sorttable
检查是否生产compile_command.json
bash
...
  CC      arch/x86/pci/mmconfig_64.o
  CC      arch/x86/pci/direct.o
  CC      arch/x86/pci/mmconfig-shared.o
  CC      arch/x86/pci/fixup.o
  CC      arch/x86/pci/acpi.o
  CC      arch/x86/pci/legacy.o
  CC      arch/x86/pci/irq.o
  CC      arch/x86/pci/common.o
  CC      arch/x86/pci/early.o
  CC      arch/x86/pci/bus_numa.o
  CC      arch/x86/pci/amd_bus.o
  AR      arch/x86/pci/built-in.a
  CC      arch/x86/power/cpu.o
  CC      arch/x86/power/hibernate_64.o
  AS      arch/x86/power/hibernate_asm_64.o
  CC      arch/x86/power/hibernate.o
  AR      arch/x86/power/built-in.a
  CC      arch/x86/video/video-common.o
  AR      arch/x86/video/built-in.a
  AR      built-in.a
  AR      vmlinux.a
  GEN     compile_commands.json
sinizu@sinizu-GP65-Leopard-9SD ~/c/l/linux-6.14.7> ls -lh                                                                                                                              (base)
总计 8.4M
drwxrwxr-x  23 sinizu sinizu 4.0K  5月 18 14:26 arch/
drwxrwxr-x   3 sinizu sinizu 4.0K  5月 21 20:12 block/
-rw-rw-r--   1 sinizu sinizu 238K  5月 21 20:27 built-in.a
drwxrwxr-x   2 sinizu sinizu 4.0K  5月 21 20:07 certs/
-rw-rw-r--   1 sinizu sinizu 6.8M  5月 21 20:27 compile_commands.json
-rw-rw-r--   1 sinizu sinizu  496  5月 18 14:26 COPYING
-rw-rw-r--   1 sinizu sinizu 104K  5月 18 14:26 CREDITS
可见编译参数的json文件已经生成。
准备vscode环境
下载vscode
https://code.visualstudio.com/
按照官网下载软件,并进行安装,安装过程略
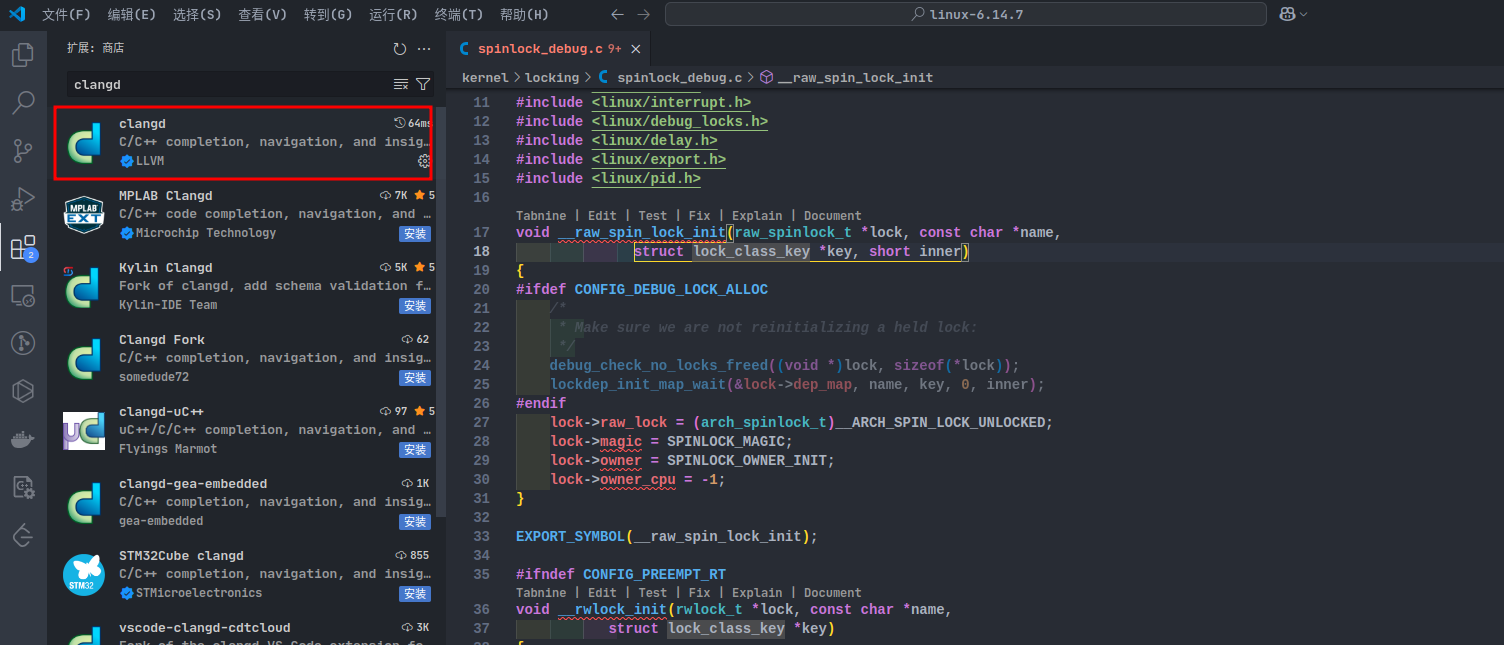
安装clangd插件
插件市场搜索clangd,直接进行安装即可
准备clangd
安装clangd
github下载最新版本的clangd
https://github.com/clangd/clangd/releases/tag/18.1.3
解压将clangd的可执行文件配置到vscode中
假设解压后,我的clangd位于如下路径
bash
/home/sinizu/clangd_18.1.3/bin/clangd打开vscode,按下shift+ctrl+p,选择用户配置,如下所示
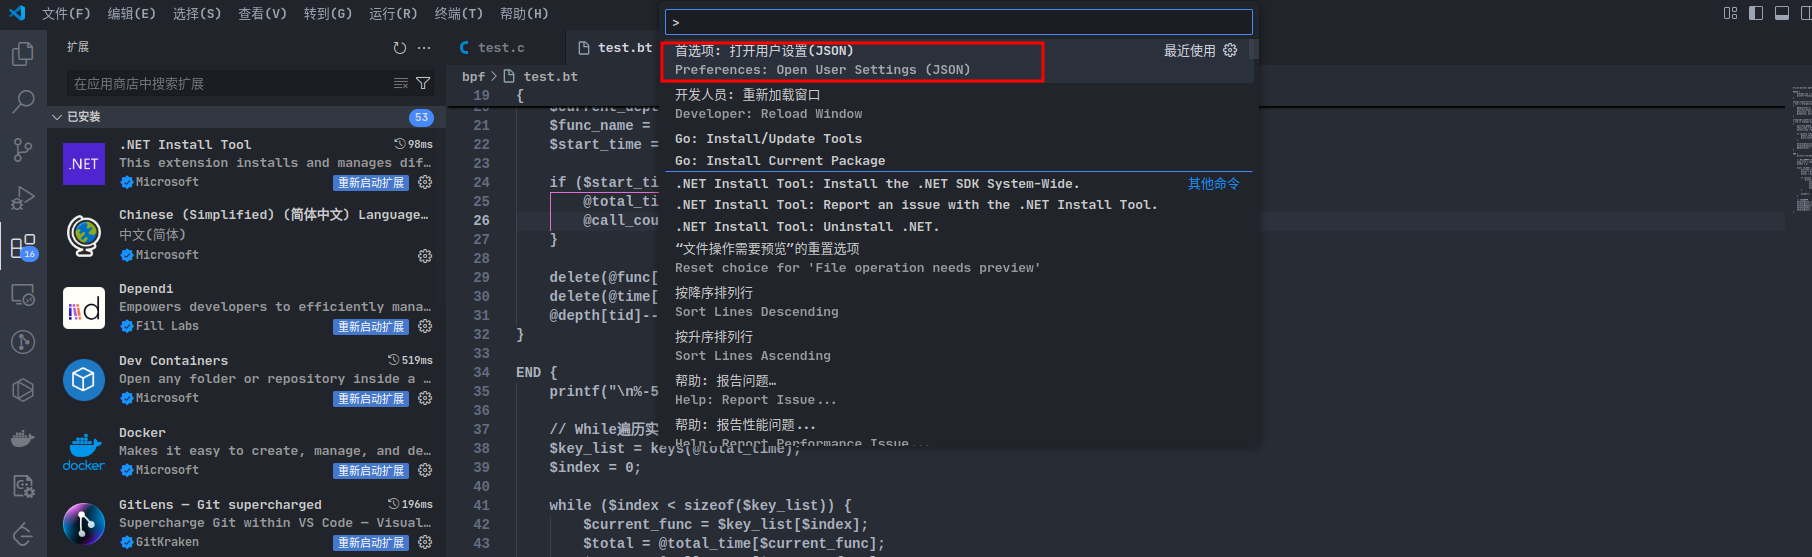
接下来,将如下的配置行写到配置的json文件中
bash
"clangd.path": "/home/sinizu/clangd_18.1.3/bin/clangd",
大功告成
将linux文件夹打开,随便打开一个文件,可以看到clangd正在索引
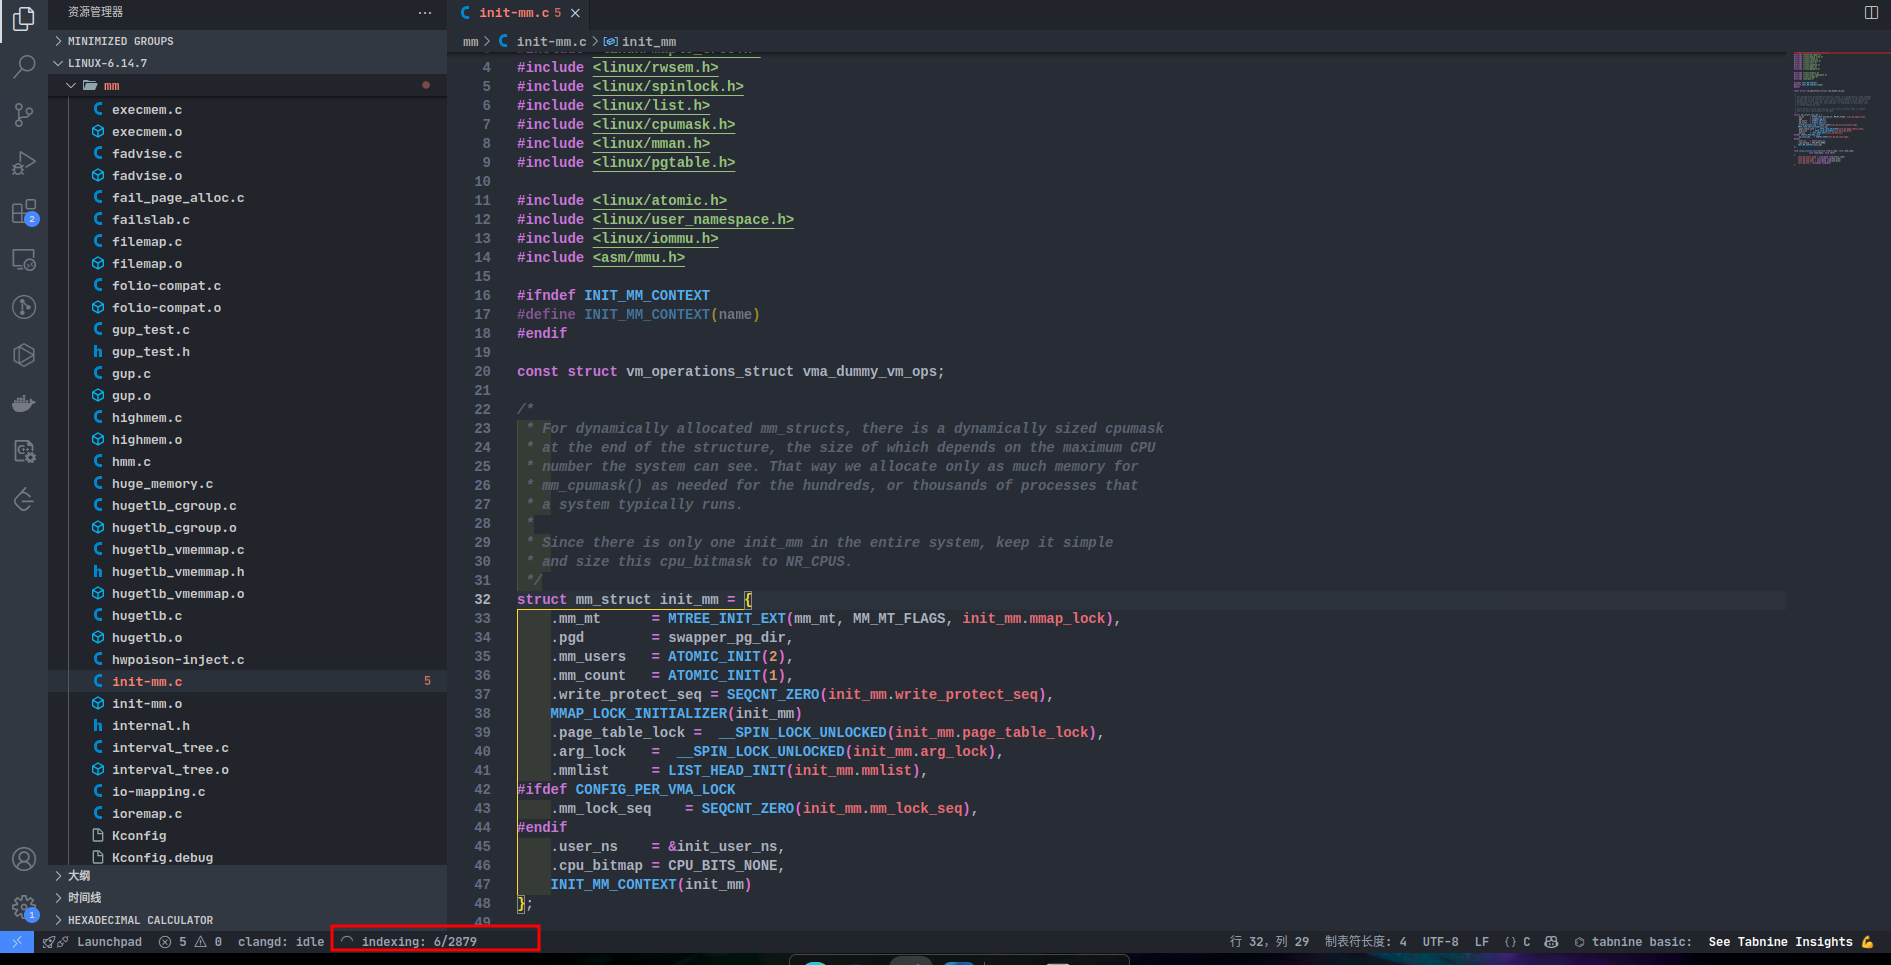
等待索引完毕,就可以直接ctrl+鼠标左键进行代码跳转了!
其他说明
可选择的内核配置
- 自行配置内核参数(图像界面)
bash
make ARCH=x86_64 menuconfig  # 终端文本界面
# 或
make ARCH=x86_64 xconfig # 图形界面(需安装 Qt)- 和当前操作系统一样的配置
bash
cp /boot/config-$(uname -r) .config 缺少工具安装
如果报错缺少工具(如 menuconfig),安装依赖:
bash
sudo apt-get install build-essential ncurses-dev libssl-dev  # Ubuntu/Debian
# 或
sudo dnf install ncurses-devel openssl-devel                 # Fedora