学习路之uniapp--unipush2.0推送功能--服务端推送消息
一、绑定云空间及创建云函数
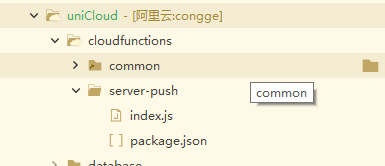
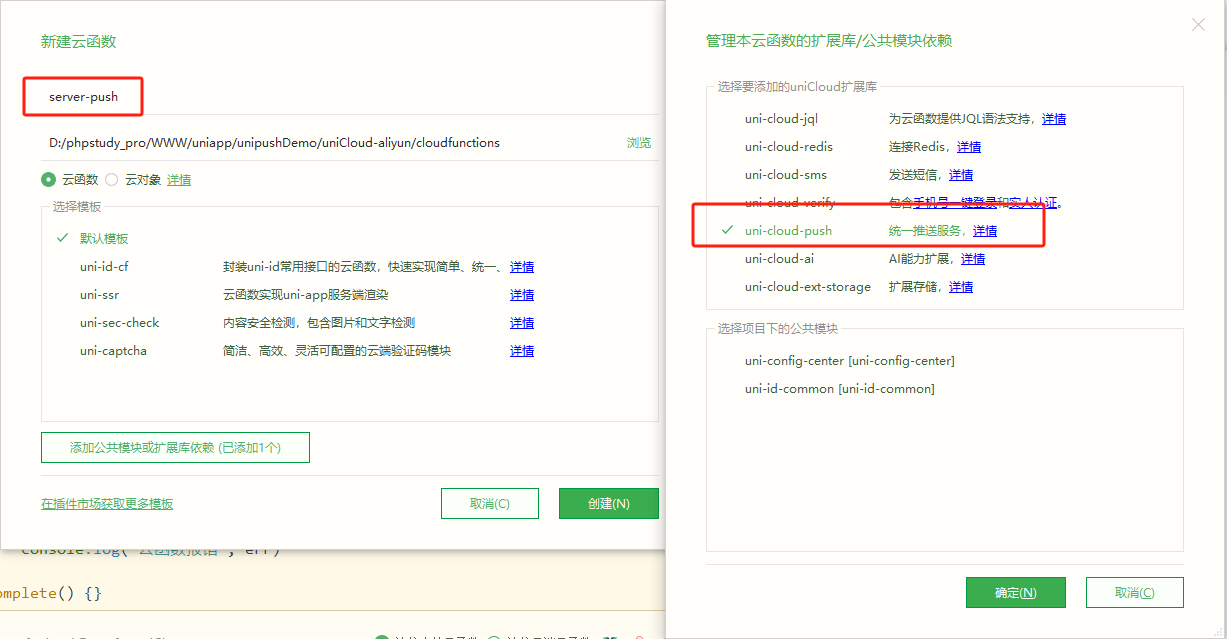
- package.json
bash
{
  "name": "server-push",
  "dependencies": {},
  "main": "index.js",
  "extensions": {
    "uni-cloud-push": {}
  }
}- index.js
js
'use strict';
const uniPush = uniCloud.getPushManager({appId:"__UNI__5630355"}) //注意这里需要传入你的应用appId,用于指定接收消息的客户端
exports.main = async (event, context) => {
//event为客户端上传的参数
console.log('event : ', event);
let obj = JSON.parse(event.body)
console.log('obj : ', obj);
const res = await uniPush.sendMessage({
"push_clientid": obj.cids, // 设备id,支持多个以数组的形式指定多个设备,如["cid-1","cid-2"],数组长度不大于1000
"title": obj.title, // 标题
"content": obj.content, // 内容
"payload": obj.data, // 数据
"force_notification": true, // 服务端推送 需要加这一句
"request_id": obj.request_id //请求唯一标识号,10-32位之间;如果request_id重复,会导致消息丢失
})
//返回数据给客户端
return res
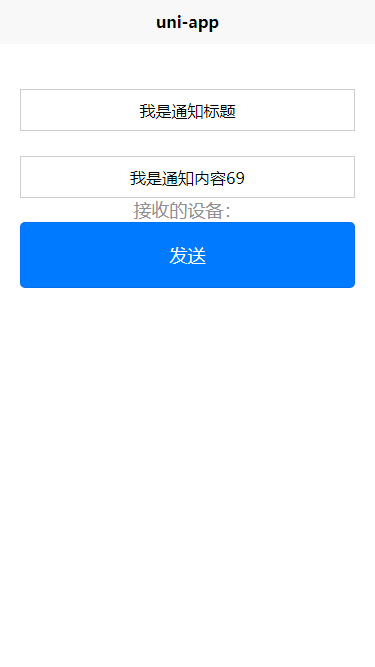
};二、编写发送界面
js
<template>
<view class="content">
<input v-model="title" placeholder="输入标题" />
<input v-model="content" placeholder="输入标题" />
<text class="title">接收的设备:</text>
<text v-for="(item, index) in deviceIds" >
{{item}}
</text>
<button @click="send">发送</button>
</view>
</template>
<script>
export default {
data() {
return {
deviceIds:[],//接收消息的设备
title: '我是通知标题',
content:'我是通知内容'+Math.floor(Math.random() * 100),
}
},
onLoad() {
uni.getPushClientId({
success: (res) => {
let push_clientid = res.cid
console.log('客户端推送标识cid:', push_clientid,typeof push_clientid)
this.deviceIds.push(push_clientid)
}
})
},
methods: {
send(){
console.log('aaaaaaaa');
let send_data = {
cids: this.deviceIds, // 使用存储的设备 ID
title: this.title,
content: this.content,
data: {},
request_id: "",
};
uniCloud.callFunction({
name: "server-push", // 填写你自己的云函数名称
data: {
body: JSON.stringify(send_data) // 将数据转换为 JSON 字符串并赋值给 body
},
success(dataRes) {
console.log("云函数返回的参数", dataRes)
},
fail(err) {
console.log("云函数报错", err)
},
complete() {}
})
}
}
}
</script>
<style>
.content {
padding: 20px;
text-align: center;
}
input {
border: 1rpx solid #cecece;margin-top: 50rpx;height: 80rpx;
}
.title {
font-size: 36rpx;
color: #8f8f94;
}
button {
padding: 10px 20px;
background-color: #007aff;
color: white;
border: none;
border-radius: 5px;
cursor: pointer;
}
button:hover {
background-color: #0056b3;
}
.button-text {
color: #fff;
font-size: 12px;
}
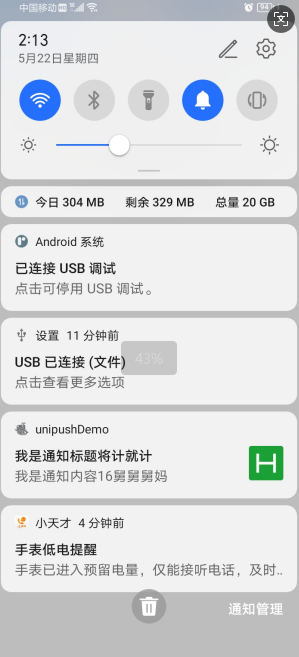
</style>三、效果
后期展望:
使用自已服务器接口获取CID集合,然后存在deviceIds数组,
再调用云函数
js
uniCloud.callFunction({
					name: "server-push", // 填写你自己的云函数名称
					data: {
						body: JSON.stringify(send_data) // 将数据转换为 JSON 字符串并赋值给 body
					},
					success(dataRes) {
						console.log("云函数返回的参数", dataRes)
					},
					fail(err) {
						console.log("云函数报错", err)
					},
					complete() {}
				})
就可以实现全局、点对点通知。
createPushMessage+ websocket
uni.createPushMessage(OBJECT)
创建本地通知栏消息