进行下面操作的前提是,我们的环境已经能跑简单的CUDA程序了。
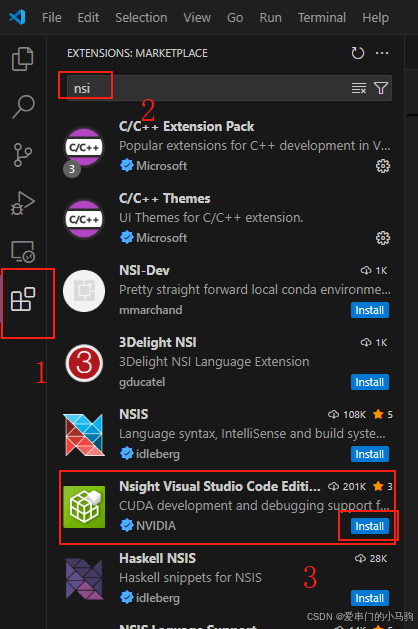
一、安装Nsight
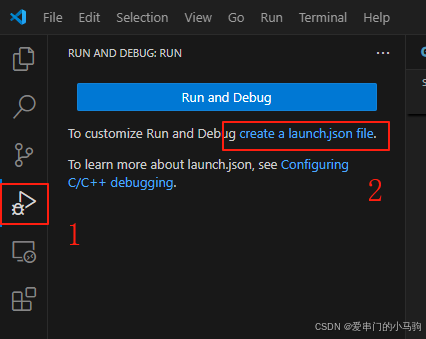
二、创建launch.json文件
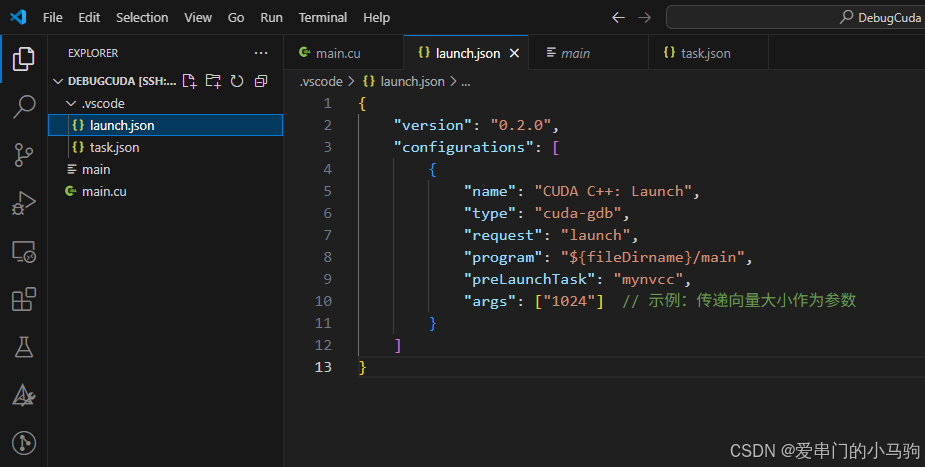
bash
{
    "version": "0.2.0",
    "configurations": [
        {
            "name": "CUDA C++: Launch",
            "type": "cuda-gdb",
            "request": "launch",
            "program": "${fileDirname}/main",
            "preLaunchTask": "mynvcc",
            "args": ["1024"]  // 示例:传递向量大小作为参数
        }
    ]
}
三、创建task.json文件
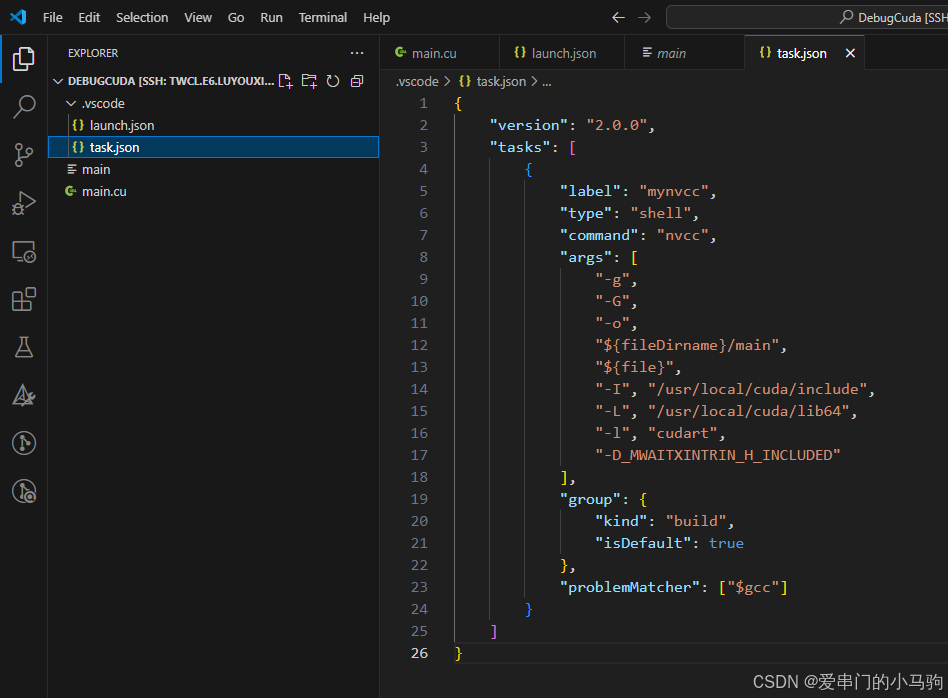
bash
{
    "version": "2.0.0",
    "tasks": [
        {
            "label": "mynvcc",
            "type": "shell",
            "command": "nvcc",
            "args": [
                "-g",
                "-G",
                "-o",
                "${fileDirname}/main",
                "${file}",
                "-I", "/usr/local/cuda/include",
                "-L", "/usr/local/cuda/lib64",
                "-l", "cudart",
                "-D_MWAITXINTRIN_H_INCLUDED"
            ],
            "group": {
                "kind": "build",
                "isDefault": true
            },
            "problemMatcher": ["$gcc"]
        }
    ]
}四、创建main.cu
注意:名称一定是main.cu,和上面的json文件中的main对应。
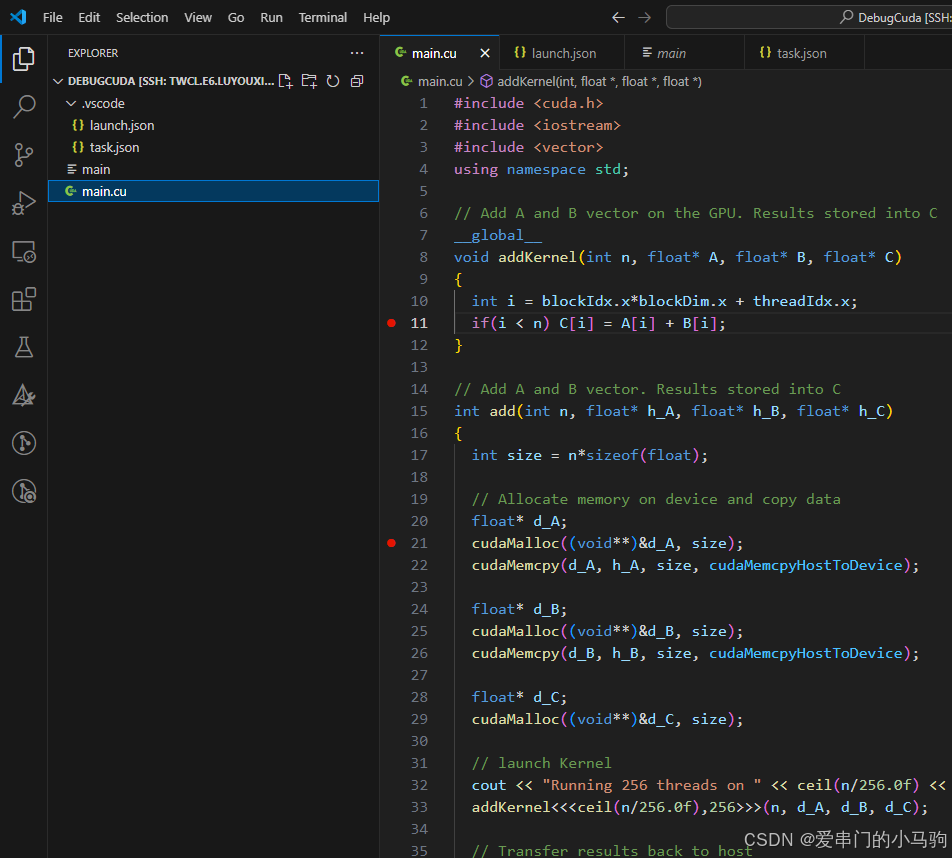
cpp
#include <cuda.h>
#include <iostream>
#include <vector>
using namespace std;

// Add A and B vector on the GPU. Results stored into C
__global__
void addKernel(int n, float* A, float* B, float* C)
{
  int i = blockIdx.x*blockDim.x + threadIdx.x;
  if(i < n) C[i] = A[i] + B[i];
}

// Add A and B vector. Results stored into C
int add(int n, float* h_A, float* h_B, float* h_C)
{
  int size = n*sizeof(float);

  // Allocate memory on device and copy data
  float* d_A;
  cudaMalloc((void**)&d_A, size);
  cudaMemcpy(d_A, h_A, size, cudaMemcpyHostToDevice);

  float* d_B;
  cudaMalloc((void**)&d_B, size);
  cudaMemcpy(d_B, h_B, size, cudaMemcpyHostToDevice);

  float* d_C;
  cudaMalloc((void**)&d_C, size);

  // launch Kernel
  cout << "Running 256 threads on " << ceil(n/256.0f) << " blocks -> " << 256*ceil(n/256.0f) << endl;
  addKernel<<<ceil(n/256.0f),256>>>(n, d_A, d_B, d_C);

  // Transfer results back to host
  cudaMemcpy(h_C, d_C, size, cudaMemcpyDeviceToHost);

  // Free device memory
  cudaFree(d_A);
  cudaFree(d_B);
  cudaFree(d_C);

  return 0;
}

// C = A + B on a GPU, where A is a vector of 1.0f and B a vector of 2.0f
// The main function takes one argument, the size of the vectors
int main(int argc, char* argv[])
{
  int n = atoi(argv[1]);

  vector<float> h_A(n, 1.0f);
  vector<float> h_B(n, 2.0f);
  vector<float> h_C(n);

  add(n, h_A.data(), h_B.data(), h_C.data());

  for(auto& c : h_C) {
    if(fabs(c-3.0f) > 0.00001f) {
      cout << "Error!" << endl;
      return 1;
    }
  }

  cout << "The program completed successfully" << endl;

  return 0;
}五、编译main.cu
bash
nvcc -g -G -o main main.cu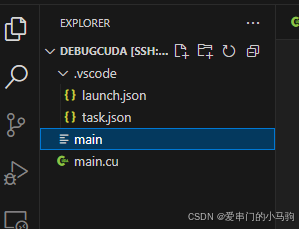
六、开始调试
进入main.cu文件,打上断点,按F5,开始debug调试。
按F5后可能会出现警告,点击 无论如何继续,能调试就行,先别管乱起八糟的。