@toc 
安装 nginx
安装 nginx
bash
sudo apt update
apt-get install nginx
nginx 检查 安装环境以及配置文件地址
bash
nginx -t
检查环境是否正常
bash
systemctl status nginx.service重启 nginx 服务
systemctl restart nginx.service停止 nginx 服务
arduino
# 停止
systemctl stop nginx.service
启动 nginx 服务
bash
# 启动
systemctl start nginx.service
nginx 项目使用端口 配置文件配置方式
json
server {
	listen 8082 default_server;
	listen [::]:8082 default_server;

	root /mnt/data/system/tms/dist;

	location / {
		try_files $uri $uri/ /index.html;
		index  index.html index.htm;
	}

	location /prod-api/ {
		proxy_set_header Host $http_host;
		proxy_set_header X-Real-IP $remote_addr;
		proxy_set_header REMOTE-HOST $remote_addr;
		proxy_set_header X-Forwarded-For $proxy_add_x_forwarded_for;
		proxy_pass http://127.0.0.1:8080/;
	}
}
📌 功能说明:
- 监听 IPv4 和 IPv6 的 8082 端口;
- 根目录指向前端打包文件(Vue/React 等);
- 对根路径 / 使用了 try_files 来支持前端路由;
- 对 /prod-api/ 路径做反向代理到本地 8080 接口服务。
json
##
# You should look at the following URL's in order to grasp a solid understanding
# of Nginx configuration files in order to fully unleash the power of Nginx.
# https://www.nginx.com/resources/wiki/start/
# https://www.nginx.com/resources/wiki/start/topics/tutorials/config_pitfalls/
# https://wiki.debian.org/Nginx/DirectoryStructure
#
# In most cases, administrators will remove this file from sites-enabled/ and
# leave it as reference inside of sites-available where it will continue to be
# updated by the nginx packaging team.
#
# This file will automatically load configuration files provided by other
# applications, such as Drupal or Wordpress. These applications will be made
# available underneath a path with that package name, such as /drupal8.
#
# Please see /usr/share/doc/nginx-doc/examples/ for more detailed examples.
##

# Default server configuration
#
server {
	listen 8082 default_server;
	listen [::]:8082 default_server;

	root /mnt/data/system/tms/dist;

	location / {
		try_files $uri $uri/ /index.html;
		index  index.html index.htm;
	}

	location /prod-api/ {
		proxy_set_header Host $http_host;
		proxy_set_header X-Real-IP $remote_addr;
		proxy_set_header REMOTE-HOST $remote_addr;
		proxy_set_header X-Forwarded-For $proxy_add_x_forwarded_for;
		proxy_pass http://127.0.0.1:8080/;
	}
}
server {
	listen 8083 default_server;
	listen [::]:8083 default_server;

	root /mnt/data/system/tms/work;

	location / {
		try_files $uri $uri/ /index.html;
		index  index.html index.htm;
	}

	location /prod-api/ {
		proxy_set_header Host $http_host;
		proxy_set_header X-Real-IP $remote_addr;
		proxy_set_header REMOTE-HOST $remote_addr;
		proxy_set_header X-Forwarded-For $proxy_add_x_forwarded_for;
		proxy_pass http://127.0.0.1:8080/;
	}
}
nginx文件安装完成之后的文件位置:
- /usr/sbin/nginx:主程序
- /etc/nginx:存放配置文件
- /usr/share/nginx:存放静态文件
- /var/log/nginx:存放日志

mysql
安装mysql
bash
sudo apt update
# 下载mysql 默认版本一般是 8.0.19
sudo apt-get install mysql-server
# 安装mysql开发包
sudo apt install -y libmysqlclient-dev
# 设置mysql server开机自启
sudo systemctl enable mysql
# 设置安全内容,启动配置第一次会让你输入密码,或者执行时 选择忽略密码,后续配置完返回再次执行这个
sudo mysql_secure_installation
# 启动
sudo service mysql start
检查 mysql 是否正常启动
lua
sudo service mysql status
碰到以下问题
vbnet
Warning: The unit file, source configuration file or drop-ins of mysql.service changed on disk. Run 'systemctl daemon-reload' to reload units.麻烦 重启systemd管理器
systemctl daemon-reload开放用户远程登录权限
ini
# 第一次没配置密码可以直接进入
mysql -uroot -p
# 进去mysql 数据库
use mysql;
# 查询用户, 可以用 更新语句把 host 只为 localhost 的root 用户开放 修改为 %
select User,host from user;
# 刷新
FLUSH TABLES;开放mysql配置远程登录权限
进入修改文件页面
bash
vim /etc/mysql/mysql.conf.d/mysqld.cnf
# 修改 bind-address = 0.0.0.0
# 添加 character_set_server=utf8
#重启 msyql
service mysql restart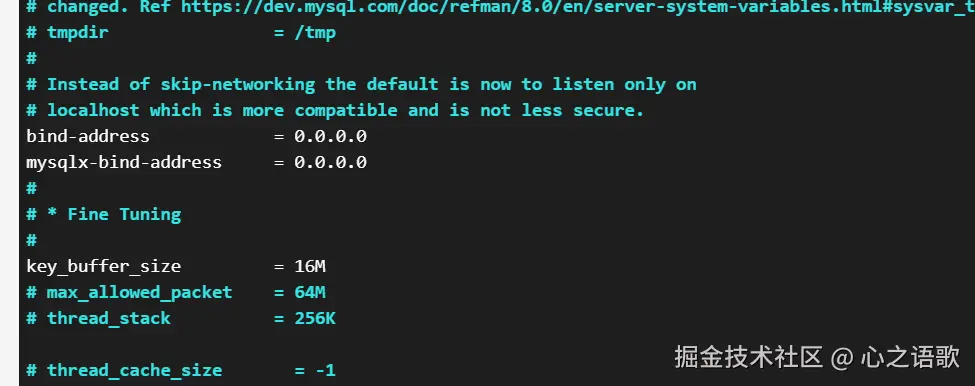
安装 openjdk 17
bash
sudo apt update
# 检查是否以及安装过
java -version
安装OpenJDK 默认是最新的
arduino
sudo apt install default-jdk安装自己需要的版本
sudo apt install openjdk-8-jdk
sudo apt install openjdk-11-jdk
sudo apt install openjdk-17-jdk
sudo apt install openjdk-21-jdk
检查是否安装完成
java -version