想要又快又好,当然是选择Astro,像官网说的那样
Astro 是最适合构建像博客、营销网站、电子商务网站这样的以内容驱动的网站的 Web 框架。
项目搭建
bash
pnpm create astro@latest 直接选择
直接选择blog模板 结束后执行 pnpm dev
 完事,内容部分想怎么改怎么改
部署到github.io
github创建个同名仓库
 先执行
先执行
bash
git remote add origin 'your repo'
git branch -M main
创建工作流脚本
创建目录: .github/workflows/static.yml
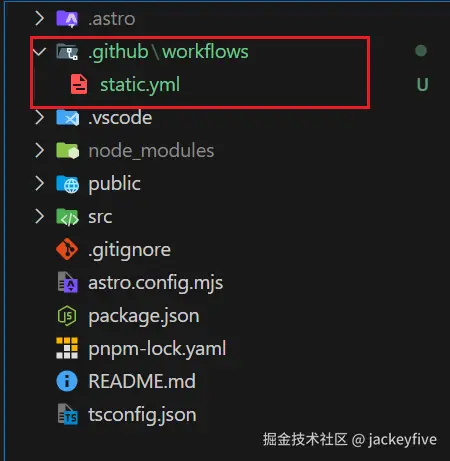
将以下内容复制到static.yml
yaml
# 自动发布任务
name: Deploy static content to Pages

on:
  # Runs on pushes targeting the default branch
  push:
    branches: ["main"]

  # Allows you to run this workflow manually from the Actions tab
  workflow_dispatch:

# Sets permissions of the GITHUB_TOKEN to allow deployment to GitHub Pages
permissions:
  contents: read
  pages: write
  id-token: write

# Allow only one concurrent deployment, skipping runs queued between the run in-progress and latest queued.
# However, do NOT cancel in-progress runs as we want to allow these production deployments to complete.
concurrency:
  group: "pages"
  cancel-in-progress: false

jobs:
  # Single deploy job since we're just deploying
  deploy:
    environment:
      name: github-pages
      url: ${{ steps.deployment.outputs.page_url }}
    runs-on: ubuntu-latest
    steps:
      - name: Checkout
        uses: actions/checkout@v4
      - name: Setup Node.js
        uses: actions/setup-node@v4
        with:
          node-version: "22"
      - name: Install pnpm
        uses: pnpm/action-setup@v3
        with:
          version: 9
          run_install: false
      - name: Install dependencies
        run: pnpm install
      - name: Build
        run: pnpm run build
      - name: Setup Pages
        uses: actions/configure-pages@v4
      - name: Upload artifact
        uses: actions/upload-pages-artifact@v3
        with:
          # Upload entire repository
          path: "./dist"
      - name: Deploy to GitHub Pages
        id: deployment
        uses: actions/deploy-pages@v4
大致思路是在每次push到main分支的时候,执行
- pnpm install
- pnpm run build
- 将dist文件夹发布
如果需要详细了解的话,AI会讲的非常清楚 执行 git push -u origin main
查看部署进度
打开github,找到你的 xx.github.io 项目
 点击action可以看到我们的提交,点击对应提交:
 可以看到我们已经部署成功啦,点击链接
 okok,这不是盖了帽了吗!
总结
我们通过创建github工作流,完成了从创建Astro项目搭建自己的博客,到部署到github.io的全过程。
番外
- 学习Astro
想学习Astro的知识,看Astro中文文档就行了。
中文文档管理的非常好,如果感兴趣可以了解下文档维护者:
李瑞丰
如果不想创建成 username.github.io 这种格式化的仓库,其他名称的仓库会被发布到: https://用户名.github.io/仓库名
项目中需要额外配置baseurl,不然资源访问会404
以Astro举例:
- 在
astro.config.js中添加:
arduino
export default defineConfig({
  base: '仓库名',
  ...
})- 所有访问静态资源的地方都需要改成类似:
js
const BASE_URL = import.meta.env.BASE_URL;

src={`${BASE_URL}/test.png`}