文章目录
⭐前言
大家好,我是yma16,本文分享 前端 ------react_flow自定义节点、边------使用darg布局树状结构。
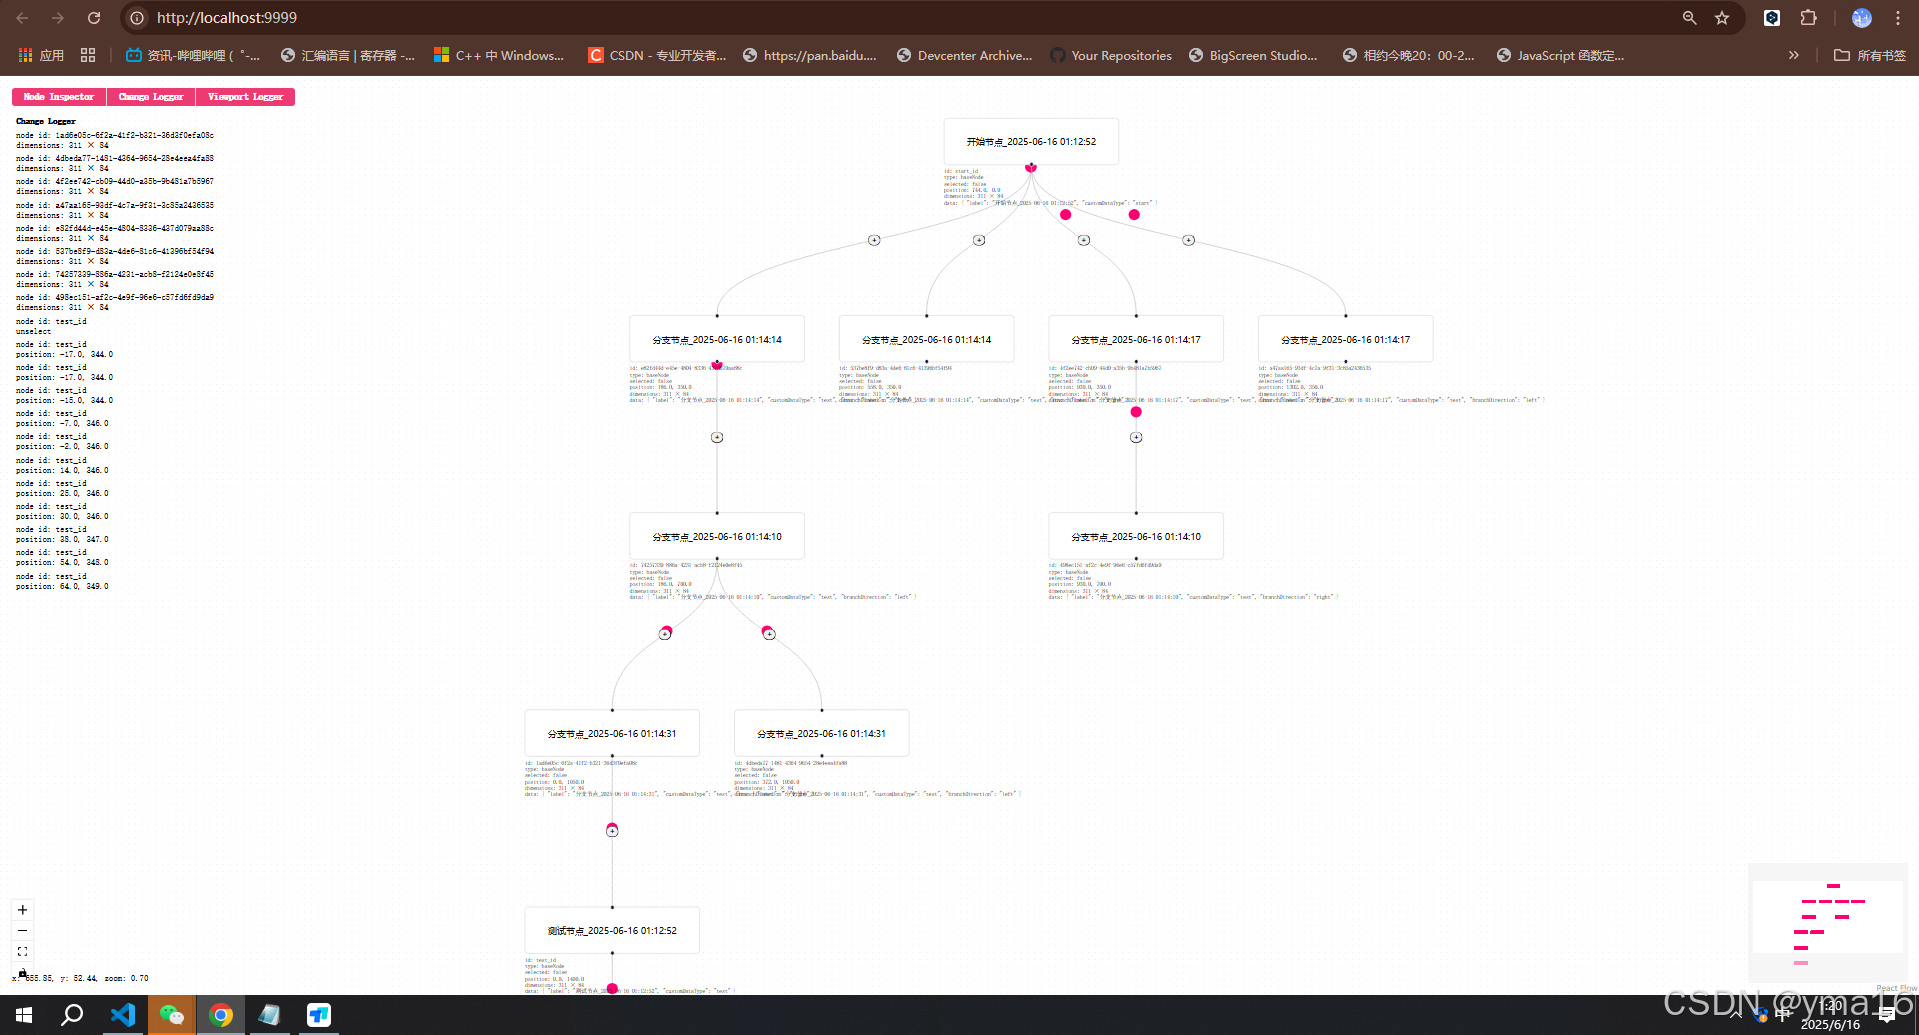
自定义效果
可以自定义节点、边、线条流动
React Flow 简介
React Flow 是一个用于构建交互式节点和基于图的编辑器的开源 React 库。它专为可视化复杂工作流、流程图、状态机或依赖关系而设计,提供高度可定制化的节点、连线(edges)和交互功能。
node系列往期文章
node_windows环境变量配置
node_npm发布包
linux_配置node
node_nvm安装配置
node笔记_http服务搭建(渲染html、json)
node笔记_读文件
node笔记_写文件
node笔记_连接mysql实现crud
node笔记_formidable实现前后端联调的文件上传
node笔记_koa框架介绍
node_koa路由
node_生成目录
node_读写excel
node笔记_读取目录的文件
node笔记------调用免费qq的smtp发送html格式邮箱
node实战------搭建带swagger接口文档的后端koa项目(node后端就业储备知识)
node实战------后端koa结合jwt连接mysql实现权限登录(node后端就业储备知识)
node实战------koa给邮件发送验证码并缓存到redis服务(node后端储备知识)
koa系列项目文章
前端vite+vue3结合后端node+koa------实现代码模板展示平台(支持模糊搜索+分页查询)
node+vue3+mysql前后分离开发范式------实现对数据库表的增删改查
node+vue3+mysql前后分离开发范式------实现视频文件上传并渲染
koa-vue性能监控到封装sdk系列文章
性能监控系统搭建------node_koa实现性能监控数据上报(第一章)
性能监控系统搭建------vue3实现性能监控数据展示(第二章)
性能监控计算------封装带性能计算并上报的npm包(第三章)
canvas系列文章
web canvas系列------快速入门上手绘制二维空间点、线、面
webgl canvas系列------快速加背景、抠图、加水印并下载图片
webgl canvas系列------animation中基本旋转、平移、缩放(模拟冒泡排序过程)
前端vue系列文章
vue3 + fastapi 实现选择目录所有文件自定义上传到服务器
前端vue2、vue3去掉url路由" # "号------nginx配置
csdn新星计划vue3+ts+antd赛道------利用inscode搭建vue3(ts)+antd前端模板
认识vite_vue3 初始化项目到打包
python_selenuim获取csdn新星赛道选手所在城市用echarts地图显示
让大模型分析csdn文章质量 ------ 提取csdn博客评论在文心一言分析评论区内容
前端vue3------html2canvas给网站截图生成宣传海报
前端------html拖拽原理
前端 富文本编辑器原理------从javascript、html、css开始入门
前端老古董execCommand------操作 选中文本 样式
前端如何在30秒内实现吸管拾色器?
前端------原生Selection api操作选中文本 样式、取消样式(解决标签的无限嵌套问题)
前端 ------xml转json json转xml 实现 mjml 邮件内容转json,json转mjml
前端 ------youtube、tiktok视频封面获取并使用canvas合并封面和自定义播放按钮生成图片
前端gmail邮件加载动态样式------动态评分交互邮件可提交api
⭐引入react-flow
安装@xyflow/react
bash
pnpm add @xyflow/react基础使用
javascript
import React from 'react';
import { ReactFlow } from '@xyflow/react';

import '@xyflow/react/dist/style.css';

const initialNodes = [
  { id: '1', position: { x: 0, y: 0 }, data: { label: '1' } },
  { id: '2', position: { x: 0, y: 100 }, data: { label: '2' } },
];
const initialEdges = [{ id: 'e1-2', source: '1', target: '2' }];

export default function App() {
  return (
    <div style={{ width: '100vw', height: '100vh' }}>
      <ReactFlow nodes={initialNodes} edges={initialEdges} />
    </div>
  );
}
⭐自定义节点nodeType
定义一个BaseNode ,可以引用flow的handle展示线条的连接点
javascript
import { Handle, Position, NodeToolbar } from '@xyflow/react';
import React, { useEffect } from 'react';
import './style.scss';

const BaseNode = (props: any) => {

    const { data } = props;
    useEffect(() => {
        console.log('props', props);
    }
        , [props]);
    return (
        <div className="base-node">
            <NodeToolbar isVisible={data.toolbarVisible} position={Position.Top}>
                <button>toolbar 按钮</button>
            </NodeToolbar>

            <div style={{ padding: '10px 20px' }}>
                {data.label}
            </div>

            {/* {data.customDataType !== 'start' ? <Handle type="source" position={Position.Top} /> : ''} */}
            {data.customDataType !== 'end' ? <Handle type="source" position={Position.Bottom} /> : ""}


            {data.customDataType !== 'start' ? <Handle type="target" position={Position.Top} /> : ""}
        </div >
    );
};


export default BaseNode;
flow组件nodeType引入BaseNode
javascript
    const nodeTypes = useMemo(() => {
        return { textUpdater: TextUpdaterNode, AddNode: AddNode, baseNode: BaseNode };
    }, [TextUpdaterNode, AddNode, BaseNode]);
节点引用 type: 'baseNode'
javascript
// 初始节点
export const initialNodes = [
  {
    id: 'start_id',
    position: { x: 0, y: 0 },
    data: { label: `开始节点_${new Date().Format('yyyy-MM-dd hh:mm:ss')}`, customDataType: 'start' },
    type: 'baseNode'
  },
  {
    id: 'test_id',
    position: { x: 0, y: 0 },
    data: { label: `测试节点_${new Date().Format('yyyy-MM-dd hh:mm:ss')}`, customDataType: 'test' },
    type: 'baseNode'
  },
  {
    id: 'end_id',
    position: { x: 0, y: 0 },
    data: { label: `结束节点_${new Date().Format('yyyy-MM-dd hh:mm:ss')}`, customDataType: 'end' },
    type: 'baseNode'
  }
];
⭐自定义边edgeType
自定义边------添加按钮
javascript
import {
    BaseEdge,
    EdgeLabelRenderer,
    getStraightPath,
    getSmoothStepPath,
    getSimpleBezierPath,
    Position,
    useReactFlow,
} from '@xyflow/react';

import './style.scss'
import React, { useState } from 'react';

export default function CustomAddEdge(props: any) {
    const { id, sourceX, sourceY, targetX, targetY, data } = props;

    console.log('CustomAddEdge props', props);
    console.log('CustomAddEdge props data', data);


    const [isShowAddPanel, setIsShowAddPanel] = useState(false);

    const [isSelectEdge, setIsSelectEdge] = useState(false);
    const [path,] = getSimpleBezierPath({
        sourceX: sourceX,
        sourceY: sourceY,
        // sourcePosition: Position.Top,
        targetX: targetX,
        targetY: targetY,
        // targetPosition: Position.Bottom,
    });
    const [edgePath, labelX, labelY] = getStraightPath({
        sourceX,
        sourceY,
        targetX,
        targetY,
    });

    return (
        <>
            <BaseEdge id={id} path={path} />
            <circle r="10" fill="#ff0073">
                <animateMotion dur="2s" repeatCount="indefinite" path={edgePath} />
            </circle>
            <EdgeLabelRenderer>

                <button
                    style={{
                        position: 'absolute',
                        transform: `translate(-50%, -50%) translate(${labelX}px,${labelY}px)`,
                        pointerEvents: 'all',
                        borderRadius: '50px',
                        cursor: 'pointer',
                    }}
                    className="add-button"
                    onClick={() => {
                        setIsSelectEdge(true)
                        console.log('add button clicked', props);
                        setIsShowAddPanel(!isShowAddPanel);
                    }}
                >
                    +
                    <div style={{
                        display: isShowAddPanel ? 'block' : 'none',

                    }} className='add-button-edge-panel-container'>
                        <div >
                            <button onClick={() => {
                                console.log('添加普通节点');
                                data?.onAddBaseNode?.({
                                    curEdgeId: id
                                });
                            }} className='add-button-edge-panel'>添加普通节点</button>
                        </div>
                        <div>
                            <br></br>
                        </div>
                        <div >
                            <button onClick={() => {
                                console.log('添加分支节点 left');
                                data?.onAddBranchNode?.({
                                    curEdgeId: id,
                                    direction: 'left'
                                });
                            }} className='add-button-edge-panel'>添加分支 保留左边</button>
                        </div>
                        <div>
                            <br></br>
                        </div>
                        <div >
                            <button onClick={() => {
                                console.log('添加分支节点 right');
                                data?.onAddBranchNode?.({
                                    curEdgeId: id,
                                    direction: 'right'
                                });
                            }} className='add-button-edge-panel'>添加分支 保留右边</button>
                        </div>
                    </div>
                </button>


            </EdgeLabelRenderer>

        </>
    );
}
⭐添加节点
基础节点
javascript
// 添加基础节点
export const addBaseNode = (config: { curEdgeId: string; nodes: any[]; edges: any[] }) => {
  const { curEdgeId, nodes, edges } = config;
  console.log('addBaseNode curEdgeId', curEdgeId);
  // 当前边的节点
  const curEdge = edges.find(edge => edge.id === curEdgeId);
  if (!curEdge) {
    console.error('Edge not found for id:', curEdgeId);
    return { nodes, edges };
  }
  // 创建新的节点 基础节点
  const virtualNode = {
    id: customGenUuid(),
    position: { x: 0, y: 0 },
    data: { label: `普通节点_${new Date().Format('yyyy-MM-dd hh:mm:ss')}`, customDataType: 'test' },
    type: 'baseNode'
  };
  // 新节点
  const newNodes: any[] = [];
  // 遍历节点添加  按顺序加入
  nodes.forEach(node => {
    if (node.id === curEdge.source) {
      // 在当前边的源节点后面添加新节点
      newNodes.push(virtualNode);
    }
    newNodes.push(node);
  });
  // 添加新边
  const newEdges: any[] = [];
  edges.forEach(edge => {
    // 如果是当前边,则添加新边  source和target 中间添加一个节点 补充一条边
    if (edge.id === curEdgeId) {
      // 在当前边后面添加新边
      newEdges.push({
        id: customGenUuid(),
        source: curEdge.source,
        // 链接当前节点
        target: virtualNode.id,
        type: 'customAddEdge',
        markerEnd: {
          type: MarkerType.Arrow
        }
      });
      // 在当前边后面添加新边
      newEdges.push({
        id: customGenUuid(),
        source: virtualNode.id,
        // 链接当前节点
        target: curEdge.target,
        type: 'customAddEdge',
        markerEnd: {
          type: MarkerType.Arrow
        }
      });
    } else {
      // 其他边不变
      newEdges.push(edge);
    }
  });

  return {
    newNodes: newNodes,
    newEdges: newEdges
  };
};
添加分支节点
javascript
// 添加分支节点  默认添加左分支
export const addBranchNode = (config: { curEdgeId: string; nodes: any[]; edges: any[]; direction: string }) => {
  const { curEdgeId, nodes, edges, direction } = config;
  console.log('addBaseNode curEdgeId', curEdgeId);
  // 当前边的节点
  const curEdge = edges.find(edge => edge.id === curEdgeId);
  if (!curEdge) {
    console.error('Edge not found for id:', curEdgeId);
    return { nodes, edges };
  }
  // 创建新的节点 基础节点
  const virtualLeftNode = {
    id: customGenUuid(),
    position: { x: 0, y: 0 },
    // 左边分支 节点
    data: { label: `分支节点_${new Date().Format('yyyy-MM-dd hh:mm:ss')}`, customDataType: 'test', branchDirection: 'left' },
    type: 'baseNode'
  };
  // 右边分支节点
  const virtualRightNode = {
    id: customGenUuid(),
    position: { x: 0, y: 0 },
    // 左边分支 节点
    data: { label: `分支节点_${new Date().Format('yyyy-MM-dd hh:mm:ss')}`, customDataType: 'test', branchDirection: 'right' },
    type: 'baseNode'
  };
  // 新节点
  const newNodes: any[] = [];
  // 遍历节点添加  按顺序加入
  nodes.forEach(node => {
    if (node.id === curEdge.source) {
      // 在当前边的源节点后面添加新节点  先添加左边在添加右边的节点
      if (direction === 'left') {
        newNodes.push(virtualLeftNode);
        newNodes.push(virtualRightNode);
      } else {
        // 右边分支
        newNodes.push(virtualRightNode);
        newNodes.push(virtualLeftNode);
      }
    }
    newNodes.push(node);
  });
  // 添加新边
  const newEdges: any[] = [];
  edges.forEach(edge => {
    // 如果是当前边,则添加新边  source和target 中间添加一个节点 补充一条边
    if (edge.id === curEdgeId) {
      // 在当前边后面添加新边
      newEdges.push({
        id: customGenUuid(),
        source: curEdge.source,
        // 链接当前节点
        target: direction === 'left' ? virtualLeftNode.id : virtualRightNode.id,
        data: {
          branchDirection: 'right'
        },
        type: 'customAddEdge',
        markerEnd: {
          type: MarkerType.Arrow
        }
      });
      // 在当前边后面添加新边
      newEdges.push({
        id: customGenUuid(),
        source: direction === 'left' ? virtualLeftNode.id : virtualRightNode.id,
        // 链接当前节点
        target: curEdge.target,
        data: {
          branchDirection: 'right'
        },
        type: 'customAddEdge',
        markerEnd: {
          type: MarkerType.Arrow
        }
      });
      // 添加右侧分支边
      newEdges.push({
        id: customGenUuid(),
        source: curEdge.source,
        // 链接当前节点
        target: direction === 'left' ? virtualRightNode.id : virtualLeftNode.id,
        type: 'customAddEdge',
        data: {
          branchDirection: 'right'
        },
        markerEnd: {
          type: MarkerType.Arrow
        }
      });
    } else {
      // 其他边不变
      newEdges.push(edge);
    }
  });

  console.log('addBranchNode newNodes', {
    newNodes: newNodes,
    newEdges: newEdges
  });

  return {
    newNodes: newNodes,
    newEdges: newEdges
  };
};
⭐inscode代码块
效果演示
react_flow特点
节点与连线:支持自定义节点(矩形、圆形等)和动态连线(贝塞尔曲线、直线等)。
交互功能:拖拽节点、缩放画布、选择多个元素、键盘快捷键支持。
状态管理:与外部状态库(如 Redux、Zustand)无缝集成。
插件系统:内置背景网格、迷你地图、节点工具栏等插件。
性能优化:仅渲染可见区域的节点,适合大规模数据场景。
react-flow存在的问题
React Flow在处理大规模节点和连线时可能出现性能瓶颈,尤其是当画布包含数百个节点时,渲染和交互可能变得迟缓。动态添加或删除节点时的重绘操作可能消耗较多资源。
⭐结束
本文分享到这结束,如有错误或者不足之处欢迎指出!

👍 点赞,是我创作的动力!
⭐️ 收藏,是我努力的方向!
✏️ 评论,是我进步的财富!
💖 最后,感谢你的阅读!