插件地址:ext.dcloud.net.cn/plugin?name...
一、前言
在做小程序、H5、uni-app开发中,经常会用到图片上传,今天给大家分享一个我自己封装的插件,使用方便,支持添加、压缩、上传、预览、删除
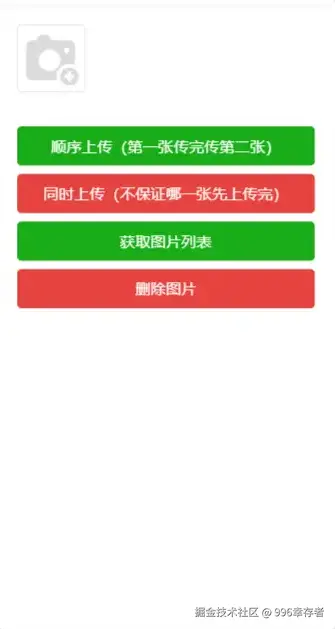
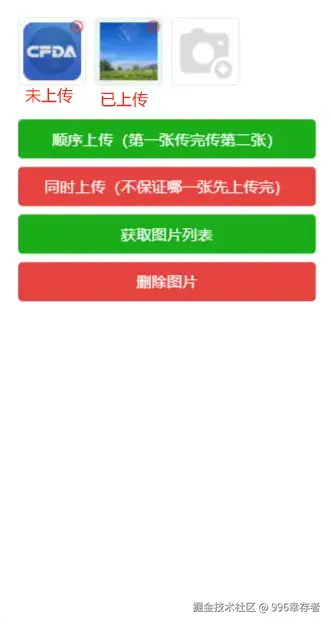
二、效果预览
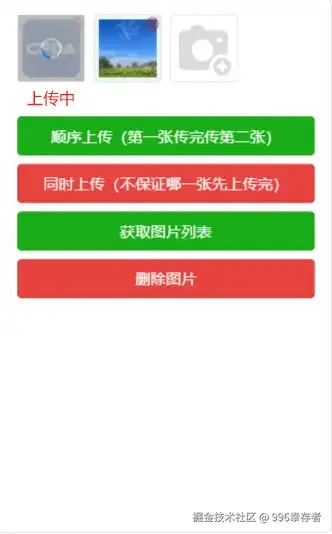

三、插件使用
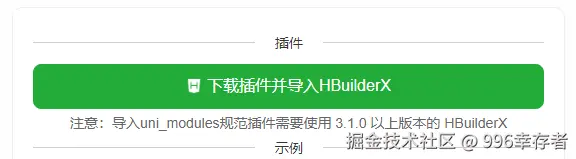
第一步、下载插件导入项目
该插件是uni-modules规范插件,导入后可以直接使用,无需在项目中声明组件
第二步、在页面中使用
根据自己的需求使用相应功能
ruby
<!-- 说明:
   1、addImg和cancleImg名字无需一致,只要和methods中方法一致即可,例如:@addImg="takePhotos",在methods中定义takePhotos即可
   2、需要压缩时使用is-compress属性,此时maxSize默认是1M(1024KB),你也可以传入最大尺寸,如下图片最大尺寸不超过100KB
   3、baseUrl属性针对列表接口中路径不全时补充,路径完整时请不要使用
   4、其他属性参考文档
   -->
  <sjx-image-upload :imageList='picList' imagePath='fjpath' :columCount='4' :max-count="6" is-compress
      :max-size="100" base-url="https://qcloud.dpfile.com" @addImg="addImg" @cancleImg='cancleImg'
      localImagePath="path" />
四、部分代码展示
添加
javascript
  /* files就是使用系统图片选择接口选择的图片,支持多张 */
  addImg(files) {
      this.picList = this.picList.concat(files)
  }
顺序上传
javascript
//顺序上传
async orderUploadImg() {
//上传照片--给每一个文件添加上传状态
for (let item of this.picList) {
//上传状态 0--未上传,1--正在上传;2--上传成功
item.imgState = item.isCanUp ? 1 : 2
}
//上传
let currentIndex = -1
for (let item of this.picList) {
try {
currentIndex++
if (item.isCanUp) {
let result = await this.uploadImage(item)
if (result.successful) {
item.imgState = 2
/* 实际开发中为false,这里演示没有实际路径,还是用本地图片 */
item.isCanUp = true
item.id = result.id
item.fjpath = result.fjpath
this.picList.splice(currentIndex, 1, item)
}
}
} catch (e) {
console.log('结果', '失败!');
}
}
},
uploadImage(item) {
return new Promise((resolve, reject) => {
//模拟上传接口
setTimeout(() => {
//已成功
resolve({
successful: true,
id: '111',
fjpath: '实际路径'
})
}, 3000)
})
}删除
javascript
  /*
   item:当前选择删除的图片对象
   index:当前选择删除的索引
   */
  cancleImg(item, index) {
      uni.showModal({
          title: '删除',
          content: '确定删除该图片吗',
          showCancel: true,
          success: res => {
              if (res.confirm) {
                  //未上传图片,直接删除
                  if (item.isCanUp) {
                      this.picList.splice(index, 1)
                  } else { //已上传图片,调用接口删除,这里用延时模拟接口调用
                      uni.showLoading({
                          title: '删除中'
                      })
                      setTimeout(() => {
                          uni.hideLoading()
                          this.picList.splice(index, 1)
                      }, 2000)
                  }
              }
          }
      })
  }
五、最后说明
在开发中上传、删除接口不同场景会有不同的参数、不同的校验、不同的加密,所以该插件没有封装相应接口,插件示例项目和文档中都有相关示例,小伙伴可以根据自己的需求去使用,谢谢大家!