cesium如何展示信息弹窗,效果如下: 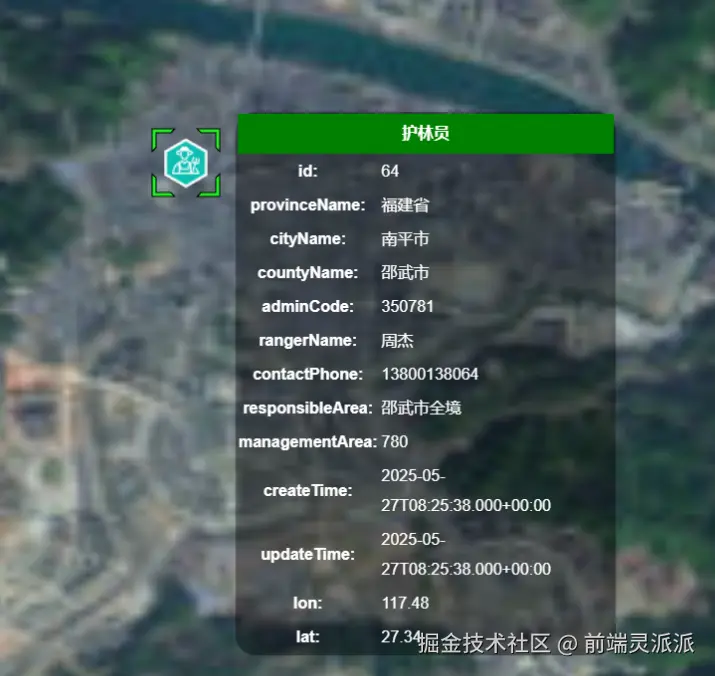
一、创建div
首先在html中定义一个div元素,用于存储这个信息弹窗
js
<!-- 地图弹框 -->
<div class="dynamic-layer" id="one">
  <div v-html="popData"></div>
</div>
//css
.dynamic-layer {
  display: none;
  user-select: none;
  pointer-events: none;
  position: fixed;
  line-height: 30px;
  border-radius: 20px;
  top: 0;
  left: 0;
  width: 382px;
  z-index: 99990;
  background: rgba(0, 0, 0, 0.4);
  color: #fff;
  opacity: 0;
  transition: opacity 1s ease-in-out;
}
二、监听鼠标点击事件
Cesium 提供了丰富的鼠标事件处理功能,可以响应用户在地球表面的交互操作。通过new Cesium.ScreenSpaceEventHandler(viewer.scene.canvas)定义一个鼠标事件,然后通过handler.setInputAction(()=>{},Cesium.ScreenSpaceEventType.LEFT_CLICK)监听鼠标点击动作,将屏幕坐标转成当前点的经纬度。然后根据拾取的位置是否存在id判断是否有实体。
1. 常用鼠标事件类型
| 事件类型 | 描述 |
|---|---|
LEFT_CLICK |
左键单击 |
LEFT_DOUBLE_CLICK |
左键双击 |
LEFT_DOWN |
左键按下 |
LEFT_UP |
左键释放 |
MIDDLE_CLICK |
中键单击 |
MIDDLE_DOWN |
中键按下 |
MIDDLE_UP |
中键释放 |
RIGHT_CLICK |
右键单击 |
RIGHT_DOWN |
右键按下 |
RIGHT_UP |
右键释放 |
MOUSE_MOVE |
鼠标移动 |
WHEEL |
鼠标滚轮滚动 |
js
//鼠标事件
const handler = new Cesium.ScreenSpaceEventHandler(viewer.scene.canvas);
  handler.setInputAction((click) => {
    console.log("单击事件:", click.position);
    const cartesian = viewer.camera.pickEllipsoid(
      click.position,
      viewer.scene.globe.ellipsoid
    );
    const cartographic = Cesium.Cartographic.fromCartesian(cartesian);
    const lon = Cesium.Math.toDegrees(cartographic.longitude).toFixed(5);
    const lat = Cesium.Math.toDegrees(cartographic.latitude).toFixed(5);
    const pick = viewer.scene.pick(click.position);

    console.log("单击事件:", lon, lat);
    if (pick && pick.id && pick.id._name && pick.id._monitoItems) {
      const data = {
        id: pick.id._id,
        lon: lon,
        lat: lat,
        offset: [100, 0],
        boxHeightMax: 0, // 中间立方体的最大高度
      };
      let tableName = pick.id._name;
      let detail = pick.id._monitoItems;

      document.getElementById("one").style.zIndex = 9990;

      popData.value = createDescription(detail, tableName);

      const div = document.getElementById("one");

      showDynamicLayer(viewer, data, div);
    } else {
      if (document.getElementById("one")) {
        document.getElementById("one").style.zIndex = -1;
        document.getElementById("one").style.opacity = 0;
      }
    }


  }, Cesium.ScreenSpaceEventType.LEFT_CLICK);


// 移除特定事件
handler.removeInputAction(Cesium.ScreenSpaceEventType.LEFT_CLICK);

// 销毁整个处理器
handler.destroy();
三、展示信息弹窗
将经纬度再次转为坐标轴赋值给div的浮动样式,然后展示信息弹窗。其中用的viewer.scene.preRender,用来监听每次重新渲染时div的位置。 viewer.scene.preRender是 Cesium 中一个非常有用的帧渲染前事件,它允许你在每一帧渲染之前执行自定义逻辑。
Cesium 还提供了其他几个重要的渲染事件:
- postRender - 在帧渲染完成后触发
- postUpdate - 在场景更新后,渲染前触发
- preUpdate - 在场景更新前触发
- preRender - 在帧渲染前触发
注意事项
- 性能考虑 :
preRender每帧都会执行,其中的代码应该尽可能高效,避免复杂计算 - 避免无限循环:在事件处理函数中不要触发会导致重新渲染的操作
- 内存管理:不再需要的事件监听器应该及时移除
- 执行顺序 :了解不同事件的触发顺序很重要:
- preUpdate
- postUpdate
- preRender
- postRender
- 与requestAnimationFrame的区别 :
preRender与 Cesium 的渲染管线集成- 通常比直接使用
requestAnimationFrame更可靠
js
const showDynamicLayer = (viewer, data, div) => {
  const lon = data.lon * 1,
        lat = data.lat * 1;
  let position = Cesium.Cartesian3.fromDegrees(lon, lat, data.boxHeightMax);
  const scene = viewer.scene,
  camera = viewer.camera;
  let arr = data.offset
  let scratch = new Cesium.Cartesian2(); // cesium二维笛卡尔

  div.style.opacity = 1;

  scene.preRender.addEventListener(() => {
    const canvasPosition = scene.cartesianToCanvasCoordinates(
      position,
      scratch
    );
    if (Cesium.defined(canvasPosition)) {
      element.style.left = canvasPosition.x + arr[0] + "px";
      element.style.top = canvasPosition.y + arr[1] + "px";

        var e = position,
          i = camera.position,
          n = scene.globe.ellipsoid.cartesianToCartographic(i).height;

        if (
          !((n += 1 * scene.globe.ellipsoid.maximumRadius),
          Cesium.Cartesian3.distance(i, e) > n)
        ) {
          element.style.display = "block";
        } else {
          element.style.display = "none";
        }

    }
  });

};
遍历detail的对象,生成信息表格
js
function createDescription(properties, tableName) {
  let html = '<table class="cesium-infoBox-defaultTable">';
  html += `<tr class="cesium-infoBox-tableName"><th colspan="2">${tableName}</th></tr>`;

  Object.keys(properties).forEach((key) => {
    html += `
            <tr>
                <th>${key}:</th>
                <td>${properties[key]}</td>
            </tr>
        `;
  });

  html += "</table>";
  return html;
}