Nginx 安装
一、安装所需依赖
bash
sudo apt-get install build-essential libpcre3 libpcre3-dev zlib1g zlib1g-dev libssl-dev perl libperl-dev libxslt-dev这些依赖是编译 nginx 以及可选模块(如 gzip、ssl、perl、xslt 等)所需要的。
build-essential:提供gcc、make等基本编译工具libpcre3和libpcre3-dev:支持正则表达式处理zlib1g和zlib1g-dev:提供对 gzip 压缩的支持libssl-dev:启用https所需perl和libperl-dev:为http_perl_module模块准备libxslt-dev:支持http_xslt_module
二、下载 Nginx 源码包
你可以访问官网 nginx.org/en/download... 查找最新版本号。以下以 1.28.0 为例:
bash
wget http://nginx.org/download/nginx-1.28.0.tar.gz
tar -zxvf nginx-1.28.0.tar.gz
cd nginx-1.28.0
注意:
优先使用稳定版(Stable version),主线版本(Mainline version)虽然有新特性但风险更高,你可以替换
<version>来下载其他版本。
三、执行 ./configure 配置构建参数
在源码编译中,./configure 是最关键的一步,负责:
- 定义 nginx 的路径结构(配置路径、pid 路径、日志路径等)
- 决定是否开启模块(比如:gzip、ssl、http_v2 等)
- 设置编译优化参数(
cc-opt,ld-opt)
以下为参考 Ubuntu 官方包构建方式的参数(移除了部分不需要的模块):
bash
./configure \
  # 编译器优化参数(调试符号、路径映射、防御编译策略等)
  --with-cc-opt='-g -O2 -Werror=implicit-function-declaration -fno-omit-frame-pointer -mno-omit-leaf-frame-pointer -ffile-prefix-map=/build/nginx-lUDsEK/nginx-1.26.3=. -flto=auto -ffat-lto-objects -fstack-protector-strong -fstack-clash-protection -Wformat -Werror=format-security -mbranch-protection=standard -fdebug-prefix-map=/build/nginx-lUDsEK/nginx-1.26.3=/usr/src/nginx-1.26.3-2ubuntu1.1 -fPIC -Wdate-time -D_FORTIFY_SOURCE=3' \
  --with-ld-opt='-Wl,-Bsymbolic-functions -flto=auto -ffat-lto-objects -Wl,-z,relro -Wl,-z,now -fPIC' \

  # 基础路径配置
  --prefix=/usr/share/nginx \
  --sbin-path=/usr/sbin \
  --conf-path=/etc/nginx/nginx.conf \
  --http-log-path=/var/log/nginx/access.log \
  --error-log-path=stderr \
  --lock-path=/var/lock/nginx.lock \
  --pid-path=/run/nginx.pid \
  --modules-path=/usr/lib/nginx/modules \

  # 临时文件目录配置
  --http-client-body-temp-path=/var/lib/nginx/body \
  --http-fastcgi-temp-path=/var/lib/nginx/fastcgi \
  --http-proxy-temp-path=/var/lib/nginx/proxy \
  --http-scgi-temp-path=/var/lib/nginx/scgi \
  --http-uwsgi-temp-path=/var/lib/nginx/uwsgi \

  # 核心特性
  --with-compat \        # 支持动态模块加载
  --with-debug \         # 启用调试模式
  --with-pcre-jit \      # 提升正则匹配性能
  --with-threads \       # 启用多线程支持

  # HTTP 模块
  --with-http_ssl_module \
  --with-http_stub_status_module \
  --with-http_realip_module \
  --with-http_auth_request_module \
  --with-http_v2_module \
  --with-http_v3_module \
  --with-http_dav_module \
  --with-http_slice_module \
  --with-http_addition_module \
  --with-http_flv_module \
  --with-http_gunzip_module \
  --with-http_gzip_static_module \
  --with-http_mp4_module \
  --with-http_random_index_module \
  --with-http_secure_link_module \
  --with-http_sub_module \

  # Mail & Stream 模块
  --with-mail=dynamic \
  --with-mail_ssl_module \
  --with-stream=dynamic \
  --with-stream_ssl_module \
  --with-stream_ssl_preread_module \
  --with-stream_realip_module \

  # 可选动态模块
  --with-http_perl_module=dynamic \
  --with-http_xslt_module=dynamic
注意:
如果想使用上面的构建参数命令,需要删除 所有的注释 和换行,否则运行会报错。
在官网构建参数的基础上移除了以下模块(因为还需要额外添加依赖,有需要自己安装即可):
bash
--with-http_image_filter_module=dynamic
--with-http_geoip_module=dynamic
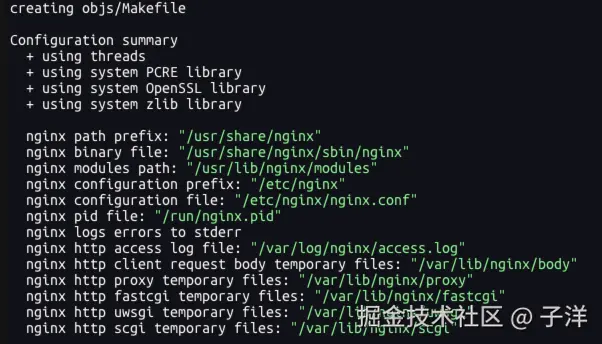
--with-stream_geoip_module=dynamic运行成功如下图所示:
四、构建与安装
bash
# 创建 nginx 运行需要的目录`
mkdir -p /var/lib/nginx/

# 编译
make -j$(nproc)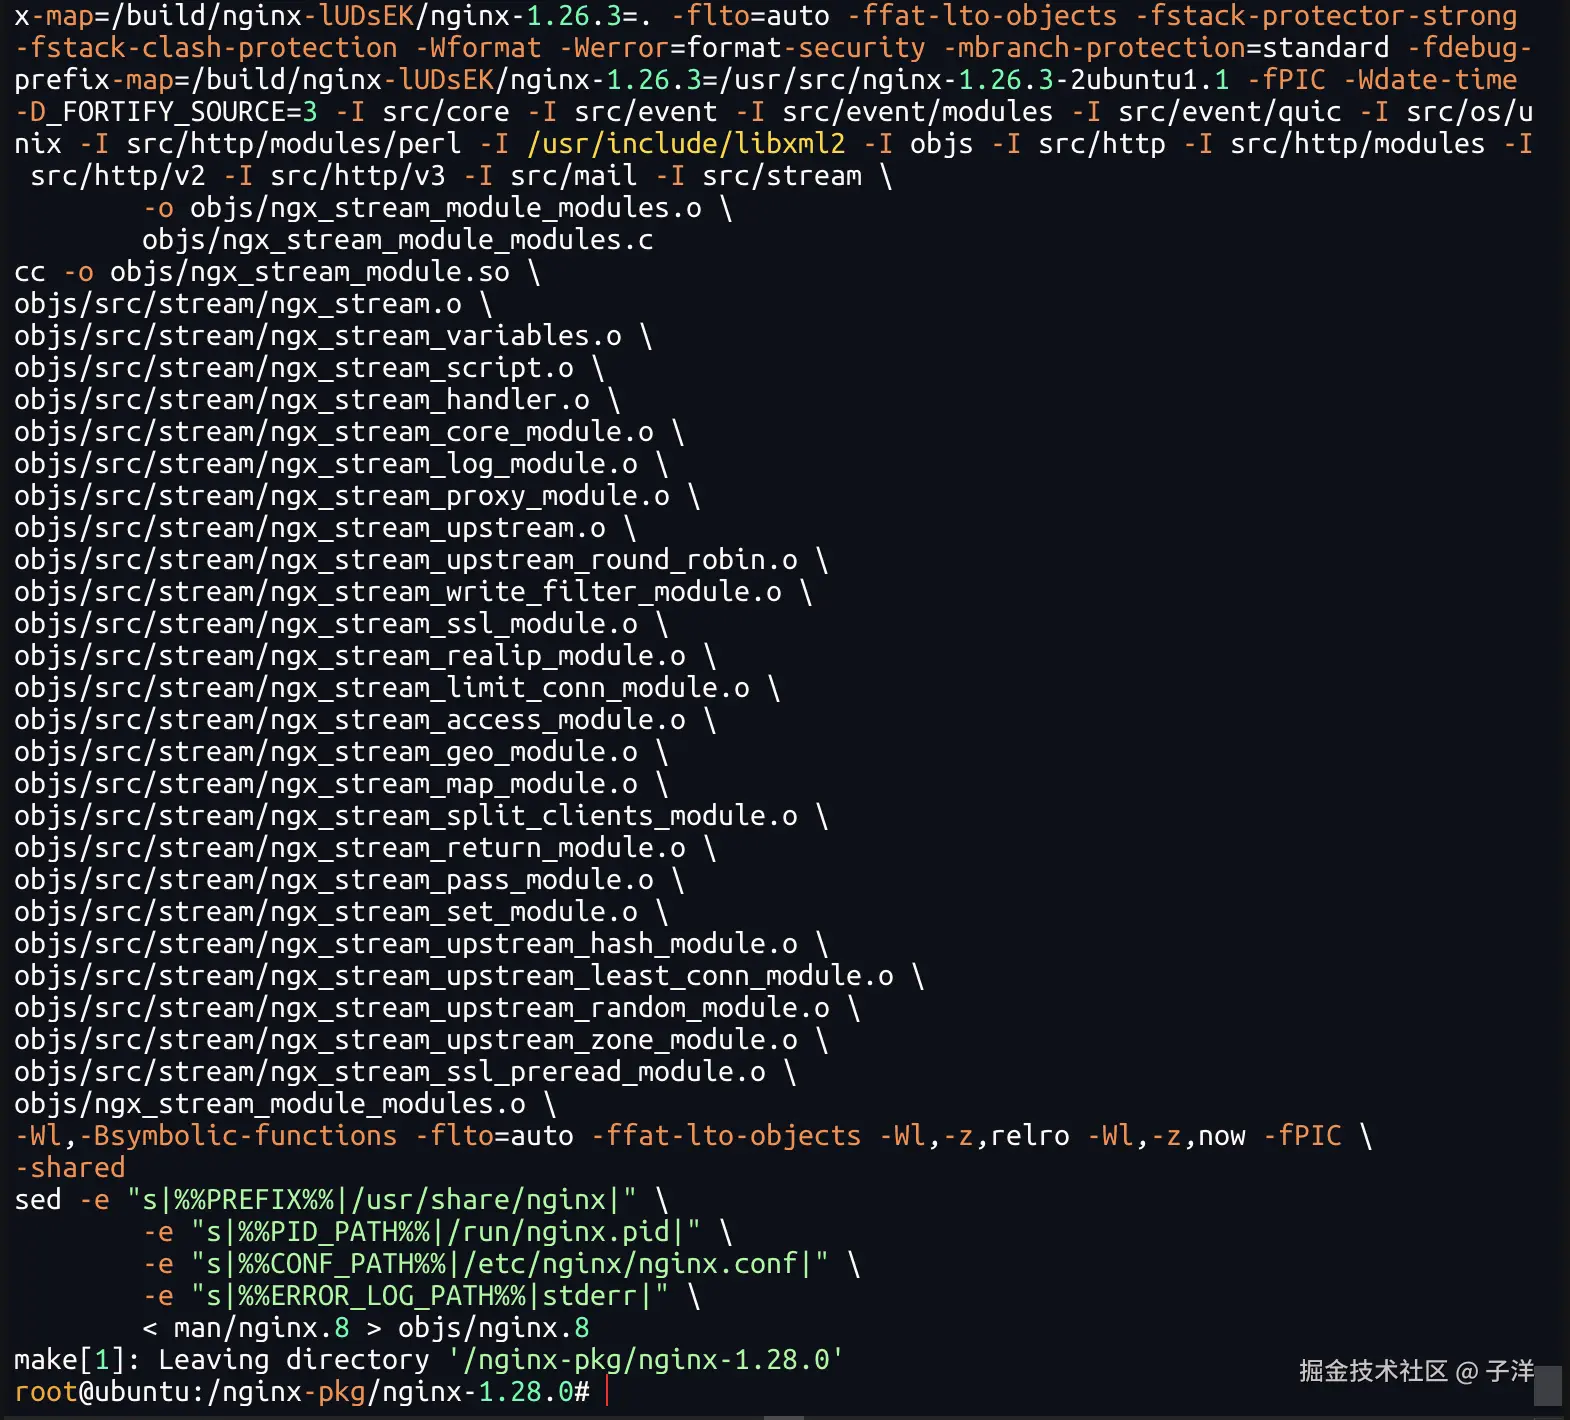
bash
# 安装到指定路径
sudo make install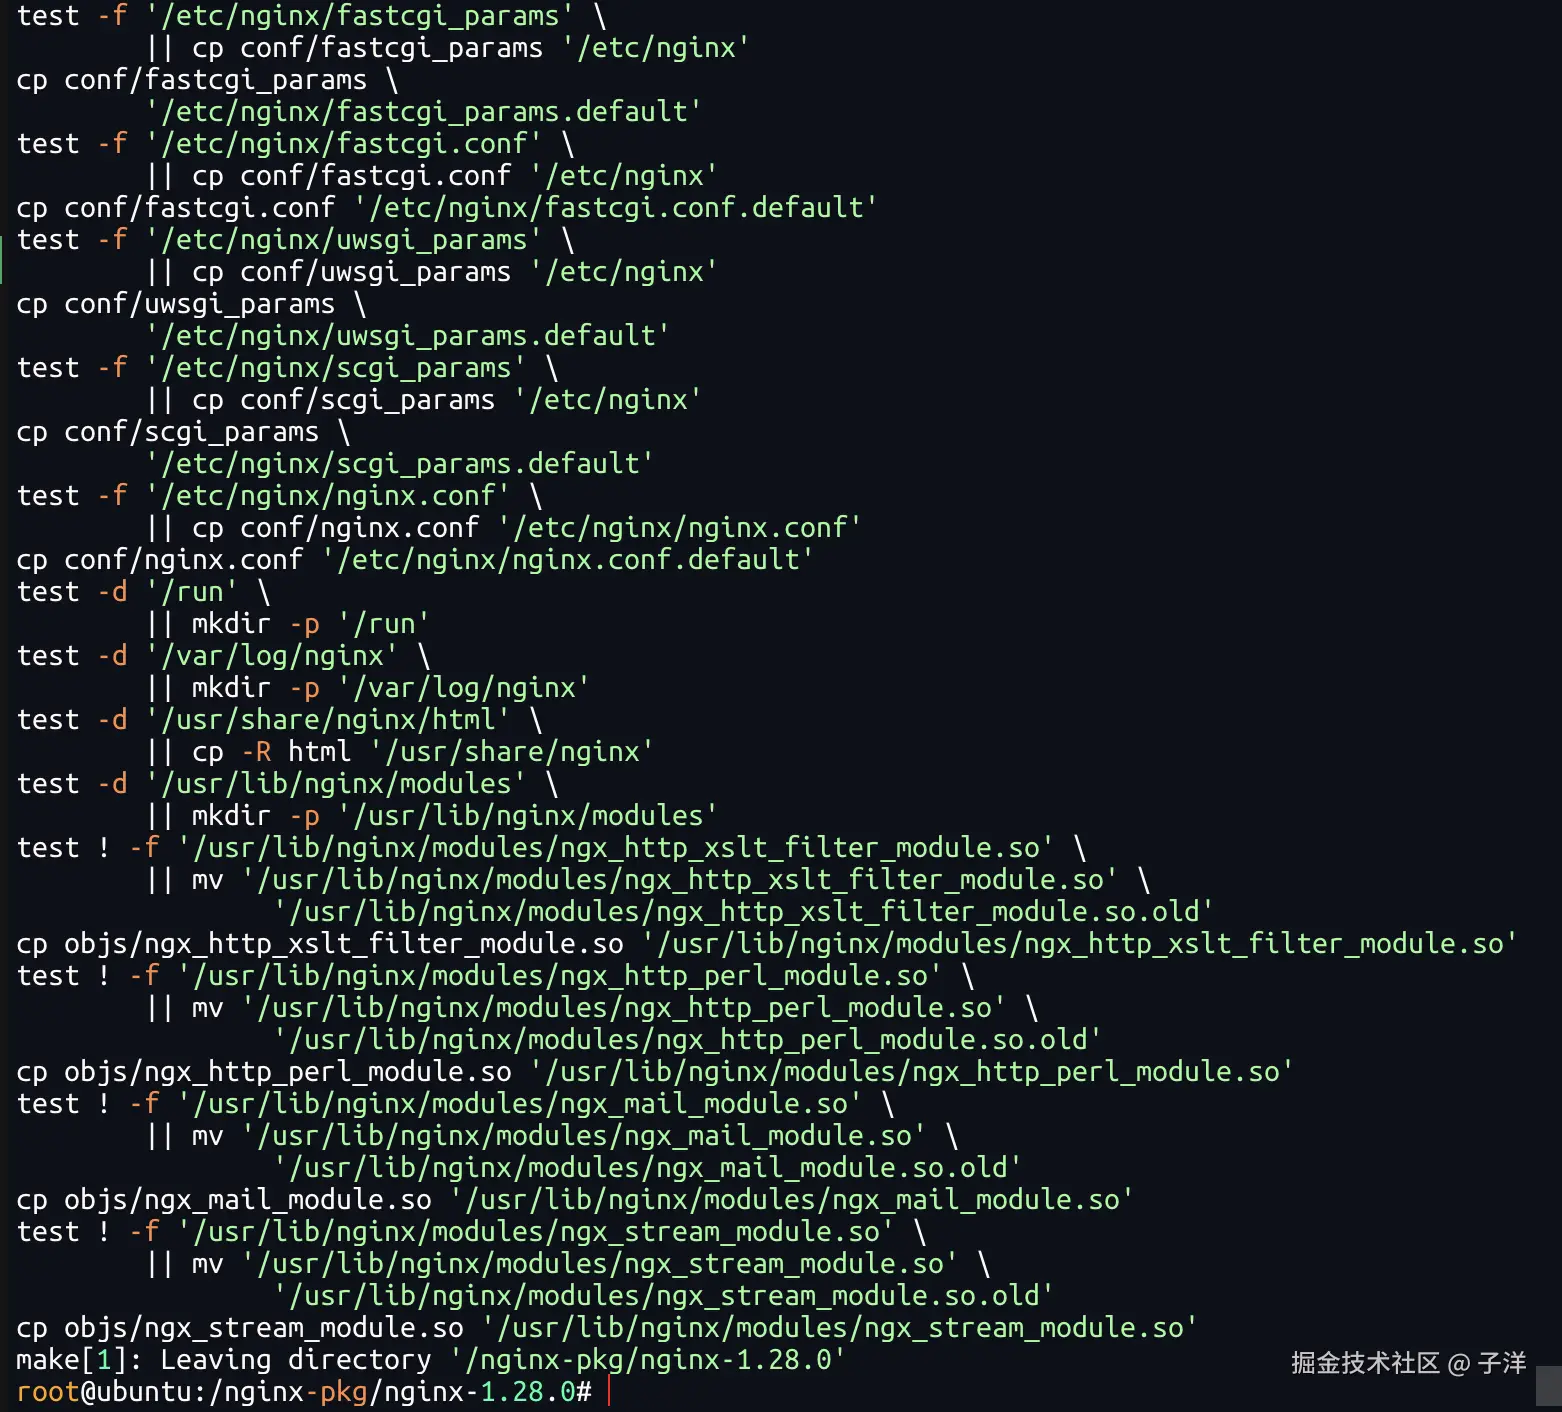
运行 Nginx 服务
在执行 ./configure 时,可以通过指定 --sbin-path=/usr/sbin 参数来设置 nginx 可执行文件的安装路径,从而使系统能够全局调用 nginx 命令(无需额外配置 PATH)。
如果在构建时未指定该参数,默认情况下 nginx 可执行文件会被安装到 ./objs/nginx 中。此时你可以手动将其复制到系统可执行目录:
bash
sudo cp objs/nginx /usr/sbin/检测配置文件是否正确:
bash
nginx -t
启动 nginx:
bash
nginx测试是否启动成功:
bash
curl 127.0.0.1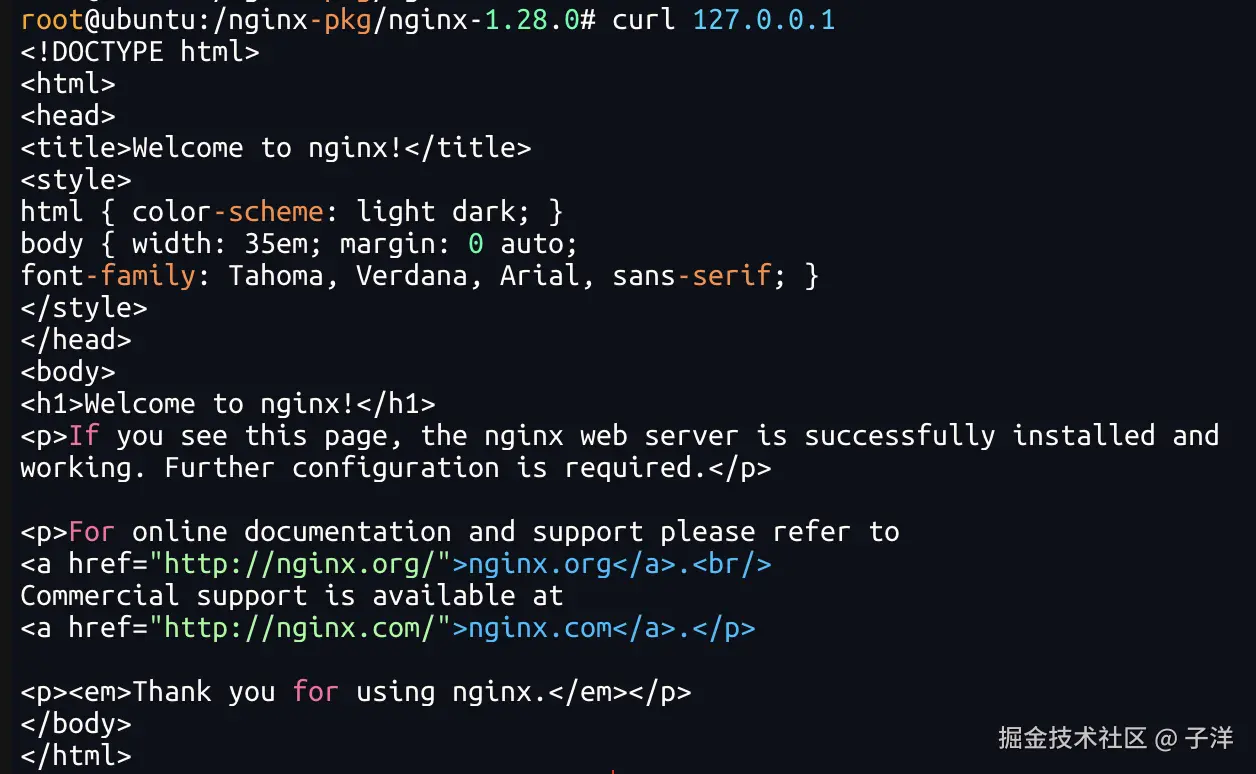
查看完整的构建参数:
bash
nginx -V 2>&1 | awk -F: '/configure arguments/ {print $2}' | xargs -n1加载第三方模块
Nginx 支持两种模块集成方式:
1. 编译时静态集成
bash
./configure --add-module=模块路径2. 动态模块
bash
./configure --add-dynamic-module=模块路径动态模块
.so需要通过load_module在配置文件中显式加载。
集成 echo-nginx-module
echo-nginx-module 是由 OpenResty 团队开发的调试模块,可在配置文件中直接返回文本、变量等内容,适合用于测试、演示、调试。
方法一:静态编译进 nginx
bash
# 下载源码
git clone https://github.com/openresty/echo-nginx-module.git
# 执行编译配置
./configure --add-module=./echo-nginx-module
# 先关掉 nginx 服务
nginx -s quit
# 编译并安装
make && sudo make install
编译并安装后,修改 nginx.conf 配置文件:
nginx
worker_processes  1;
events {
    worker_connections  1024;
}

http {
  include       mime.types;
  default_type  application/octet-stream;
  sendfile        on;
  keepalive_timeout  65;

  server {
    listen 8080;

    location / {
      add_header Content-Type text/html;
      echo "Hello, this is the echo module! Cureent Time: $time_local";
    }
  }
}
重启 Nginx 后 访问 http://127.0.0.1:8080,将看到如下输出:

方法二:构建为动态模块(.so)
Nginx 1.9.11+ 开始支持 --add-dynamic-module,生成 .so 文件,在运行时通过 load_module 加载。
bash
./configure --add-dynamic-module=./echo-nginx-module
make && sudo make install
找到 objs/ngx_http_echo_module.so,并移动到 nginx 模块目录:
bash
sudo cp objs/ngx_http_echo_module.so /usr/lib/nginx/modules/修改配置文件,在文件首行添加模块加载语句:
nginx
load_module /usr/lib/nginx/modules/ngx_http_echo_module.so;

worker_processes  1;
events {
    worker_connections  1024;
}

http {
  include       mime.types;
  default_type  application/octet-stream;
  sendfile        on;
  keepalive_timeout  65;

  server {
    listen 8080;

    location / {
      add_header Content-Type text/html;
      echo "Hello, this is the echo module! Cureent Time: $time_local";
    }
  }
}
重新加载配置后即可访问:
bash
nginx -s reload相关链接
- Nginx 配置: nginx.org/en/docs/con...
- Nginx 动态模块原理: blog.nginx.org/blog/nginx-...
- Linux 编译源码安装程序: short.pangcy.cn/u/3947503cc...