前言
大概两年前,Nginx 官方发布了 NJS module,让我们可以在 Nginx 中直接使用 JavaScript 来做扩展。当时的 NJS 仅支持 ES5 和部分 ES6 语法,算是一次比较早期的尝试。那时候,各种博客充满着"JS 的风终究吹到了 Nginx"。但说实话,那个时候我没有找到特别适合的应用场景,加上部署和语法上的限制,兴趣并不大,于是搁置了。
直到最近,Nginx 博客宣布:Nginx 的 JS 引擎支持切换到 QuickJS 。这让我眼前一亮------QuickJS 以小巧、轻量、支持完整 ES6 语法闻名,性能不俗、内存占用低,而且支持较多新特性。我一直对它有兴趣,但苦于没有合适的使用场景。而这次 Nginx + QuickJS 的结合,让我有了一个理由来试一试。
安装 NJS module
注意:
编译 NJS 模块时,需要先下载与你当前运行版本一致的 Nginx 源码,否则会因为版本不匹配导致编译失败。
官方下载地址:nginx.org/en/download...
首先,将 NJS 源码克隆到本地:
bash
git clone https://github.com/nginx/njs进入 Nginx 源码目录,使用 --add-dynamic-module 配置参数添加 NJS 模块:
bash
./configure --add-dynamic-module=<path-to-njs>/nginx编译完成后,生成的 .so 模块文件会放在 <nginx-source-path>/objs 目录中。
在 nginx.conf 中导入模块(注意替换路径):
nginx
load_module <nginx-source-path>/objs/ngx_http_js_module.so;Hello World 示例
首先,新建一个 http.js 文件:
js
function hello(r) {
r.headersOut['Content-Type'] = 'text/html';
r.return(200, `
<!DOCTYPE html>
<html>
<head>
<title>Hello World</title>
<style>
body {
text-align: center;
margin-top: 100px;
}
h1 {
color: #2c3e50;
}
</style>
</head>
<body>
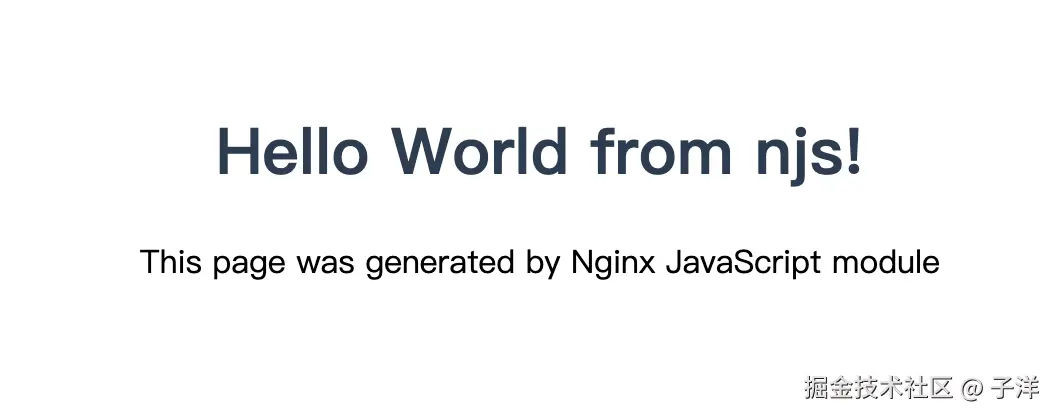
<h1>Hello World from njs!</h1>
<p>This page was generated by Nginx JavaScript module</p>
</body>
</html>
`);
}
export default { hello };然后在 nginx.conf 中配置 NJS 支持:
nginx
load_module /usr/lib/nginx/modules/ngx_http_js_module.so;

worker_processes  1;
events {
    worker_connections  1024;
}

http {
  include       mime.types;
  default_type  application/octet-stream;
  sendfile        on;
  keepalive_timeout  65;

  server {
    listen 8000;

    js_import http from /etc/nginx/js/http.js;
    location / {
      add_header Content-Type text/html;
      js_content http.hello;
    }
  }
}
启动 Nginx 后,访问 http://127.0.0.1:8000,即可看到:
配置 QuickJS 支持
上面的例子只是启用了 NJS,如果想让 Nginx 使用 QuickJS 引擎,需要额外的编译步骤。
下载 QuickJS 源码
bash
git clone https://github.com/bellard/quickjs编译 QuickJS
进入 QuickJS 源码目录,执行:
bash
CFLAGS='-fPIC' make libquickjs.a重新编译 Nginx 模块
进入 Nginx 源码根目录,配置编译参数,额外添加 --with-cc-opt(头文件路径)和 --with-ld-opt(库路径):
bash
./configure --add-dynamic-module=<path-to-njs>/nginx \
    --with-cc-opt="-I <path-to-quickjs>" \
    --with-ld-opt="-L <path-to-quickjs>"
编译完成后,和 NJS 一样在 nginx.conf 中加载 .so 模块即可。
QuickJS 示例
下面是官方的示例,充分展示了 QuickJS 对 ES6+ 语法的完整支持,包括 generator、BigInt、解构赋值等:
js
// js/analytics.js
class RequestAnalytics {
*getHeaderMetrics(headers) {
for (const [key, value] of Object.entries(headers)) {
yield {
header: key.toLowerCase(),
size: key.length + value.length,
type: key.startsWith('x-') ? 'custom' : 'standard'
};
}
}
processRequest(r) {
const {
method = 'GET',
uri = '/',
httpVersion = '1.0'
} = r;
const headerStats = [];
for (const metric of this.getHeaderMetrics(r.headersIn)) {
headerStats.push(metric);
}
const timestamp = BigInt(Date.now());
const headerCount = headerStats.length;
const customHeaders = headerStats.filter(({ type }) => type === 'custom').length;
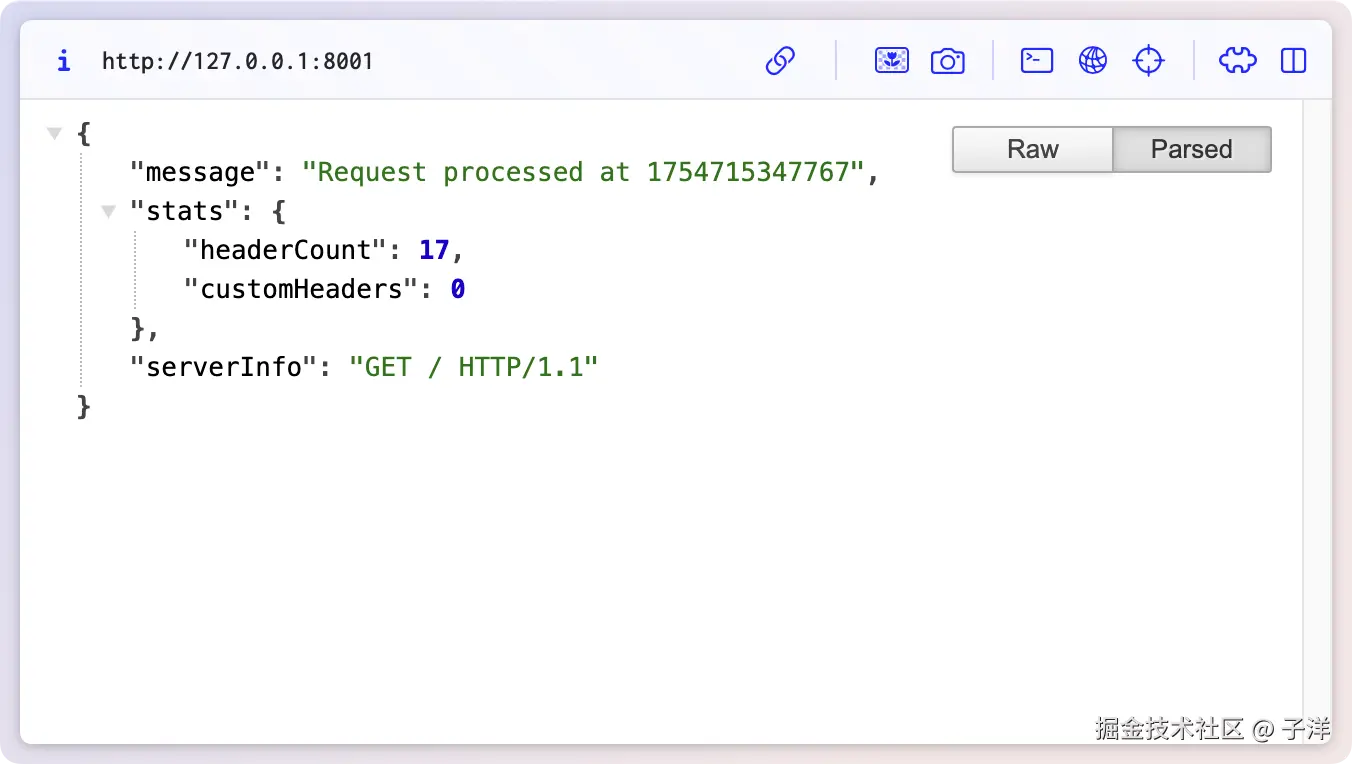
r.return(200, JSON.stringify({
message: `Request processed at ${timestamp}`,
stats: { headerCount, customHeaders },
serverInfo: `${method} ${uri} HTTP/${httpVersion}`
}, null, 2));
}
}
const analytics = new RequestAnalytics();
export default { processRequest: (r) => analytics.processRequest(r) };配置 nginx.conf,唯一的区别是需要指定 js_engine qjs,否则默认会使用 NJS 引擎:
nginx
load_module /usr/lib/nginx/modules/ngx_http_js_module.so;

worker_processes  1;
events {
    worker_connections  1024;
}

http {
  include       mime.types;
  default_type  application/octet-stream;
  sendfile        on;
  keepalive_timeout  65;

  server {
    listen 8001;

    js_engine qjs;
    js_import analytics from /etc/nginx/js/analytics.js;

    location / {
        add_header Content-Type application/json;
        js_content analytics.processRequest;
    }
  }
}
启动 Nginx 后访问 http://127.0.0.1:8001,返回 JSON 数据:
结语
本篇我们完成了 Nginx 启用 NJS + QuickJS 的安装、编译和示例运行。
相比传统 Nginx 配置,加入 JS 引擎的好处是显而易见的------你可以在配置中直接写复杂的逻辑,而不必依赖额外的后端服务。
有了 Nginx + JS,我们可以做更多事情,例如:
- 多条件的复杂路由判断
- 动态请求签名和鉴权
- 请求体解析与数据提取
- 与外部 API 通信
- Web 应用防火墙(WAF)逻辑实现
- 自定义响应处理与 A/B 测试
下一篇,我会带来一组更实用的 Nginx + QuickJS 场景 Demo,来演示他的使用场景和使用示例。
相关链接
- NGINX 博客: blog.nginx.org/blog/quickj...
- Linux 编译源码安装程序: short.pangcy.cn/u/3947503cc...
- 源码安装 Nginx 并加载第三方模块指南: short.pangcy.cn/u/5f2243352...