Docker容器技术全面解析:从入门到实践
一、Docker简介与核心概念
1.1 Docker是什么?
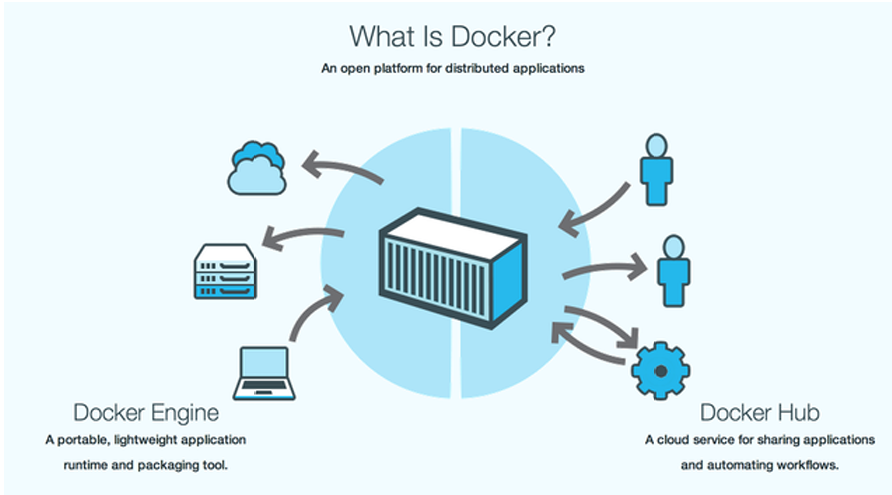
Docker是一个开源的容器化平台,由Docker Inc.开发。它通过容器技术实现了轻量级虚拟化,将应用程序及其依赖打包成标准化的单元。
核心组件:
-
Docker Engine:轻量级应用运行时和打包工具
-
Docker Hub:官方的镜像云服务(类似GitHub)
1.2 容器与虚拟机对比
| 特性 | 虚拟机 | Docker容器 |
|---|---|---|
| 操作系统 | 每个VM有独立OS | 共享宿主机OS内核 |
| 镜像大小 | GB级别 | MB级别 |
| 启动速度 | 分钟级 | 秒级 |
| 性能损耗 | 较高 | 几乎无损耗 |
| 单机运行密度 | 几十个 | 上千个 |
1.3 Docker核心优势
-
一致性:开发、测试、生产环境完全一致
-
便携性:跨平台无缝迁移
-
资源高效:共享内核,减少冗余
-
快速部署:秒级启动,易于扩展
二、Docker安装与基础操作
2.1 安装Docker
bash
# 配置yum仓库
cd /etc/yum.repos.d
vim docker.repo
[docker]
name=docker-ce
baseurl=https://mirrors.tuna.tsinghua.edu.cn/docker-ce/linux/centos/7/x86_64/stable/
gpgcheck=0
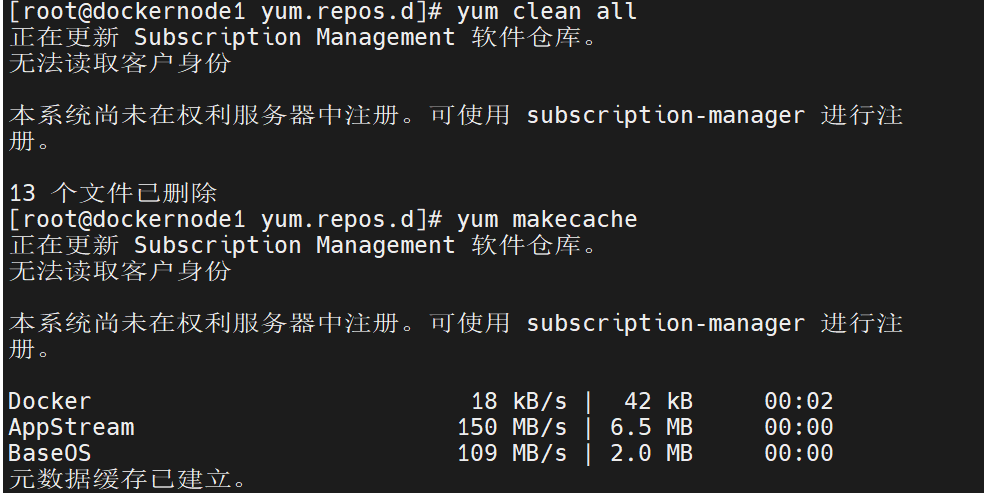
# 安装并启动
yum install -y docker-ce
#编辑docker启动文件,设定其使用iptables的网络设定方式,默认使用nftables
[root@docker ~]# vim /usr/lib/systemd/system/docker.service
ExecStart=/usr/bin/dockerd -H fd:// --containerd=/run/containerd/containerd.sock --iptables=true
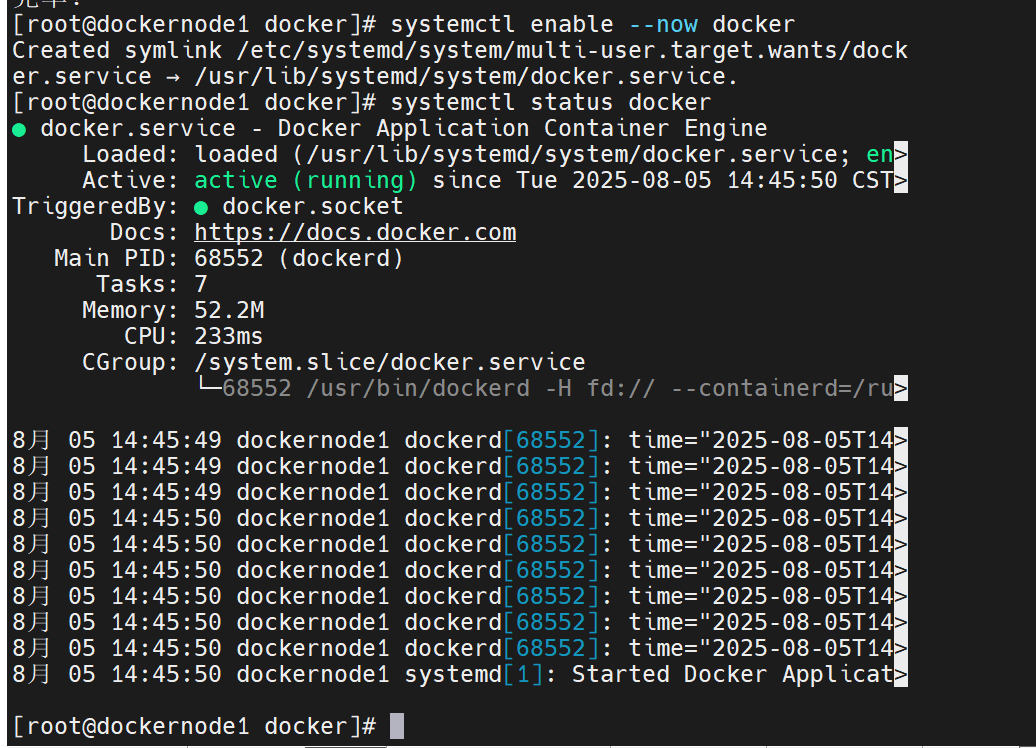
systemctl enable --now docker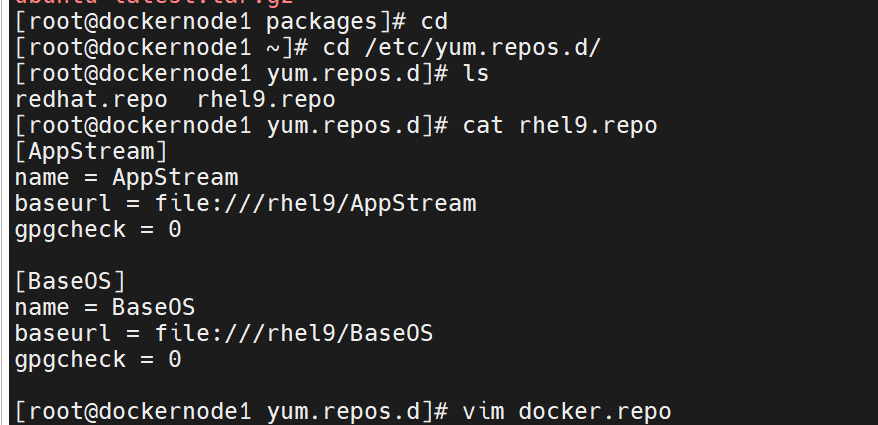


一定要删除podman,是linux


激活内核网络选项
bash
#在rhel7中 需要
]# vim /etc/sysctl.d/docker.conf
net.bridge.bridge-nf-call-iptables = 1
net.bridge.bridge-nf-call-ip6tables = 1
net.ipv4.ip_forward = 1(rhel9只要这个)

]# sysctl --system
]# systemctl  restart docker

2.2 镜像管理
1. 搜索镜像
bash
docker search nginx
2. 拉取镜像
bash
docker pull nginx:1.26-alpine
3. 查看本地镜像
bash
docker images
4. 导出/导入镜像
bash
# 导出镜像到文件
docker save nginx:latest -o nginx.tar

# 从文件导入镜像
docker load -i nginx.tar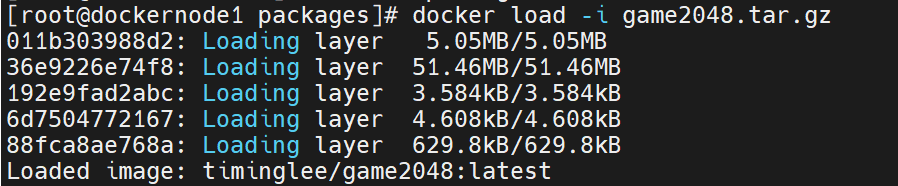


5. 删除镜像
bash
# 删除未使用的镜像
docker image prune

# 删除指定镜像
docker rmi nginx:latest
2.3 容器操作
1. 启动容器
bash
# 后台运行容器并映射端口
docker run -d --name mario -p 80:8080 timinglee/mario

# 交互式运行容器(退出会停止容器)
docker run -it --name centos7 centos:7

# 交互式运行容器(退出不停止容器)
# 按Ctrl+P然后Ctrl+Q退出而不停止容器
运行时会占用终端,可以写在后台运行

2. 进入/执行容器命令
bash
# 重新进入运行中的容器
docker attach centos7

# 在运行中的容器内执行命令
docker exec -it test ifconfig

# 以交互模式进入容器
docker exec -it centos7 /bin/bash
3. 查看容器信息
bash
# 查看正在运行的容器
docker ps

# 查看所有容器(包括停止的)
docker ps -a

# 查看容器详细信息
docker inspect busybox

4. 停止/启动容器
bash
# 停止容器
docker stop busybox

# 强制停止容器(发送SIGKILL信号)
docker kill busybox

# 启动已停止的容器
docker start busybox
5. 删除容器
bash
# 删除已停止的容器
docker rm centos7

# 强制删除运行中的容器
docker rm -f busybox

# 删除所有已停止的容器
docker container prune -f

2.3 实用命令:
bash
批量清理:

# 停止所有容器
docker stop $(docker ps -aq)

# 删除所有容器
docker rm $(docker ps -aq)

# 删除所有镜像
docker rmi $(docker images -q)
查看容器日志:

docker logs -f container_name
查看容器资源使用:

docker stats container_name
容器与主机文件拷贝:


# 从容器拷贝文件到主机
docker cp container_id:/path/to/file /host/path

# 从主机拷贝文件到容器
docker cp /host/path container_id:/path/to/file
三、Docker镜像构建与优化
3.1 Dockerfile核心指令
| 指令 | 说明 | 示例 |
|---|---|---|
| FROM | 基础镜像 | FROM centos:7 |
| COPY | 复制文件 | COPY app.py /app/ |
| RUN | 执行命令 | RUN yum install -y nginx |
| CMD | 容器启动命令(可被覆盖) | CMD "nginx", "-g", "daemon off;" |
| ENTRYPOINT | 容器启动命令(不可覆盖) | ENTRYPOINT "nginx" |
| EXPOSE | 声明暴露端口 | EXPOSE 80 |
| ENV | 设置环境变量 | ENV PATH /usr/local/bin:$PATH |
| VOLUME | 定义数据卷 | VOLUME "/data" |
1. 创建目录和文件
mkdir docker/
cd docker/
touch leefile
vim Dockerfile
2. Dockerfile 内容
# 使用的基础镜像
FROM busybox:latest

# 指定作者信息
MAINTAINER lee@timinglee.org

# 复制当前目录文件到容器指定位置,leefile必须在当前目录中
COPY leefile /

#ADD 功能和COPY类似,指定压缩文件或url
ADD leefile.gz /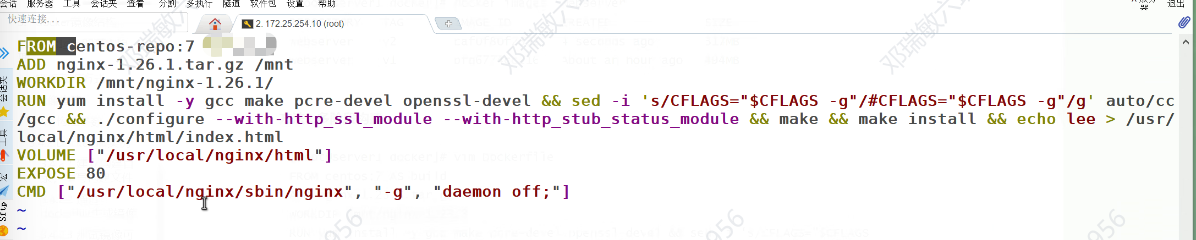
3. 构建镜像
docker build -t example:v1 .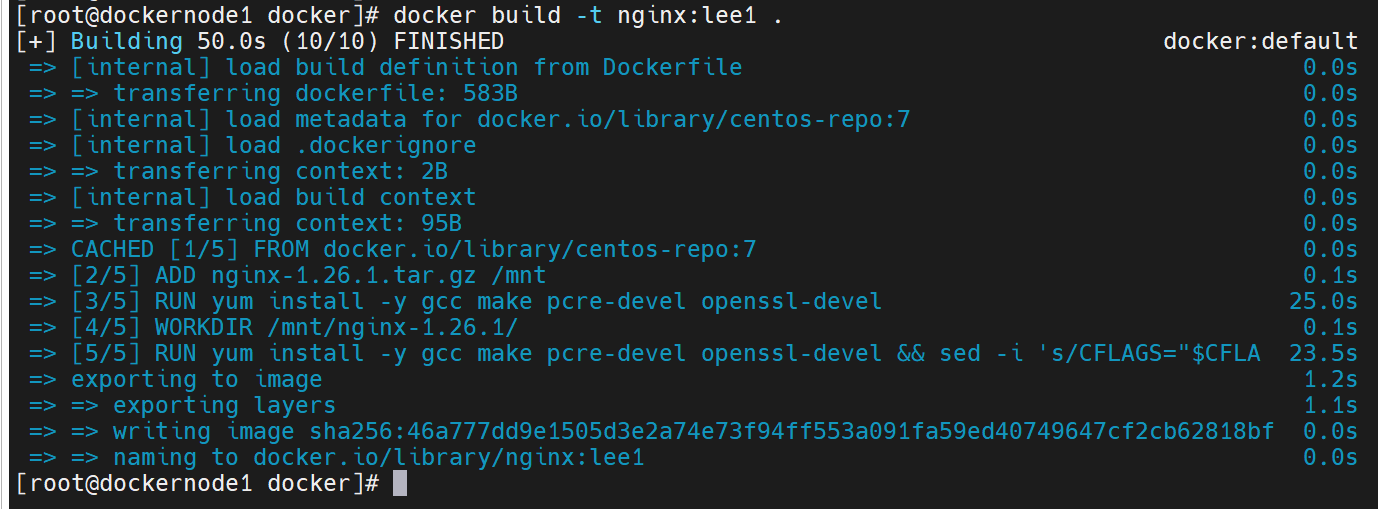
方法2.多阶段构建
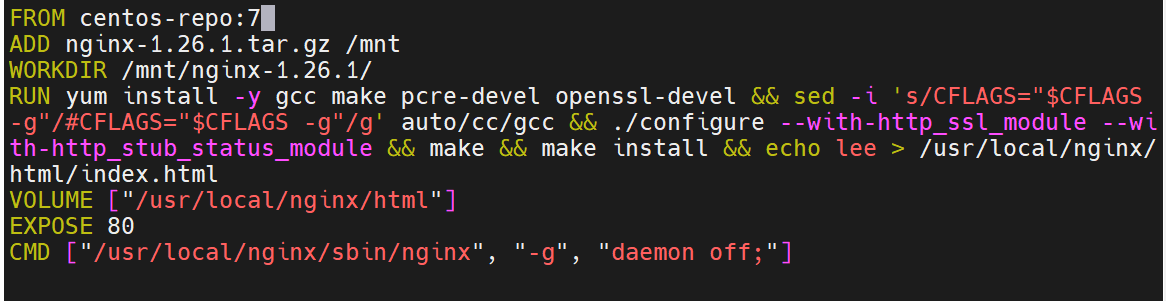
[root@server1 docker]# vim Dockerfile
FROM centos:7 as build
ADD nginx-1.23.3.tar.gz /mnt
WORKDIR /mnt/nginx-1.23.3
RUN yum install -y gcc make pcre-devel openssl-devel && sed -i 's/CFLAGS="$CFLAGS -g"/#CFLAGS="$CFLAGS -g"/g' auto/cc/gcc && ./configure --with-http_ssl_module --
with-http_stub_status_module && make && make install && cd .. && rm -fr nginx
1.23.3 && yum clean all
FROM centos:7
COPY --from=build /usr/local/nginx /usr/local/nginx
EXPOSE 80
VOLUME ["/usr/local/nginx/html"]
CMD ["/usr/local/nginx/sbin/nginx", "-g", "daemon off;"]
webserver
webserver
[root@server1 docker]# docker build -t webserver:v3 .
[root@server1 docker]# docker images webserver
REPOSITORY
TAG
v3
v2
webserver
v1
IMAGE ID
1ac964f2cefe
caf0f80f2332
bfd6774cc216
CREATED
29 seconds ago
3 minutes ago
SIZE
205MB
317MB
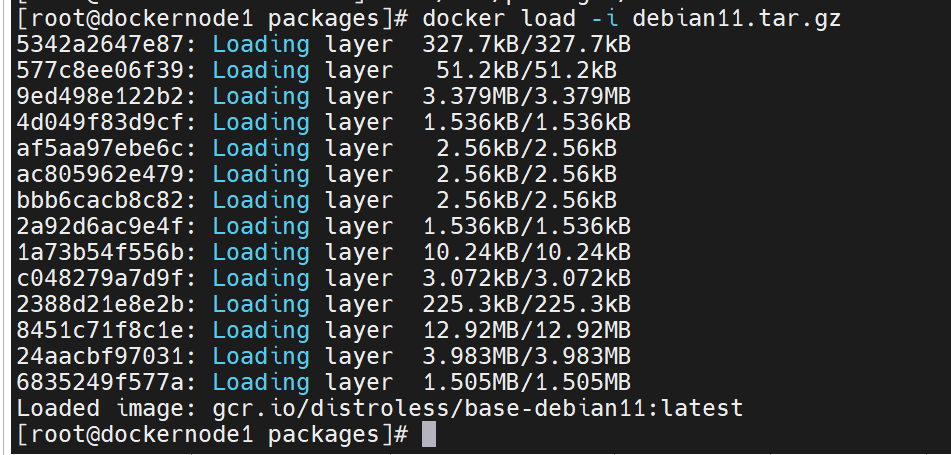
About an hour ago 494MB方法3.使用最精简镜像
下载镜像:
下载地址: https://github.com/GoogleContainerTools/distroless
docker pull gcr.io/distroless/base
利用最精简镜像构建
[root@server1 ~]# mkdir new
[root@server1 ~]# cd new/
[root@server1 new]# vim Dockerfile
FROM nginx:latest as base
# https://en.wikipedia.org/wiki/List_of_tz_database_time_zones
ARG TIME_ZONE
RUN mkdir -p /opt/var/cache/nginx && \
cp -a --parents /usr/lib/nginx /opt && \
cp -a --parents /usr/share/nginx /opt && \
cp -a --parents /var/log/nginx /opt && \
cp -aL --parents /var/run /opt && \
cp -a --parents /etc/nginx /opt && \
cp -a --parents /etc/passwd /opt && \
cp -a --parents /etc/group /opt && \
cp -a --parents /usr/sbin/nginx /opt && \
cp -a --parents /usr/sbin/nginx-debug /opt && \
cp -a --parents /lib/x86_64-linux-gnu/ld-* /opt && \
cp -a --parents /usr/lib/x86_64-linux-gnu/libpcre* /opt && \
cp -a --parents /lib/x86_64-linux-gnu/libz.so.* /opt && \
cp -a --parents /lib/x86_64-linux-gnu/libc* /opt && \
cp -a --parents /lib/x86_64-linux-gnu/libdl* /opt && \
cp -a --parents /lib/x86_64-linux-gnu/libpthread* /opt && \
cp -a --parents /lib/x86_64-linux-gnu/libcrypt* /opt && \
cp -a --parents /usr/lib/x86_64-linux-gnu/libssl.so.* /opt && \
cp -a --parents /usr/lib/x86_64-linux-gnu/libcrypto.so.* /opt && \
cp /usr/share/zoneinfo/${TIME_ZONE:-ROC} /opt/etc/localtime
FROM gcr.io/distroless/base-debian11
COPY --from=base /opt /
EXPOSE 80 443
webserver
ENTRYPOINT ["nginx", "-g", "daemon off;"]
[root@server1 new]# docker build -t webserver:v4 .
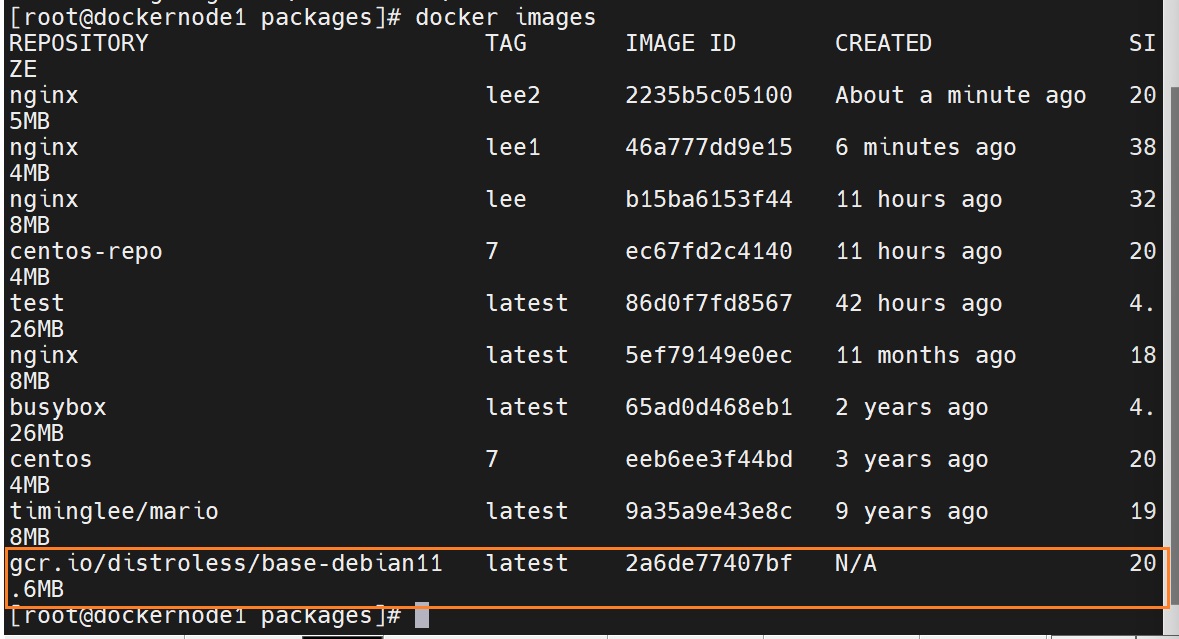
[root@server1 new]# docker images webserver
REPOSITORY
TAG
v4
webserver
webserver
webserver
v3
v2
v1
IMAGE ID
c0c4e1d49f3d
1ac964f2cefe
caf0f80f2332
bfd6774cc216
CREATED
4 seconds ago
12 minutes ago
15 minutes ago
SIZE
34MB
205MB
317MB
About an hour ago 494MB
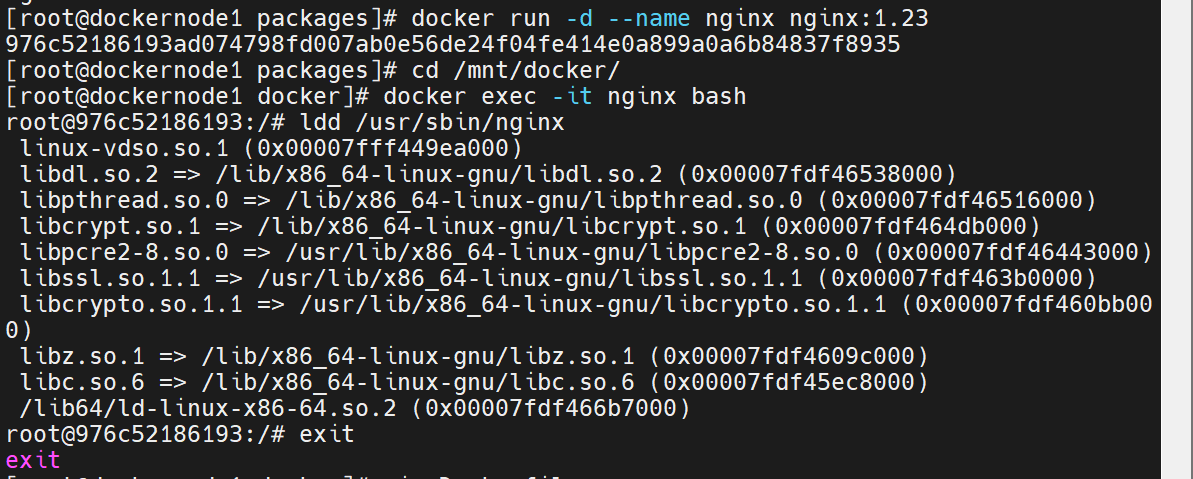
进入容器内部

在运行的时候要调用那些模块,都复制过去
把镜像的构建作为第一阶段

