nginx-自制证书实现
- [一、 确认nginx是支持https功能的](#一、 确认nginx是支持https功能的)
- 二、生成私钥
- [三、 根据ca.key生成nginx web服务器使用的证书签名请求文件nginx.csr](#三、 根据ca.key生成nginx web服务器使用的证书签名请求文件nginx.csr)
- 四、使用ca.key给nginx.csr进行签名,生成公钥证书nginx.crt
- 五、将证书与域名绑定
- 六、添加域名解析并访问
一、 确认nginx是支持https功能的
root@nginx-1 nginx8#
nginx -Vnginx version: nginx/1.29.1
built by gcc 11.5.0 20240719 (Red Hat 11.5.0-5) (GCC)
built with OpenSSL 3.2.2 4 Jun 2024
TLS SNI support enabled
configure arguments: --prefix=/usr/local/nginx8 --user=scfeng --group=scfeng
--with-http_ssl_module--with-http_v2_module--with-http_v3_module --with-http_stub_status_module --with-stream --with-stream_ssl_module --with-threads
--with-http_ssl_module 支持https功能
--with-http_v2_module 支持http2.0
自制ssl证书,实现nginx的https功能
yum install gcc pcre-devel openssl openssl-devel make -y
二、生成私钥
CA(Certificate Authority,证书颁发机构)的私钥(自己就是CA也是nginx的web服务器),用于签名证书
bash
[root@localhost ssh]# mkdir /ca
[root@localhost ssh]# cd /ca
[root@localhost ca]# openssl genrsa  -out  ca.key
[root@localhost ca]# ls
ca.key
三、 根据ca.key生成nginx web服务器使用的证书签名请求文件nginx.csr
nginx.csr 是证书签名请求文件,包含公钥和身份信息,用于申请数字证书 --》提交一个申请表格,用来搜集信息的
交互式输入
在生成CSR时,会提示输入以下信息:
- Country Name (2 letter code):国家代码(如CN)
- State or Province Name (full name):省/州名称
- Locality Name (eg, city):城市名称
- Organization Name (eg, company):组织名称
- Organizational Unit Name (eg, section):部门名称
- Common Name (e.g. server FQDN or YOUR name):域名或服务器名称
- Email Address:电子邮件地址
- A challenge password:可选,设置密码
- An optional company name:可选,公司名称
bash
[root@localhost ca]# openssl req -new -key ca.key -out nginx.csr
You are about to be asked to enter information that will be incorporated
into your certificate request.
What you are about to enter is what is called a Distinguished Name or a DN.
There are quite a few fields but you can leave some blank
For some fields there will be a default value,
If you enter '.', the field will be left blank.
-----
Country Name (2 letter code) [XX]:CN
State or Province Name (full name) []:HUNAN
Locality Name (eg, city) [Default City]:changsha
Organization Name (eg, company) [Default Company Ltd]:sanchuang
Organizational Unit Name (eg, section) []:dev
Common Name (eg, your name or your server's hostname) []:www.huang.com
Email Address []:example@qq.com

Please enter the following 'extra' attributes
to be sent with your certificate request
A challenge password []:
An optional company name []:
[root@localhost ca]# ls
ca.key  nginx.csr
四、使用ca.key给nginx.csr进行签名,生成公钥证书nginx.crt
nginx.crt:生成的数字证书文件,包含服务器的公钥、身份信息和CA的签名
root@localhost ca#
openssl x509 -req -in nginx.csr -signkey ca.key -out nginx.crtCertificate request self-signature ok
subject=C=CN, ST=HUNAN, L=changsha, O=sanchuang, OU=devops, CN=www.huang.com, emailAddress=example@qq.com
Getting Private key
root@localhost ca# ls
ca.key nginx.crt nginx.csr
openssl x509:用于处理X.509格式的数字证书-req:表示输入文件是一个证书签名请求(CSR)-in nginx.csr:指定输入的CSR文件路径(nginx.csr)-signkey ca.key:指定用于签名的CA私钥文件路径(ca.key)-out nginx.crt:指定输出的数字证书文件路径(nginx.crt)
五、将证书与域名绑定
全部证书放到/usr/local/nginx编译安装的目录下的conf目录里
root@web1 ca# ls
ca.key nginx.crt nginx.csr
root@web1 ca# cp * /usr/local/nginx1/conf/
ssl_certificate nginx.crt;:这一行指定了SSL证书文件的路径,证书文件名为"nginx.crt"
ssl_certificate_key ca.key;:这一行指定了私钥文件的路径。私钥是与SSL证书相关联的密钥,用于解密和验证服务器证书,私钥文件名为"ca.key"
bash
[root@web1 conf]# vim nginx.conf
server {
        listen       443 ssl;
        http2 on;
        server_name  www.huang.com;

        ssl_certificate      nginx.crt;
        ssl_certificate_key  ca.key;

        ssl_session_cache    shared:SSL:1m;
        ssl_session_timeout  5m;

        ssl_ciphers  HIGH:!aNULL:!MD5;
        ssl_prefer_server_ciphers  on;

        location / {
            root   html;
            index  index.html index.htm;
        }
    }

[root@web1 conf]# nginx  -t
nginx: the configuration file /usr/local/nginx1/conf/nginx.conf syntax is ok
nginx: configuration file /usr/local/nginx1/conf/nginx.conf test is successful
[root@web1 conf]# nginx  -s reload
查看端口(443)
bash
[root@web1 conf]# netstat -anplut|grep nginx
tcp        0      0 0.0.0.0:443             0.0.0.0:*               LISTEN      691/nginx: master p
tcp        0      0 0.0.0.0:80              0.0.0.0:*               LISTEN      691/nginx: master p
六、添加域名解析并访问
在Windows里添加域名解析
C:\Windows\System32\drivers\etc\hosts192.168.168.136 www.huang.com
证书是绑定到域名上的,要访问web服务器的时候,使用域名去访问 https://www.huang.com
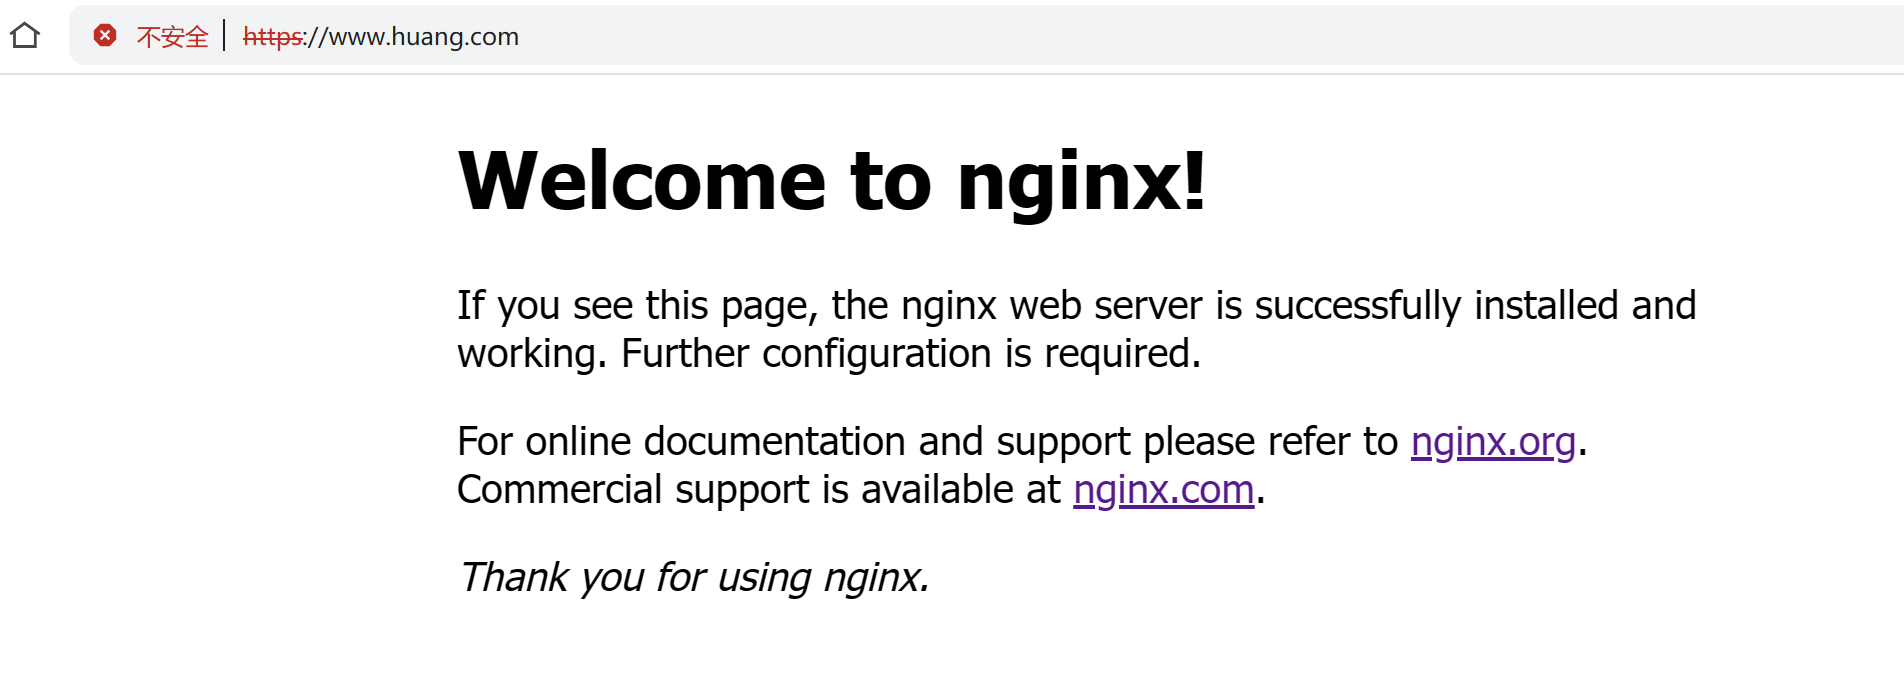
效果为浏览器地址栏左侧的 "不安全"https
Linux系统里添加域名
root@web1 conf# vim
/etc/hosts192.168.168.136 www.huang.com
使用curl字符界面浏览器去访问,携带公钥文件
root@web1 conf#
curl --cacert /ca/nginx.crt https://www.huang.com
http跳转到https的配置 -> 添加重定向功能
bash
server {
        listen       80;
        server_name  www.huang.com;

        #charset koi8-r;

        #access_log  logs/host.access.log  main;

        location / {
            root   html;
            index  index.html index.htm;
            return 301  https://www.huang.com$request_uri ;  #重定向功能
[root@nginx-1 conf]# nginx -t
nginx: the configuration file /usr/local/nginx8/conf/nginx.conf syntax is ok
nginx: configuration file /usr/local/nginx8/conf/nginx.conf test is successful
[root@nginx-1 conf]# nginx -s reload