AI工作流自动生成公众号图文并发布到wemark
wemark平台(wemark.xinghegongyu.com)是专门免费为写作者打造的工作利器,它有多种markdown排版主题,而且支持图文编辑,只需要截图粘贴即可,同时也支持对话大模型润色文章,还有更多功能期待大家去发现,发过一篇介绍点击这里(https://mp.weixin....%25E6%2598%25AF%25E4%25B8%2593%25E9%2597%25A8%25E5%2585%258D%25E8%25B4%25B9%25E4%25B8%25BA%25E5%2586%2599%25E4%25BD%259C%25E8%2580%2585%25E6%2589%2593%25E9%2580%25A0%25E7%259A%2584%25E5%25B7%25A5%25E4%25BD%259C%25E5%2588%25A9%25E5%2599%25A8%25EF%25BC%258C%25E5%25AE%2583%25E6%259C%2589%25E5%25A4%259A%25E7%25A7%258Dmarkdown%25E6%258E%2592%25E7%2589%2588%25E4%25B8%25BB%25E9%25A2%2598%25EF%25BC%258C%25E8%2580%258C%25E4%25B8%2594%25E6%2594%25AF%25E6%258C%2581%25E5%259B%25BE%25E6%2596%2587%25E7%25BC%2596%25E8%25BE%2591%25EF%25BC%258C%25E5%258F%25AA%25E9%259C%2580%25E8%25A6%2581%25E6%2588%25AA%25E5%259B%25BE%25E7%25B2%2598%25E8%25B4%25B4%25E5%258D%25B3%25E5%258F%25AF%25EF%25BC%258C%25E5%2590%258C%25E6%2597%25B6%25E4%25B9%259F%25E6%2594%25AF%25E6%258C%2581%25E5%25AF%25B9%25E8%25AF%259D%25E5%25A4%25A7%25E6%25A8%25A1%25E5%259E%258B%25E6%25B6%25A6%25E8%2589%25B2%25E6%2596%2587%25E7%25AB%25A0%25EF%25BC%258C%25E8%25BF%2598%25E6%259C%2589%25E6%259B%25B4%25E5%25A4%259A%25E5%258A%259F%25E8%2583%25BD%25E6%259C%259F%25E5%25BE%2585%25E5%25A4%25A7%25E5%25AE%25B6%25E5%258E%25BB%25E5%258F%2591%25E7%258E%25B0%25EF%25BC%258C%25E5%258F%2591%25E8%25BF%2587%25E4%25B8%2580%25E7%25AF%2587%25E4%25BB%258B%25E7%25BB%258D%25E7%2582%25B9%25E5%2587%25BB%255B%25E8%25BF%2599%25E9%2587%258C%255D(https%3A%2F%2Fmp.weixin.qq.com%2Fs%3F__biz%3DMzUzMTUxMzYyNQ%3D%3D%26mid%3D2247487477%26idx%3D1%26sn%3D9dc27b9517f57280c95c77fd7677201f%26scene%3D21%23wechat_redirect)%25E3%2580%2582 "http://wemark.xinghegongyu.com)%E6%98%AF%E4%B8%93%E9%97%A8%E5%85%8D%E8%B4%B9%E4%B8%BA%E5%86%99%E4%BD%9C%E8%80%85%E6%89%93%E9%80%A0%E7%9A%84%E5%B7%A5%E4%BD%9C%E5%88%A9%E5%99%A8%EF%BC%8C%E5%AE%83%E6%9C%89%E5%A4%9A%E7%A7%8Dmarkdown%E6%8E%92%E7%89%88%E4%B8%BB%E9%A2%98%EF%BC%8C%E8%80%8C%E4%B8%94%E6%94%AF%E6%8C%81%E5%9B%BE%E6%96%87%E7%BC%96%E8%BE%91%EF%BC%8C%E5%8F%AA%E9%9C%80%E8%A6%81%E6%88%AA%E5%9B%BE%E7%B2%98%E8%B4%B4%E5%8D%B3%E5%8F%AF%EF%BC%8C%E5%90%8C%E6%97%B6%E4%B9%9F%E6%94%AF%E6%8C%81%E5%AF%B9%E8%AF%9D%E5%A4%A7%E6%A8%A1%E5%9E%8B%E6%B6%A6%E8%89%B2%E6%96%87%E7%AB%A0%EF%BC%8C%E8%BF%98%E6%9C%89%E6%9B%B4%E5%A4%9A%E5%8A%9F%E8%83%BD%E6%9C%9F%E5%BE%85%E5%A4%A7%E5%AE%B6%E5%8E%BB%E5%8F%91%E7%8E%B0%EF%BC%8C%E5%8F%91%E8%BF%87%E4%B8%80%E7%AF%87%E4%BB%8B%E7%BB%8D%E7%82%B9%E5%87%BB%5B%E8%BF%99%E9%87%8C%5D(https://mp.weixin.qq.com/s?__biz=MzUzMTUxMzYyNQ==&mid=2247487477&idx=1&sn=9dc27b9517f57280c95c77fd7677201f&scene=21#wechat_redirect)%E3%80%82")
有了wemark平台,我们就可以搭建一个本地AI工作流,每天帮我们写一篇微信公众号文章发布到wemark平台,wemark平台支持实时预览并且修改,还可以支持一键复制内容到公众号,对于日日更的小伙伴非常方便,你只需要说出你要创作的主题,只需要一句话就可以创建你要的精美图文。
好了,接下来带大家开启这段愉快的旅程吧!
搭建AI工作流
项目目录:
bash
wechat_article_workflow/
├── main.py              # 主程序入口
├── workflow.py          # LangGraph工作流定义
├── models.py            # 多模态模型接口
├── blog_publisher.py    # 博客发布器
├── config.py            # 配置管理
├── requirements.txt     # 依赖包
├── .env.example         # 环境变量示例
└── README.md           # 说明文档
使用示例:
ini
from workflow import WechatArticleWorkflow

# 创建工作流实例
workflow = WechatArticleWorkflow()

# 运行工作流
result = workflow.run("人工智能在教育领域的应用")

# 获取生成的Markdown内容
markdown_content = result["final_markdown"]
print(markdown_content)
工作流核心代码:
python
"""
LangGraph工作流实现
"""
import json
import uuid
import time
from typing import Dict, Any, List
from langgraph.graph import StateGraph, END
from langgraph.graph.message import add_messages
from typing_extensions import Annotated, TypedDict
from models import TextGenerator, ImageGenerator, ArticleSection
from blog_publisher import BlogPublisher
class WorkflowState(TypedDict):
"""工作流状态"""
topic: str
outline: Dict[str, Any]
sections: List[ArticleSection]
final_markdown: str
images_generated: bool
published: bool
error: str
class WechatArticleWorkflow:
"""微信公众号文章生成工作流"""
def __init__(self):
self.text_generator = TextGenerator()
self.image_generator = ImageGenerator()
self.blog_publisher = BlogPublisher()
self.graph = self._build_graph()
def _build_graph(self) -> StateGraph:
"""构建LangGraph工作流"""
workflow = StateGraph(WorkflowState)
# 添加节点
workflow.add_node("generate_outline", self._generate_outline)
workflow.add_node("generate_content", self._generate_content)
workflow.add_node("generate_images", self._generate_images)
workflow.add_node("compile_markdown", self._compile_markdown)
workflow.add_node("publish_article", self._publish_article)
# 设置边
workflow.set_entry_point("generate_outline")
workflow.add_edge("generate_outline", "generate_content")
workflow.add_edge("generate_content", "generate_images")
workflow.add_edge("generate_images", "compile_markdown")
workflow.add_edge("compile_markdown", "publish_article")
workflow.add_edge("publish_article", END)
return workflow.compile()
def _generate_outline(self, state: WorkflowState) -> WorkflowState:
"""生成文章大纲"""
print(f"🎯 开始为主题 '{state['topic']}' 生成大纲...")
try:
outline_text = self.text_generator.generate_article_outline(state["topic"])
# 尝试解析JSON,如果失败则使用文本
try:
outline = json.loads(outline_text)
except:
# 如果不是JSON格式,创建基础结构
outline = {
"title": f"关于{state['topic']}的深度思考",
"sections": [
{
"title": "引言",
"content_points": ["背景介绍", "问题提出"],
"image_description": f"{state['topic']}相关的概念图"
},
{
"title": "核心内容",
"content_points": ["主要观点", "详细分析"],
"image_description": f"{state['topic']}的实践应用场景"
},
{
"title": "总结展望",
"content_points": ["要点总结", "未来展望"],
"image_description": f"{state['topic']}的未来发展趋势"
}
],
"conclusion": "总结全文要点,引导读者思考"
}
state["outline"] = outline
print(f"✅ 大纲生成完成: {outline['title']}")
except Exception as e:
state["error"] = f"大纲生成失败: {str(e)}"
print(f"❌ {state['error']}")
return state
def _generate_content(self, state: WorkflowState) -> WorkflowState:
"""生成文章内容"""
print("📝 开始生成文章内容...")
sections = []
outline = state.get("outline", {})
try:
for section_data in outline.get("sections", []):
print(f" 生成段落: {section_data['title']}")
time.sleep(12);
content = self.text_generator.generate_section_content(
section_data["title"],
section_data.get("content_points", []),
state["topic"]
)
section = ArticleSection(
title=section_data["title"],
content=content,
image_prompt=section_data.get("image_description", "")
)
sections.append(section)
state["sections"] = sections
print(f"✅ 内容生成完成,共{len(sections)}个段落")
except Exception as e:
state["error"] = f"内容生成失败: {str(e)}"
print(f"❌ {state['error']}")
return state
def _generate_images(self, state: WorkflowState) -> WorkflowState:
"""生成配图"""
print("🎨 开始生成配图...")
try:
sections = state.get("sections", [])
for i, section in enumerate(sections):
if section.image_prompt:
print(f" 生成图片 {i+1}: {section.image_prompt}")
image_url = self.image_generator.generate_image(section.image_prompt)
if image_url:
section.image_url = image_url
print(f" ✅ 图片生成成功")
else:
print(f" ⚠️ 图片生成失败,将跳过")
state["images_generated"] = True
print("✅ 配图生成完成")
except Exception as e:
state["error"] = f"配图生成失败: {str(e)}"
print(f"❌ {state['error']}")
state["images_generated"] = False
return state
def _compile_markdown(self, state: WorkflowState) -> WorkflowState:
"""编译Markdown格式"""
print("📄 开始编译Markdown...")
try:
outline = state.get("outline", {})
sections = state.get("sections", [])
# 构建Markdown内容
markdown_parts = []
# 标题
title = outline.get("title", f"关于{state['topic']}的思考")
markdown_parts.append(f"# {title}\n")
# 各个段落
for section in sections:
markdown_parts.append(f"## {section.title}\n")
# 添加图片(如果有)
if section.image_url:
markdown_parts.append(f"\n")
# 添加内容
markdown_parts.append(f"{section.content}\n")
# 结论
if outline.get("conclusion"):
markdown_parts.append(f"## 总结\n\n{outline['conclusion']}\n")
# 互动引导
markdown_parts.append("\n---\n\n💬 你对这个话题有什么看法?欢迎在评论区分享你的想法!\n")
final_markdown = "\n".join(markdown_parts)
# 确保最终内容不包含markdown代码块标记
final_markdown = self._clean_final_markdown(final_markdown)
state["final_markdown"] = final_markdown
print("✅ Markdown编译完成")
except Exception as e:
state["error"] = f"Markdown编译失败: {str(e)}"
print(f"❌ {state['error']}")
return state
def _publish_article(self, state: WorkflowState) -> WorkflowState:
"""发布文章到博客"""
print("🚀 开始发布文章...")
try:
outline = state.get("outline", {})
title = outline.get("title", f"关于{state['topic']}的思考")
content = state.get("final_markdown", "")
if content:
success = self.blog_publisher.publish(title, content)
state["published"] = success
if success:
print("✅ 文章发布成功!")
else:
print("❌ 文章发布失败")
else:
state["error"] = "没有内容可发布"
print(f"❌ {state['error']}")
except Exception as e:
state["error"] = f"发布失败: {str(e)}"
print(f"❌ {state['error']}")
state["published"] = False
return state
def _clean_final_markdown(self, text: str) -> str:
"""智能清理最终markdown内容 - 只移除包装性的代码块标记,保留内容中的代码示例"""
import re
# 检查是否整个文本被```markdown包装
if text.strip().startswith('```markdown') and text.strip().endswith('```'):
# 移除外层的```markdown包装
text = re.sub(r'^```markdown\s*\n?', '', text.strip())
text = re.sub(r'\n?```\s*$', '', text)
# 检查是否整个文本被```包装(无语言标识)
elif text.strip().startswith('```') and text.strip().endswith('```'):
lines = text.strip().split('\n')
if len(lines) >= 2:
# 检查第一行是否只是```(包装性的)
first_line = lines[0].strip()
if first_line == '```' or (first_line.startswith('```') and len(first_line) <= 10):
# 移除首尾的```包装
text = '\n'.join(lines[1:-1])
# 清理多余的空行,但保持适当的段落间距
text = re.sub(r'\n\s*\n\s*\n+', '\n\n', text)
return text.strip()
def run(self, topic: str) -> Dict[str, Any]:
"""运行工作流"""
print(f"🚀 启动微信公众号文章生成工作流")
print(f"📋 主题: {topic}")
print("=" * 50)
initial_state = WorkflowState(
topic=topic,
outline={},
sections=[],
final_markdown="",
images_generated=False,
published=False,
error=""
)
try:
final_state = self.graph.invoke(initial_state)
print("\n" + "=" * 50)
print("🎉 工作流执行完成!")
if final_state.get("error"):
print(f"⚠️ 执行过程中出现错误: {final_state['error']}")
if final_state.get("published"):
print("✅ 文章已成功发布到博客")
# 输出最终的Markdown内容
if final_state.get("final_markdown"):
print("\n📄 生成的Markdown内容:")
print("-" * 30)
print(final_state["final_markdown"])
return final_state
except Exception as e:
error_msg = f"工作流执行失败: {str(e)}"
print(f"❌ {error_msg}")
return {"error": error_msg}启动程序:
python
"""
主程序入口 - 微信公众号文章生成工作流
"""
import os
import sys
from workflow import WechatArticleWorkflow

def main():
    """主函数"""
    print("🤖 微信公众号文章AI生成工具")
    print("=" * 50)

    # 检查必要的环境变量(只需要文本生成API密钥)
    kimi_key = os.getenv("KIMI_API_KEY")

    if not kimi_key:
        print("⚠️ 缺少必要的环境变量:")
        print("  - KIMI_API_KEY: Kimi API密钥(用于文本生成)")
        print("\n请在.env文件中设置这个变量,或者通过export命令设置")
        print("示例:")
        print("export KIMI_API_KEY='your-kimi-key'")
        print("\n💡 图片生成使用免费服务,无需额外API密钥!")
        print("🔗 获取Kimi API密钥: https://platform.moonshot.cn/")
        return

    # 显示当前配置的图片生成服务
    image_model = os.getenv("IMAGE_MODEL", "pollinations")
    print(f"📸 当前图片生成服务: {image_model} (免费)")

    # 检查可选的图片生成API密钥
    optional_keys = {
        "HUGGINGFACE_API_KEY": "Hugging Face (免费1000次/月)",
        "STABILITY_API_KEY": "Stability AI (新用户免费额度)"
    }

    available_services = ["pollinations", "picsum", "unsplash"]  # 无需API密钥的服务
    for key, desc in optional_keys.items():
        if os.getenv(key):
            available_services.append(desc)

    print(f"🎨 可用的图片生成服务: {', '.join(available_services)}")

    # 获取用户输入的主题
    if len(sys.argv) > 1:
        topic = " ".join(sys.argv[1:])
    else:
        topic = input("请输入文章主题: ").strip()

    if not topic:
        print("❌ 请提供文章主题")
        return

    # 创建并运行工作流
    workflow = WechatArticleWorkflow()

    try:
        result = workflow.run(topic)

        if result.get("error"):
            print(f"\n❌ 执行失败: {result['error']}")
            sys.exit(1)
        else:
            print(f"\n🎉 任务完成!")

            # 保存Markdown到本地文件
            if result.get("final_markdown"):
                filename = f"article_{topic.replace(' ', '_')}.md"
                with open(filename, 'w', encoding='utf-8') as f:
                    f.write(result["final_markdown"])
                print(f"📁 文章已保存到: {filename}")

    except KeyboardInterrupt:
        print("\n\n⏹️ 用户中断执行")
    except Exception as e:
        print(f"\n❌ 程序执行出错: {e}")
        sys.exit(1)

if __name__ == "__main__":
    main()
启动项目
我们在启东项目的时候只需要说主题即可,比如我们这里输入:写一篇关于Python处理excel文件的使用方式,然后回车,看下日志:
perl
(venv) ➜ wechat_article_workflow python main.py "写一篇关于Python处理excel文件的使用方式"
🤖 微信公众号文章AI生成工具
==================================================
📸 当前图片生成服务: pollinations (免费)
🎨 可用的图片生成服务: pollinations, picsum, unsplash
🚀 启动微信公众号文章生成工作流
📋 主题: 写一篇关于Python处理excel文件的使用方式
==================================================
🎯 开始为主题 '写一篇关于Python处理excel文件的使用方式' 生成大纲...
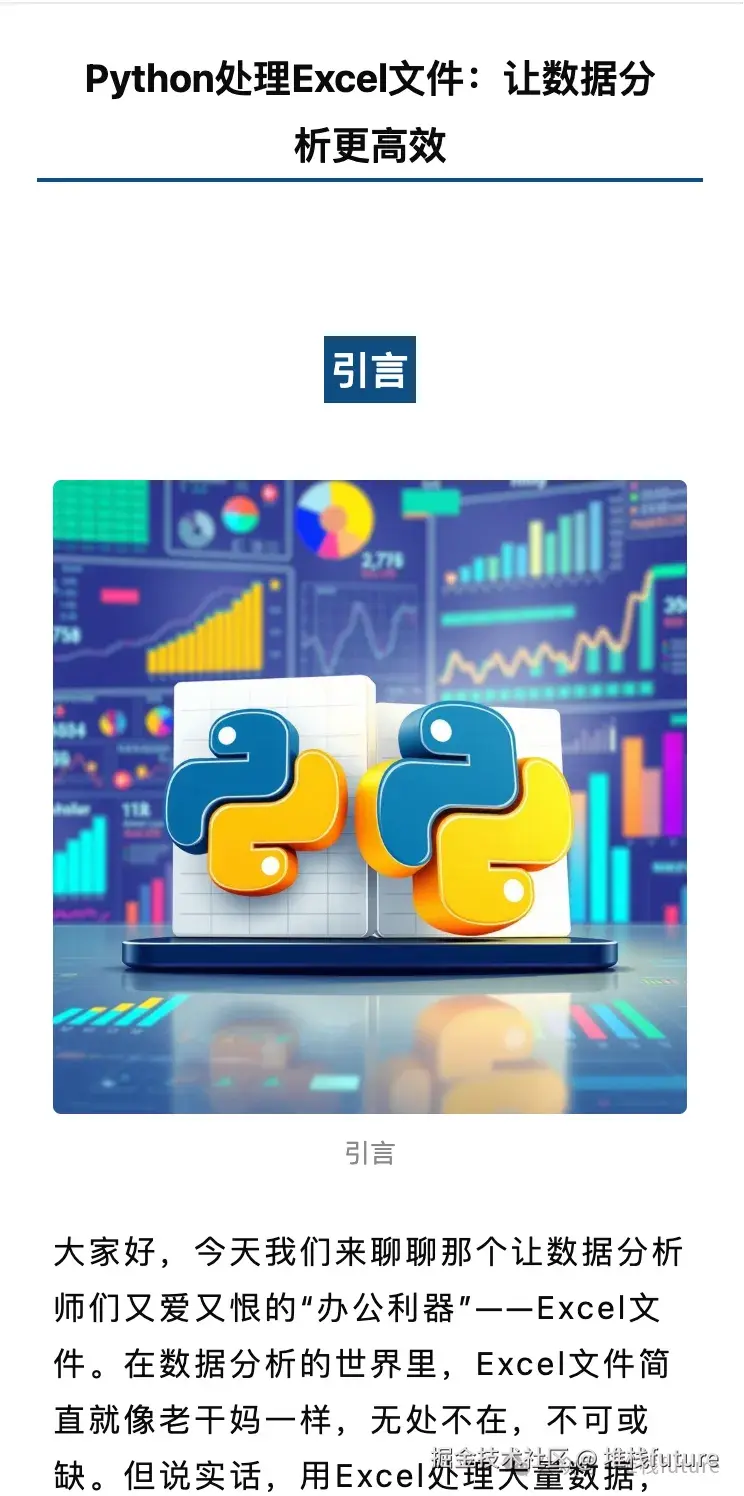
✅ 大纲生成完成: Python处理Excel文件:让数据分析更高效
📝 开始生成文章内容...
生成段落: 引言
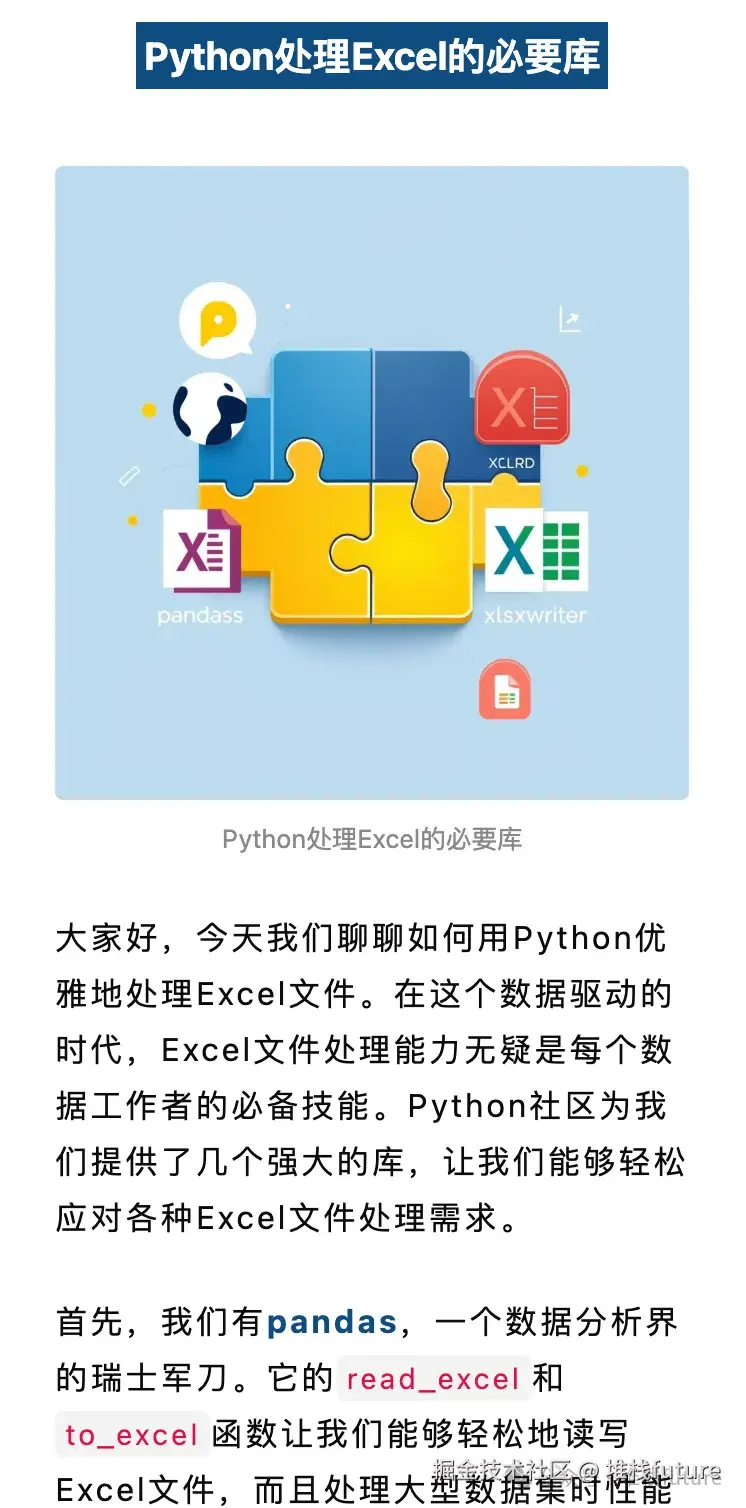
生成段落: Python处理Excel的必要库
生成段落: 读取Excel文件
生成段落: 修改和写入Excel文件
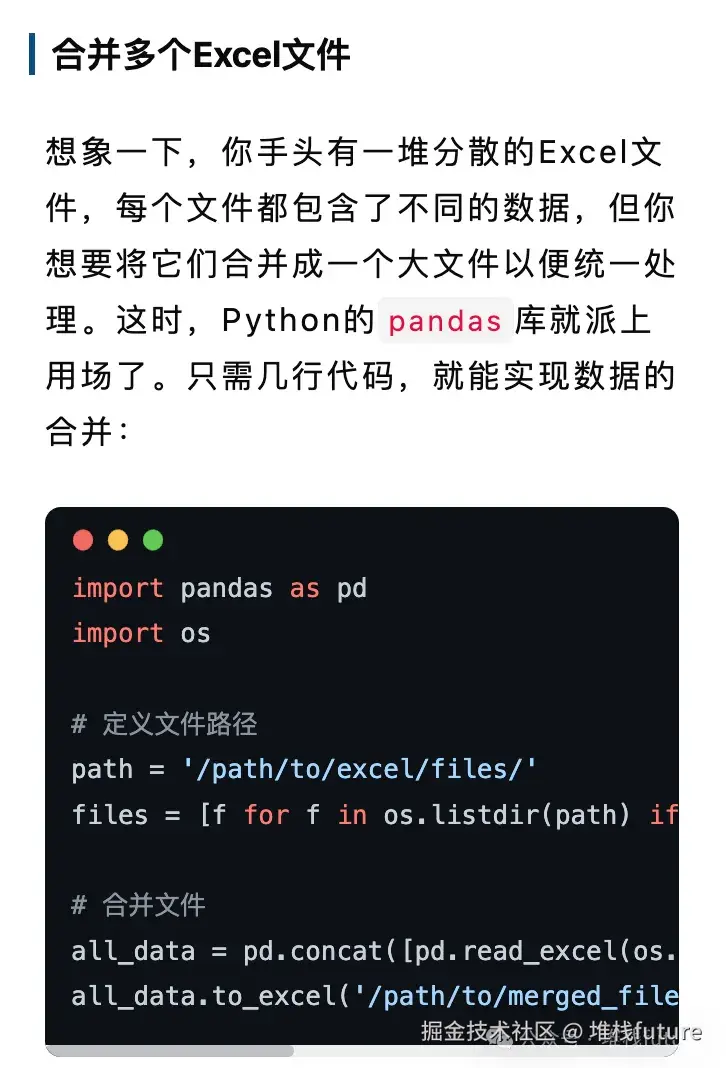
生成段落: 高级操作:合并与拆分Excel文件
✅ 内容生成完成,共5个段落
🎨 开始生成配图...
生成图片 1: 一张展示Excel文件和Python图标的图片,背景为数据分析图表
🎨 Pollinations生成中: illustration artwork 一张展示Excel文件和Python图标的图片,背景为数据分析图表,social media illustration style,high quality,professional digital art high quality
🔗 图片URL: https://image.pollinations.ai/prompt/illustration%20artwork%20%E4%B8%80%E5%BC%A0%E5%B1%95%E7%A4%BAExcel%E6%96%87%E4%BB%B6%E5%92%8CPython%E5%9B%BE%E6%A0%87%E7%9A%84%E5%9B%BE%E7%89%87%2C%E8%83%8C%E6%99%AF%E4%B8%BA%E6%95%B0%E6%8D%AE%E5%88%86%E6%9E%90%E5%9B%BE%E8%A1%A8%2Csocial%20media%20illustration%20style%2Chigh%20quality%2Cprofessional%20digital%20art%20high%20quality?width=1024&height=1024&nologo=true&enhance=true
✅ 图片生成成功 (尝试 1/3)
✅ 图片生成成功
生成图片 2: 一张展示pandas、openpyxl、xlrd和xlsxwriter库的图标和名称的拼图
🎨 Pollinations生成中: illustration artwork 一张展示pandas、openpyxl、xlrd和xlsxwriter库的图标和名称的拼图,social media illustration style,high quality,professional digital art high quality
🔗 图片URL: https://image.pollinations.ai/prompt/illustration%20artwork%20%E4%B8%80%E5%BC%A0%E5%B1%95%E7%A4%BApandas%E3%80%81openpyxl%E3%80%81xlrd%E5%92%8Cxlsxwriter%E5%BA%93%E7%9A%84%E5%9B%BE%E6%A0%87%E5%92%8C%E5%90%8D%E7%A7%B0%E7%9A%84%E6%8B%BC%E5%9B%BE%2Csocial%20media%20illustration%20style%2Chigh%20quality%2Cprofessional%20digital%20art%20high%20quality?width=1024&height=1024&nologo=true&enhance=true
✅ 图片生成成功 (尝试 1/3)
✅ 图片生成成功
生成图片 3: 一张代码截图,展示使用pandas读取Excel文件的示例代码
🎨 Pollinations生成中: illustration artwork 一张代码截图,展示使用pandas读取Excel文件的示例代码,social media illustration style,high quality,professional digital art high quality
🔗 图片URL: https://image.pollinations.ai/prompt/illustration%20artwork%20%E4%B8%80%E5%BC%A0%E4%BB%A3%E7%A0%81%E6%88%AA%E5%9B%BE%2C%E5%B1%95%E7%A4%BA%E4%BD%BF%E7%94%A8pandas%E8%AF%BB%E5%8F%96Excel%E6%96%87%E4%BB%B6%E7%9A%84%E7%A4%BA%E4%BE%8B%E4%BB%A3%E7%A0%81%2Csocial%20media%20illustration%20style%2Chigh%20quality%2Cprofessional%20digital%20art%20high%20quality?width=1024&height=1024&nologo=true&enhance=true
⚠️ HTTP状态码: 502
🔄 等待3秒后重试...
⚠️ HTTP状态码: 502
🔄 等待3秒后重试...
✅ 图片生成成功 (尝试 3/3)
✅ 图片生成成功
生成图片 4: 一张图表,展示修改前后Excel文件的数据对比
🎨 Pollinations生成中: illustration artwork 一张图表,展示修改前后Excel文件的数据对比,social media illustration style,high quality,professional digital art high quality
🔗 图片URL: https://image.pollinations.ai/prompt/illustration%20artwork%20%E4%B8%80%E5%BC%A0%E5%9B%BE%E8%A1%A8%2C%E5%B1%95%E7%A4%BA%E4%BF%AE%E6%94%B9%E5%89%8D%E5%90%8EExcel%E6%96%87%E4%BB%B6%E7%9A%84%E6%95%B0%E6%8D%AE%E5%AF%B9%E6%AF%94%2Csocial%20media%20illustration%20style%2Chigh%20quality%2Cprofessional%20digital%20art%20high%20quality?width=1024&height=1024&nologo=true&enhance=true
⏱️ 请求超时 (尝试 1/3)
🔄 等待3秒后重试...
✅ 图片生成成功 (尝试 2/3)
✅ 图片生成成功
生成图片 5: 一张流程图,展示合并和拆分Excel文件的步骤
🎨 Pollinations生成中: illustration artwork 一张流程图,展示合并和拆分Excel文件的步骤,social media illustration style,high quality,professional digital art high quality
🔗 图片URL: https://image.pollinations.ai/prompt/illustration%20artwork%20%E4%B8%80%E5%BC%A0%E6%B5%81%E7%A8%8B%E5%9B%BE%2C%E5%B1%95%E7%A4%BA%E5%90%88%E5%B9%B6%E5%92%8C%E6%8B%86%E5%88%86Excel%E6%96%87%E4%BB%B6%E7%9A%84%E6%AD%A5%E9%AA%A4%2Csocial%20media%20illustration%20style%2Chigh%20quality%2Cprofessional%20digital%20art%20high%20quality?width=1024&height=1024&nologo=true&enhance=true
✅ 图片生成成功 (尝试 1/3)
✅ 图片生成成功
✅ 配图生成完成
📄 开始编译Markdown...
✅ Markdown编译完成
🚀 开始发布文章...
📤 正在发布文章: Python处理Excel文件:让数据分析更高效
🆔 文章ID: 207ef96c-6e6b-4339-8680-9215b6b78131
✅ 文章发布成功!从开始理解主题->生成大纲->生成段落内容->图片->生成markdown->发布文章,整个过程都是自动完成的,我们可以看下最终发布到wemark平台中长啥样。
效果展示
以下都是来自wemark平台中此工作流自动生成上传的文章截图:

小结
惊艳到大家了吗,反正是让我如沐春风,耳目一新啊。从此解放双手,让你的热情和精力真正发挥在创造方面,其他的交给AI工作流吧!
最后想要学习的欢迎关注公众号并且加微信,需要资料的或者想要一起成长的欢迎打扰我。
历史大模型系列文章:
- DeepSeek大模型之本地部署体验
- 提示工程(prompt engineering)大揭秘
- OpenAI:GPT提示词(prompt)六大策略之解读
- GPT prompt(提示词)实战,用李佳琪式的流行梗回复,有点意思
- 提示词(prompt)那些事
- 彻底理解推理模型和通用模型
- 基于LangChain进行大模型应用开发-第一节
- 基于LangChain进行大模型应用开发-第二节(检索器)
- 基于LangChain进行大模型应用开发-第三节(对话检索器(聊天机器人))
- 基于LangChain进行大模型应用开发-第四节(agent代理)
- 基于LangChain进行大模型应用开发-第五节(LangServe服务开发)
- LangStudio构建nl2sql应用流,只要输入文字就可以转为sql执行并输出结果
- 解密manus的神秘面纱-搜索JackMa演示多智能体(Agent)的强大无比
- camel-ai推出的OWL用于处理现实世界的自动化任务
- 大模型怎么知道铁是导电的?
- LangStudio构建文件应用流,只要输入地址就可以转为你自己的知识库
- AI大模型学习框架
- 基于百炼构建天气预报应用,非常简单
- 基于MCP构建天气预报智能体
- 《零代码+AI赋能!基于阿里云百炼MCP快速打造智能爬虫应用》
- AI时代的高效信息管家:基于MCP-Agent与通义千问的网页总结智能体实战
- manus终于开放啦
- 在Mac上10分钟玩转LoRA微调模型
- 揭秘Google A2A协议:赋能智能体协作的未来
- 学习【北京大学】DeepSeek内部研讨系列: AI Agent与Agentic AI的原理和应用并做分享
- 提示工程(Prompt Engineering)还没学明白,上下文工程(Context Engineering)又来了
- 深度剖析Manus:如何打造低幻觉、高效率、安全可靠的Agentic AI系统
- 大模型时代的三巨头---Grok、ChatGPT与Gemini深度解析
- 深度解析AI Agent:从概念、原理到构建模式,一文彻底搞懂!
- 打造一个微claude code来实现石头剪刀布游戏
- 豆包新模型+PromptPilot体验测评
- Google Agent白皮书:深度解析生成式AI Agent
- LangGraph实践-构建AI工作流:创建一本大模型应用开发书籍