前言:
官方文档上说,Emitter是一种作用在进程内的事件处理机制,为应用程序提供订阅事件、发布事件、取消事件订阅的能力。
我们学习这个工具之前,还是老样子,照着官方文档和示例学习与实践,文档链接如下:
文档中心![]() https://developer.huawei.com/consumer/cn/doc/harmonyos-guides/itc-with-emitter如果您看完了,但还有点迷糊,不妨看看我是怎么封装这个工具的。
https://developer.huawei.com/consumer/cn/doc/harmonyos-guides/itc-with-emitter如果您看完了,但还有点迷糊,不妨看看我是怎么封装这个工具的。
下面是我运行的实际效果图和封装后的代码:
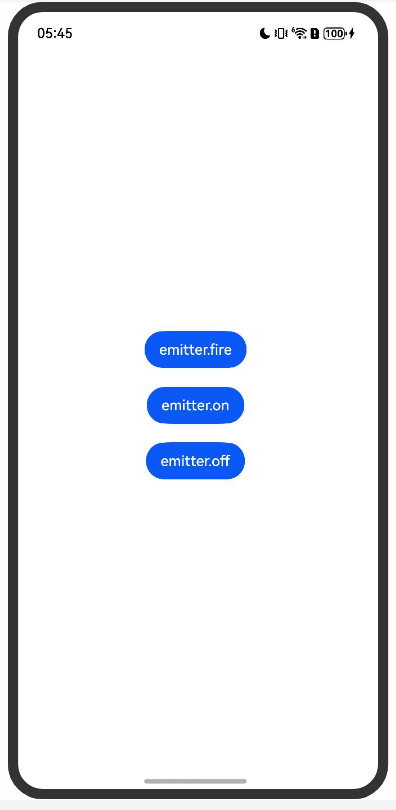


Index.ets
import { emitterUtil } from "./EmitterUtil"

// emitter使用示例
@Entry
@Component
export struct Index {
  build() {
    Column({ space: 20 }) {
      Button("emitter.fire")
        .onClick(() => {
          emitterUtil.fire()

        })

      Button("emitter.on")
        .onClick(() => {
          emitterUtil.on()

        })

      Button("emitter.off")
        .onClick(() => {
          emitterUtil.off()

        })
    }
    .width("100%")
    .height("100%")
    .justifyContent(FlexAlign.Center)
    .alignItems(HorizontalAlign.Center)

  }
}EmitterUtil.etsimport { emitter } from '@kit.BasicServicesKit';
import { promptAction } from '@kit.ArkUI';
class EmitterUtil {
id: number = 1;
// 订阅事件
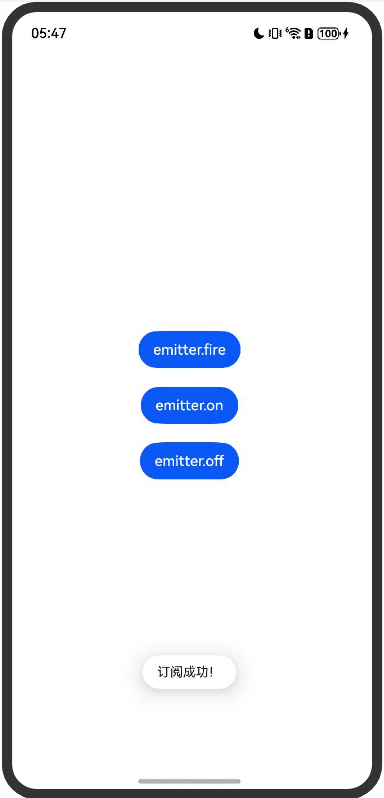
on() {
// 定义一个eventId为1的事件。
let event: emitter.InnerEvent = {
eventId: 1
};
// 定义一个事件的回调处理函数,当收到对应的事件后执行回调函数
let callback: Callback<emitter.EventData> = (eventData: emitter.EventData) => {
console.info(`eventData:接收成功 ${JSON.stringify(eventData)}`);
}
// 收到eventId为1的事件后执行回调函数
emitter.on(event, callback);
// 订阅成功
promptAction.showToast({ message: "订阅成功!" })
}
// 发送事件
fire() {
this.id = this.id + 1;
// 定义一个eventId为1的事件,事件优先级为Low。
let event: emitter.InnerEvent = {
eventId: 1,
priority: emitter.EventPriority.LOW
};
let eventData: emitter.EventData = {
data: {
content: 'emitter',
id: this.id,
isEmpty: false
}
};
// 发送eventId为1的事件,事件内容为eventData。
emitter.emit(event, eventData);
promptAction.showToast({ message: "发送成功!id是" + this.id })
}
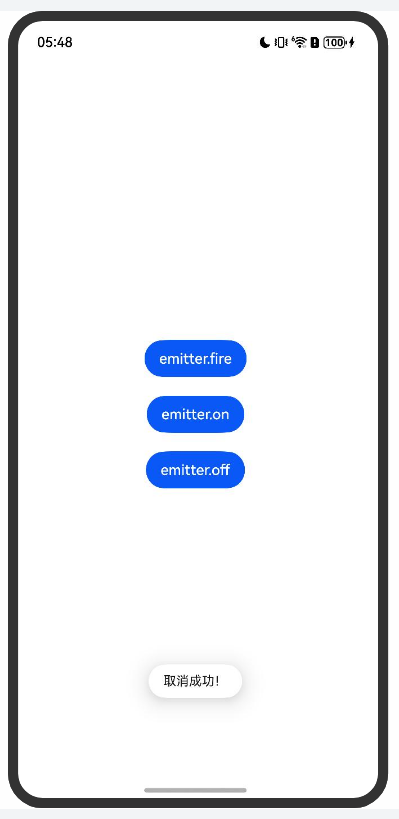
// 取消事件
off() {
// 取消eventId为1的事件。
emitter.off(1);
promptAction.showToast({ message: "取消成功!" })
}
}
export const emitterUtil = new EmitterUtil();以上是个人经验分享