Kibana是ElasticSearch协同的经典工具,这里尝试在Mac以Docker快速搭建Kibana+ElasticSearch,相关指令同样适用于其他linux平台。
假设Docker已安装,详细安装过程参考如下链接。
https://docs.docker.com/desktop/setup/install/mac-install/
Docker若不能正常pull,可能需要修改配置,详细过程参考如下链接。
https://blog.csdn.net/liliang199/article/details/150279652
1 ES安装
1.1 ES镜像
获取ES wolfi镜像
如果要使用wolfi,docker容器启动时增加-wolfi
docker pull docker.elastic.co/elasticsearch/elasticsearch-wolfi:9.1.3
为ES和Kibana创建docker网络
docker network create elastic
获取ES镜像
docker pull docker.elastic.co/elasticsearch/elasticsearch:9.1.3
1.2 ES启动
启动ES容器
docker run --name es01 --net elastic -p 9200:9200 -it -m 1GB docker.elastic.co/elasticsearch/elasticsearch:9.1.3
生成ES用户elastic的登录密码和enrollment tokens
docker exec -it es01 /usr/share/elasticsearch/bin/elasticsearch-reset-password -u elastic
docker exec -it es01 /usr/share/elasticsearch/bin/elasticsearch-create-enrollment-token -s kibana
2 Kibana安装
2.1 kibana安装
获取Kibana镜像
docker pull docker.elastic.co/kibana/kibana:9.1.3
启动Kibana容器
docker run --name kib01 --net elastic -p 5601:5601 docker.elastic.co/kibana/kibana:9.1.3
启动后,会提示登录http://localhost:5601/
2 Kibana登录
用户名是elastic,密码是之前生成的密码,enrollment tokens之前为kibana生成的tokens。
另外,可以为kibana重新生成登录tokens
docker exec -it es01 /usr/share/elasticsearch/bin/elasticsearch-create-enrollment-token -s kibana
也可以重新为elastic生成密码
docker exec -it es01 /usr/share/elasticsearch/bin/elasticsearch-reset-password -u elastic
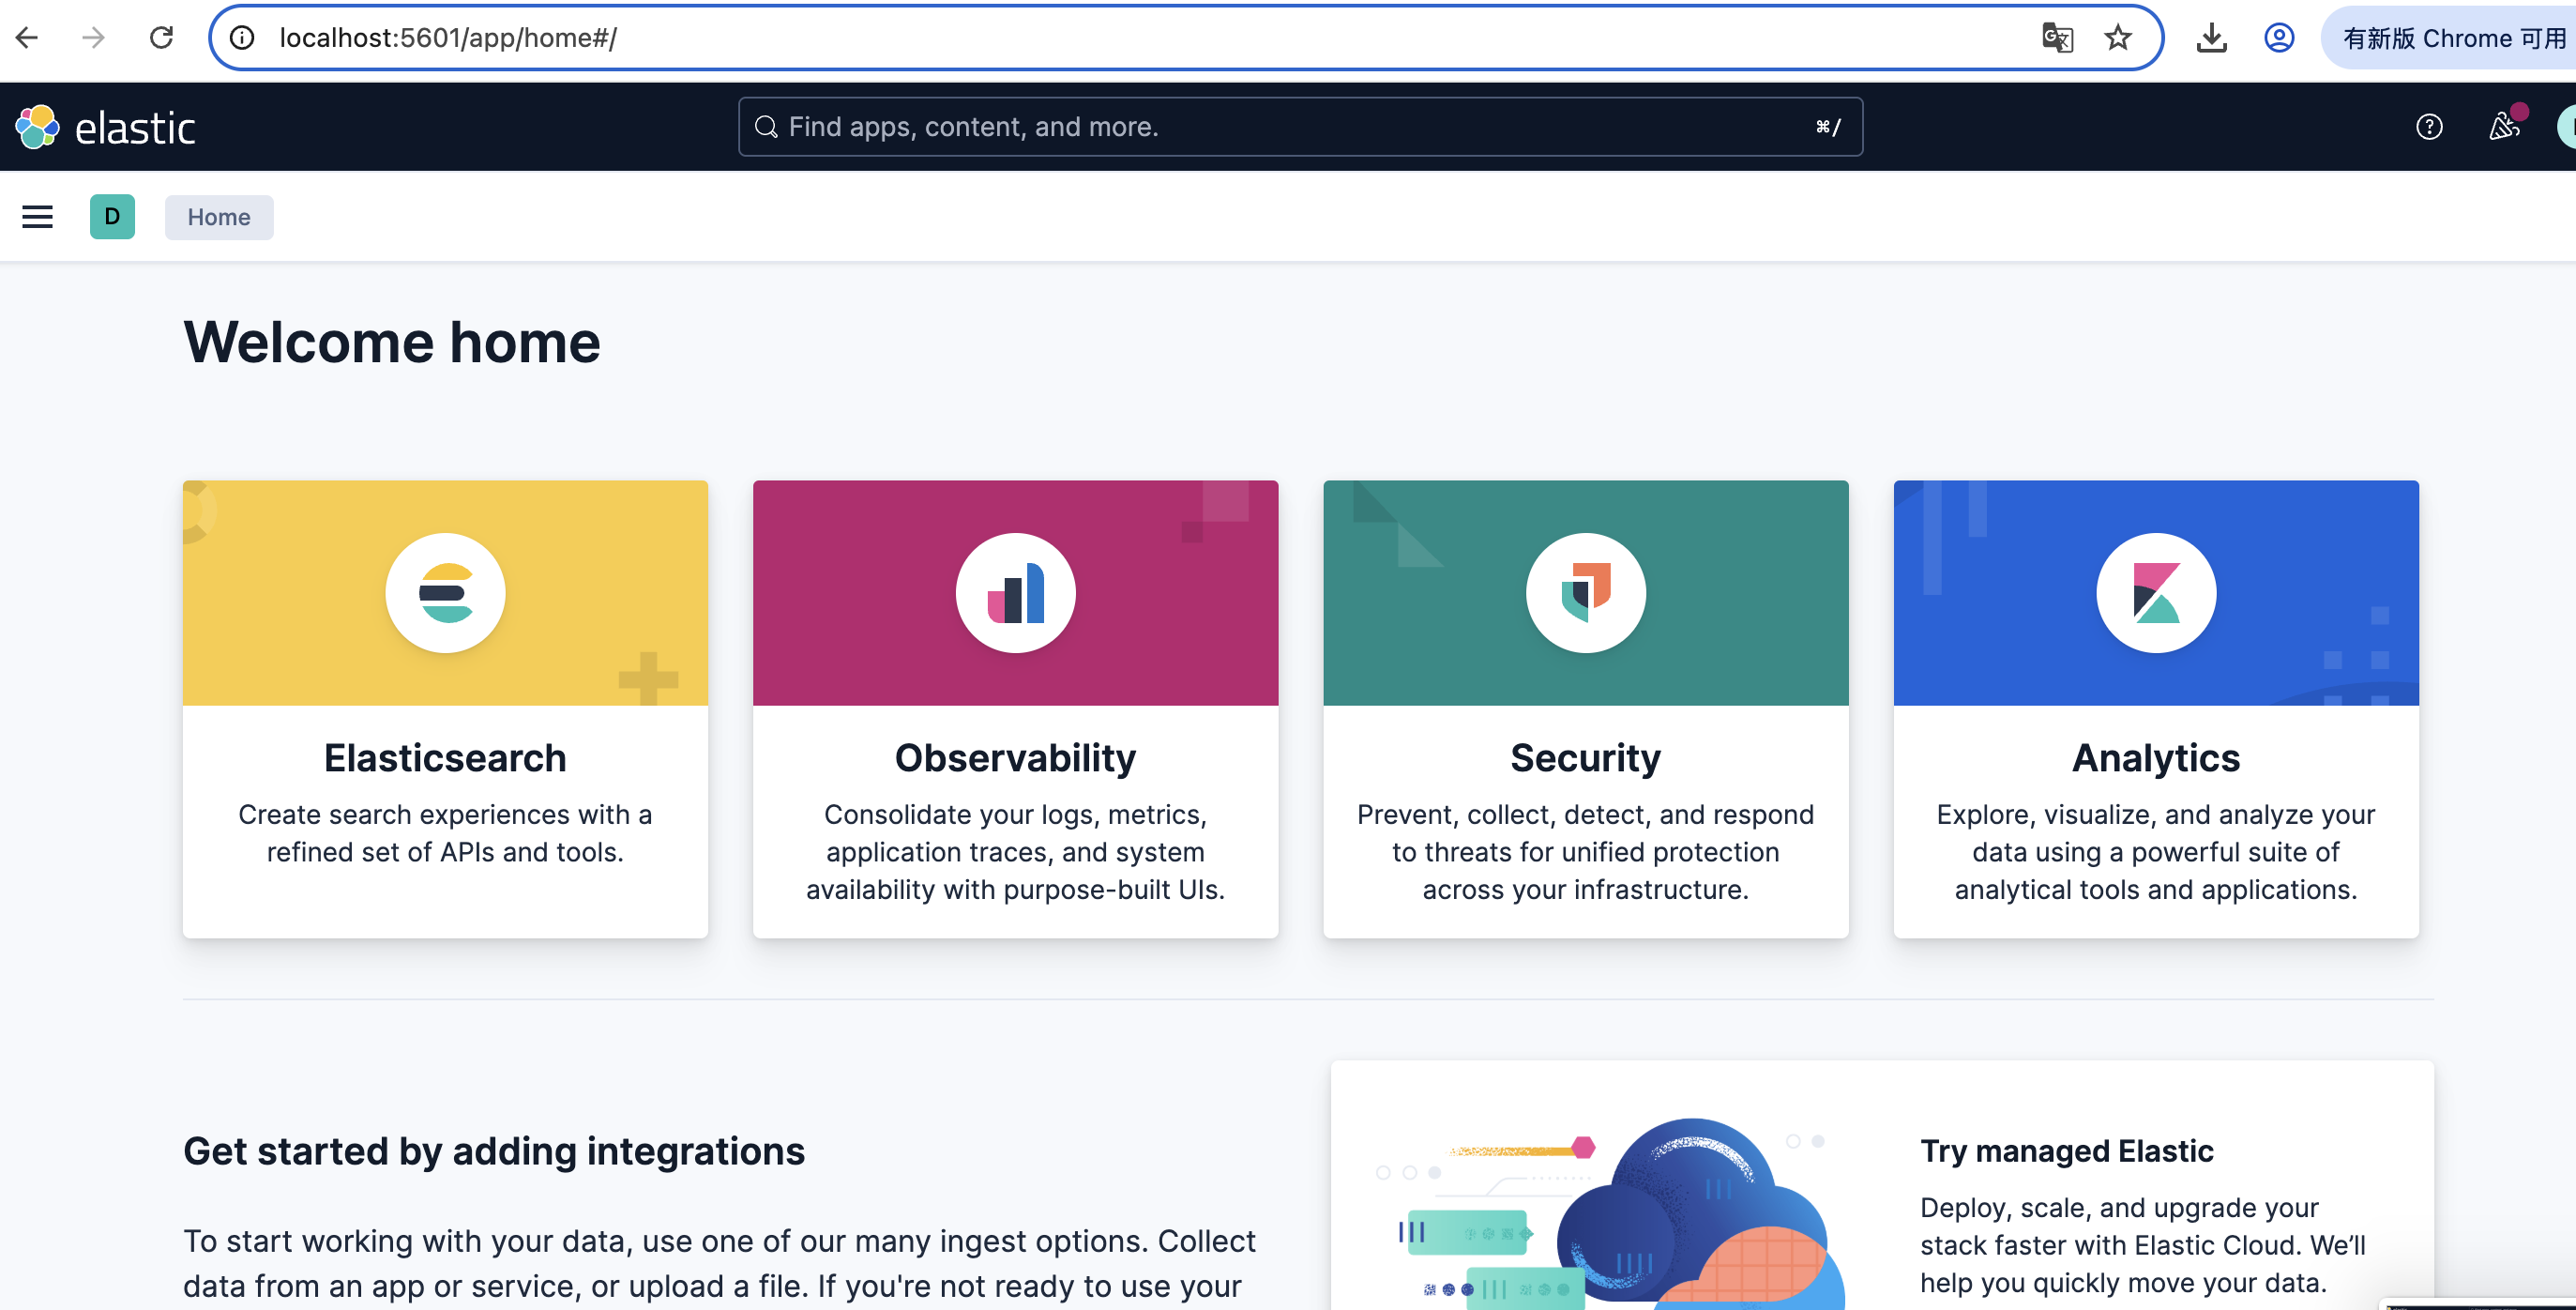
成功登录后,界面如下
2.3 镜像删除
删除命令如下所示。
Remove the Elastic network
docker network rm elastic
Remove the Elasticsearch container
docker rm es01
Remove the Kibana container
docker rm kib01
reference
Install Kibana with Docker
https://www.elastic.co/docs/deploy-manage/deploy/self-managed/install-kibana-with-docker
Mac M1探索AnythingLLM + Docker SearXNG
https://blog.csdn.net/liliang199/article/details/150279652
docker install docshttps://docs.docker.com/desktop/setup/install/mac-install/