vue示例
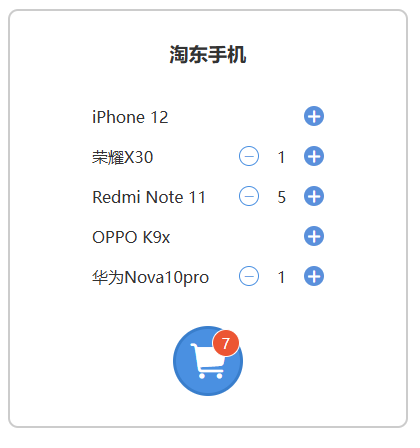
通过一个小案例, 对比vue开发和原生开发的区别
-
vue的核心就是数据响应式, 数据改变视图跟随改变
-
通过数据驱动视图, 我们就不用直接操作DOM元素了, 这就是vue开发与原生开发的区别
Document {{title}}
{{item.name}}{{item.choose}}<script src="./js/data.js"></script> <script src="./js/vue.js"></script> <script src="./js/index.js"></script>var goods = [
{
name: 'iPhone 12',
choose: 0,
},
{
name: '荣耀X30',
choose: 1,
},
{
name: 'Redmi Note 11',
choose: 3,
},
{
name: 'OPPO K9x',
choose: 0,
},
{
name: '华为Nova10pro',
choose: 1,
},
];var vm = new Vue({
// 配置对象
el: '.container',
data: {
// 界面数据
title: '淘东手机',
goods: goods,
},
// 计算属性
computed: {
count: function () {
var sum = 0;
for (var i = 0; i < this.goods.length; i++) {
sum += this.goods[i].choose;
}
return sum;
},
},
});
vue原理
准备基础代码
.card {
width: 300px;
border: 2px solid rgb(74, 125, 142);
border-radius: 10px;
font-size: 2em;
padding: 0 20px;
margin: 0 auto;
background: lightblue;
color: #333;
}
<!DOCTYPE html>
<html lang="en">
<head>
<meta charset="UTF-8" />
<meta http-equiv="X-UA-Compatible" content="IE=edge" />
<meta name="viewport" content="width=device-width, initial-scale=1.0" />
<title>Document</title>
<link rel="stylesheet" href="./index.css" />
</head>
<body>
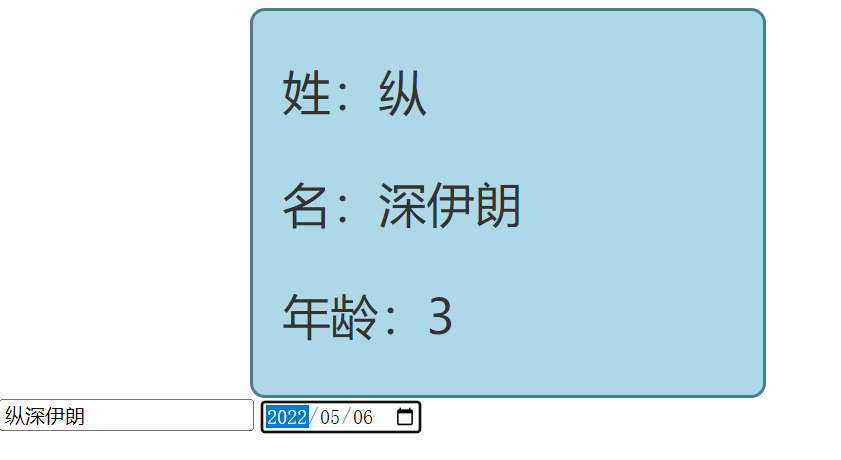
<div class="card">
<p id="firstName"></p>
<p id="lastName"></p>
<p id="age"></p>
</div>
// <input type="text" oninput="user.name = this.value" />
// <input type="date" onchange="user.birth = this.value" />
<script src="./index.js"></script>
</body>
</html>
var user = {
name: '袁进',
birth: '2002-5-7',
};
// 显示姓氏
function showFirstName() {
document.querySelector('#firstName').textContent = '姓:' + user.name[0];
}
// 显示名字
function showLastName() {
document.querySelector('#lastName').textContent = '名:' + user.name.slice(1);
}
// 显示年龄
function showAge() {
var birthday = new Date(user.birth);
var today = new Date();
today.setHours(0), today.setMinutes(0), today.setMilliseconds(0);
thisYearBirthday = new Date(
today.getFullYear(),
birthday.getMonth(),
birthday.getDate()
);
var age = today.getFullYear() - birthday.getFullYear();
if (today.getTime() < thisYearBirthday.getTime()) {
age--;
}
document.querySelector('#age').textContent = '年龄:' + age;
}
showFirstName()
showLastName()
showAge()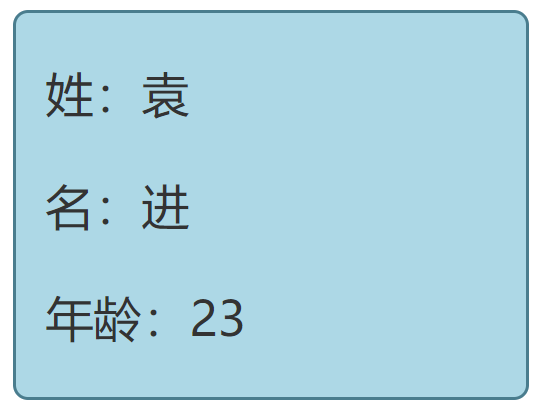
改造一下程序, 初步实现 "数据驱动视图"
var user = {
  name: '袁进',
  birth: '2002-5-7',
};

// 显示姓氏
function showFirstName() {
  document.querySelector('#firstName').textContent = '姓:' + user.name[0];
}

// 显示名字
function showLastName() {
  document.querySelector('#lastName').textContent = '名:' + user.name.slice(1);
}

// 显示年龄
function showAge() {
  var birthday = new Date(user.birth);
  var today = new Date();
  today.setHours(0), today.setMinutes(0), today.setMilliseconds(0);
  thisYearBirthday = new Date(
    today.getFullYear(),
    birthday.getMonth(),
    birthday.getDate()
  );
  var age = today.getFullYear() - birthday.getFullYear();
  if (today.getTime() < thisYearBirthday.getTime()) {
    age--;
  }
  document.querySelector('#age').textContent = '年龄:' + age;
}


showFirstName()
showLastName()
showAge()


/**
 * 当我们改变数据时, 如何让视图更新呢?
 * --重新调用一下方法呗! 这不很简单嘛
 */
user.name = '张三彭'
showFirstName()
showLastName()

user.birth = '1999-1-1'
showAge()


/**
 * 可以实现自动调用方法吗?
 * 当我改变了数据, 就自动调用方法更新视图.岂不美哉?
 * --我来试试吧
 */
user.name = '张三彭'
// 如何自动调用依赖该属性的函数?
// showFirstName()
// showLastName()

/**
 * 思路分析
 * 1.如何感知属性的读取和设置呢? -- 属性访问器
 * 2.自动调用依赖属性的方法
 */
let internalName = user.name;
Object.defineProperty(user, 'name', {
  get: function () {
    console.log('有人在读取 name 属性');
    return internalName;
  },
  set: function (val) {
    internalName = val
    console.log('有人修改 name 属性, 值为' + val);
    showFirstName()
    showLastName()
  }
})
user.name = '李四康'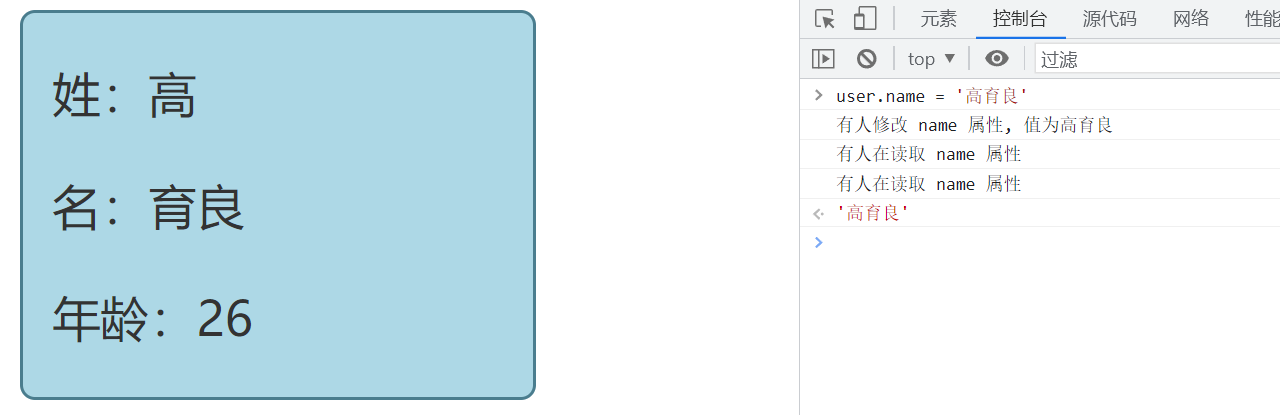
- 现在, 无论是通过编码还是通过控制台, 只要修改了user对象的name属性, 就可以自动调用该属性的方法, 从而自动更新视图
上面的代码还只是玩具, 如果需要通用, 就要封装
/**
 * 观察对象的所有属性
 */
// 问题1: 如何调用依赖该属性的函数???
// --在get函数中依赖收集
// --在set函数中派发更新
function observe(obj) {
  for (const key in obj) {
    let internalValue = obj[key]
    let funcs = [];
    Object.defineProperty(obj, key, {
      get: function () {
        // 依赖收集:  记录是哪些函数在用我
        if (window.__func && !funcs.includes(window.__func)) {
          funcs.push(window.__func);
        }
        return internalValue
      },
      set: function (val) {
        internalValue = val
        // 派发更新: 运行依赖我的函数
        for (let index = 0; index < funcs.length; index++) {
          funcs[index]()
        }
      }
    })
  }
}


// 问题2: 依赖怎么收集呢?
// --封装一个代理方法, 方法执行前记录方法
// --方法不要直接调用, 使用代理方法间接调用
// autorun <- showFristName
function autorun(fn) {
  window.__func = fn
  fn()
  window.__func = null
}

var user = {
  name: '袁进',
  birth: '2002-5-7',
};

// 显示姓氏
function showFirstName() {
  document.querySelector('#firstName').textContent = '姓:' + user.name[0];
}

// 显示名字
function showLastName() {
  document.querySelector('#lastName').textContent = '名:' + user.name.slice(1);
}

// 显示年龄
function showAge() {
  var birthday = new Date(user.birth);
  var today = new Date();
  today.setHours(0), today.setMinutes(0), today.setMilliseconds(0);
  thisYearBirthday = new Date(
    today.getFullYear(),
    birthday.getMonth(),
    birthday.getDate()
  );
  var age = today.getFullYear() - birthday.getFullYear();
  if (today.getTime() < thisYearBirthday.getTime()) {
    age--;
  }
  document.querySelector('#age').textContent = '年龄:' + age;
}

/**
 * 封装代码
 */
observe(user) // 观察对象

autorun(showFirstName)
autorun(showLastName)
autorun(showAge)

<!DOCTYPE html>
<html lang="en">

<head>
  ... ...
</head>

<body>
  <div class="card">
    <p id="firstName"></p>
    <p id="lastName"></p>
    <p id="age"></p>
  </div>
  <input type="text" oninput="user.name = this.value" />
  <input type="date" onchange="user.birth = this.value" />
  <script src="./iuv.js"></script>
  <script src="./index.js"></script>
</body>

</html>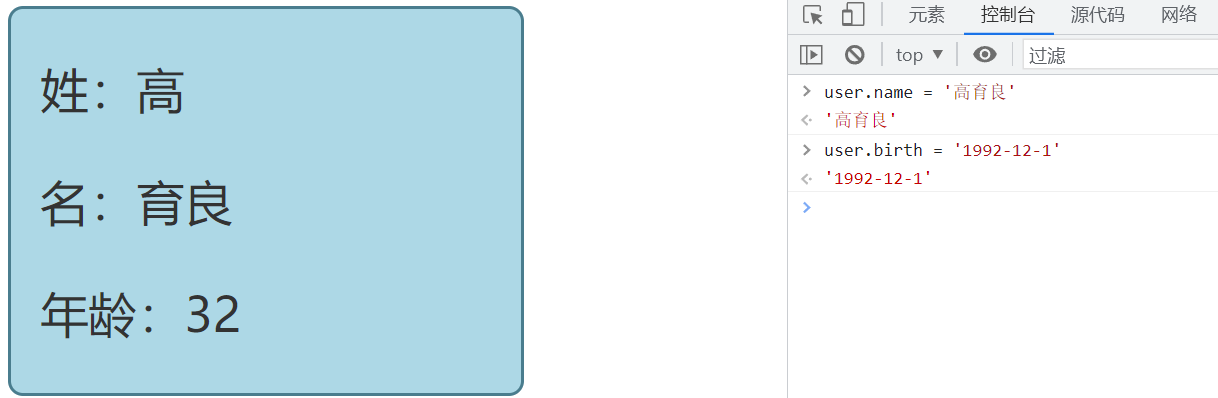
- 整个代码的健壮性还是不够的, 但是代码的思想跟vue源码是一致的
- 数据响应式的本质是数据变化后自动调用依赖数据的方法