文章目录
- [Nginx 服务器](#Nginx 服务器)
- 项目实战:ecshop
Nginx 服务器
Nginx是一款高性能的HTTP和反向代理服务器,能够选择高效的epoll、kqueue、eventport最为网络I/O模型,在高连接并发的情况下,能够支持高达5万个并发连接数的响应,而内存、CPU等系统资源消耗却非常低,运行非常稳定。
安装 nginx
bash
# 安装 nginx
[root@server ~ 21:50:58]# yum install -y nginx

# 启动 nginx
[root@server ~ 21:50:58]# systemctl enable nginx --now
Created symlink from /etc/systemd/system/multi-user.target.wants/nginx.service to /usr/lib/systemd/system/nginx.service.


# 准备主页
[root@server ~ 21:51:56]# mv /usr/share/nginx/html/index.html{,.ori}
[root@server ~ 21:52:11]#  echo Hello World From Nginx > /usr/share/nginx/html/index.html


[root@client ~ 21:52:33]# curl http://server.dyx.cloud
Hello World From Nginx
虚拟主机
同一个web服务器提供多个站点。
需要在Windows中C:\Windows\System32\drivers\etc\hosts修改配置文件
bash
# Copyright (c) 1993-2009 Microsoft Corp.
#
# This is a sample HOSTS file used by Microsoft TCP/IP for Windows.
#
# This file contains the mappings of IP addresses to host names. Each
# entry should be kept on an individual line. The IP address should
# be placed in the first column followed by the corresponding host name.
# The IP address and the host name should be separated by at least one
# space.
#
# Additionally, comments (such as these) may be inserted on individual
# lines or following the machine name denoted by a '#' symbol.
#
# For example:
#
#      102.54.94.97     rhino.acme.com          # source server
#       38.25.63.10     x.acme.com              # x client host

# localhost name resolution is handled within DNS itself.
#	127.0.0.1       localhost
#	::1             localhost
10.1.8.10 server.dyx.cloud server www.dyx.cloud
10.1.8.11 client.dyx.cloud client
根据名称
bash
[root@server ~ 21:55:54]# vim /etc/nginx/nginx.conf

server {
        charset utf-8;
        autoindex on;
        index index.html index.php;
        listen       80;
        listen       [::]:80;
        server_name  _;
        root         /usr/share/nginx/html;

[root@server ~ 09:40:17]# mkdir /usr/share/nginx/www{1,2} -p
[root@server ~ 09:47:31]# echo www1.dyx.cloud > /usr/share/nginx/www1/index.html
[root@server ~ 09:51:01]# echo www2.dyx.cloud > /usr/share/nginx/www2/index.html
[root@server ~ 09:51:10]# systemctl restart nginx
bash
[root@server ~ 21:52:39]# vim /etc/nginx/conf.d/vhost-name.conf
[root@server ~ 21:54:39]# cat /etc/nginx/conf.d/vhost-name.conf
server {
    server_name  www1.dyx.cloud;
    root         /usr/share/nginx/www1;
}
server {
    server_name  www2.dyx.cloud;
    root         /usr/share/nginx/www2;
}
客户端测试
bash
[root@client ~ 09:49:59]# curl http://www1.dyx.cloud
www1.dyx.cloud
[root@client ~ 09:51:21]# curl http://www2.dyx.cloud
www2.dyx.cloud
根据 port
bash
[root@server ~ 21:54:43]#  vim /etc/nginx/conf.d/vhost-port.conf
[root@server ~ 21:55:51]# cat /etc/nginx/conf.d/vhost-port.conf
server {
    listen       8081;
    server_name  www.dyx.cloud;
    root         /usr/share/nginx/8081;
}
server {
    listen       8082;
    server_name  www.dyx.cloud;
    root         /usr/share/nginx/8082;
}
bash
[root@server ~ 09:42:28]# mkdir /usr/share/nginx/808{1,2}
[root@server ~ 09:46:32]# echo 8081 > /usr/share/nginx/8081/index.html[root@server ~ 09:47:09]# echo 8082 > /usr/share/nginx/8082/index.html
[root@server ~ 09:47:18]# systemctl restart nginx
[root@server ~ 09:47:31]#
客户端测试
bash
#配置名称解析
[root@client ~ 09:48:06]# cat /etc/hosts
127.0.0.1   localhost localhost.localdomain localhost4 localhost4.localdomain4
::1         localhost localhost.localdomain localhost6 localhost6.localdomain6
10.1.8.10 server.dyx.cloud  server www1.dyx.cloud www2.dyx.cloud www.dyx.cloud
10.1.8.11 client.dyx.cloud client
[root@client ~ 09:45:21]# curl http://www.dyx.cloud:8081
8081
[root@client ~ 09:47:55]# curl http://www.dyx.cloud:8082
8082
配置SSL/TLS
bash
[root@server ~ 10:23:55]# mkdir certs
[root@server ~ 10:24:16]#
[root@server ~ 10:24:16]# cd certs

#--1--生成私钥
[root@server certs 10:25:19]#  openssl genrsa -out www.key 2048
Generating RSA private key, 2048 bit long modulus
..+++
...................................................................................................+++
e is 65537 (0x10001)

#--2--生成请求文件csr
[root@server certs 10:26:45]# openssl req -new -key www.key -out www.csr -subj "/C=CN/ST=JS/L=NJ/O=LM/OU=DEVOPS/CN=www.dyx.cloud/emailAddress=dyx@dyx.cloud"
#CN的值必须是网站域名


#--3--使用自己的私钥对请求文件签名,以生成证书
[root@server certs 10:27:36]# openssl x509 -req -days 3650 -in www.csr -signkey www.key -out www.crt
Signature ok
subject=/C=CN/ST=JS/L=NJ/O=LM/OU=DEVOPS/CN=www.dyx.cloud/emailAddress=dyx@dyx.cloud
Getting Private key
[root@server certs 10:27:52]# ls
www.crt  www.csr  www.key
配置站点
bash
[root@server certs 10:27:54]# mkdir /etc/ssl/certs/www.dyx.cloud
[root@server certs 10:30:41]# mv www* /etc/ssl/certs/www.dyx.cloud

[root@server conf.d 10:14:44]# cp /etc/nginx/nginx.conf /etc/nginx/conf.d/www.dyx.cloud-ssl.conf
[root@server conf.d 10:16:54]# vim www.dyx.cloud-ssl.conf
[root@server conf.d 10:32:28]# cat www.dyx.cloud-ssl.conf
server {
    listen       443 ssl http2;
    listen       [::]:443 ssl http2;
    server_name  www.dyx.cloud;
    root         /usr/share/nginx/html;

    ssl_certificate "/etc/ssl/certs/www.dyx.cloud/www.crt";
    ssl_certificate_key "/etc/ssl/certs/www.dyx.cloud/www.key";
    ssl_session_cache shared:SSL:1m;
    ssl_session_timeout  10m;
    ssl_ciphers HIGH:!aNULL:!MD5;
    ssl_prefer_server_ciphers on;
}
[root@server ~ 10:35:11]# systemctl restart nginx
[root@server ~ 10:35:32]#

[root@server certs 10:30:57]# systemctl status firewalld.service
● firewalld.service - firewalld - dynamic firewall daemon
   Loaded: loaded (/usr/lib/systemd/system/firewalld.service; disabled; vendor preset: enabled)
   Active: inactive (dead)
     Docs: man:firewalld(1)

[root@client ~ 10:36:58]# curl -k https://www.dyx.cloud/
Hello World From Nginx
[root@client ~ 10:37:09]# curl http://www.dyx.cloud/
Hello World From Nginx


# 配置HTTP重定向到https,当访问http的时候也访问https
[root@server conf.d 11:13:20]# vim www.dyx.cloud-ssl.conf
[root@server conf.d 11:15:56]# cat www.dyx.cloud-ssl.conf
server {
    listen       443 ssl http2;
    listen       [::]:443 ssl http2;
    server_name  www.dyx.cloud;
    root         /usr/share/nginx/html;

    ssl_certificate "/etc/ssl/certs/www.dyx.cloud/www.crt";
    ssl_certificate_key "/etc/ssl/certs/www.dyx.cloud/www.key";
    ssl_session_cache shared:SSL:1m;
    ssl_session_timeout  10m;
    ssl_ciphers HIGH:!aNULL:!MD5;
    ssl_prefer_server_ciphers on;
}
# 配置HTTP重定向到https
server {
    listen       80;
    listen       [::]:80;
    server_name  www.dyx.cloud;
    root         /usr/share/nginx/html;
    # 添加重定向
    return       301 https://$host$request_uri;
}

[root@server conf.d 11:15:51]# systemctl restart nginx

#301错误
[root@client ~ 10:54:54]# curl http://www.dyx.cloud/
<html>
<head><title>301 Moved Permanently</title></head>
<body>
<center><h1>301 Moved Permanently</h1></center>
<hr><center>nginx/1.20.1</center>
</body>
</html>
#使用-k指明目标不是安全站点
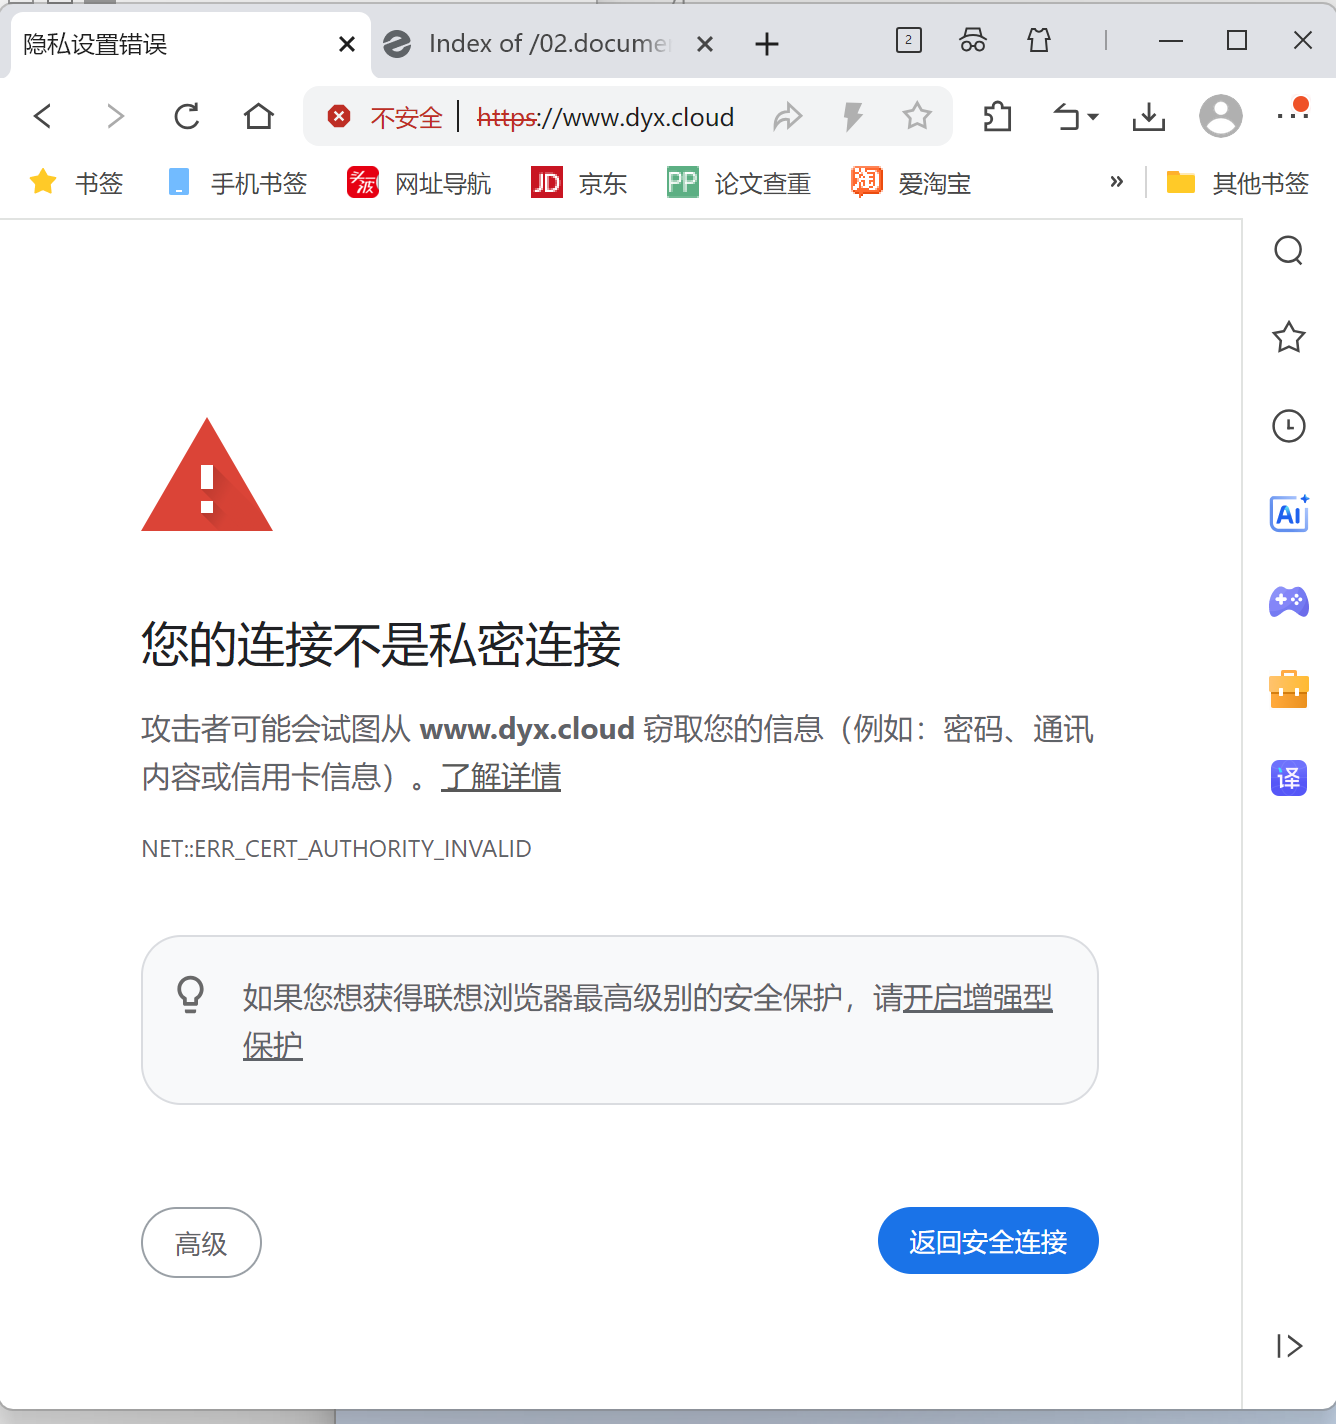
[root@client ~ 11:21:38]# curl -k https://www.dyx.cloud/
Hello World From Nginx
支持动态脚本
使用 PHP
bash
# 安装PHP和php-fpm,建议把其他的扩展包一起安装
[root@server ~ 11:37:05]# yum install -y php php-fpm
# php-fpm: 负责接收web程序发来的php代码
# php:负责解析和执行php代码,并将结果返回给php-fpm
# php-fpm 将结果返回给web程序,web程序将结果返回给客户端


# 查看 php 版本
[root@server ~ 11:37:45]# php -v
PHP 5.4.16 (cli) (built: Apr  1 2020 04:07:17)
Copyright (c) 1997-2013 The PHP Group
Zend Engine v2.4.0, Copyright (c) 1998-2013 Zend Technologies
[root@server ~ 11:37:52]# echo "<?php echo 'PHP Test Page'.\"\n?>" > php_test.php

# 测试 php 是否正常
[root@server ~ 11:38:10]# php php_test.php
PHP Test Page

# 准备测试页,使用phpinfo查看详细信息
[root@server ~ 11:38:19]# echo "<?php phpinfo(); ?>" > /usr/shaginx/html/info.php

[root@server conf.d 11:16:13]# vim www.dyx.cloud-ssl.conf
[root@server conf.d 11:43:23]# cat www.dyx.cloud-ssl.conf
server {
    listen       443 ssl http2;
    listen       [::]:443 ssl http2;
    server_name  www.dyx.cloud;
    root         /usr/share/nginx/html;

    ssl_certificate "/etc/ssl/certs/www.dyx.cloud/www.crt";
    ssl_certificate_key "/etc/ssl/certs/www.dyx.cloud/www.key";
    ssl_session_cache shared:SSL:1m;
    ssl_session_timeout  10m;
    ssl_ciphers HIGH:!aNULL:!MD5;
    ssl_prefer_server_ciphers on;
    location ~ \.php$ {
        try_files $uri =404;
        fastcgi_pass 127.0.0.1:9000;
        fastcgi_index index.php;
        fastcgi_param SCRIPT_FILENAME $document_root$fastcgi_script_name;
        include fastcgi_params;
    }
}
# 配置HTTP重定向到https
server {
    listen       80;
    listen       [::]:80;
    server_name  www.dyx.cloud;
    root         /usr/share/nginx/html;
    # 添加重定向
    return       301 https://$host$request_uri;
}

[root@server ~ 11:38:59]# systemctl restart nginx
[root@server ~ 12:34:59]# systemctl start php-fpm.service 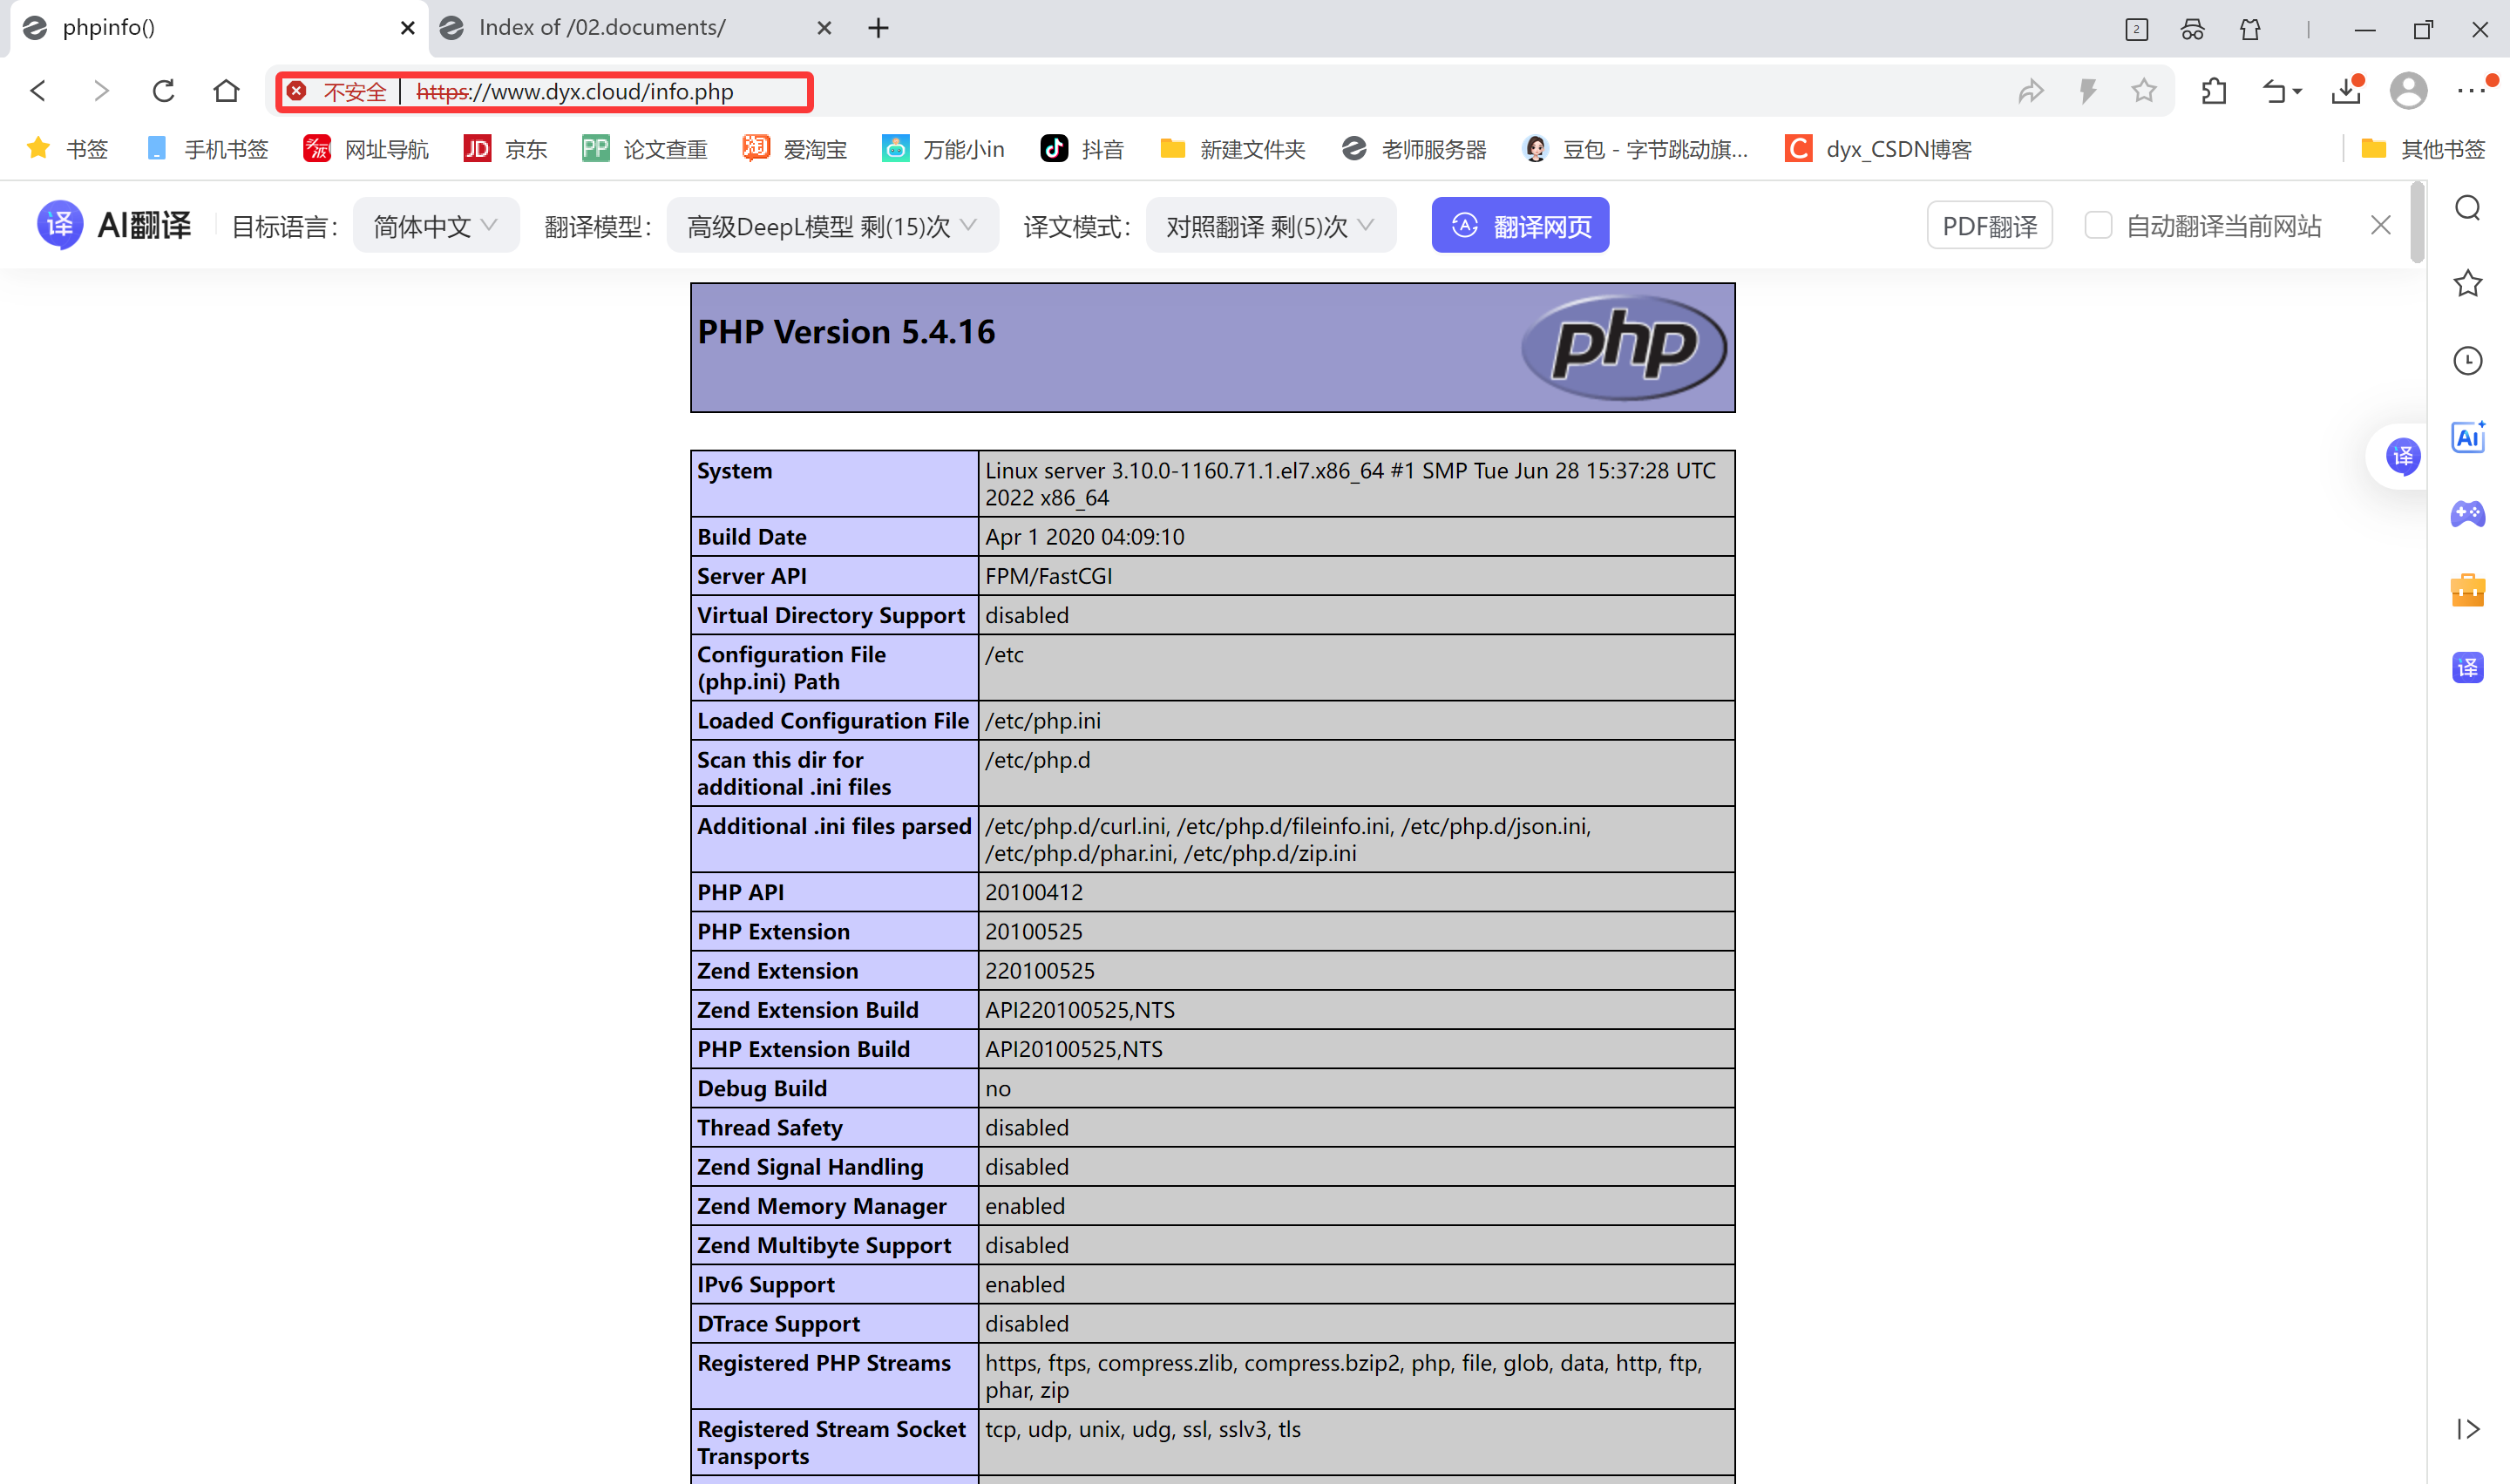
反向代理
客户端访问代理服务器,代理服务器会将客户端请求发送给真实服务器。
反向代理实现了隐藏内部服务器。
角色说明
-
代理服务器 proxy 10.1.8.20
-
真实服务器 server 10.1.8.10
代理服务器配置
bash
# 配置解析
[root@proxy ~ 17:08:00]# cat /etc/hosts
127.0.0.1   localhost localhost.localdomain localhost4 localhost4.localdomain4
::1         localhost localhost.localdomain localhost6 localhost6.localdomain6
10.1.8.10 www.dyx.cloud
10.1.8.20 ecshop.dyx.cloud

# 安装 nginx
[root@proxy ~ 15:56:17]# yum install -y nginx

# 启动 nginx
[root@proxy ~ 17:13:56]# systemctl enable nginx --now
Created symlink from /etc/systemd/system/multi-user.target.wants/nginx.service to /usr/lib/systemd/system/nginx.service.


[root@proxy ~ 17:14:17]# vim /etc/nginx/conf.d/proxy.conf
[root@proxy ~ 17:15:39]# cat /etc/nginx/conf.d/proxy.conf
server {
    listen      80;
    listen      [::]:80;
    server_name _;
    root         /usr/share/nginx/html;

    #添加如下内容
    #proxy_redirect      off;
    #proxy_set_header    X-Real-IP $remote_addr;
    #proxy_set_header    X-Forwarded-For $proxy_add_x_forwarded_for;
    #proxy_set_header    Host $http_host;

#新增 location 规则
    location /shop/ {
        proxy_pass http://www.dyx.cloud/;
    }

[root@proxy ~ 17:15:45]# systemctl restart nginx


[root@proxy ~ 19:03:13]# vim /etc/nginx/conf.d/proxy.conf
[root@proxy ~ 19:06:09]# systemctl restart nginx
[root@proxy ~ 19:06:34]# cat /etc/nginx/conf.d/proxy.conf
server {
    listen      80;
    listen      [::]:80;
    server_name _;
    root         /usr/share/nginx/html;

    #添加如下内容
    #proxy_redirect      off;
    #proxy_set_header    X-Real-IP $remote_addr;
    #proxy_set_header    X-Forwarded-For $proxy_add_x_forwarded_for;
    #proxy_set_header    Host $http_host;

#新增 location 规则
    location /shop/ {
        proxy_pass http://www.dyx.cloud/;
    }
    location /welcome/ {
        proxy_pass http://10.1.8.20:8081/;
    }
}
# 新增虚拟主机
server {
    listen      8081;
    server_name _;
    root         /usr/share/nginx/8081/;
}然后访问http://ecshop.dyx.cloud/proxy/查看是否跳入www.dyx.cloud的网页
项目实战:ecshop
ecshop 介绍
ECShop多场景在线商城。
实验环境
CentOS 7.9
ecshop 安装
准备 LNMP 环境
准备 Nginx
bash
# 安装
[root@server ~ 15:16:54]# yum install -y nginx
[root@server ~ 15:17:14]# systemctl enable nginx --now
Created symlink from /etc/systemd/system/multi-user.target.wants/nginx.service to /usr/lib/systemd/system/nginx.service.
准备 PHP
bash
[root@server ~ 15:17:24]# yum install -y php php-fpm
[root@server ~ 15:17:43]# systemctl enable php-fpm.service  --now
Created symlink from /etc/systemd/system/multi-user.target.wants/php-fpm.service to /usr/lib/systemd/system/php-fpm.service.

# 配置虚拟主机
[root@server ~ 15:22:05]# vim /etc/nginx/conf.d/vhost-www.dyx.cloud.conf
[root@server ~ 15:22:49]# systemctl restart nginx
[root@server ~ 15:23:58]# cat /etc/nginx/conf.d/vhost-www.dyx.cloud.conf
server {
    listen       80;
    listen       [::]:80;
    server_name  www.dyx.cloud;
    root         /usr/share/nginx/html;
    index index.php;
    location ~ \.php$ {
        try_files $uri =404;
        fastcgi_pass 127.0.0.1:9000;
        fastcgi_index index.php;
        fastcgi_param SCRIPT_FILENAME $document_root$fastcgi_script_name;
        include fastcgi_params;
    }
}
准备 Mariadb
bash
[root@server ~ 15:18:49]# yum install -y mariadb-server
[root@server ~ 15:19:17]# systemctl enable mariadb.service  --now
Created symlink from /etc/systemd/system/multi-user.target.wants/mariadb.service to /usr/lib/systemd/system/mariadb.service.

# 安全初始化
# 设置root密码为redhat
# 删除匿名用户
# 删除测试数据库
[root@server ~ 15:19:32]# mysql_secure_installation

NOTE: RUNNING ALL PARTS OF THIS SCRIPT IS RECOMMENDED FOR ALL MariaDB
      SERVERS IN PRODUCTION USE!  PLEASE READ EACH STEP CAREFULLY!

In order to log into MariaDB to secure it, we'll need the current
password for the root user.  If you've just installed MariaDB, and
you haven't set the root password yet, the password will be blank,
so you should just press enter here.

Enter current password for root (enter for none):
OK, successfully used password, moving on...

Setting the root password ensures that nobody can log into the MariaDB
root user without the proper authorisation.

Set root password? [Y/n] y
New password:
Re-enter new password:
Password updated successfully!
Reloading privilege tables..
 ... Success!


By default, a MariaDB installation has an anonymous user, allowing anyone
to log into MariaDB without having to have a user account created for
them.  This is intended only for testing, and to make the installation
go a bit smoother.  You should remove them before moving into a
production environment.

Remove anonymous users? [Y/n] y
 ... Success!

Normally, root should only be allowed to connect from 'localhost'.  This
ensures that someone cannot guess at the root password from the network.

Disallow root login remotely? [Y/n] y
 ... Success!

By default, MariaDB comes with a database named 'test' that anyone can
access.  This is also intended only for testing, and should be removed
before moving into a production environment.

Remove test database and access to it? [Y/n] y
 - Dropping test database...
 ... Success!
 - Removing privileges on test database...
 ... Success!

Reloading the privilege tables will ensure that all changes made so far
will take effect immediately.

Reload privilege tables now? [Y/n] y
 ... Success!

Cleaning up...

All done!  If you've completed all of the above steps, your MariaDB
installation should now be secure.

Thanks for using MariaDB!
准备数据库
bash
[root@server ~ 15:19:52]# mysql -uroot -p123
Welcome to the MariaDB monitor.  Commands end with ; or \g.
Your MariaDB connection id is 10
Server version: 5.5.68-MariaDB MariaDB Server

Copyright (c) 2000, 2018, Oracle, MariaDB Corporation Ab and others.

Type 'help;' or '\h' for help. Type '\c' to clear the current input statement.

MariaDB [(none)]> create database ecshop;
Query OK, 1 row affected (0.00 sec)

MariaDB [(none)]> create user ecshop@localhost identified ecshop@localhost;
ERROR 1064 (42000): You have an error in your SQL syntax; check the manual that corresponds to your MariaDB server version for the right syntax to use near 'ecshop@localhost' at line 1
MariaDB [(none)]> create user ecshop@localhost identified by '123';
Query OK, 0 rows affected (0.00 sec)

MariaDB [(none)]> grant all privileges on ecshop.* to ecshop@localhost;
Query OK, 0 rows affected (0.00sec)

MariaDB [(none)]> flush privileges;
Query OK, 0 rows affected (0.00 sec)

MariaDB [(none)]> exit
Bye
准备 ecshop 站点
准备 ecshop 站点数据文件,这里使用 ECShop_V4.1.20 版本。
bash
#上传都root目录下
[root@server ~ 15:22:59]# yum install -y wget
[root@server ~ 15:23:16]# wget http://192.168.49.100/01.softwares/ECShop_V4.1.20_UTF8.zip
[root@server ~ 16:58:12]# unzip ECShop_V4.1.20_UTF8

[root@server ~ 15:23:35]# mv /usr/share/nginx/html/ /usr/share/nginx/html.ori
[root@server ~ 15:24:26]# cp -a ECShop_V4.1.20_UTF8_release20250416/source/ecshop /usr/share/nginx/html
[root@server ~ 15:25:00]# chown nginx:nginx -R /usr/share/nginx/html
[root@server ~ 15:25:25]# systemctl restart nginx
[root@server ~ 15:27:19]# systemctl restart php-fpm.service

# 安装站点需要的各种扩展包
[root@server ~ 15:34:04]# yum install -y php-gd php-common php-pear php-mbstring php-mcrypt php-mysqlnd

# 修改 php-fpm运行用户身份
[root@server ~ 15:38:57]# vim /etc/php-fpm.d/www.conf
# 更改以下两条记录
# user = apache
user = nginx

# group = apache
group = nginx


[root@server ~ 15:39:54]# chown nginx:nginx -R /var/lib/php/
[root@server ~ 15:40:23]# systemctl restart nginx php-fpm
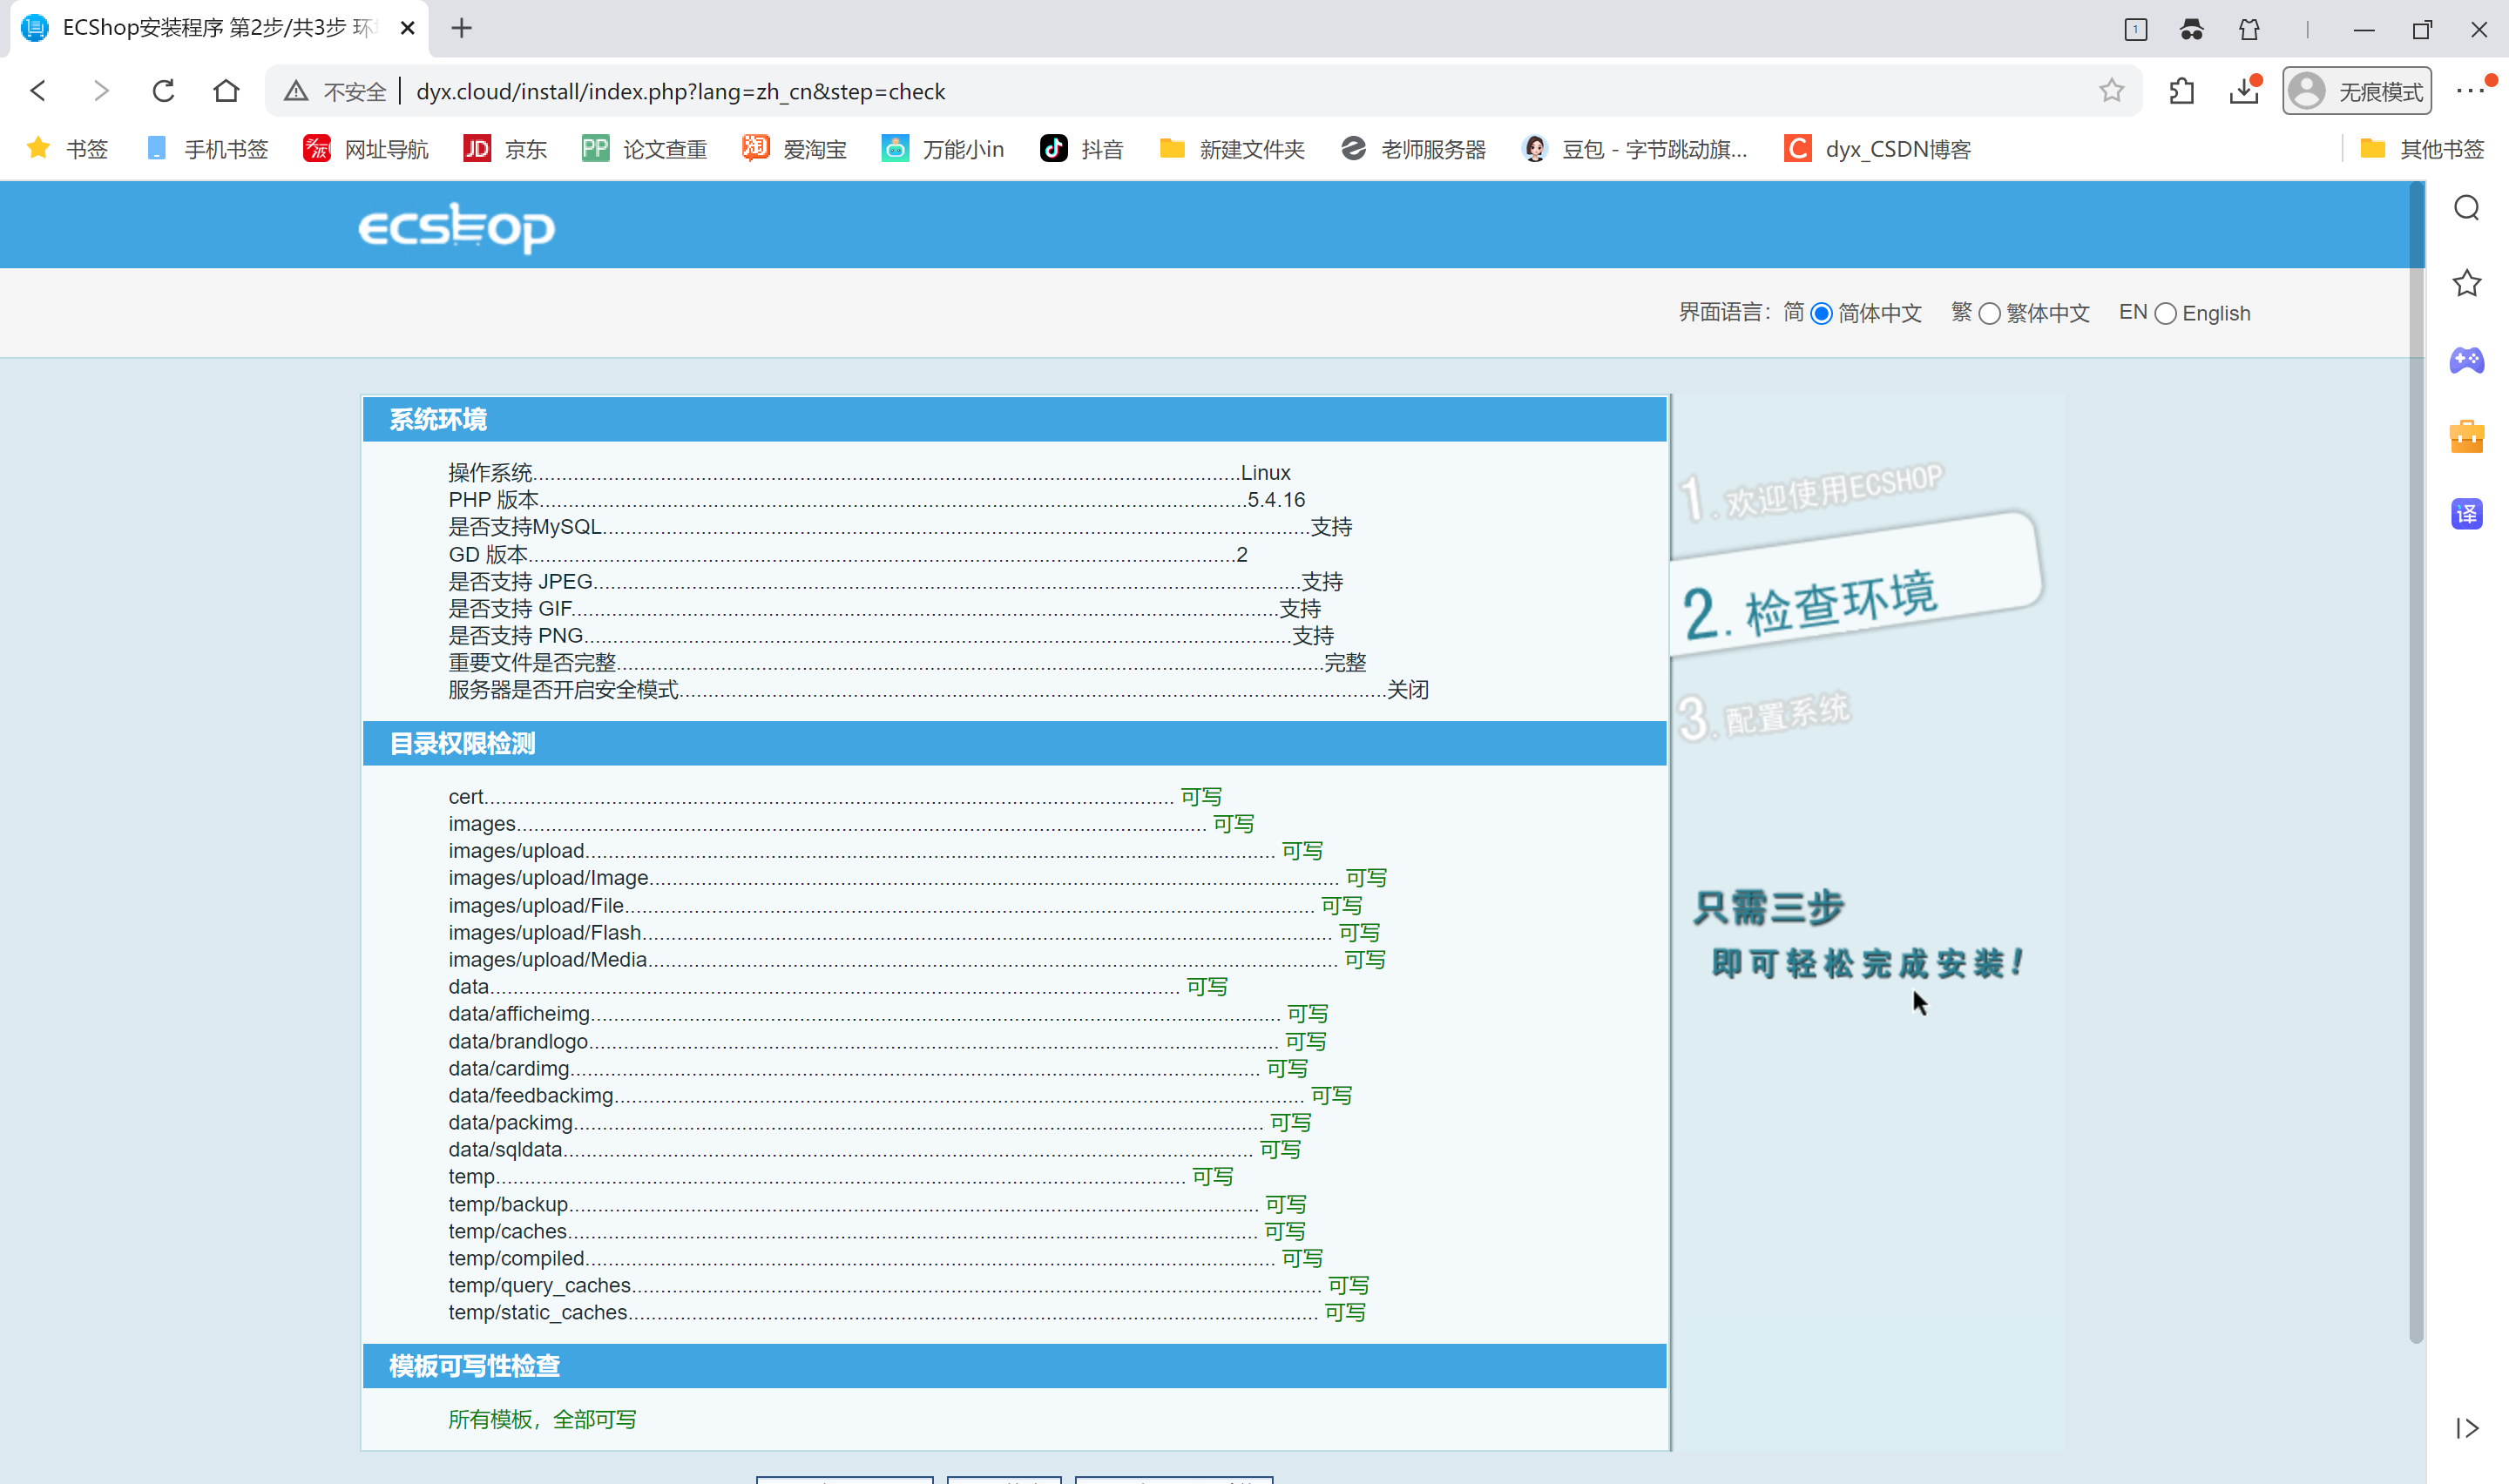
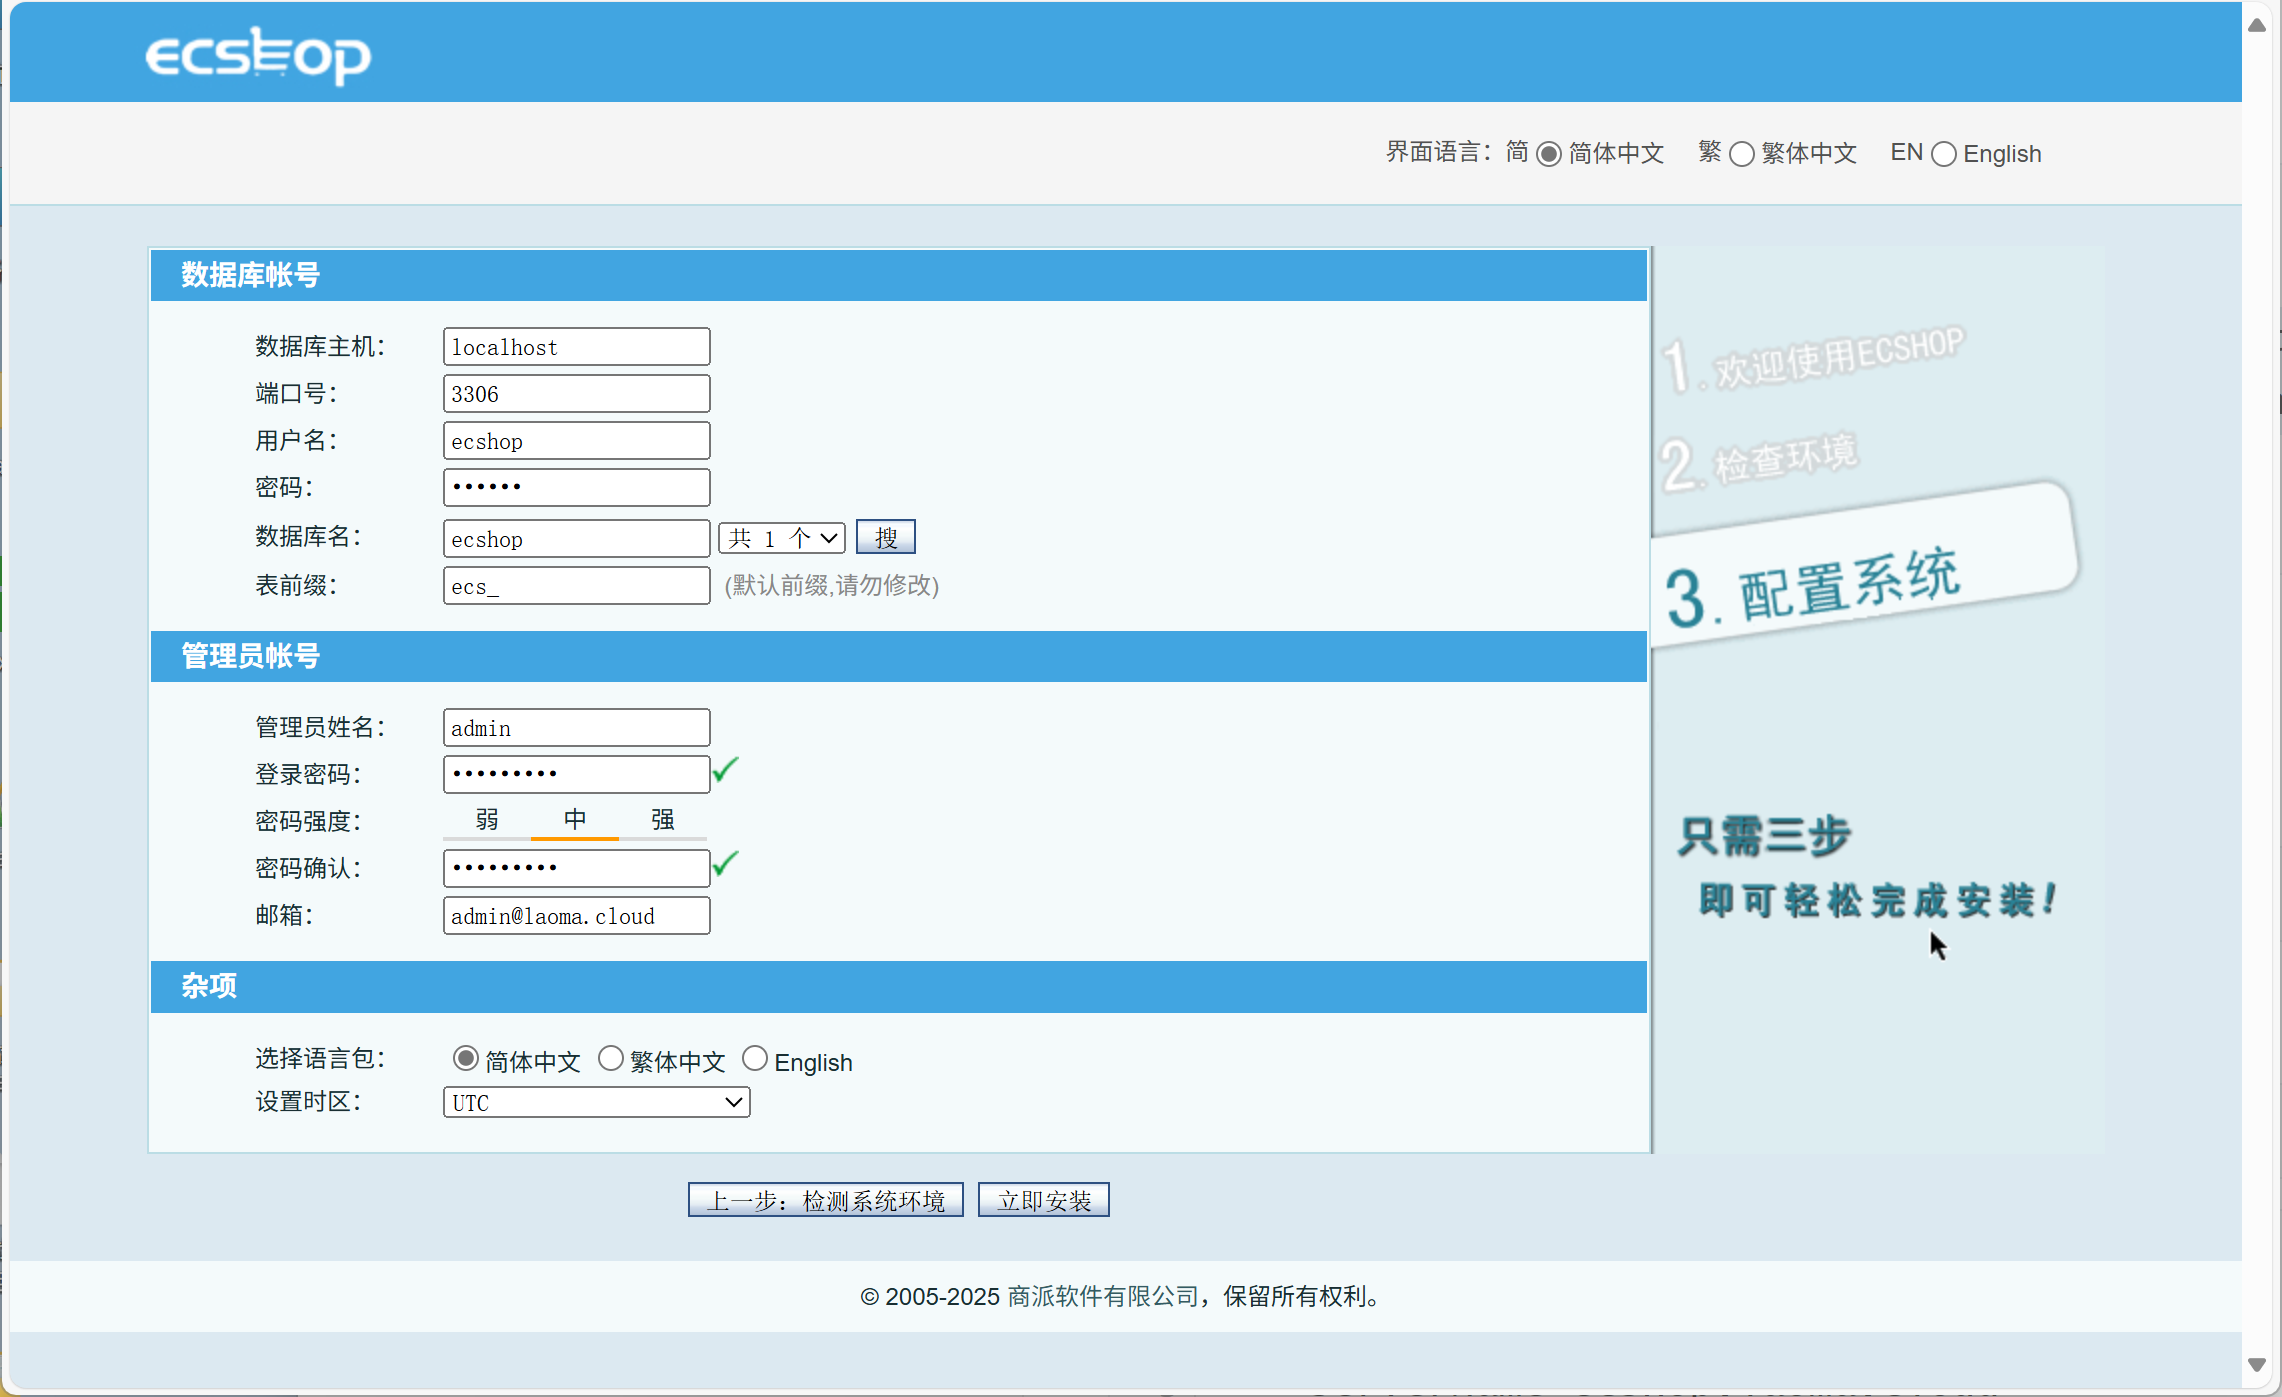
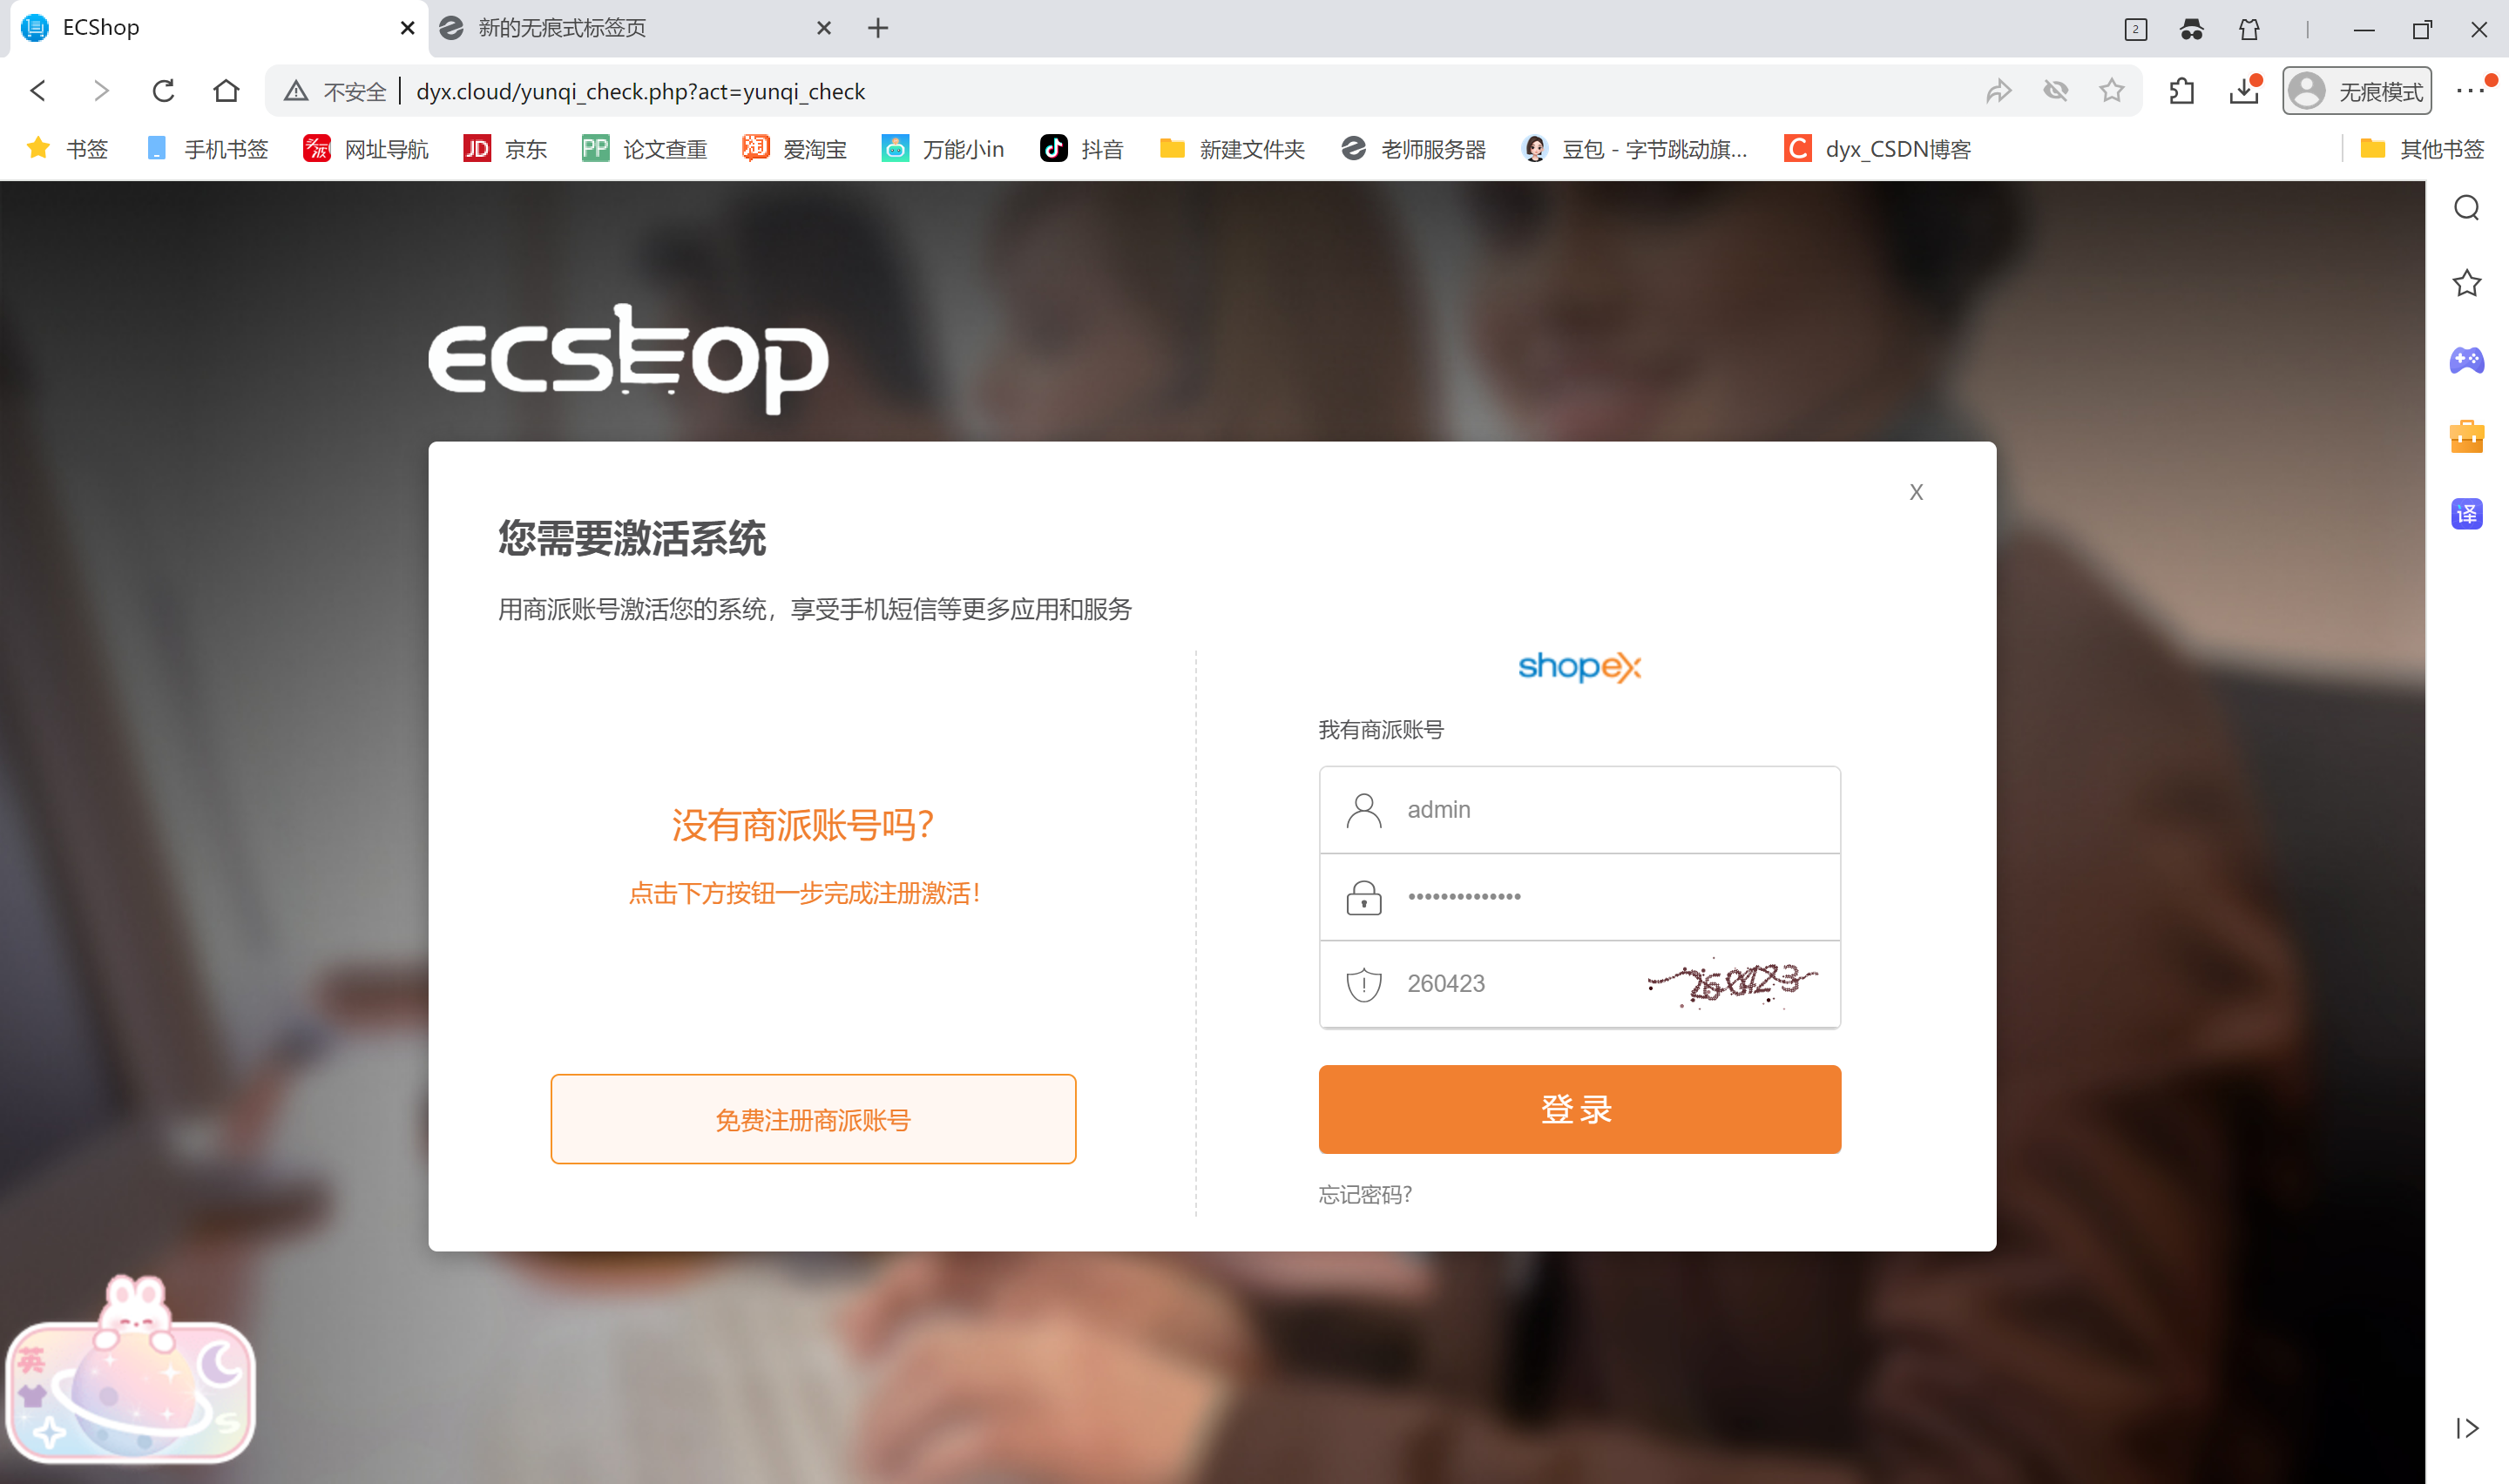
配置过程
客户端登录:http://www.dyx.cloud
