引言
在人工智能技术迅猛发展的浪潮中,将智能化能力无缝融入企业级应用已成为提升产品竞争力的关键。Spring AI 作为 Spring 家族的新成员,为 Java 开发者带来了标准化、低门槛的 AI 集成体验。下面将介绍如何使用 Spring AI 框架分别接入本地模型 deepseek ,阿里云百炼平台 ,硅基流动。
一、环境准备
1. 环境要求
- JDK:17 及以上版本
- 构建工具:Maven 3.6+ 或 Gradle
- Spring Boot:3.4+(建议选用最新稳定版本)
2. 所需下载应用
- olloma(用户运行大模型语言): https://ollama.com
- deepSeek 语言模型: 下载 DeepSeek 模型 | DeepSeek v3
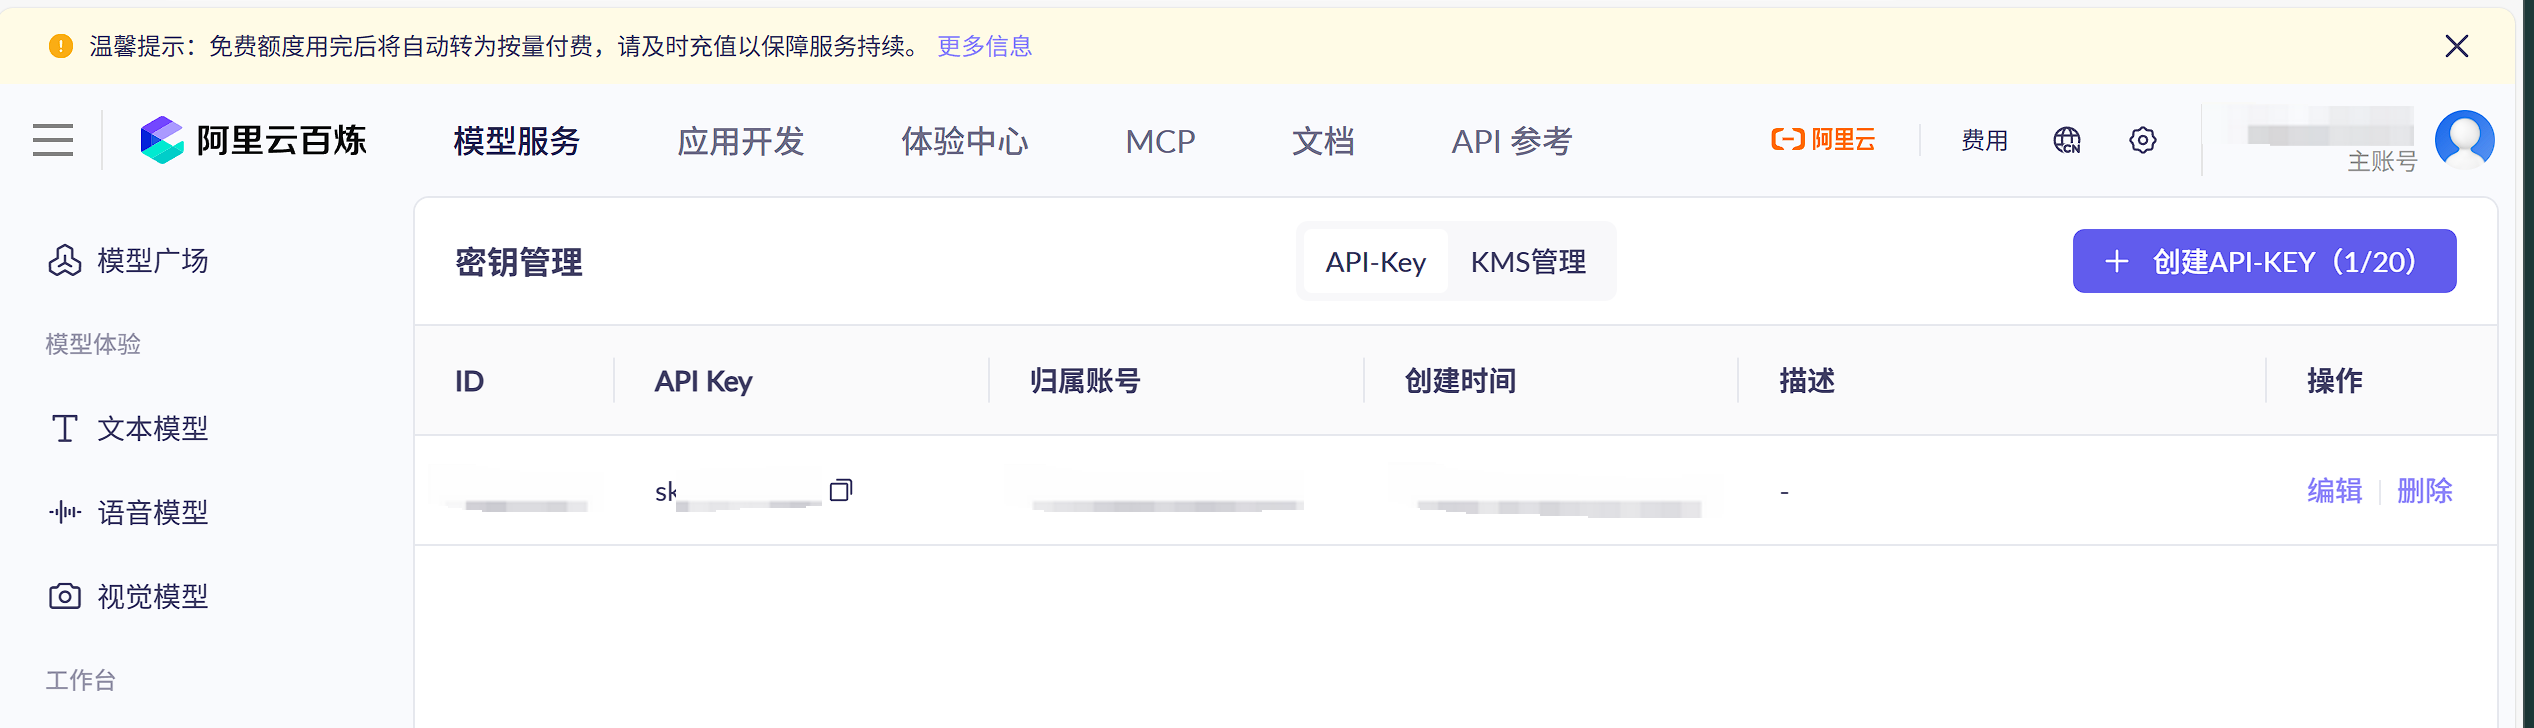
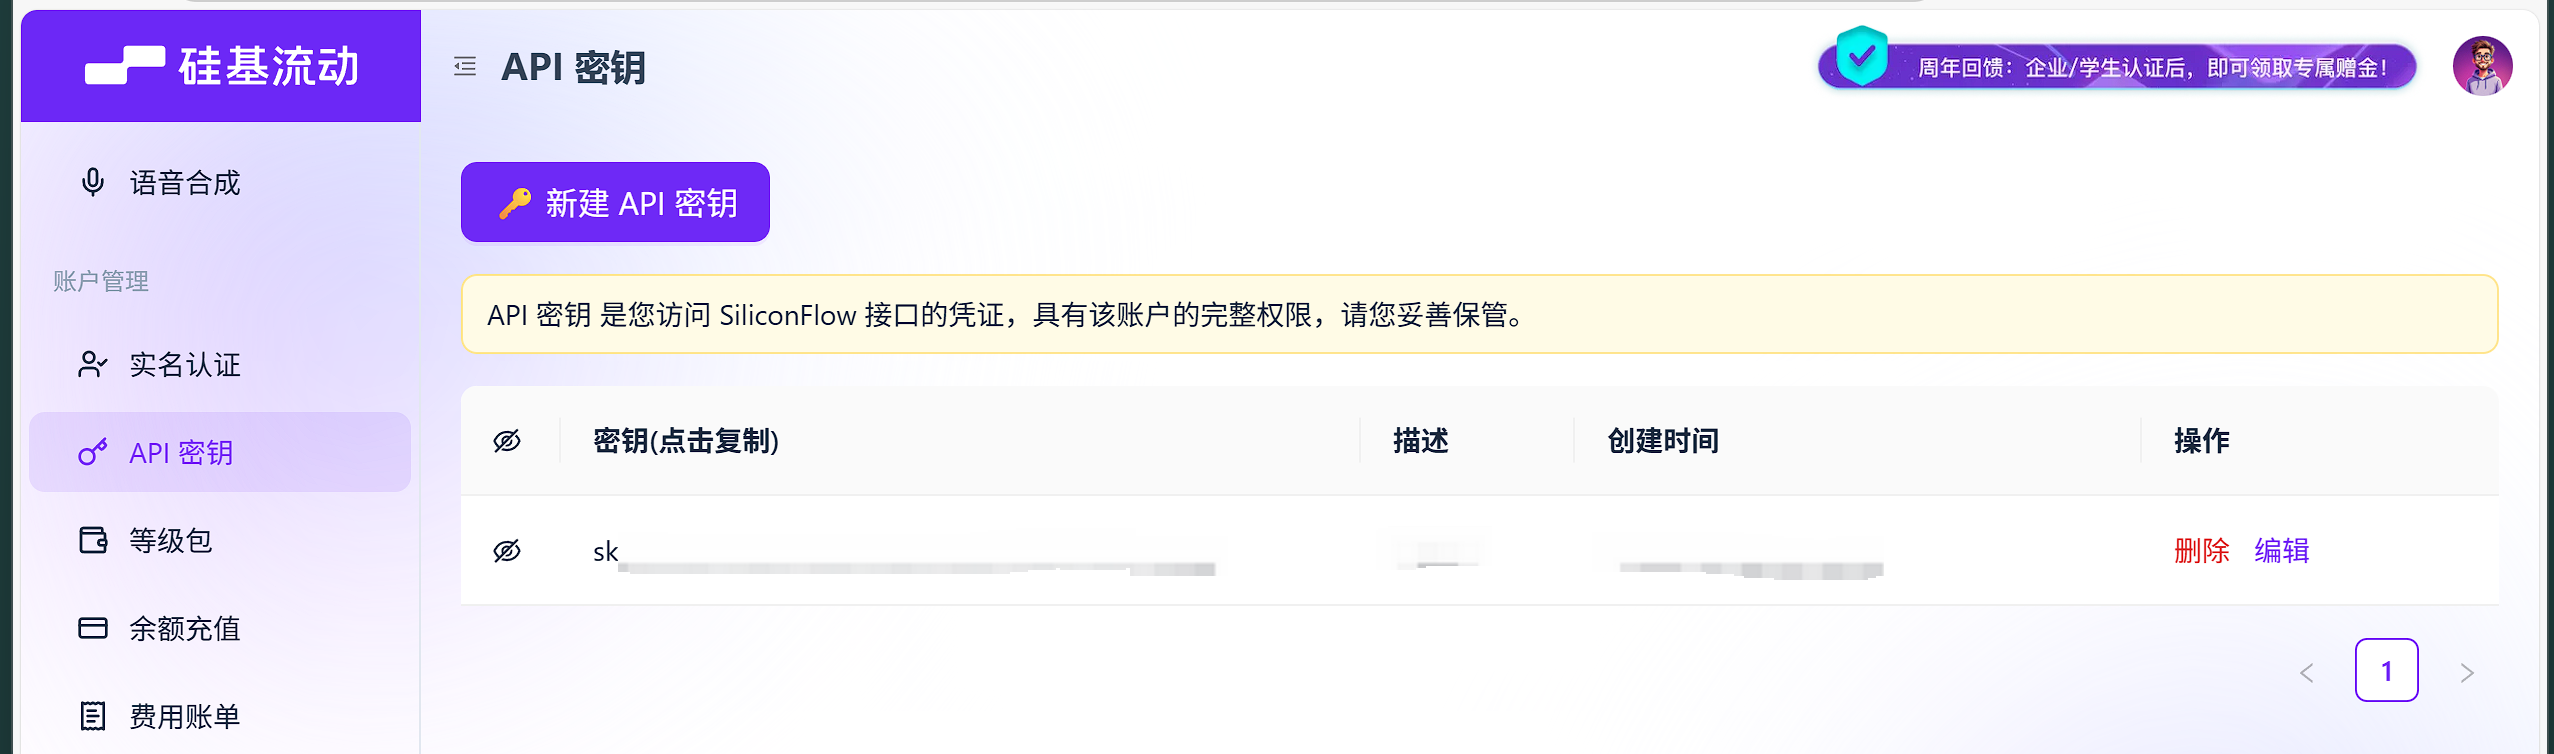
3. 获取阿里云百炼平台和硅基流动所需的密钥 api-key
- 阿里云: 大模型服务平台百炼控制台
- 硅基流动: SiliconCloud
二、本地大模型 deepseek 接入
1、将下载的 deepseek-R1 本地模型部署在 ollama 上运行起来,没有部署过的可以参考:本地用ollama部署DeepSeek大模型_ollama 安装 1.5模型-CSDN博客

2、创建一个 spring-boot 项目,引入以下依赖
<dependency>
    <groupId>org.springframework.boot</groupId>
    <artifactId>spring-boot-starter-web</artifactId>
</dependency>
<dependency>
    <groupId>org.springframework.boot</groupId>
    <artifactId>spring-boot-starter-webflux</artifactId>
</dependency>
<!-- ollama -->
<dependency>
    <groupId>org.springframework.ai</groupId>
    <artifactId>spring-ai-starter-model-ollama</artifactId>
</dependency>
<repositories>
    <repository>
        <id>spring-milestones</id>
        <name>Spring Milestones</name>
        <url>https://repo.spring.io/milestone</url>
        <snapshots>
            <enabled>false</enabled>
        </snapshots>
    </repository>
    <repository>
        <id>spring-snapshots</id>
        <name>Spring Snapshots</name>
        <url>https://repo.spring.io/snapshot</url>
        <releases>
            <enabled>false</enabled>
        </releases>
    </repository>
</repositories>
3、配置 application.yml 文件,其中 base-url 就是本地大模型在 ollama 运行的服务地址,model 填在 deepseek 下载的模型,这里下载的是 deepseek-r1:14b
spring:
  application:
    name: ai-demo
  ai:
    ollama:
      base-url: http://localhost:11434
      chat:
        options:
          model: deepseek-r1:14b
4、编写 java 代码
java
@RestController
@RequestMapping("/ai")
public class ChatController {
    private final ChatClient chatClient;

    public ChatController(ChatClient.Builder chatClient) {
        this.chatClient = chatClient.build();
    }

    @GetMapping("/chat")
    public String chat(@RequestParam(value = "input") String input) {
        return chatClient.prompt()
                .user(input)
                .call()
                .content();
    }
}
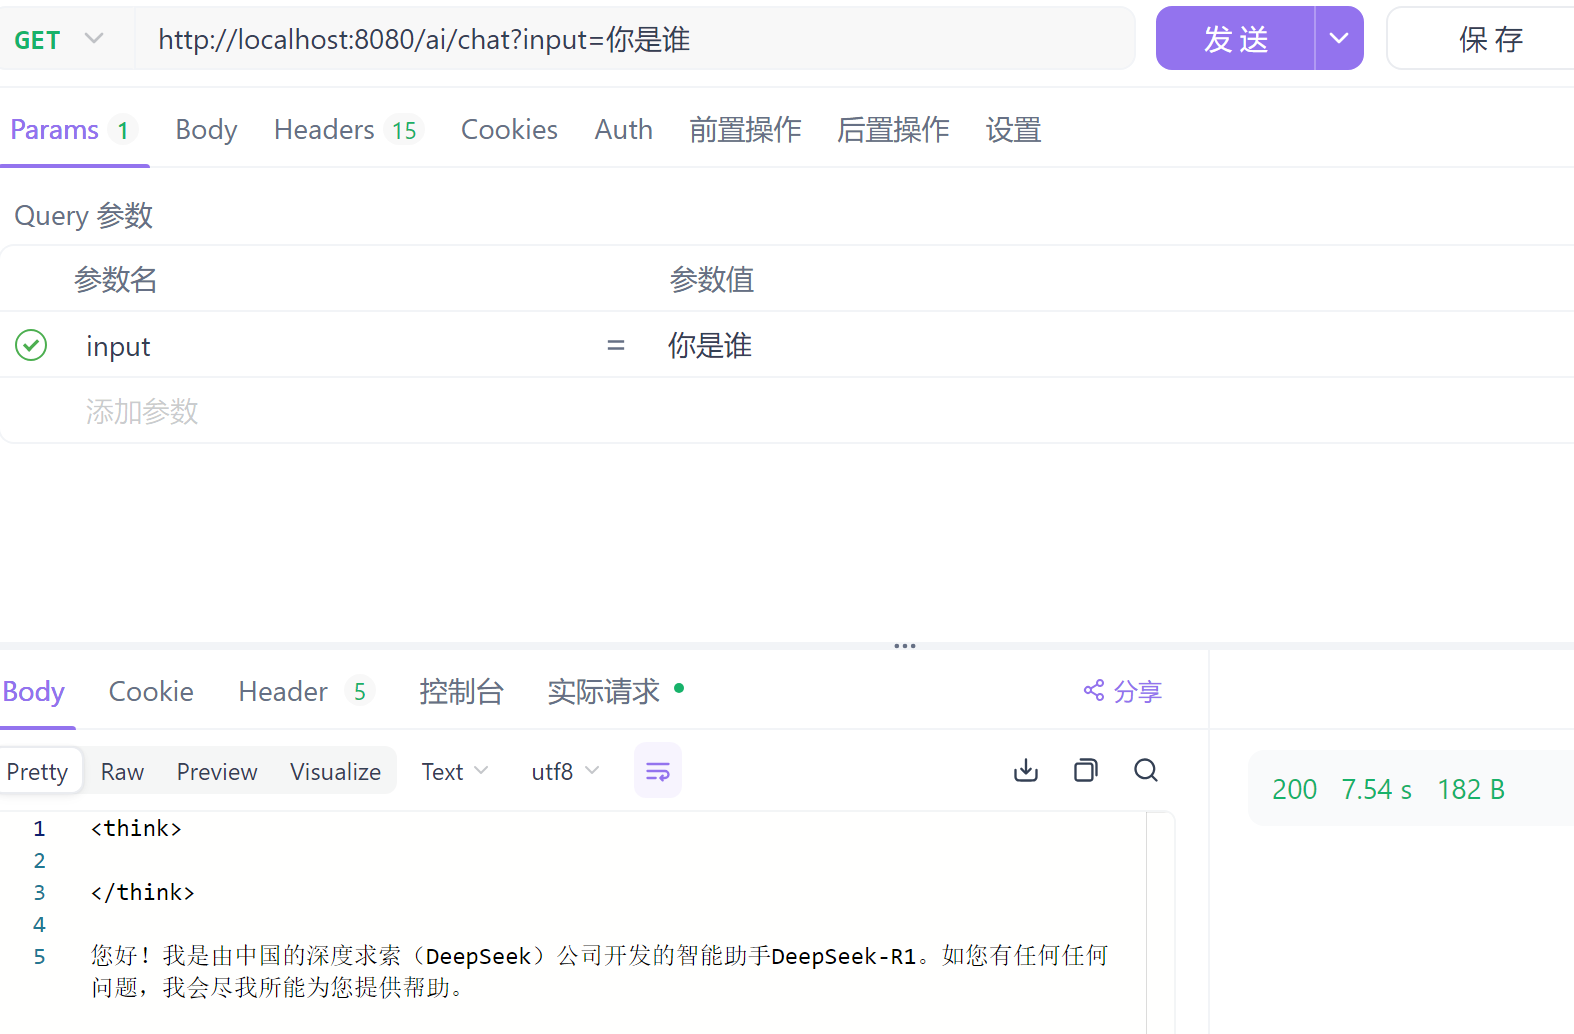
5、跑起来测试,大功告成
三、阿里云百炼平台接入
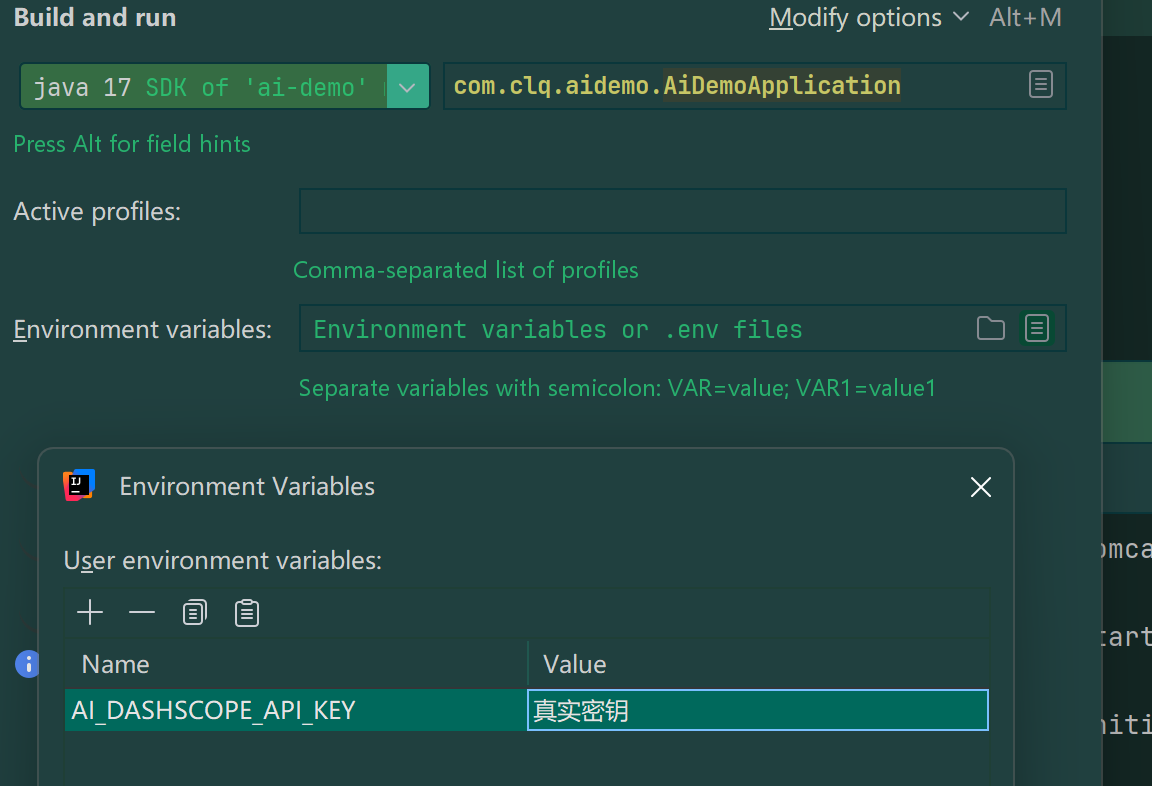
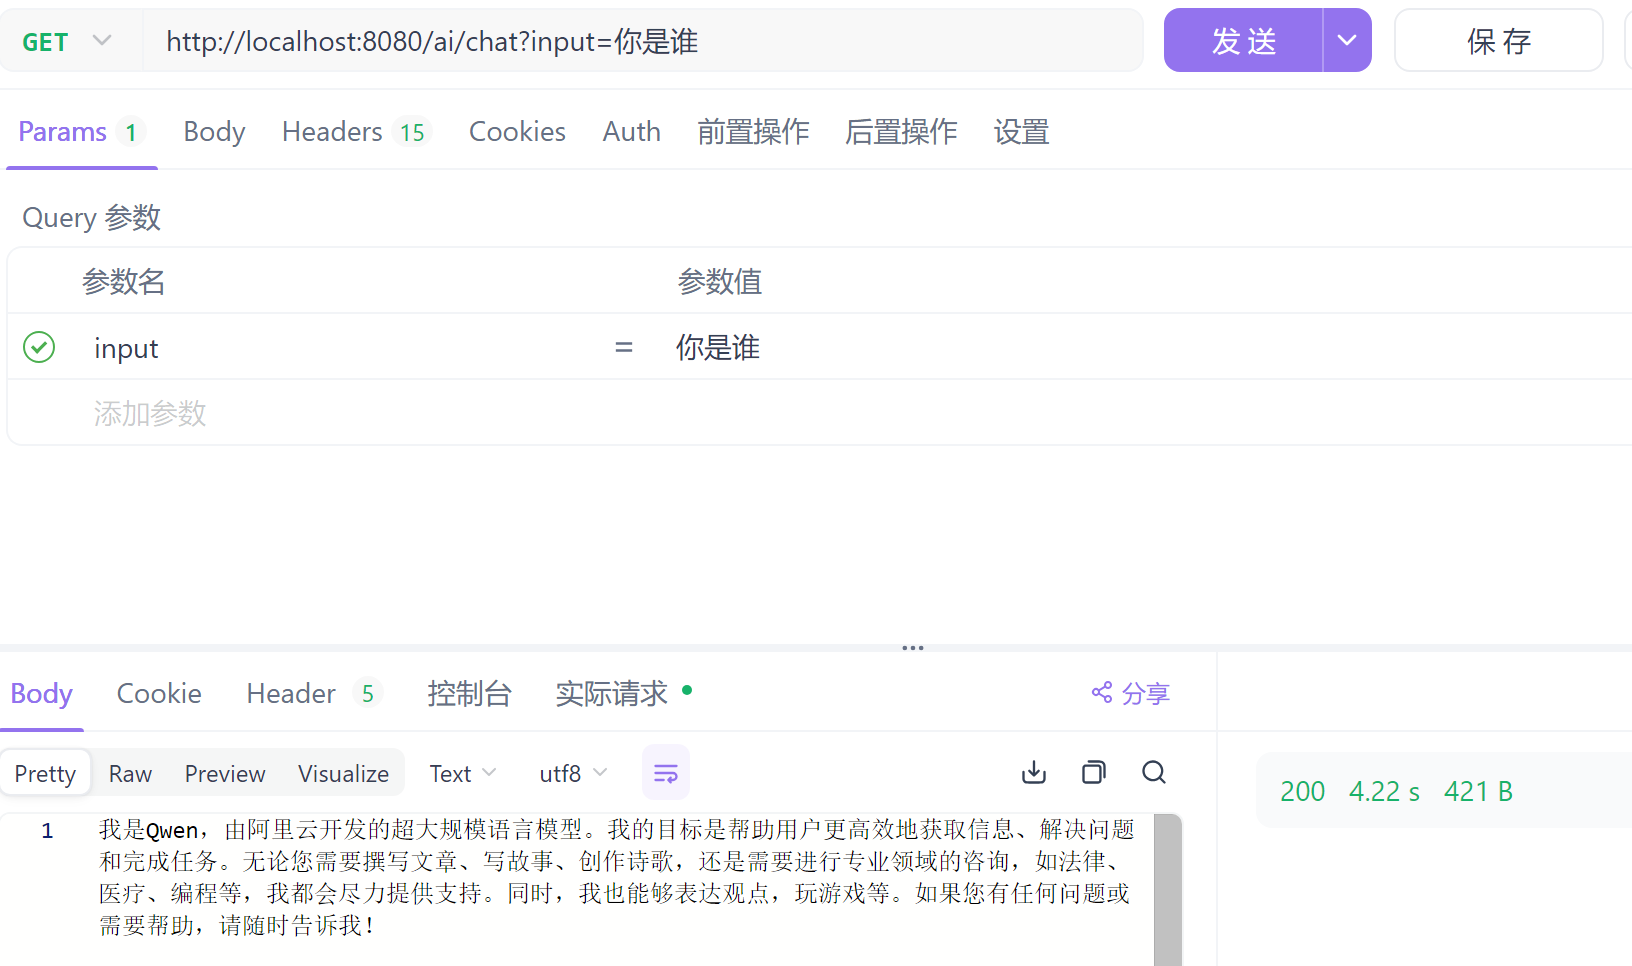
1、首先获取到之前创建的密钥,将其放在 java 运行环境变量里面
2、引入以下依赖
<dependency>
    <groupId>org.springframework.boot</groupId>
    <artifactId>spring-boot-starter-web</artifactId>
</dependency>
<dependency>
    <groupId>org.springframework.boot</groupId>
    <artifactId>spring-boot-starter-webflux</artifactId>
</dependency>
<!-- spring-ai alibaba -->
<dependency>
    <groupId>com.alibaba.cloud.ai</groupId>
    <artifactId>spring-ai-alibaba-starter</artifactId>
    <version>1.0.0-M5.1</version>
</dependency>
<repositories>
    <repository>
        <id>spring-milestones</id>
        <name>Spring Milestones</name>
        <url>https://repo.spring.io/milestone</url>
        <snapshots>
            <enabled>false</enabled>
        </snapshots>
    </repository>
    <repository>
        <id>spring-snapshots</id>
        <name>Spring Snapshots</name>
        <url>https://repo.spring.io/snapshot</url>
        <releases>
            <enabled>false</enabled>
        </releases>
    </repository>
</repositories>
3、配置 application.yml 文件,其中:
- api-key 为当前平台密钥,可以直接从平台复制过来粘贴上去,但是不推荐,建议使用环境变量:${AI_DASHSCOPE_API_KEY}
- base-url 阿里云线上服务地址
- model 这里填的是通义千问,可以根据官网所有的模型进行切换
spring:
  application:
    name: ai-demo
  ai:
    dashscope:
      api-key: ${AI_DASHSCOPE_API_KEY}
      base-url: https://dashscope.aliyuncs.com/compatible-mode/v1
      chat:
        options:
          model: qwen-max
4、编写 java 代码
java
@RestController
@RequestMapping("/ai")
public class ChatController {
    private final ChatClient chatClient;

    public ChatController(ChatClient.Builder chatClient) {
        this.chatClient = chatClient.build();
    }

    @GetMapping("/chat")
    public String chat(@RequestParam(value = "input") String input) {
        return chatClient.prompt()
                .user(input)
                .call()
                .content();
    }
}
5、跑起来测试,大功告成
四、硅基流动(open-api)平台接入
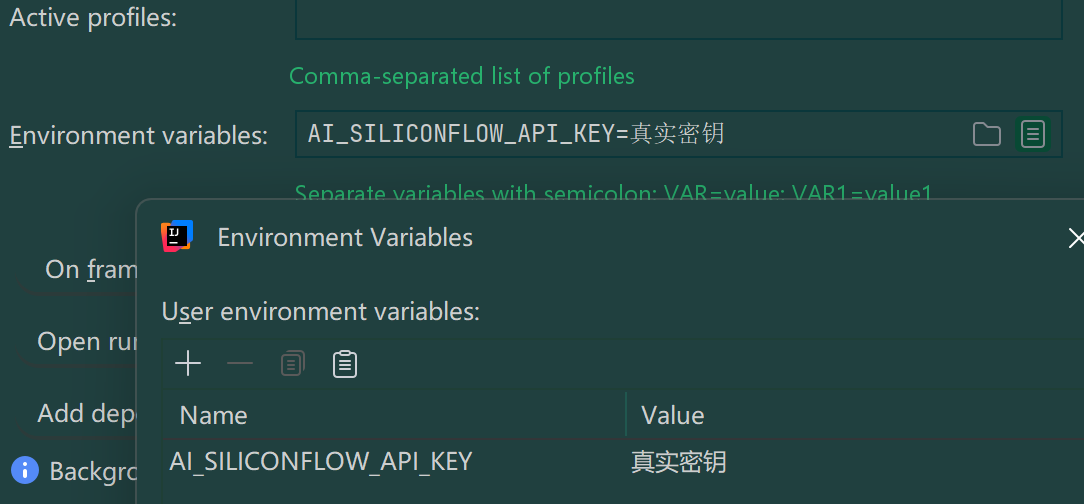
1、首先获取到硅基流动创建的密钥,将其放在 java 运行环境变量里面
2、引入以下依赖
<dependency>
    <groupId>org.springframework.boot</groupId>
    <artifactId>spring-boot-starter-web</artifactId>
</dependency>
<dependency>
    <groupId>org.springframework.boot</groupId>
    <artifactId>spring-boot-starter-webflux</artifactId>
</dependency>
<!-- Spring AI OpenAI Starter -->
<dependency>
    <groupId>org.springframework.ai</groupId>
    <artifactId>spring-ai-starter-model-openai</artifactId>
</dependency>
<repositories>
    <repository>
        <id>spring-milestones</id>
        <name>Spring Milestones</name>
        <url>https://repo.spring.io/milestone</url>
        <snapshots>
            <enabled>false</enabled>
        </snapshots>
    </repository>
    <repository>
        <id>spring-snapshots</id>
        <name>Spring Snapshots</name>
        <url>https://repo.spring.io/snapshot</url>
        <releases>
            <enabled>false</enabled>
        </releases>
    </repository>
</repositories>
3、配置 application.yml 文件,其中:
- 同样,api-key 为硅基流动平台密钥,可以直接从平台复制过来粘贴上去,但是不推荐,建议使用环境变量:${AI_SILICONFLOW_API_KEY}
- base-url 硅基流动线上服务地址
- model 这里同样填的是通义千问,可以根据官网所有的模型进行切换
spring:
  application:
    name: ai-demo
  ai:
    openai:
      api-key: ${AI_SILICONFLOW_API_KEY}
      base-url: https://api.siliconflow.cn
      chat:
        options:
          model: Qwen/Qwen2.5-72B-Instruct
4、编写 java 代码
java
@RestController
@RequestMapping("/ai")
public class ChatController {
    private final ChatClient chatClient;

    public ChatController(ChatClient.Builder chatClient) {
        this.chatClient = chatClient.build();
    }

    @GetMapping("/chat")
    public String chat(@RequestParam(value = "input") String input) {
        return chatClient.prompt()
                .user(input)
                .call()
                .content();
    }
}
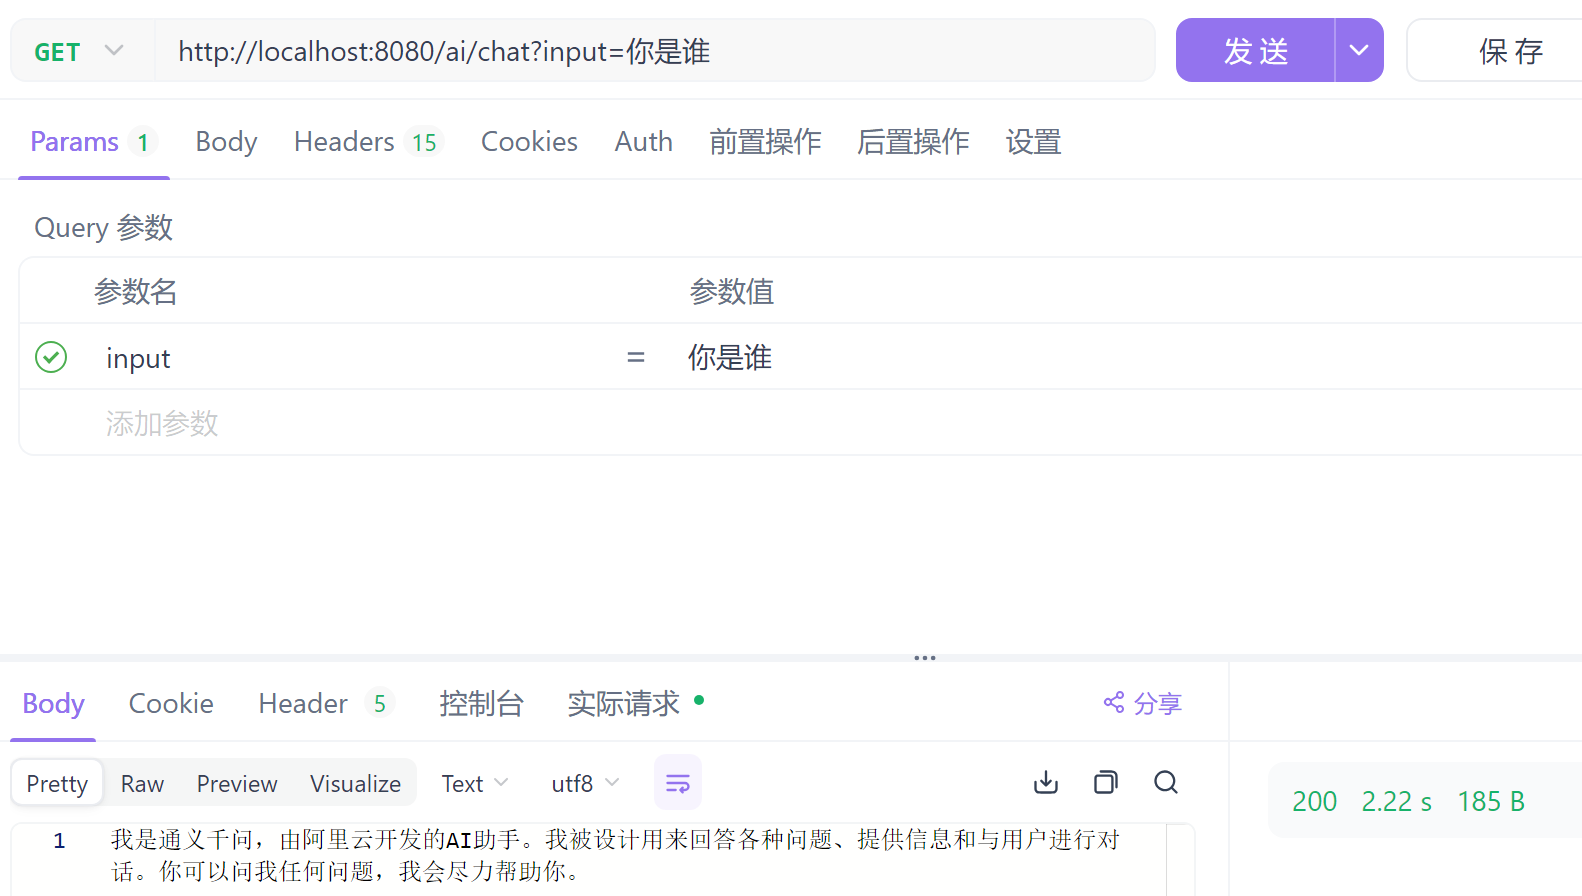
5、跑起来测试,大功告成
五、总结
spring AI 的接入其实是比较简单,但是要注意以下事项:
- 如果切换了模型,注意将其它模型的 maven 依赖注释掉,重新刷新 maven ,不然会有 jar 包冲突;
- Spring Boot 版本号和模型 spring-ai-starter 的版本号需要参考官网,或者尽量选高版本,避免不兼容问题;
- 如果 spring-ai 依赖包拉不下来,需要将 maven 仓库的 setting.xml 配置一下,把 <mirrorOf>*</mirrorOf> 换成 <mirrorOf>*,!spring-snapshots,!central-portal-snapshots</mirrorOf> ,因为阿里云仓库可能并没有 spring-ai 的依赖包,* 就会全部重定向到阿里云的仓库去获取。
java
<!-- 阿里云 Maven 镜像 -->
<mirror>
   <id>aliyun-maven</id>
   <name>Aliyun Maven Repository</name>
   <url>https://maven.aliyun.com/repository/public/</url>
   <mirrorOf>*,!spring-snapshots,!central-portal-snapshots</mirrorOf>
   <!-- <mirrorOf>*</mirrorOf> -->
</mirror>