文章的目的为了记录使用QT QML开发学习的经历。开发流程和要点有些记忆模糊,赶紧记录,防止忘记。
相关链接:
开源 C++ QT QML 开发(四)复杂控件--Listview
开源 C++ QT QML 开发(五)复杂控件--Gridview
推荐链接:
开源 C# 快速开发(十六)数据库--sqlserver增删改查
本章节主要内容是:创建QML工程,介绍工程的组成,基本调试等。
1.工程创建
2.编译调试
3.工程组成
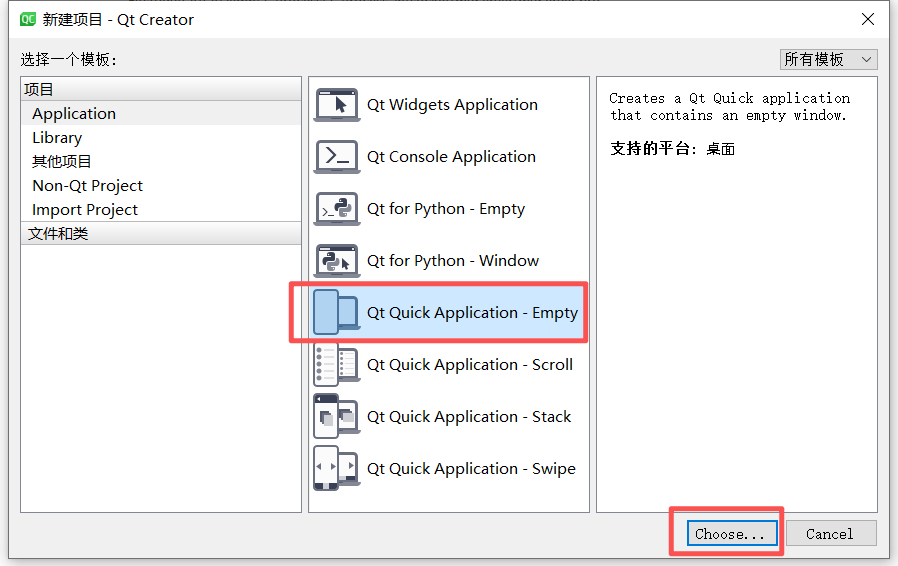
一、工程创建
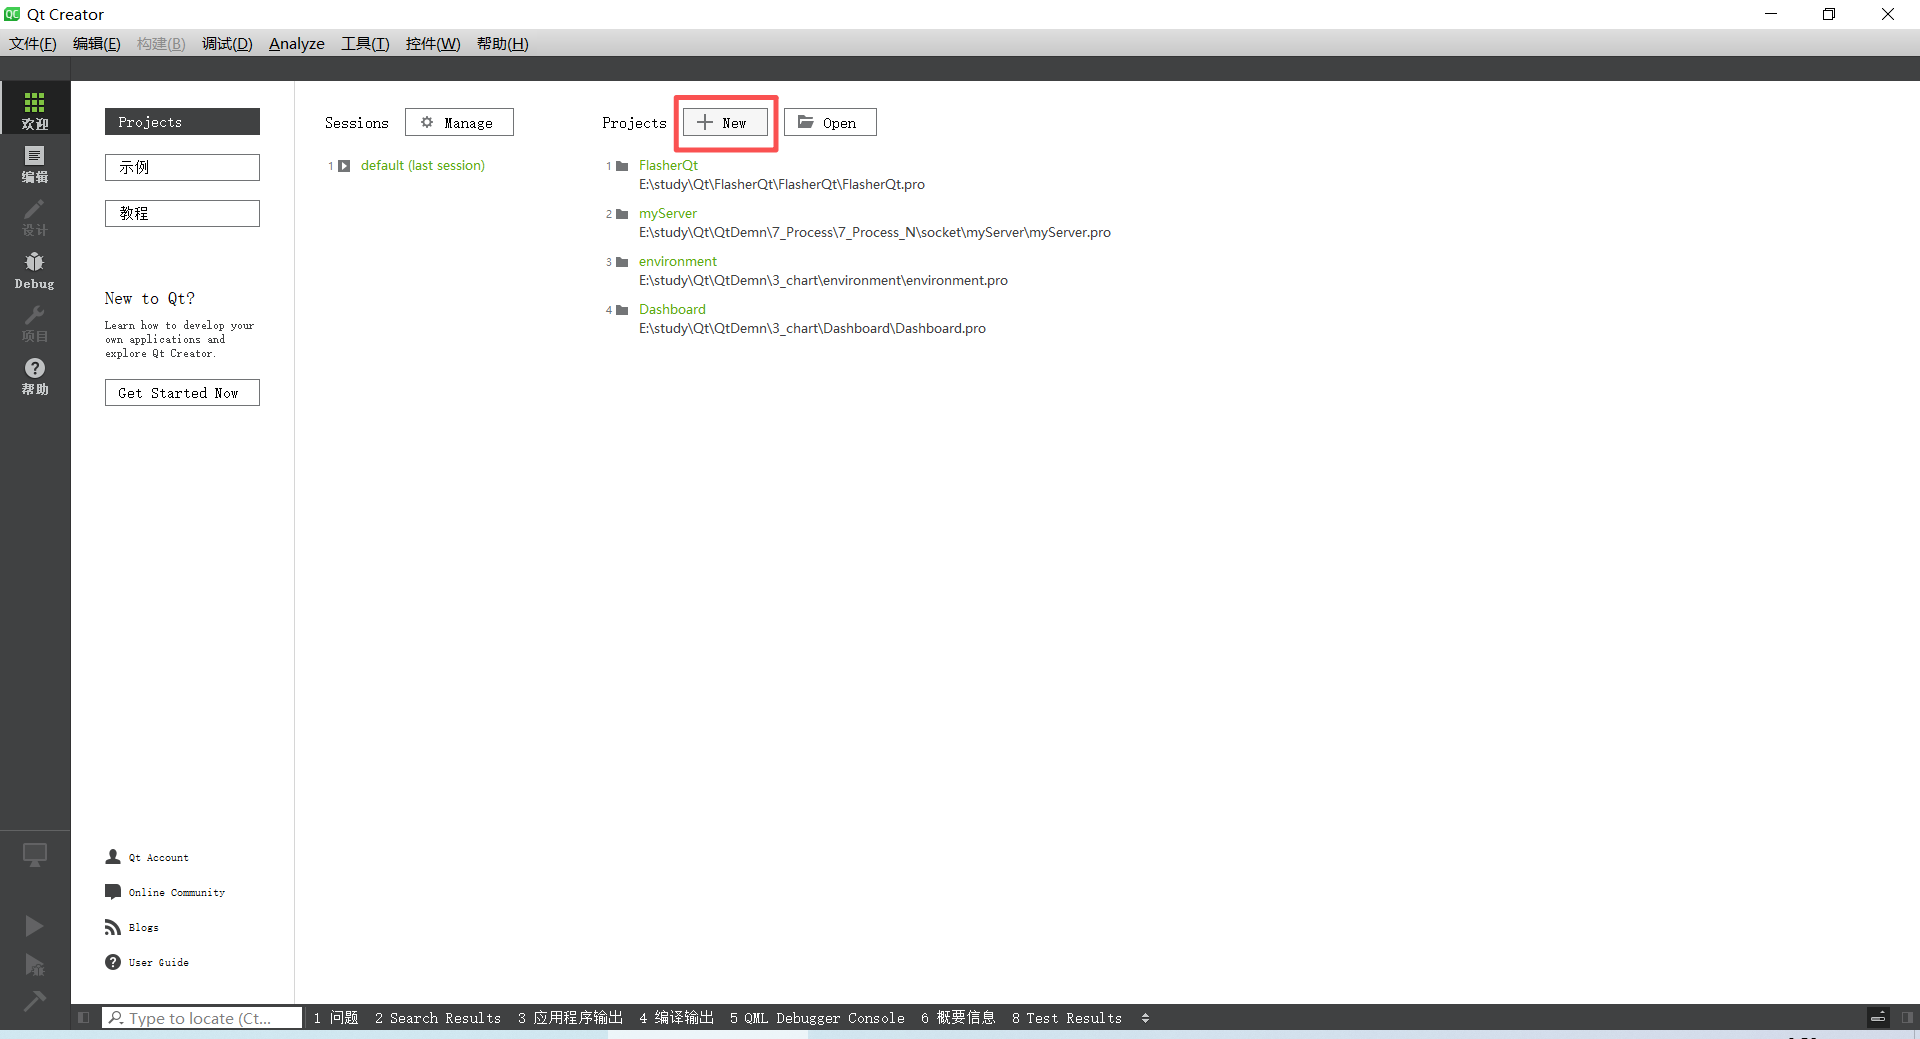
选中Qt Quick Application就是qml
输入工程名
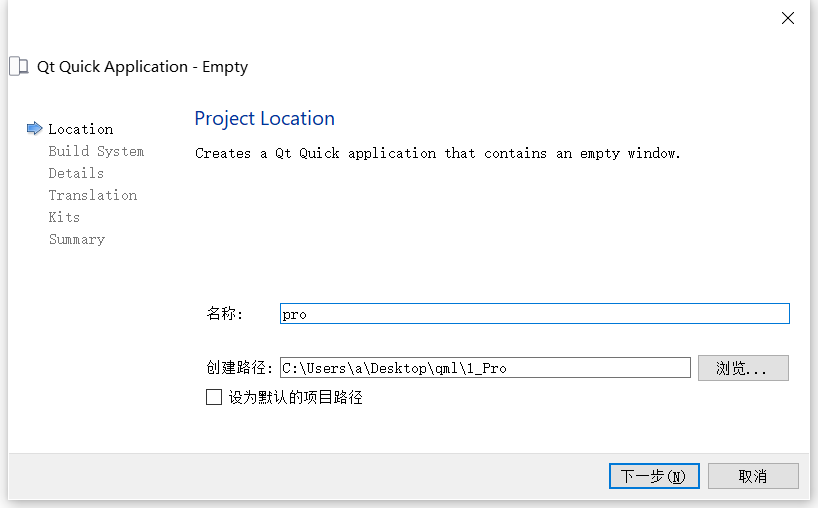
后面的步骤全部下一步,就创建了工程
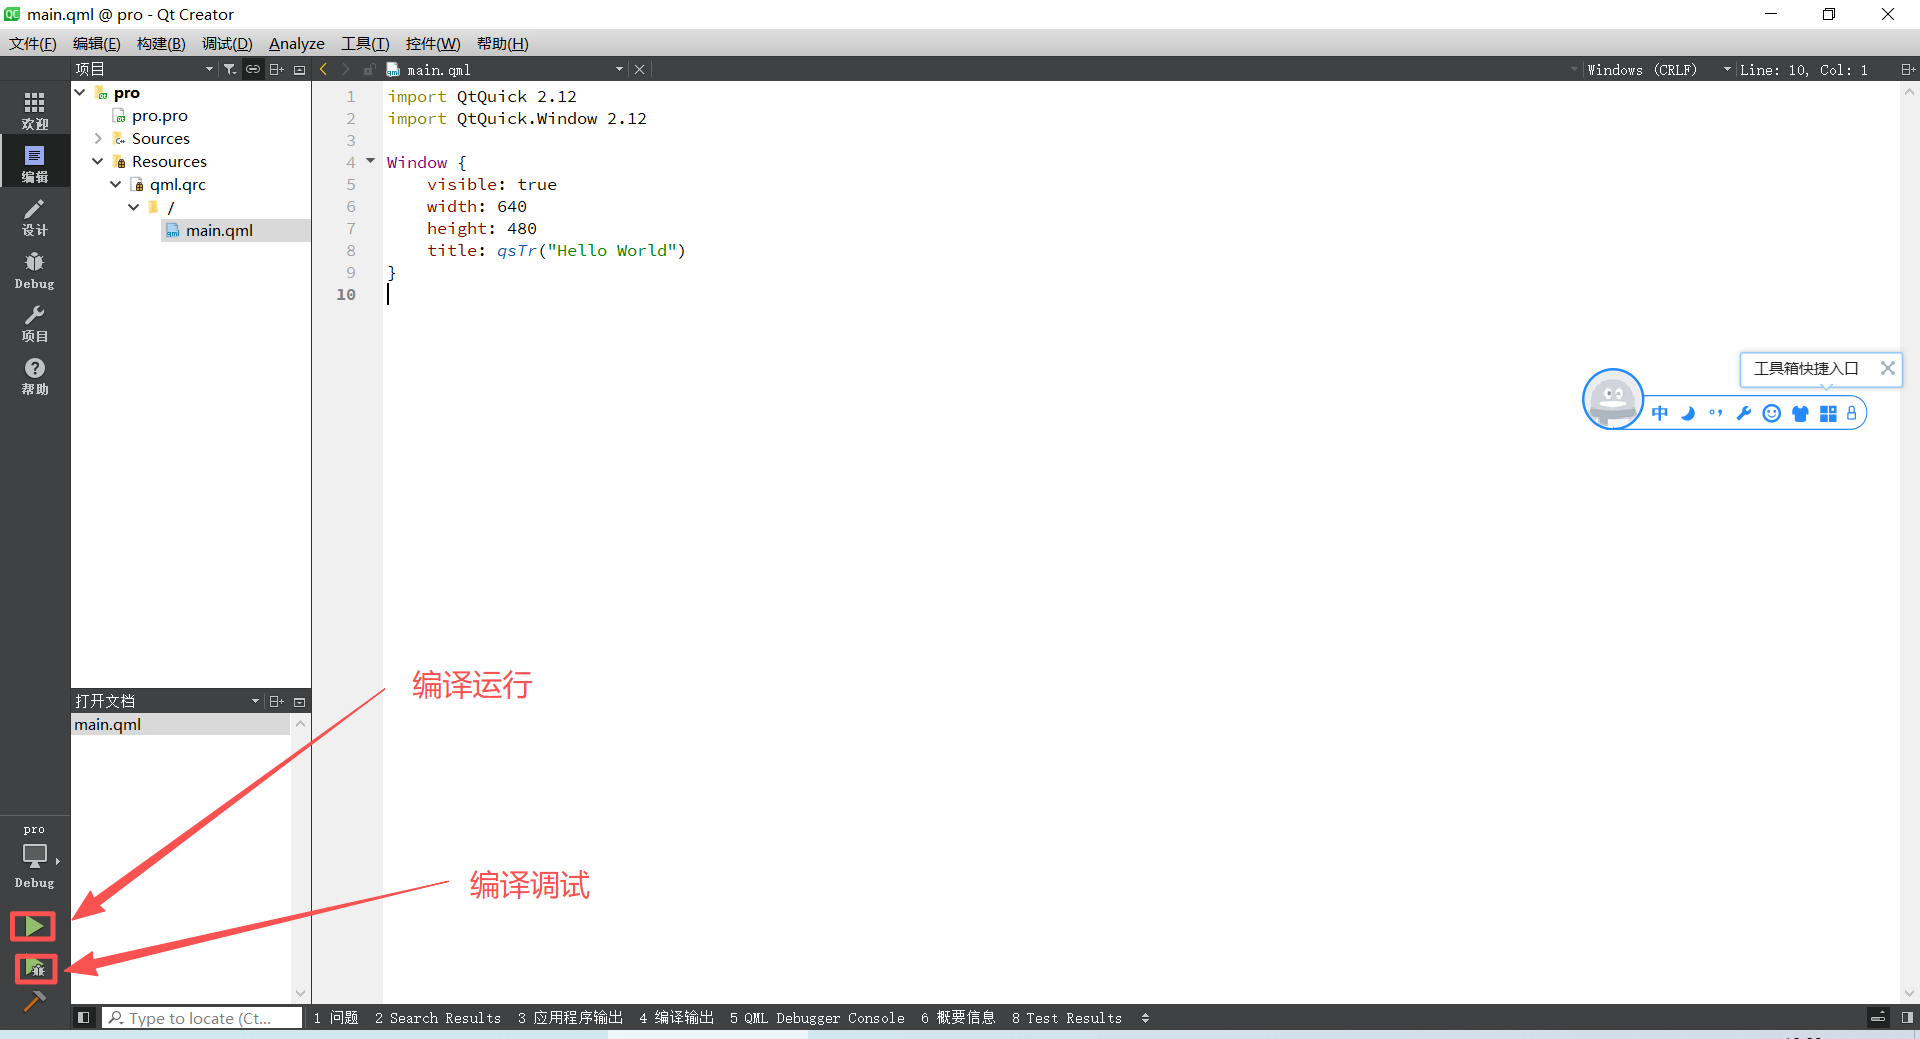
二、编译调试
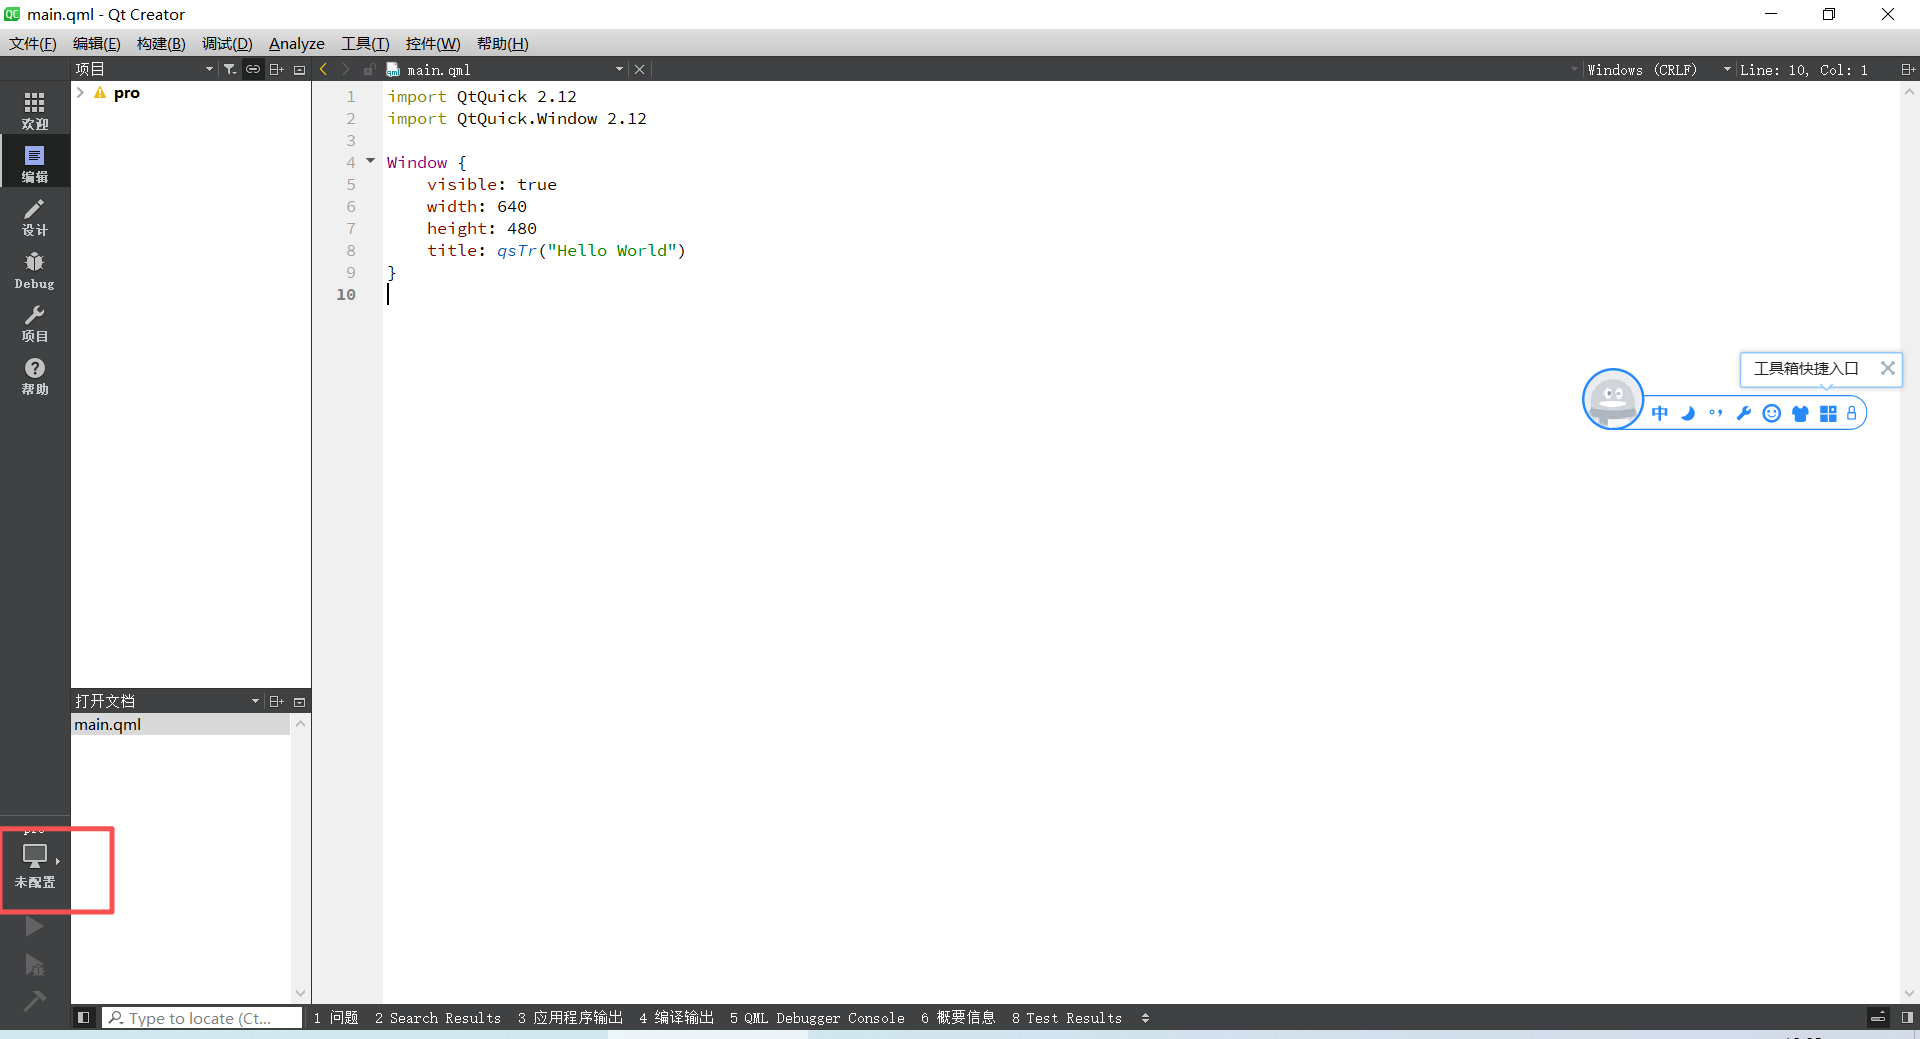
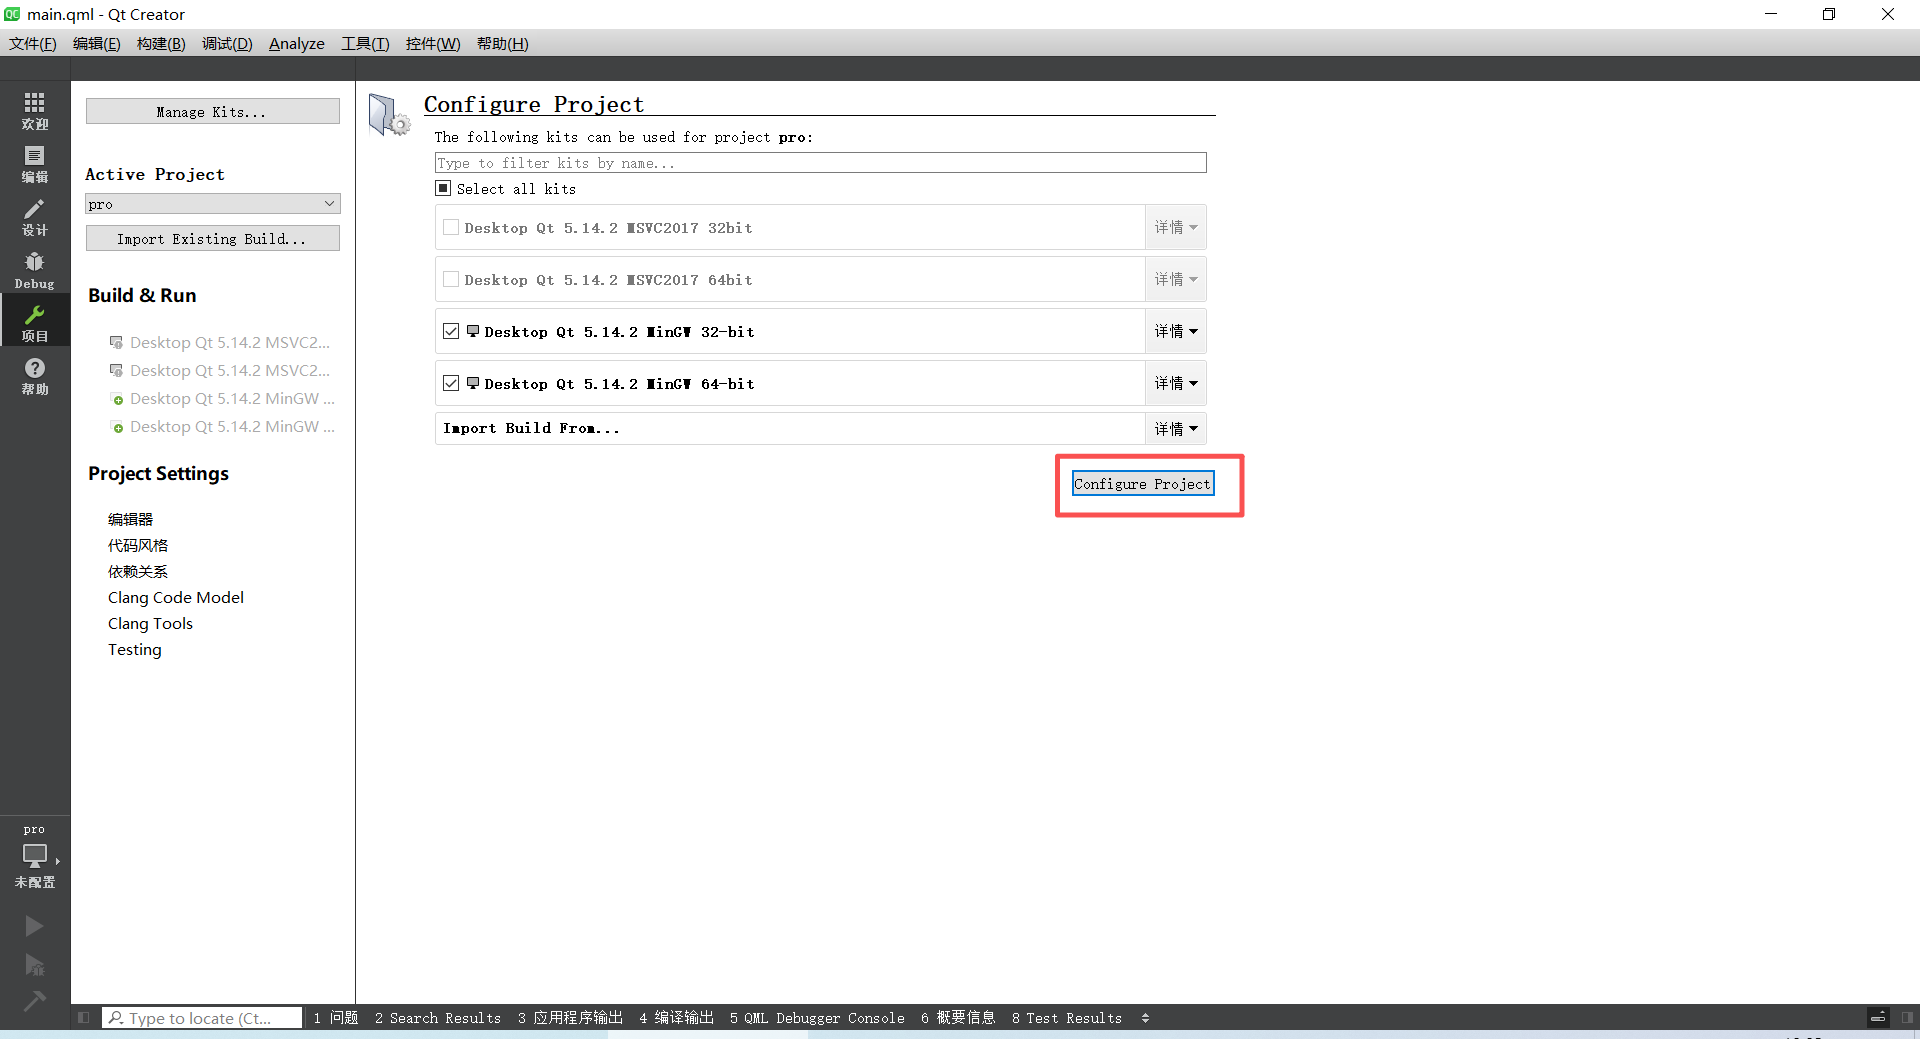
设置以后出现编译和调试按钮
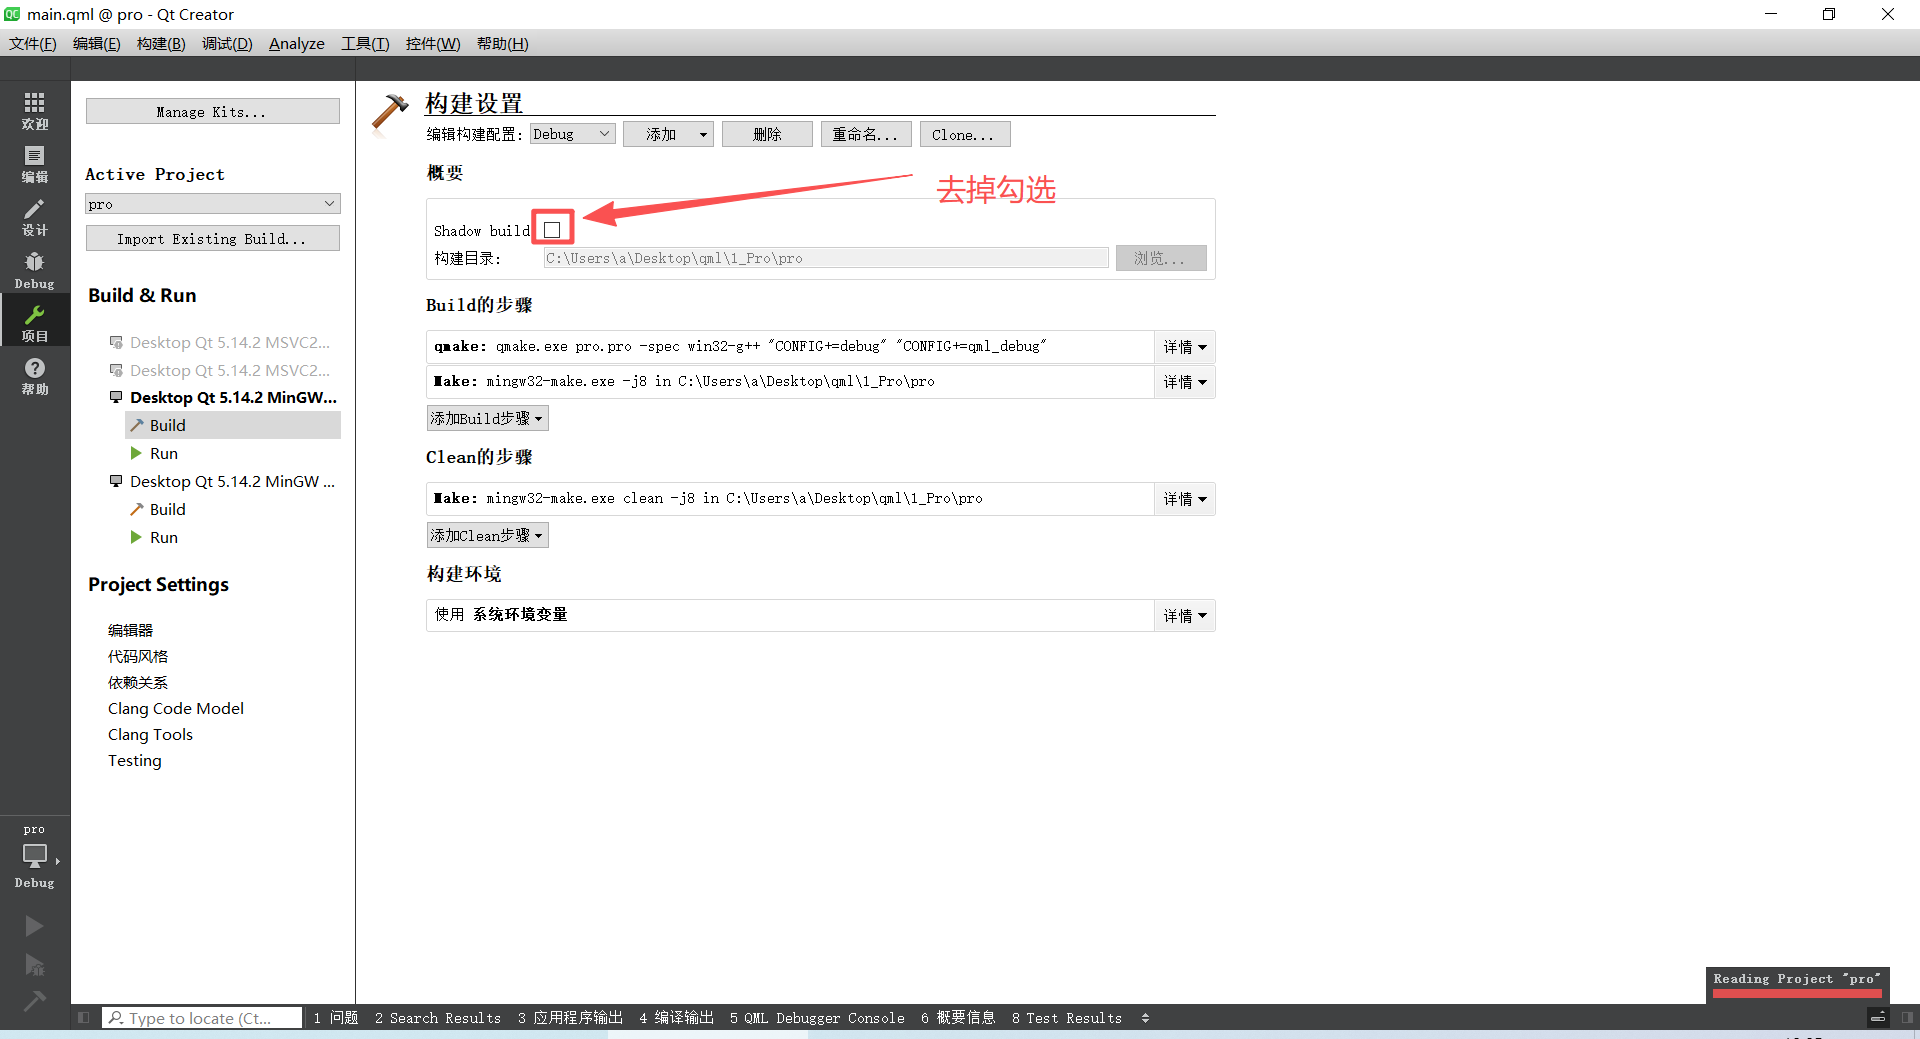
默认的调试文件夹随机,需要设置编译调试文件夹到工程文件夹
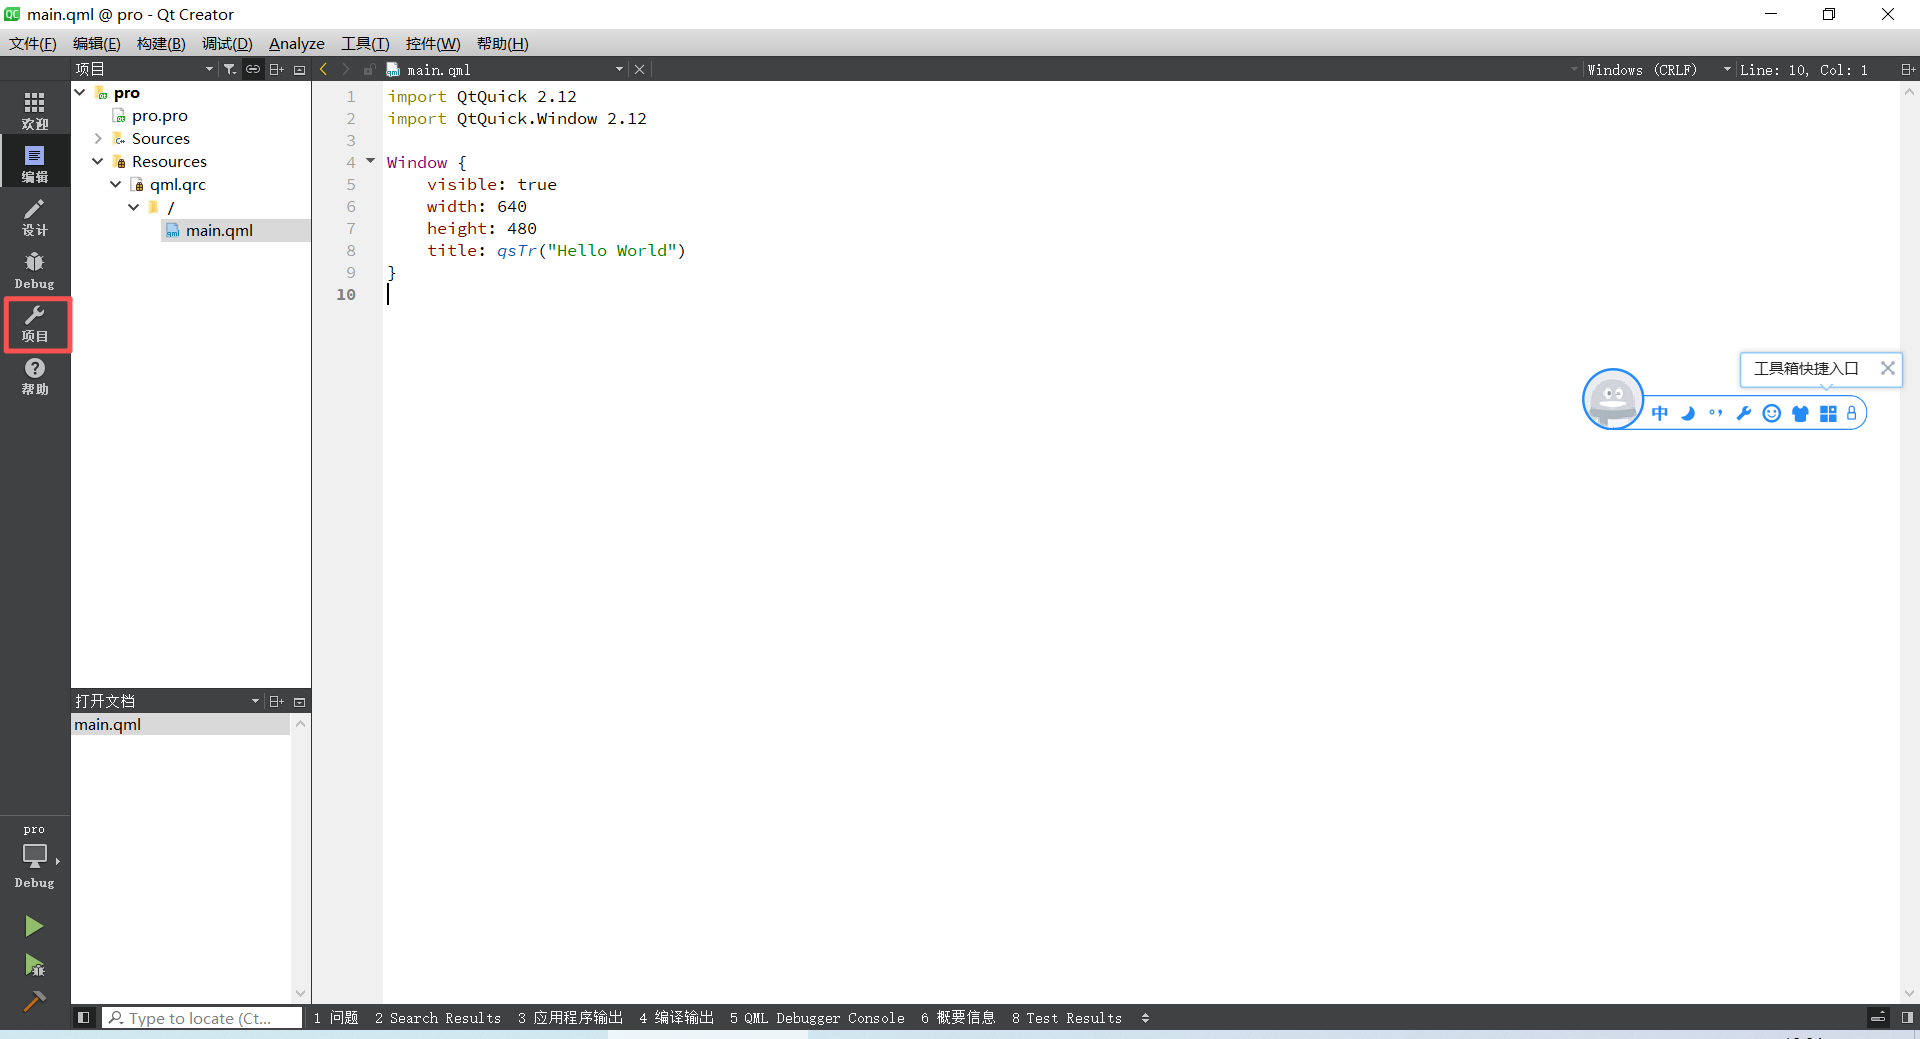
去掉勾选,编译文件夹会放到工程文件夹中。
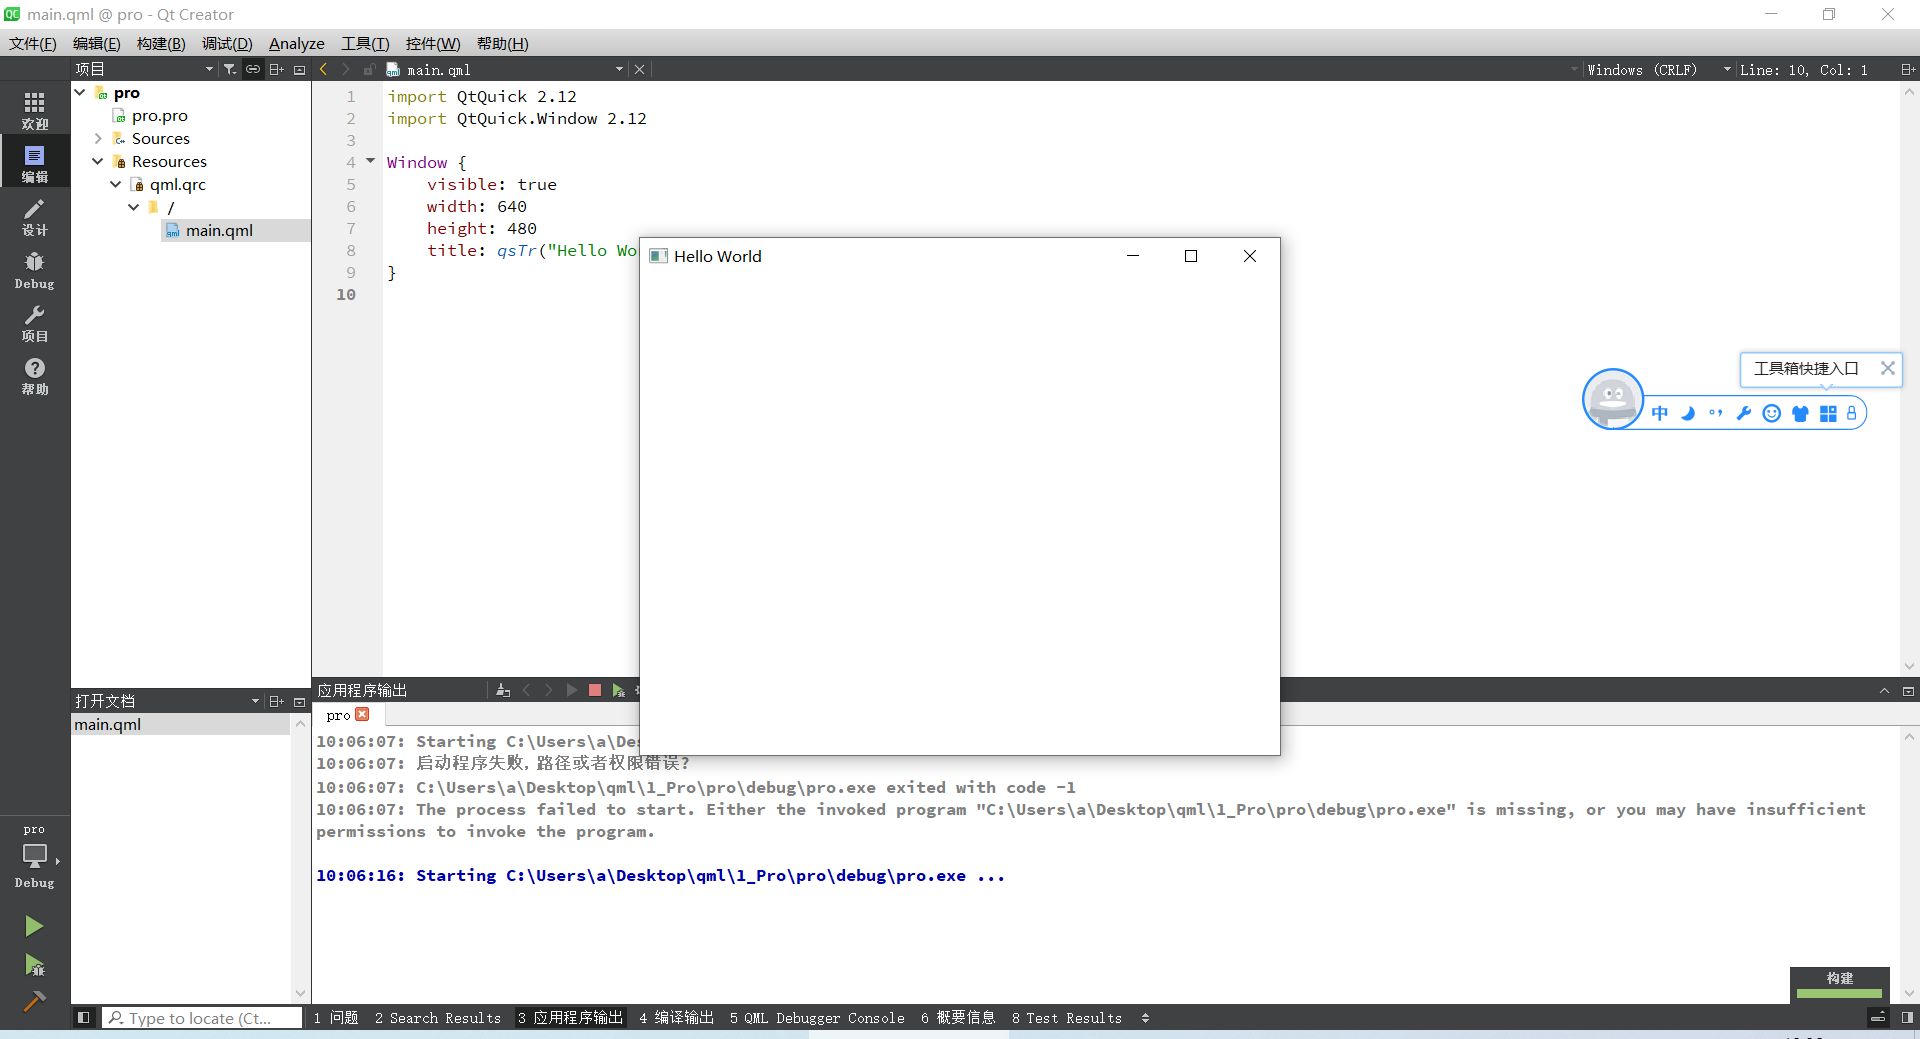
成功运行
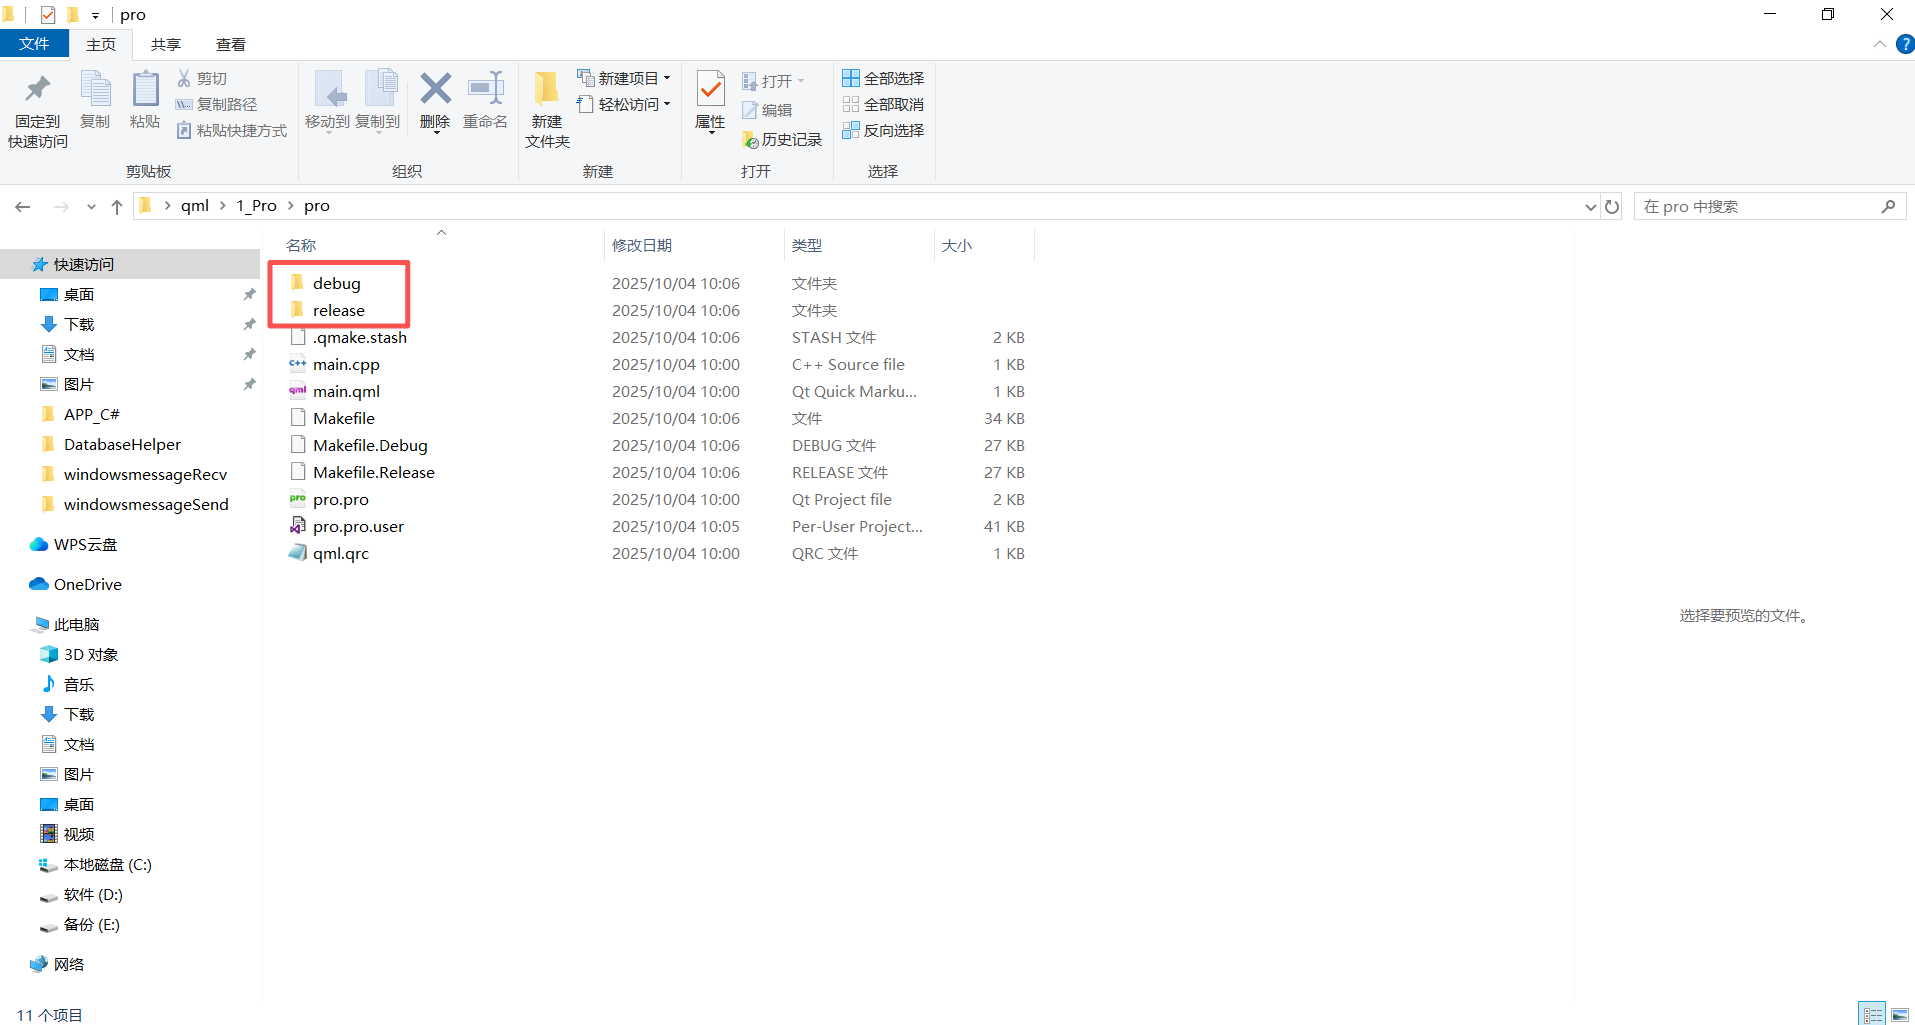
编译文件夹也在工程目录中
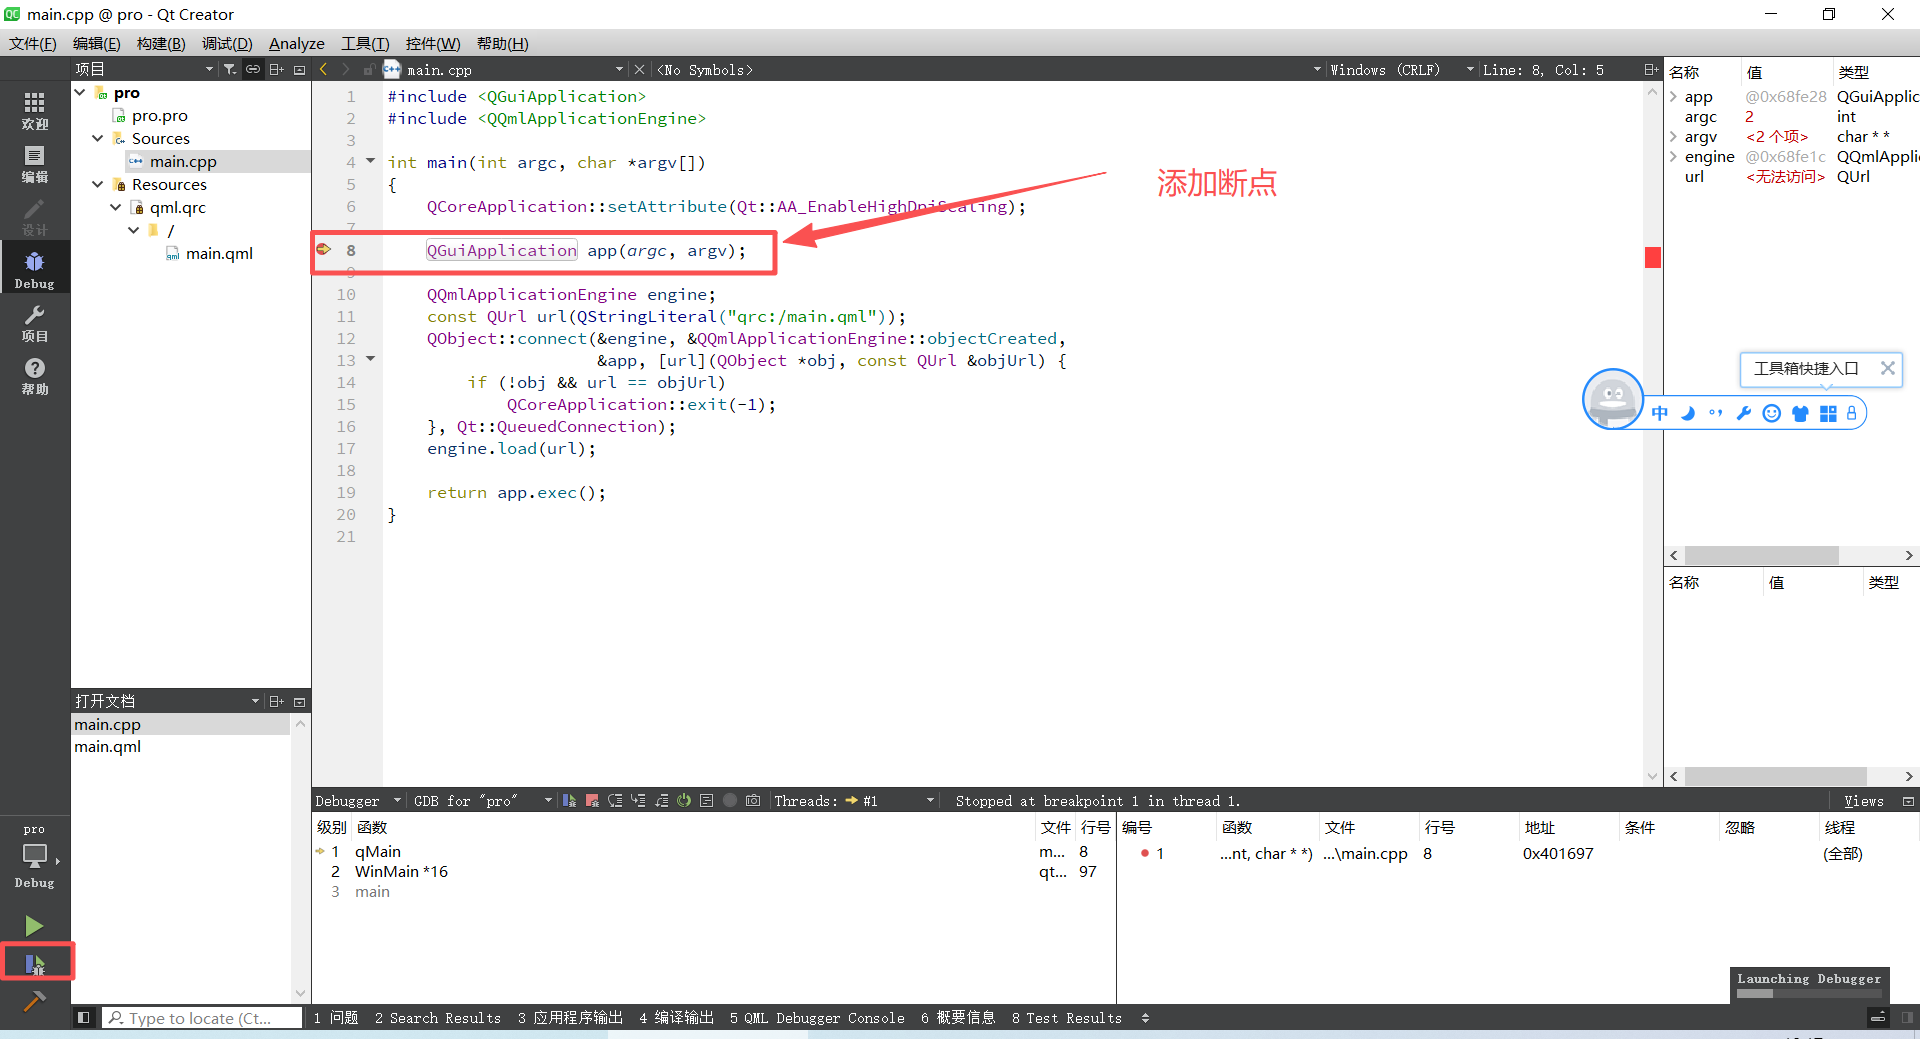
添加断点进行调试
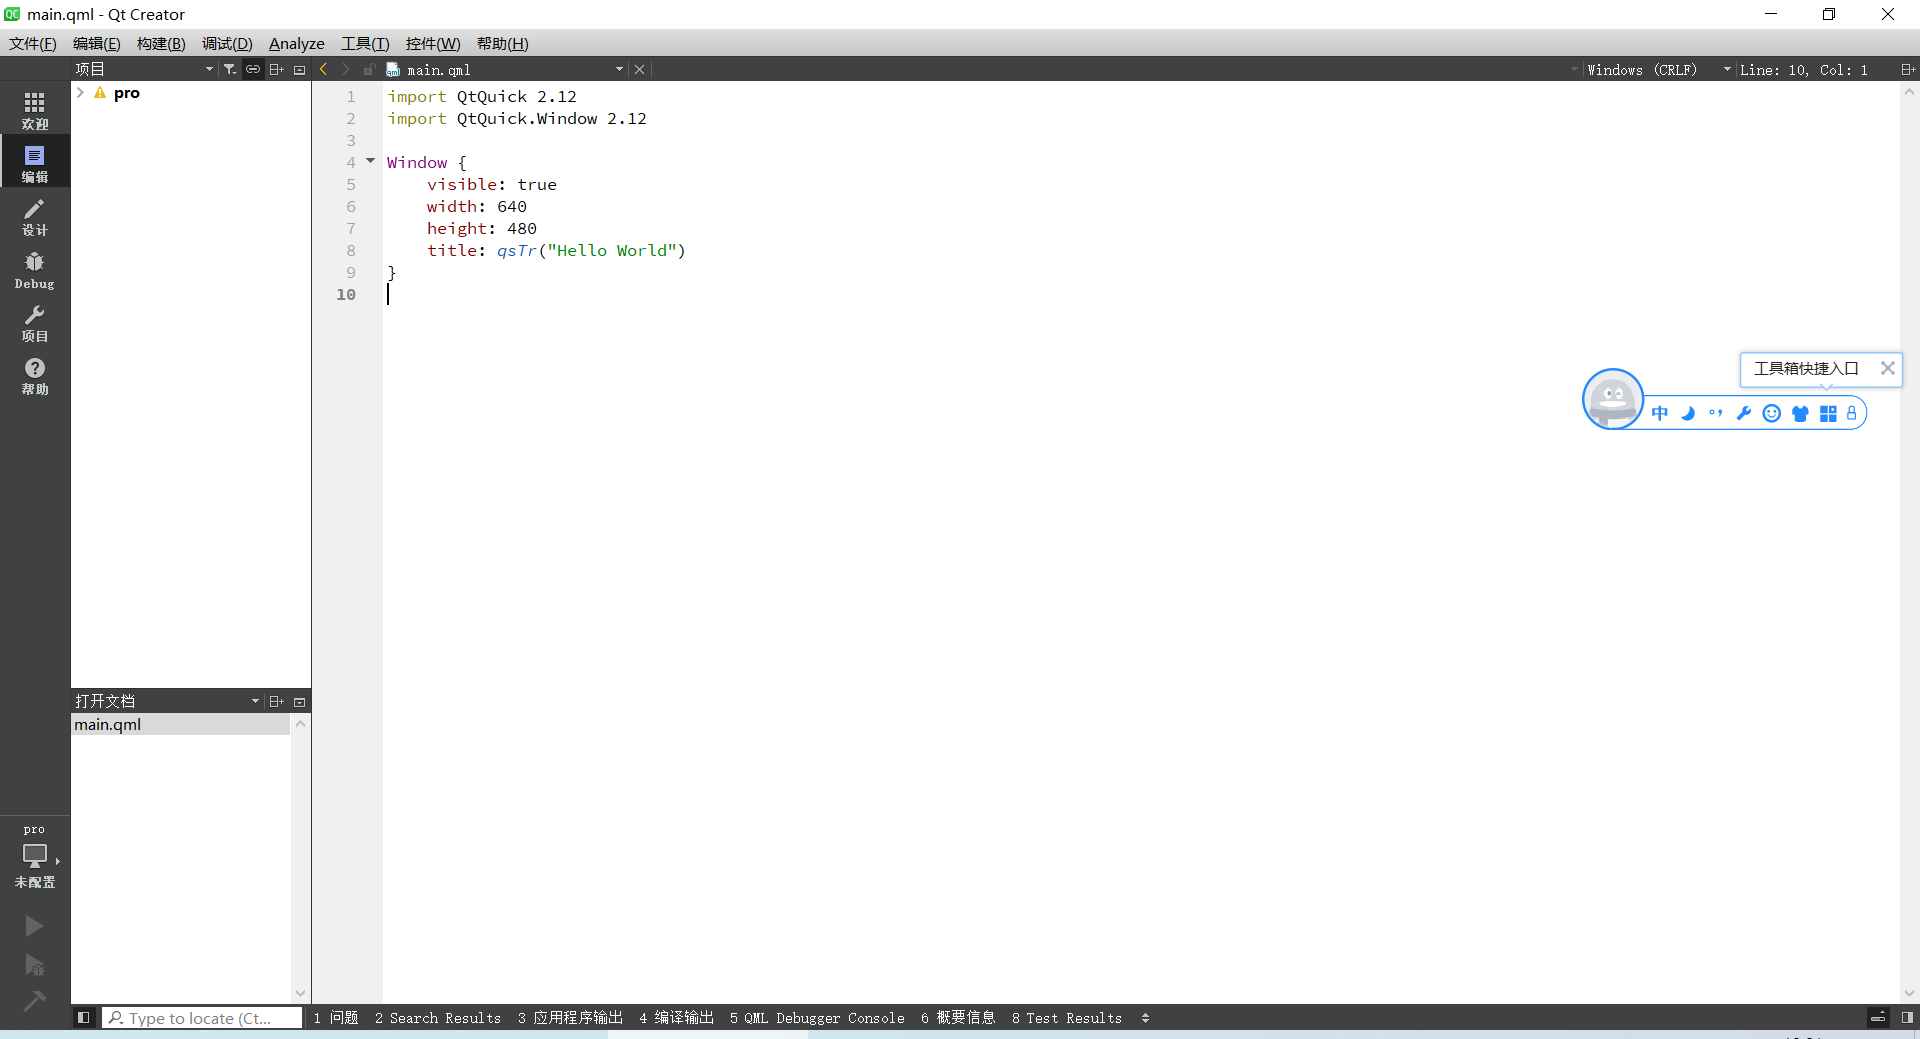
三、工程组成
pro/
├── pro.pro
├── main.cpp
├── main.qml
├── resources.qrc
└── (其他资源文件)
.pro 文件 (Qt Project File)
这是 Qt 的工程文件 ,用于 qmake 构建系统。它告诉 Qt 如何编译和链接你的项目。当你打开一个 QML 项目时,通常首先在 Qt Creator 中打开这个 .pro 文件。
QT += quick

CONFIG += c++11

# The following define makes your compiler emit warnings if you use
# any Qt feature that has been marked deprecated (the exact warnings
# depend on your compiler). Refer to the documentation for the
# deprecated API to know how to port your code away from it.
DEFINES += QT_DEPRECATED_WARNINGS

# You can also make your code fail to compile if it uses deprecated APIs.
# In order to do so, uncomment the following line.
# You can also select to disable deprecated APIs only up to a certain version of Qt.
#DEFINES += QT_DISABLE_DEPRECATED_BEFORE=0x060000    # disables all the APIs deprecated before Qt 6.0.0

SOURCES += \
        main.cpp

RESOURCES += qml.qrc

# Additional import path used to resolve QML modules in Qt Creator's code model
QML_IMPORT_PATH =

# Additional import path used to resolve QML modules just for Qt Quick Designer
QML_DESIGNER_IMPORT_PATH =

# Default rules for deployment.
qnx: target.path = /tmp/$${TARGET}/bin
else: unix:!android: target.path = /opt/$${TARGET}/bin
!isEmpty(target.path): INSTALLS += target
.qrc 文件 (Qt Resource Collection File)
这是一个 XML 格式的资源文件 ,用于将你的 QML 文件、图片、字体等资源编译进最终的可执行文件中。这样做的好处是发布应用时不需要携带一堆零散的文件,所有资源都内置于一个二进制文件中。
<RCC>
    <qresource prefix="/">
        <file>main.qml</file>
    </qresource>
</RCC>
main.cpp (C++ 入口点)
这是整个应用程序的 C++ 入口函数。即使是纯 QML 应用,也需要一个简短的 C++ 文件来启动 QML 引擎并加载主 QML 文件。
#include <QGuiApplication>
#include <QQmlApplicationEngine>
int main(int argc, char *argv[])
{
QCoreApplication::setAttribute(Qt::AA_EnableHighDpiScaling);
QGuiApplication app(argc, argv);
QQmlApplicationEngine engine;
const QUrl url(QStringLiteral("qrc:/main.qml"));
QObject::connect(&engine, &QQmlApplicationEngine::objectCreated,
&app, [url](QObject *obj, const QUrl &objUrl) {
if (!obj && url == objUrl)
QCoreApplication::exit(-1);
}, Qt::QueuedConnection);
engine.load(url);
return app.exec();
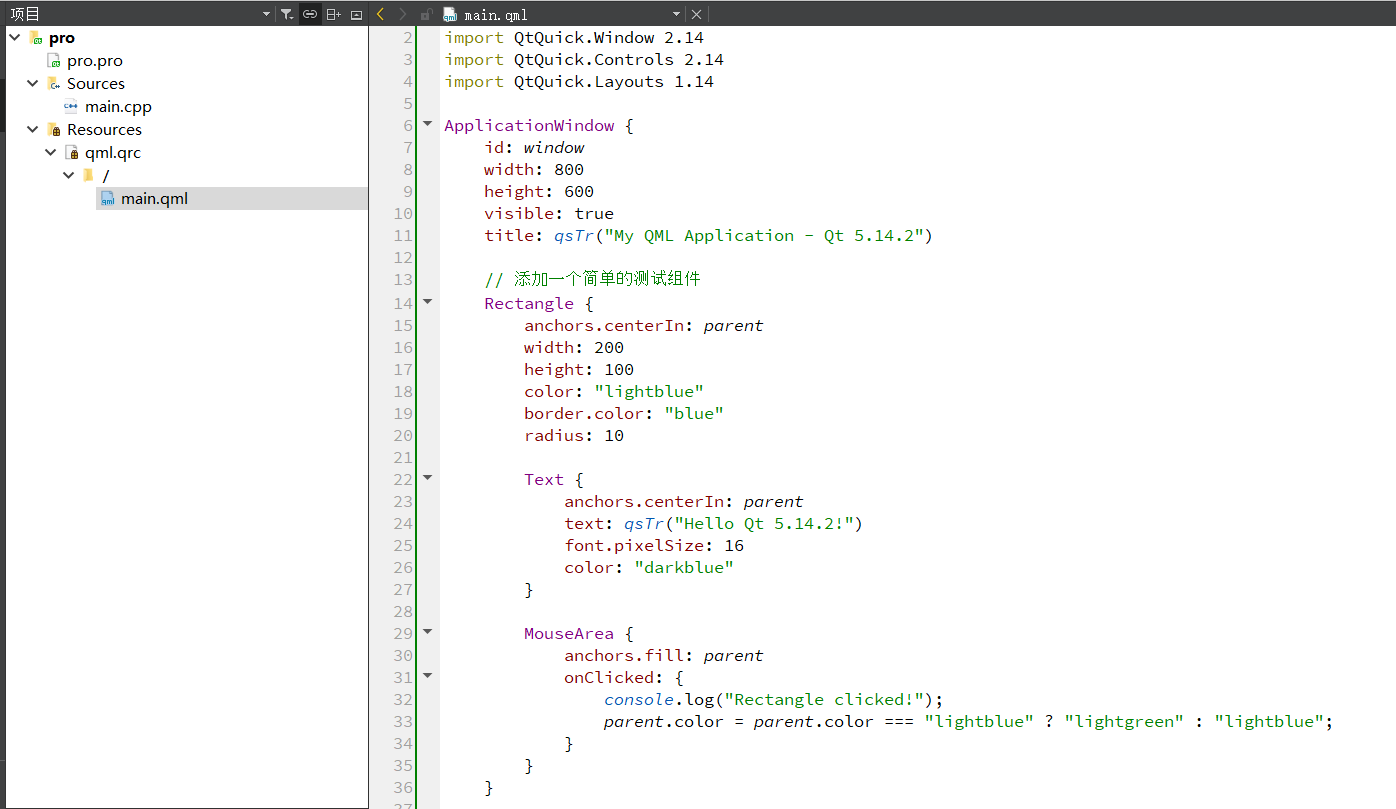
}主 QML 文件 (通常是 main.qml)
这是应用程序启动时加载的根组件。它通常是整个应用窗口的顶层容器。
import QtQuick 2.14
import QtQuick.Window 2.14
import QtQuick.Controls 2.14
import QtQuick.Layouts 1.14

ApplicationWindow {
    id: window
    width: 800
    height: 600
    visible: true
    title: qsTr("My QML Application - Qt 5.14.2")

    // 添加一个简单的测试组件
    Rectangle {
        anchors.centerIn: parent
        width: 200
        height: 100
        color: "lightblue"
        border.color: "blue"
        radius: 10

        Text {
            anchors.centerIn: parent
            text: qsTr("Hello Qt 5.14.2!")
            font.pixelSize: 16
            color: "darkblue"
        }

        MouseArea {
            anchors.fill: parent
            onClicked: {
                console.log("Rectangle clicked!");
                parent.color = parent.color === "lightblue" ? "lightgreen" : "lightblue";
            }
        }
    }

    // 状态栏
    footer: Label {
        text: qsTr("Application is running successfully!")
        padding: 10
    }
}