设置后期处理管道
点赞 + 收藏 = 👍²

设置基本的后期处理环境
js
import * as THREE from 'three';
import { EffectComposer } from 'three/examples/jsm/postprocessing/EffectComposer.js';
import { RenderPass } from 'three/examples/jsm/postprocessing/RenderPass.js';
import { ShaderPass } from 'three/examples/jsm/postprocessing/ShaderPass.js';

// 创建场景、相机和渲染器
const scene = new THREE.Scene();
const camera = new THREE.PerspectiveCamera(75, window.innerWidth / window.innerHeight, 0.1, 1000);
const renderer = new THREE.WebGLRenderer({ antialias: true });
renderer.setSize(window.innerWidth, window.innerHeight);
document.body.appendChild(renderer.domElement);

// 创建效果组合器
const composer = new EffectComposer(renderer);
const renderPass = new RenderPass(scene, camera)
composer.addPass(renderPass);

const animate() {
  requestAnimationFrame(animate);
  //renderer.render(scene, camera);
  composer.render();
}
animate()
运动残影

js
import { AfterimagePass } from 'three/examples/jsm/postprocessing/AfterimagePass.js';
//强度0-1 截图效果使用0.95
const after = new AfterimagePass(1)
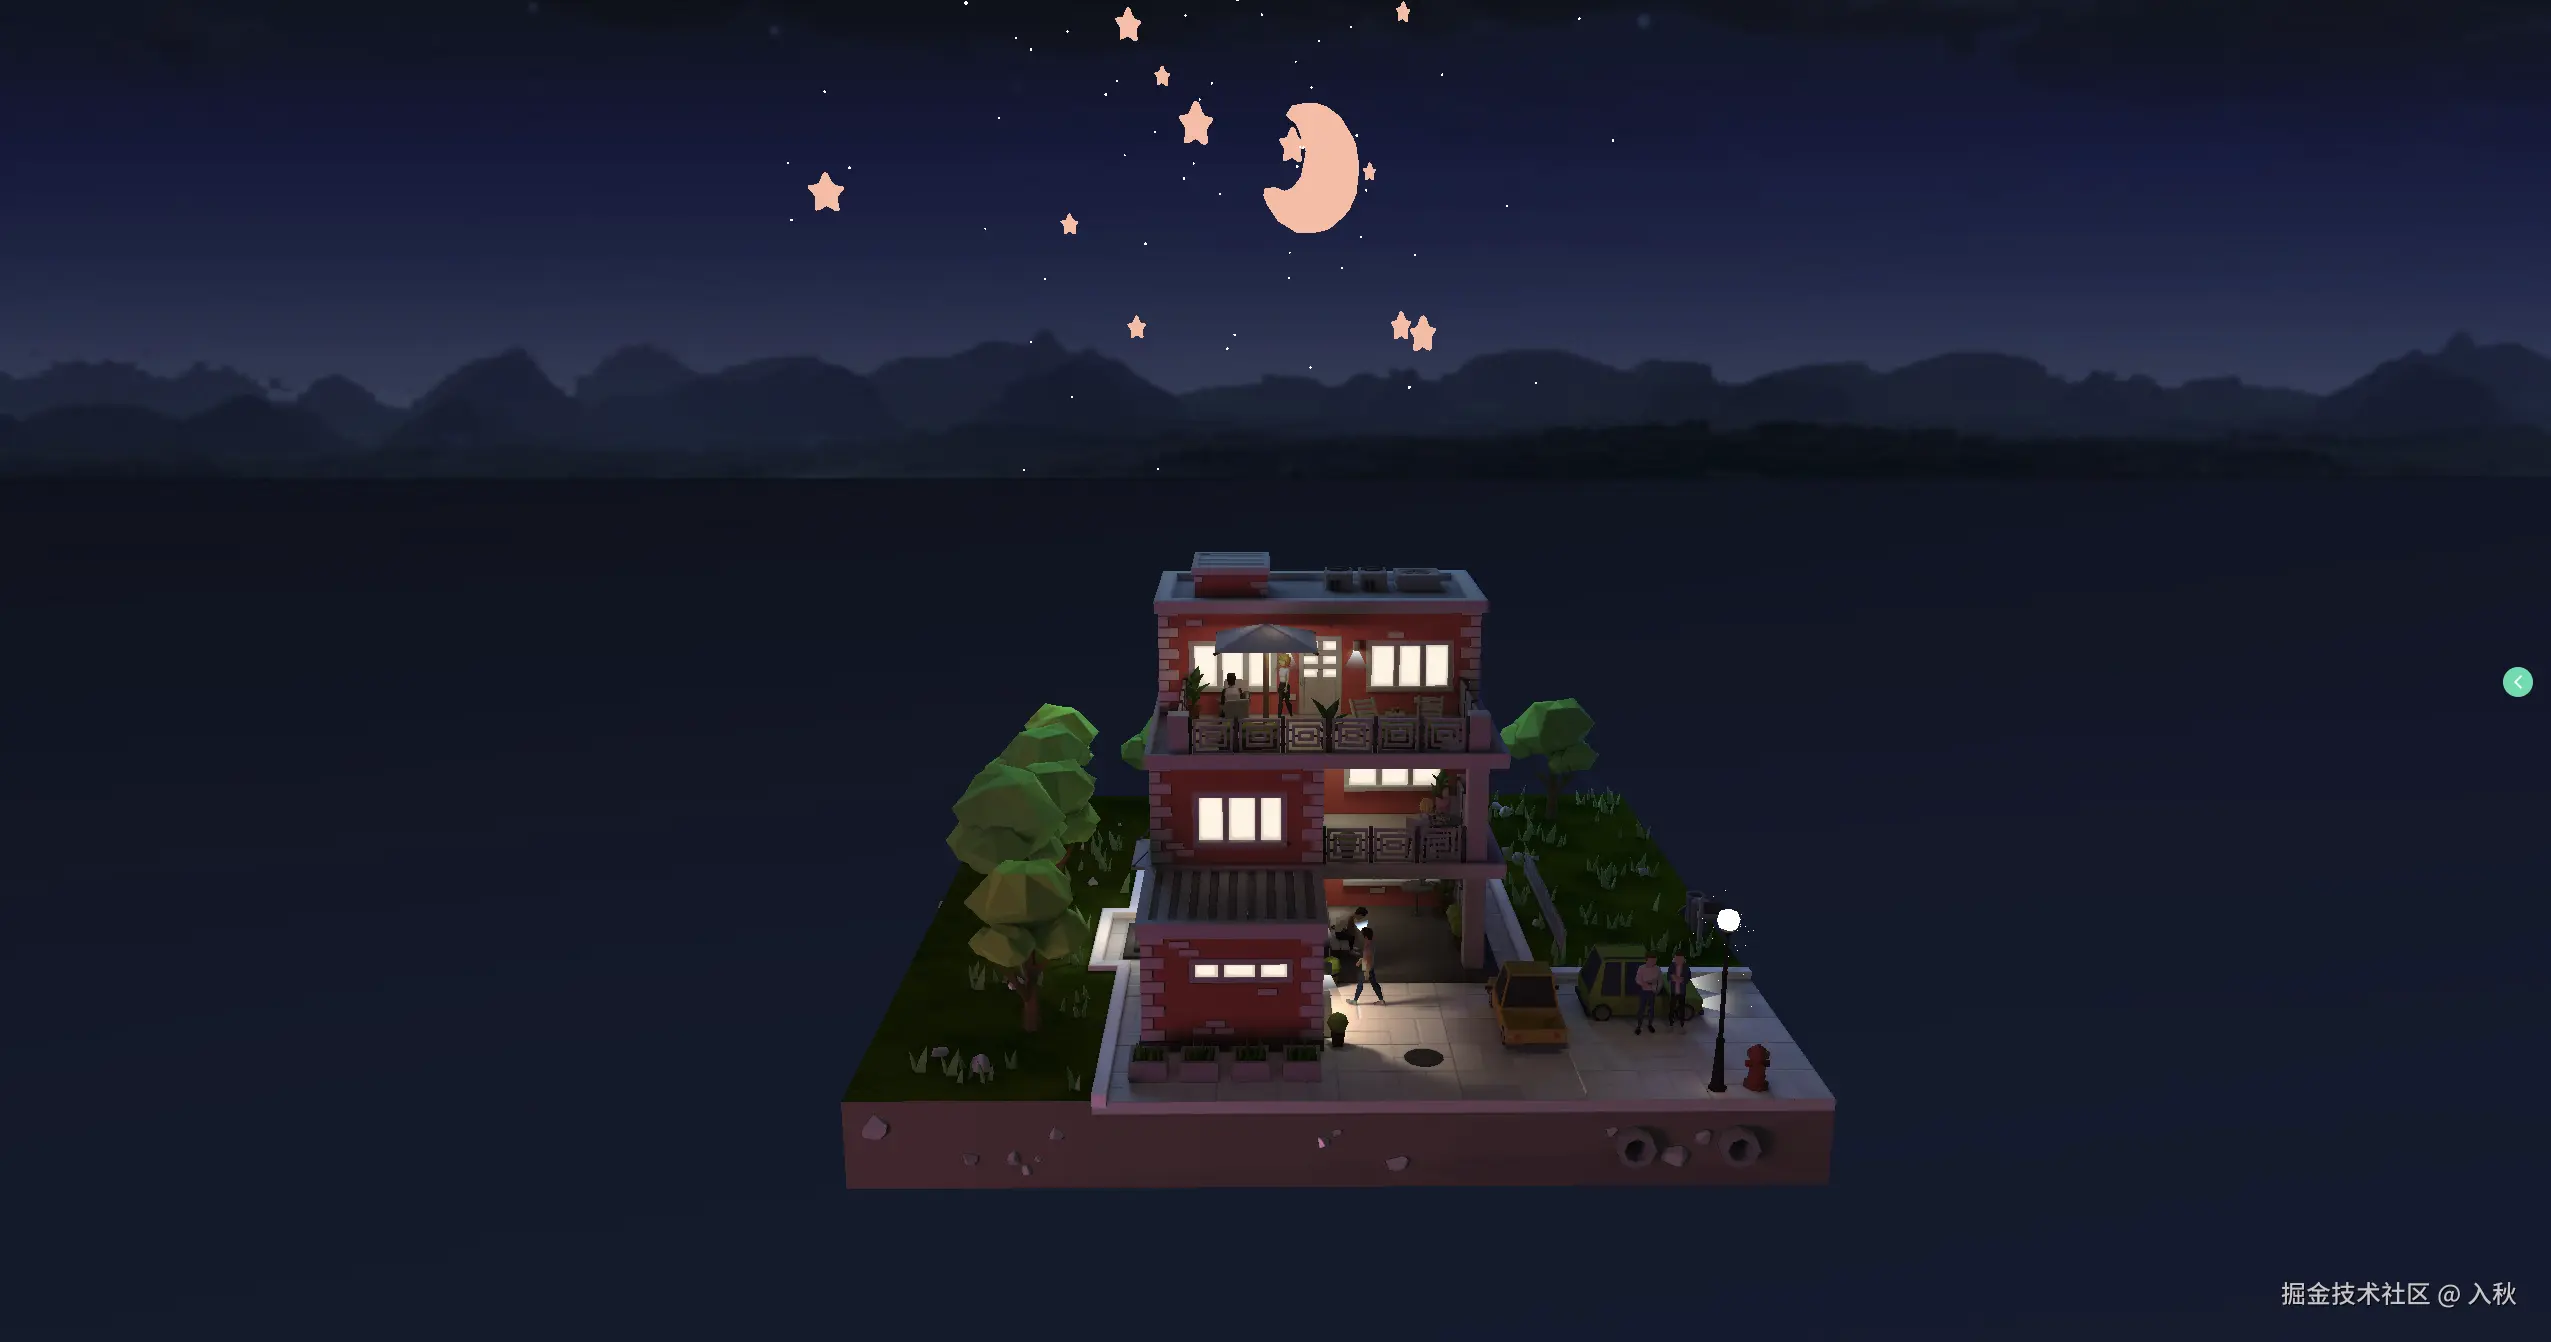
composer.addPass(after);噪点
正常模式噪点
js
import { DotScreenPass } from 'three/examples/jsm/postprocessing/DotScreenPass.js';
const NoiseShader = {
uniforms:{
tDiffuse:{value:null},
time:{
value:0
},
//深度模式
isDeep:{
value: false
},
//强度
intensity:{// 0 ~ 1
value:.5
},
//扫描线宽
lineWidth:{// 0 ~1
value:.5
},
//扫描线数量
count:{
value: 2000
},
},
vertexShader:`
varying vec2 vUv;
void main() {
vUv = uv;
gl_Position = projectionMatrix * modelViewMatrix * vec4( position, 1.0 );
}
`,
fragmentShader:`
#include <common>
uniform float time;
uniform bool isDeep;
uniform float intensity;
uniform float lineWidth;
uniform float count;
uniform sampler2D tDiffuse;
varying vec2 vUv;
void main() {
vec4 cTextureScreen = texture2D( tDiffuse, vUv );
float dx = rand( vUv + time );
vec3 cResult = cTextureScreen.rgb + cTextureScreen.rgb * clamp( 0.1 + dx, 0.0, 1.0 );
vec2 sc = vec2( sin( vUv.y * count ), cos( vUv.y * count ) );
cResult += cTextureScreen.rgb * vec3( sc.x, sc.y, sc.x ) * lineWidth;
cResult = cTextureScreen.rgb + clamp( intensity, 0.0,1.0 ) * ( cResult - cTextureScreen.rgb );
if( isDeep ) {
cResult = vec3( cResult.r * 0.3 + cResult.g * 0.59 + cResult.b * 0.11 );
}
gl_FragColor = vec4( cResult, cTextureScreen.a );
}
`
}
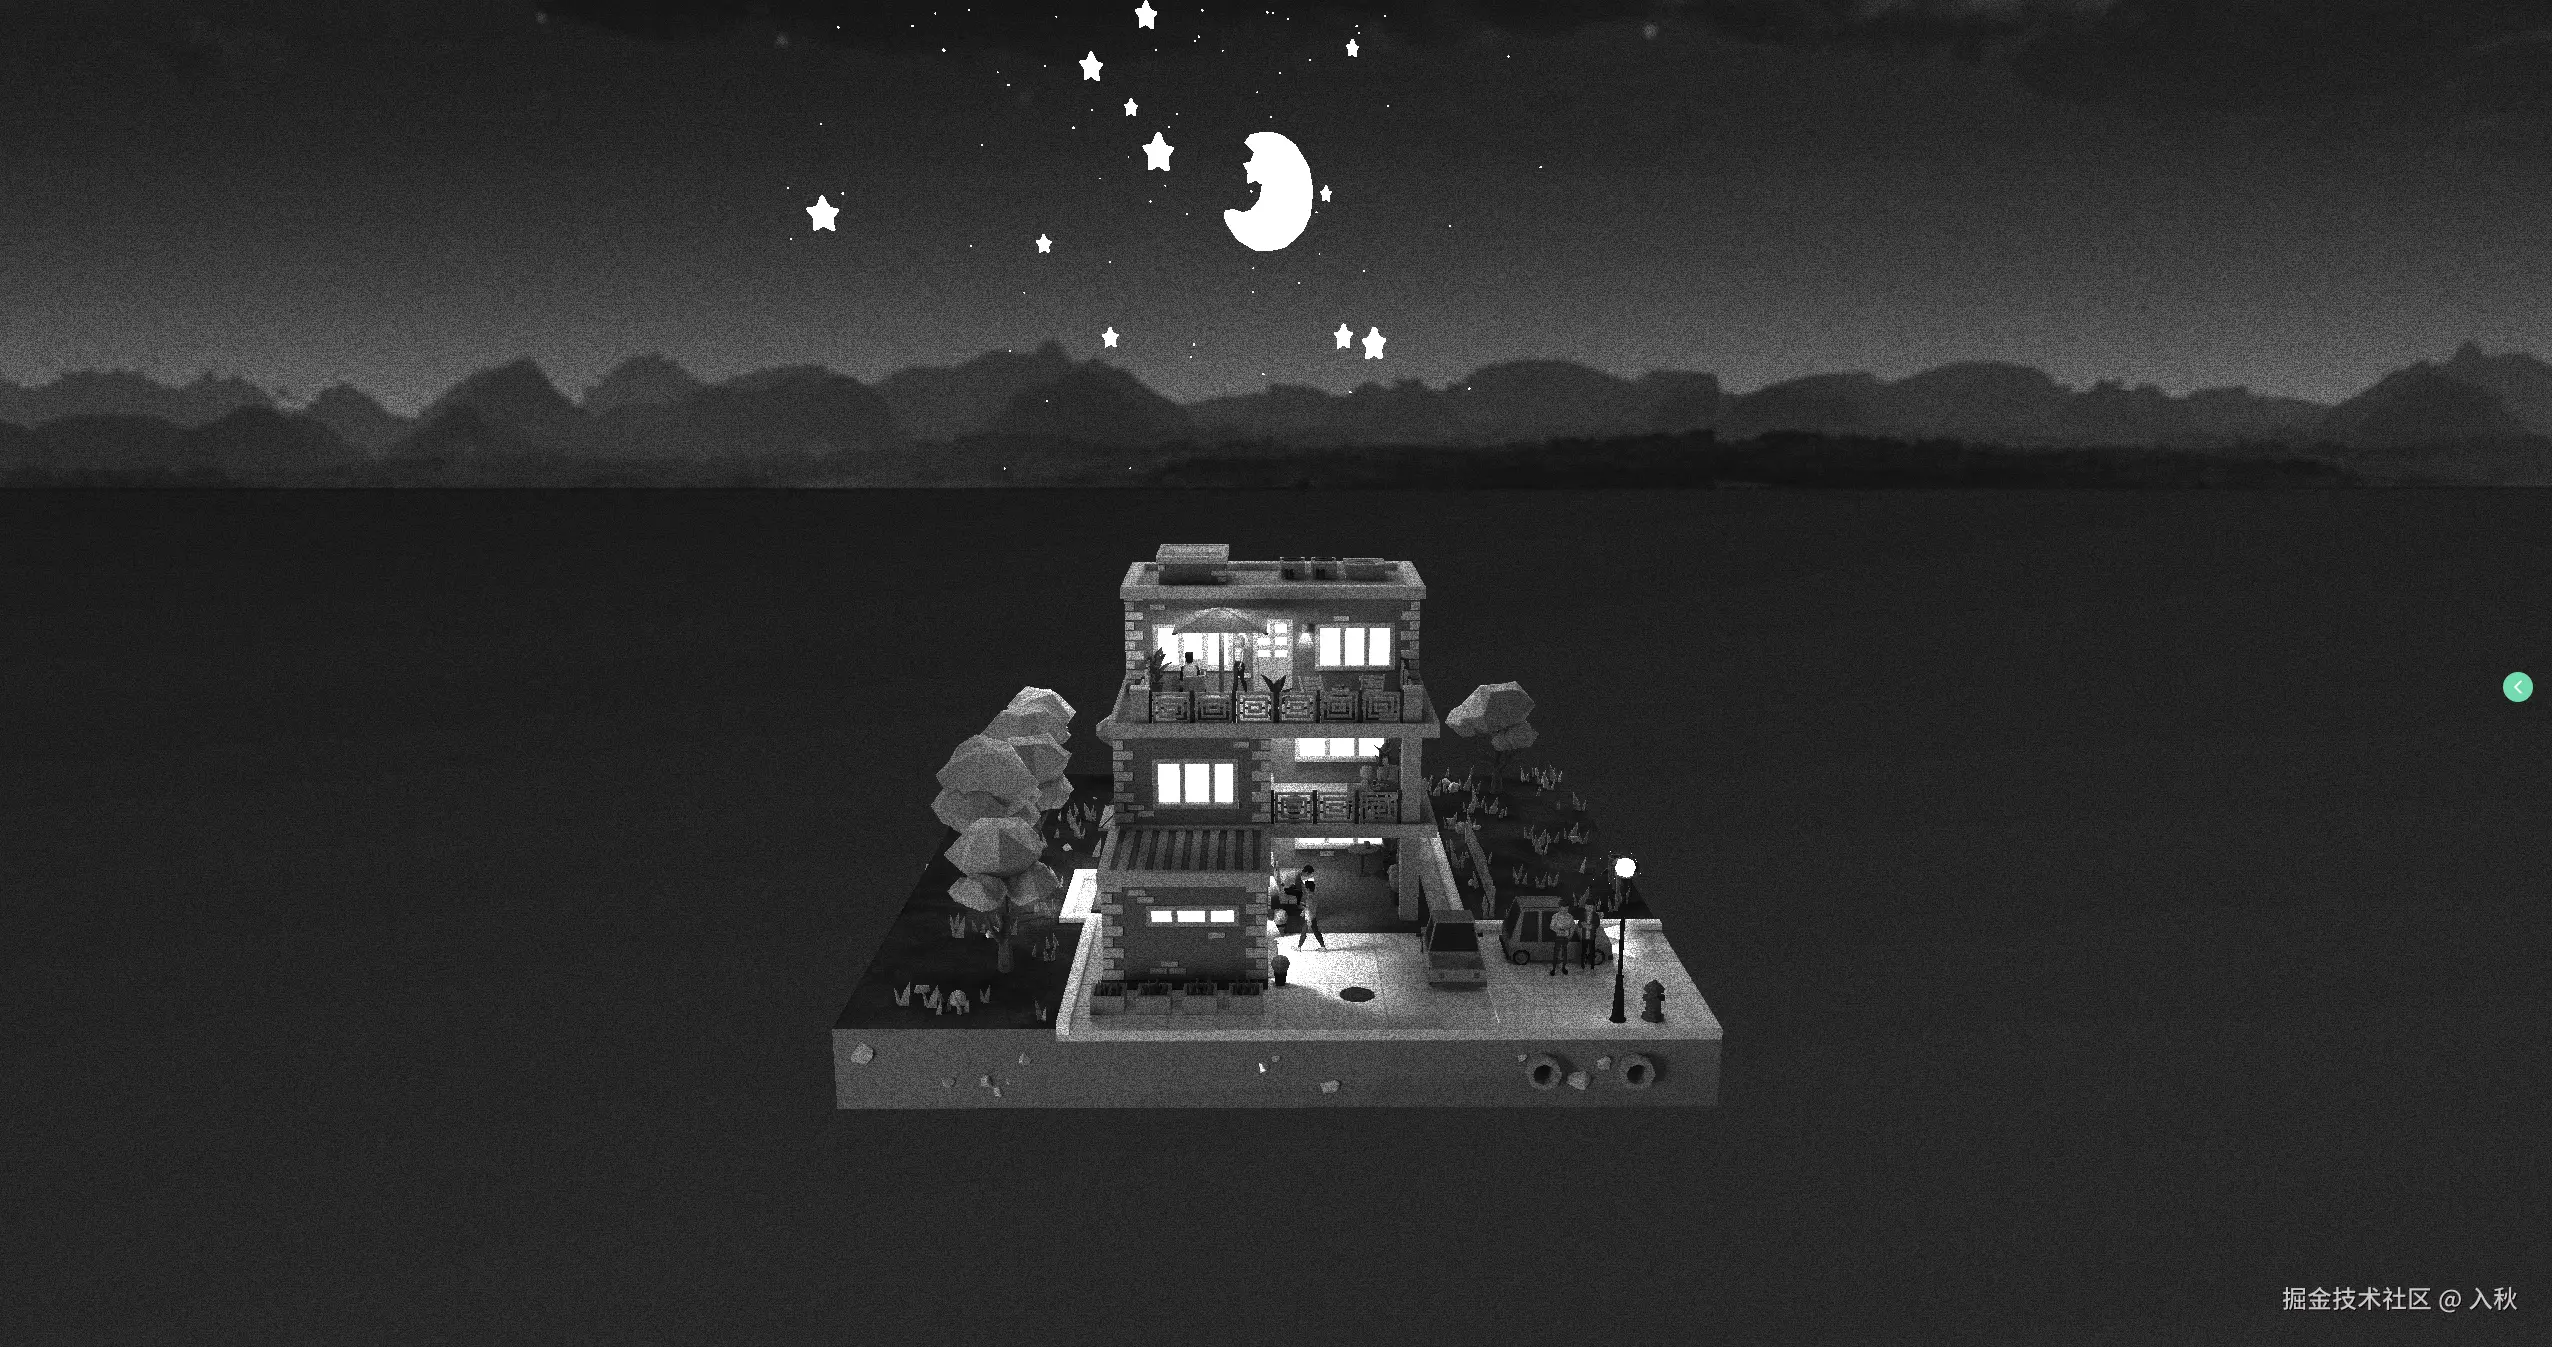
composer.addPass(NoiseShader);深度模式
js
NoiseShader.uniforms.value.isDeep = true颜色调整
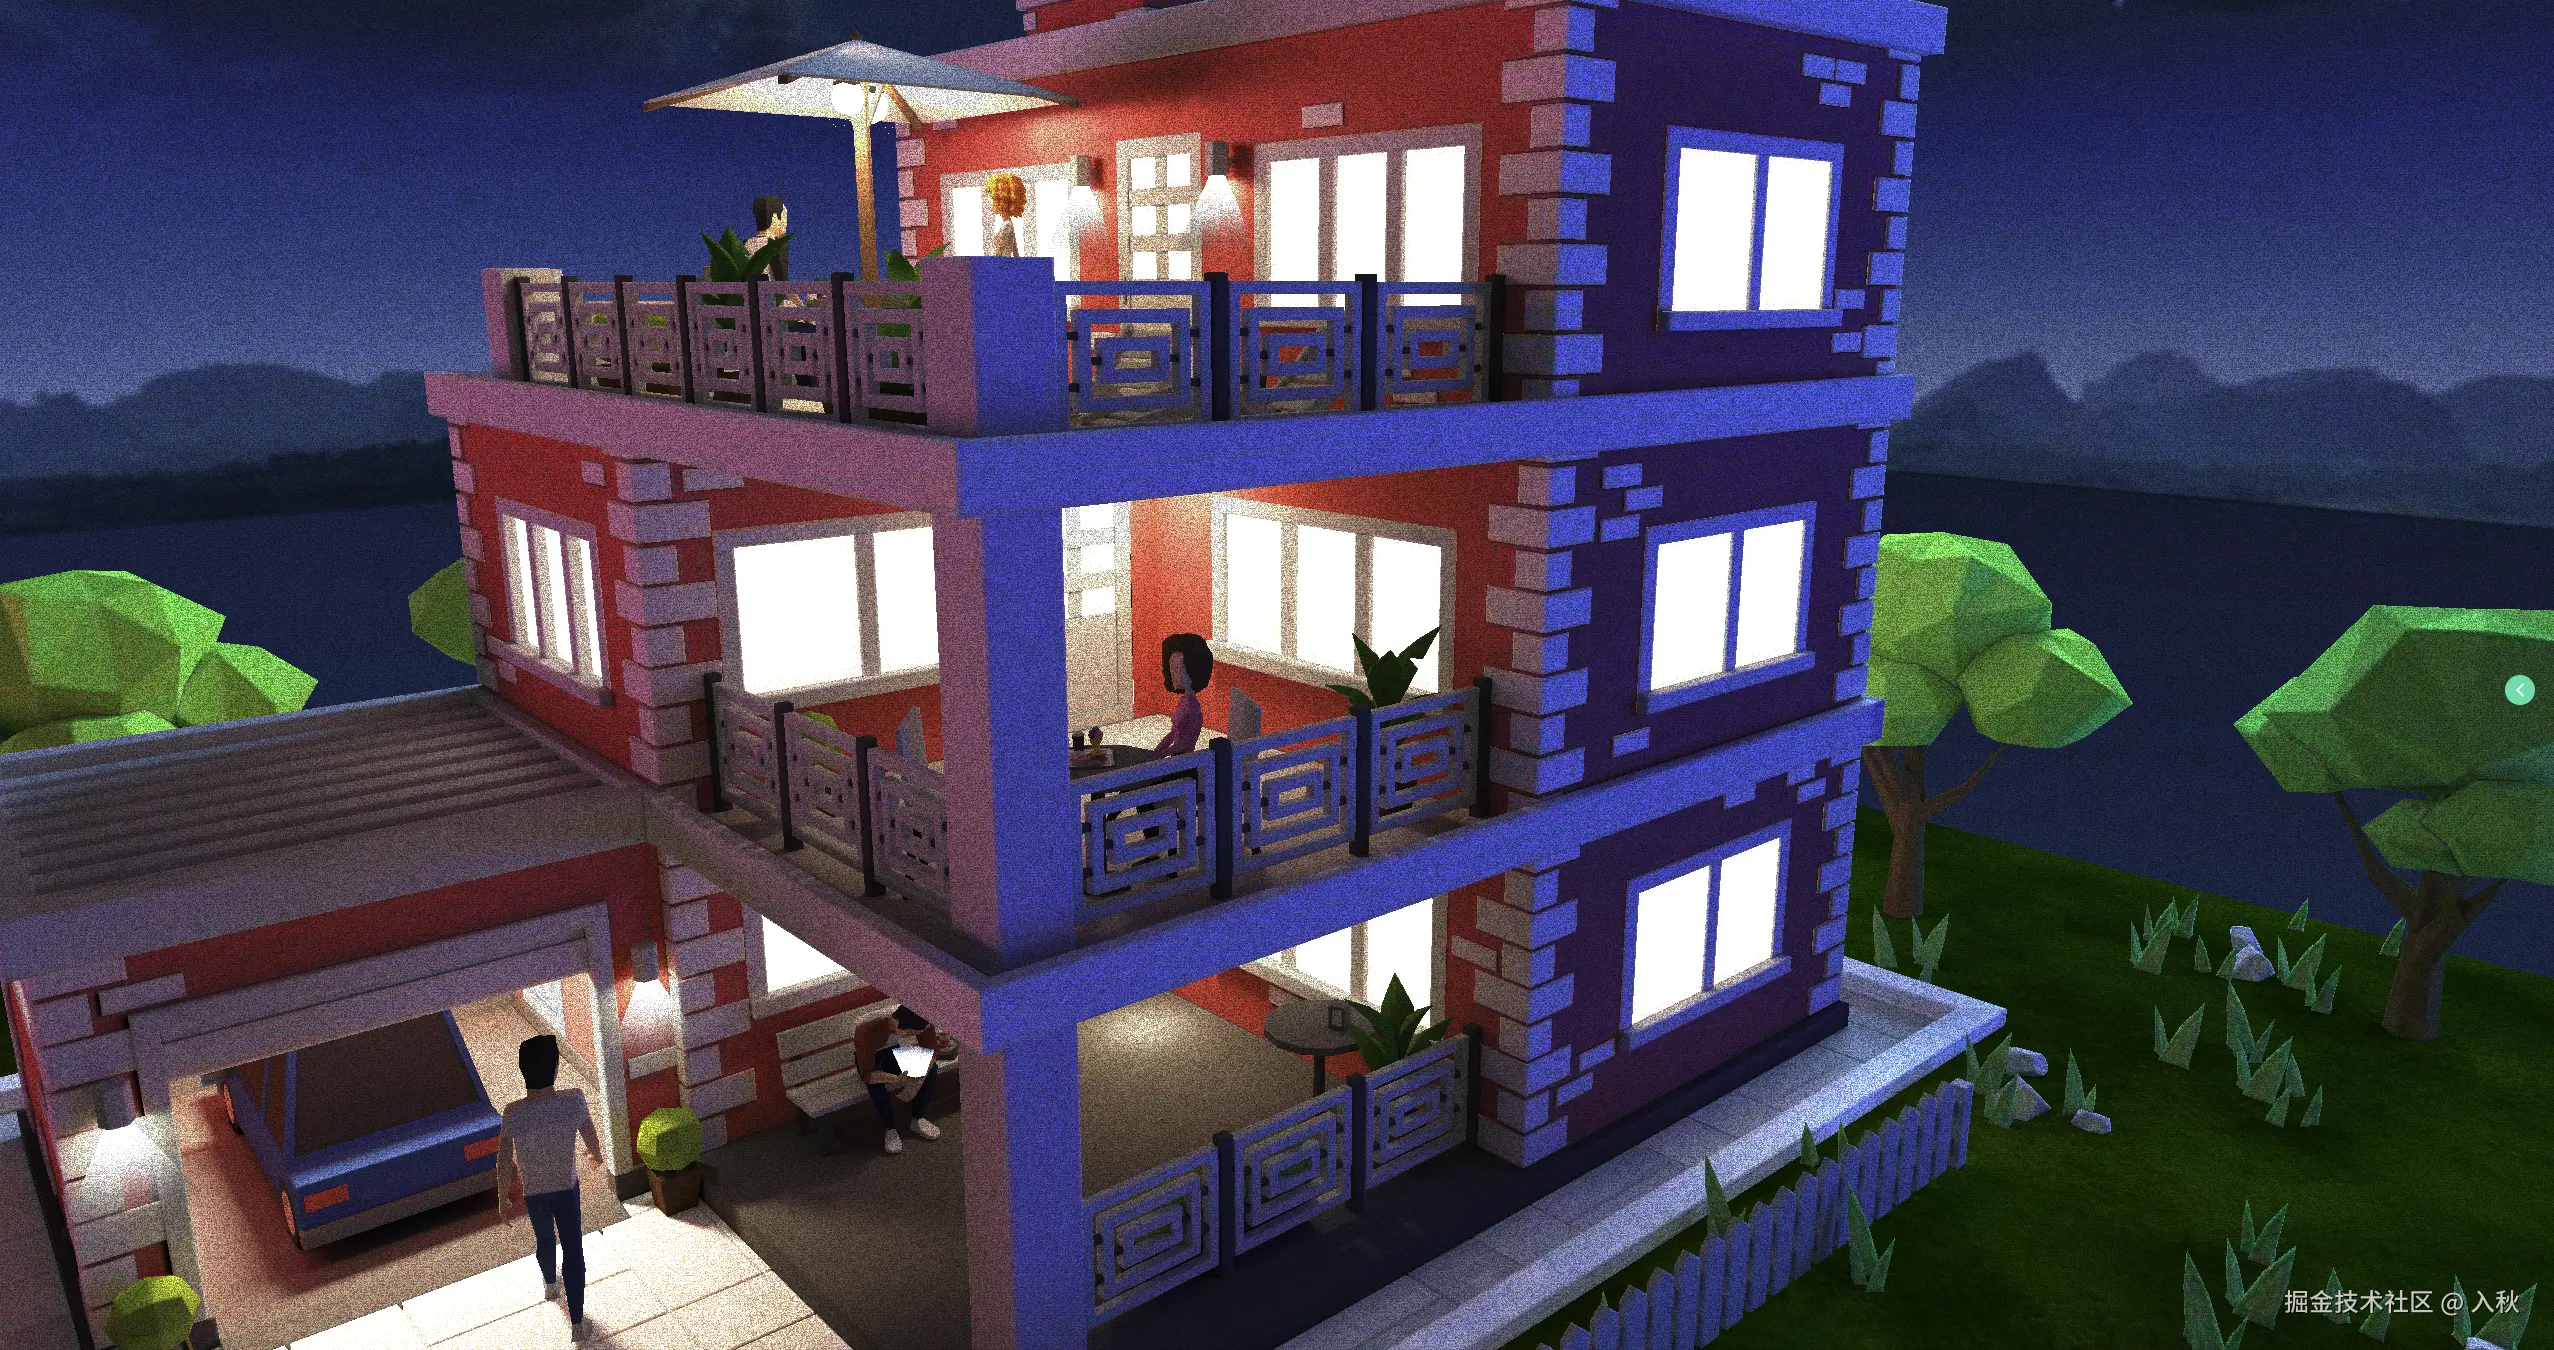
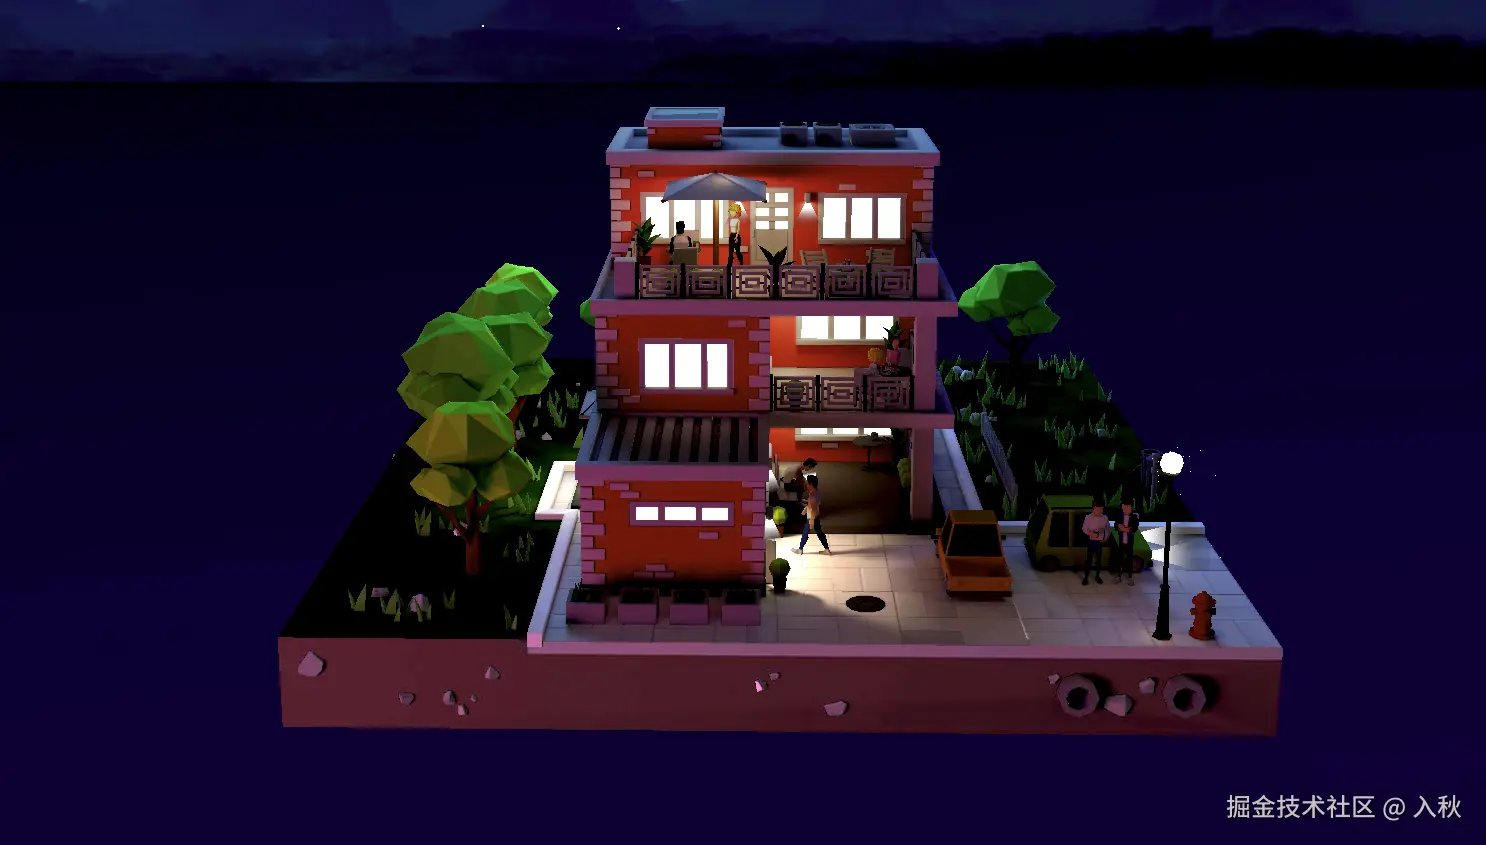
调整前
调整后
js
// 饱和度值 曝光 亮度值 对比度值 伽马矫正
import { ShaderPass } from 'three/examples/jsm/postprocessing/ShaderPass.js'
const BSCShader = {
uniforms: {
tDiffuse: {
value: null
},
brightness: {
value: 0
},
contrast: {
value: 1
},
exposure: {
value: 0
},
gamma: {
value: 1
},
saturation: {
value: 1
}
},
vertexShader: /* glsl */`
varying vec2 vUv;
void main() {
vUv = uv;
gl_Position = projectionMatrix * modelViewMatrix * vec4( position, 1.0 );
}`,
fragmentShader: /* glsl */`
uniform sampler2D tDiffuse;
varying vec2 vUv;
uniform float brightness;
uniform float contrast;
uniform float exposure;
uniform float gamma;
uniform float saturation;
const vec3 w = vec3(0.2125, 0.7154, 0.0721);
void main() {
vec4 tex = texture2D( tDiffuse, vUv );
vec3 color = clamp(tex.rgb + vec3(brightness), 0.0, 1.0);
color = clamp( (color-vec3(0.5))*contrast+vec3(0.5), 0.0, 1.0);
color = clamp( color * pow(2.0, exposure), 0.0, 1.0);
color = clamp( pow(color, vec3(gamma)), 0.0, 1.0);
float luminance = dot( color, w );
color = mix(vec3(luminance), color, saturation);
gl_FragColor = vec4(color, tex.a);
}`
}
const effectParams = {
gamma: 0.8, // 0~2 0.1
saturation: 1.2,//饱和度值 0~10 0.1
exposure: 0.3, //曝光-1~1 0.1
brightness: 0,//亮度值 -1~1 0.01
contrast: 1.3,//对比度值 0~5 0.1
}
const postEffect = new ShaderPass(BSCShader)
//亮度
postEffect.uniforms.brightness.value = effectParams.brightness
//对比度值
postEffect.uniforms.contrast.value = effectParams.contrast
//曝光
postEffect.uniforms.exposure.value = effectParams.exposure
//伽马矫正
postEffect.uniforms.gamma.value = effectParams.gamma
//饱和度值
postEffect.uniforms.saturation.value = effectParams.saturation
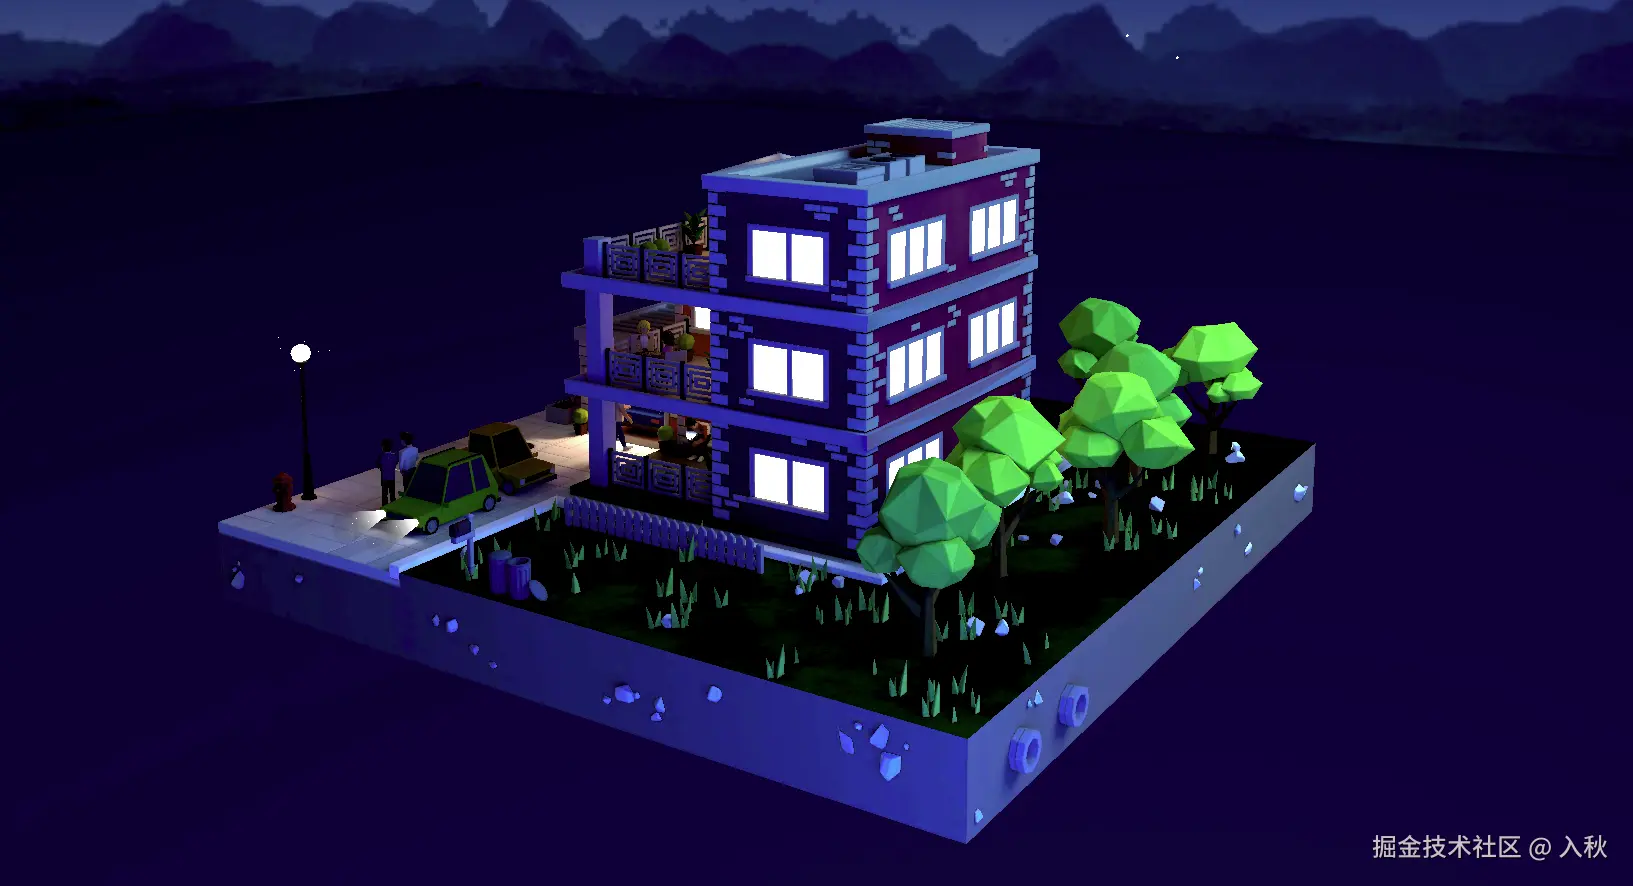
composer.addPass(postEffect);景深
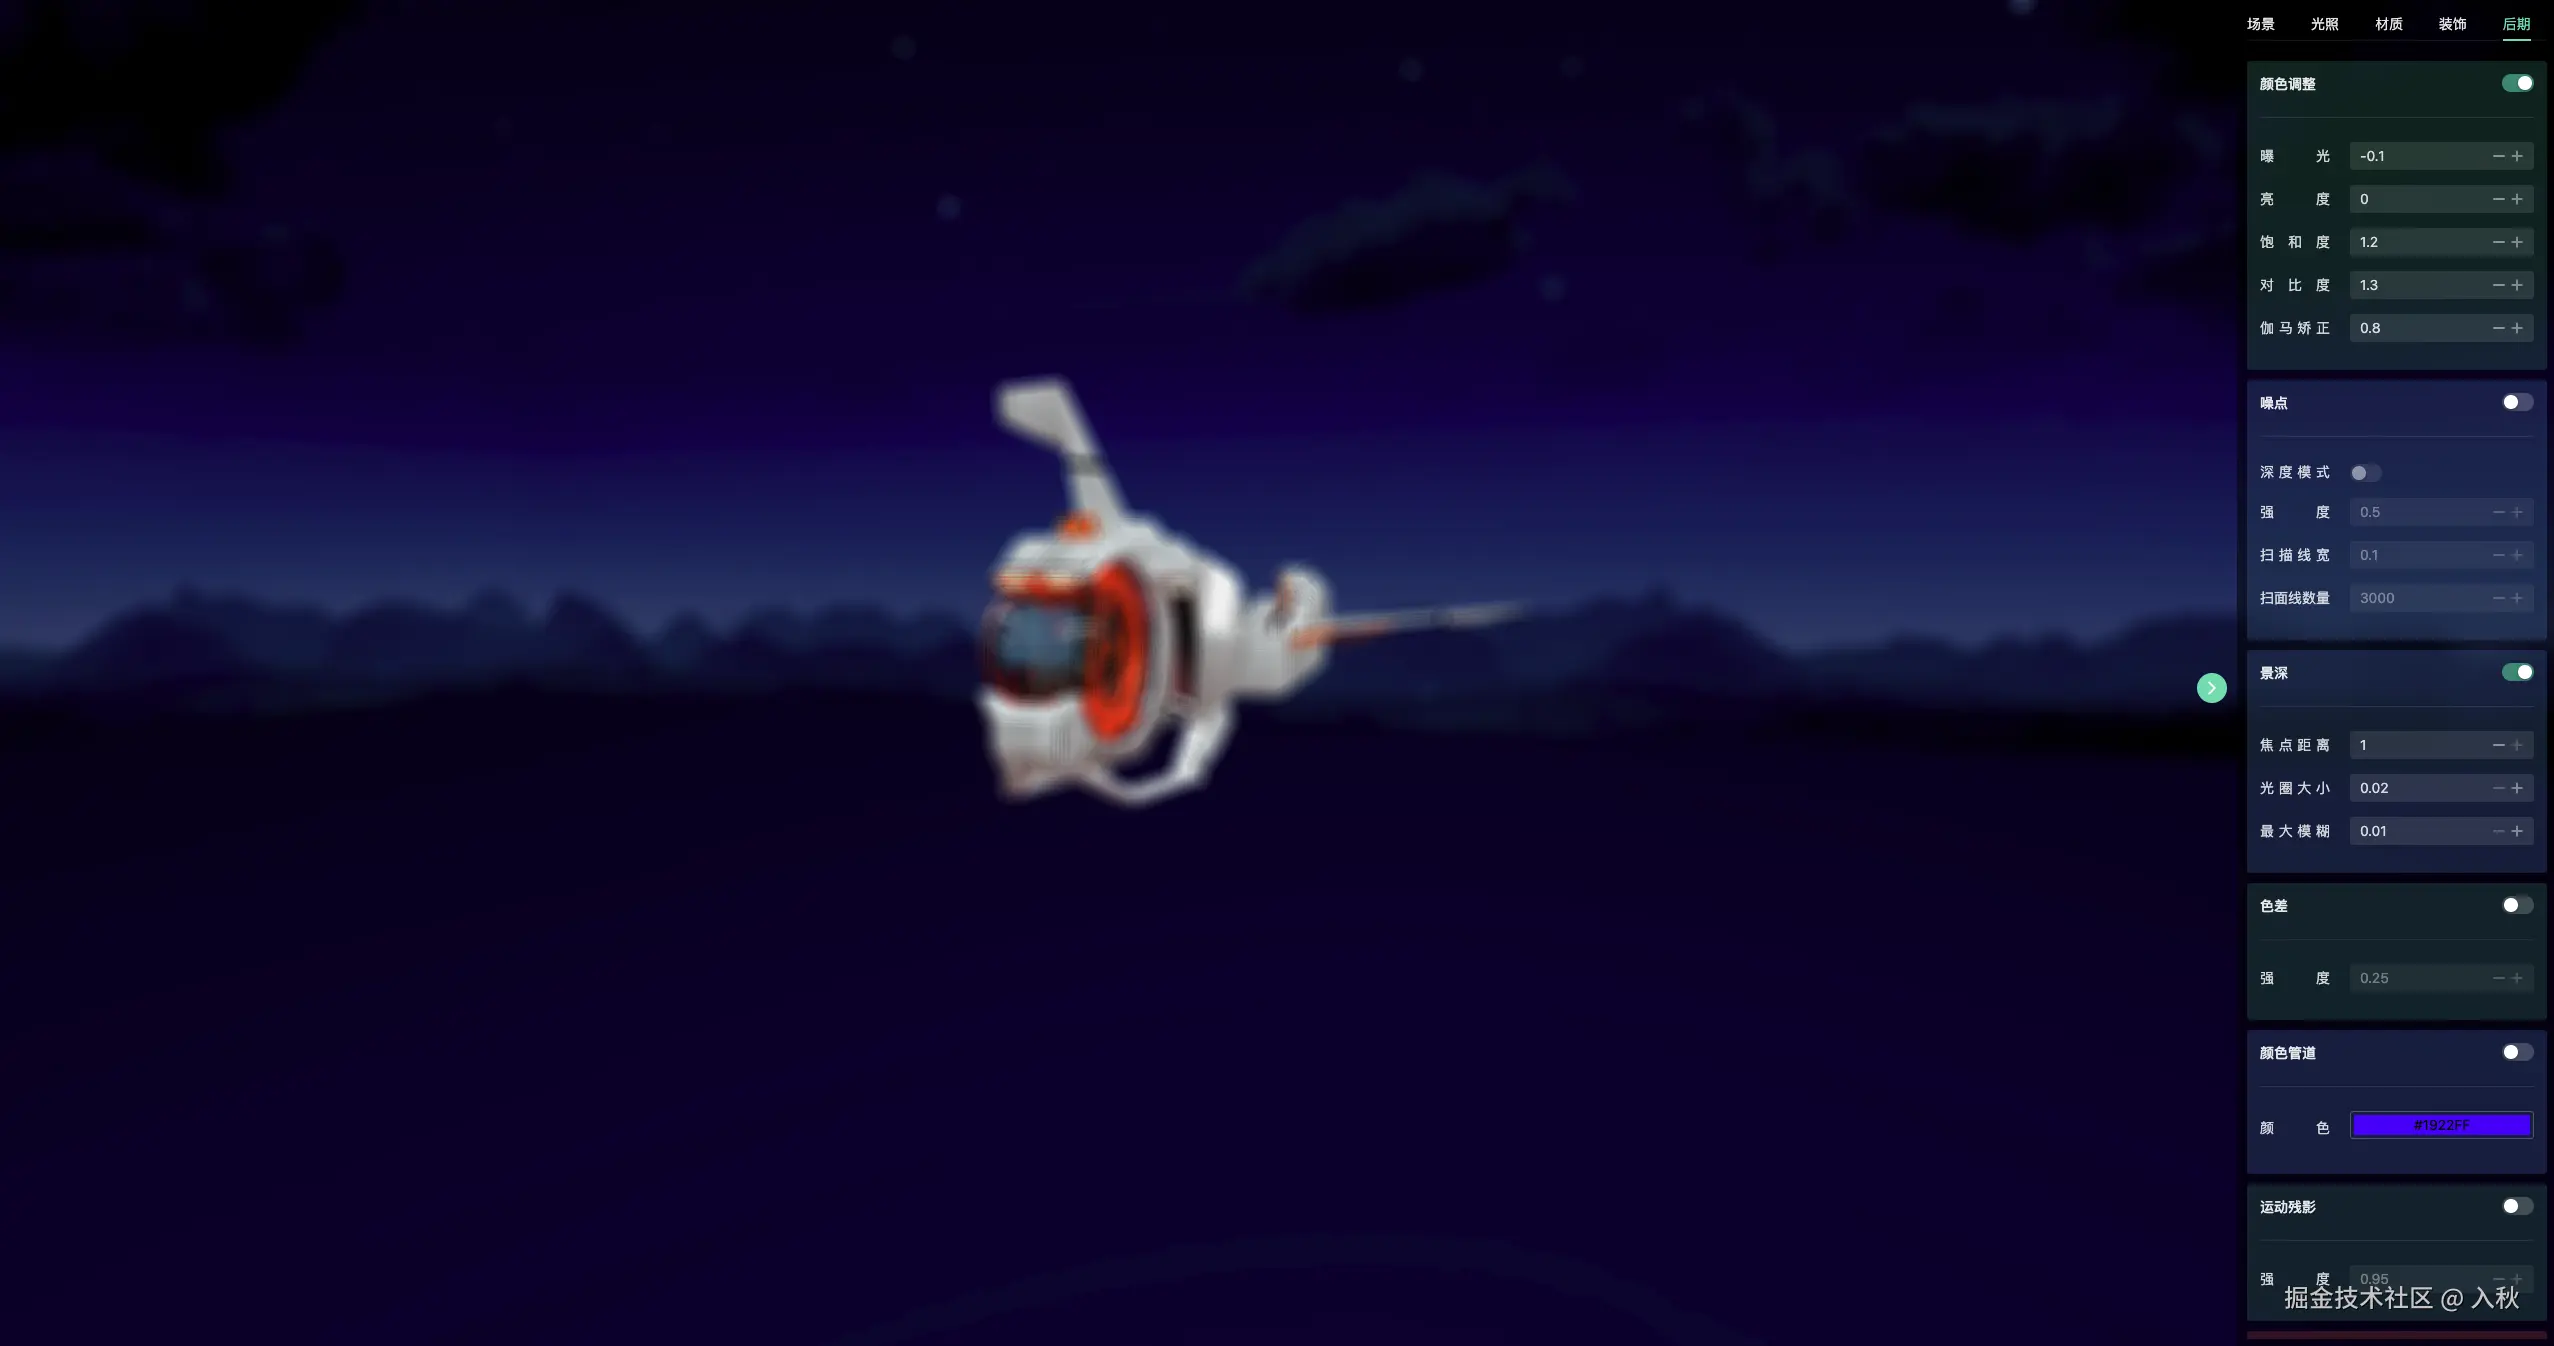
js
import { BokehPass } from 'three/examples/jsm/postprocessing/BokehPass.js';
const bokehPass = (scene, camera)=> new BokehPass(scene, camera,{
    focus: 1.0,//焦点距离
    aperture: 0.02,//光圈大小
    maxblur: 0.01, // 最大模糊
}
composer.addPass(bokehPass(scene,camera));