1. 动效实现方式
1.1 动效实现方式
1.1.1 隐式动画
- 定义
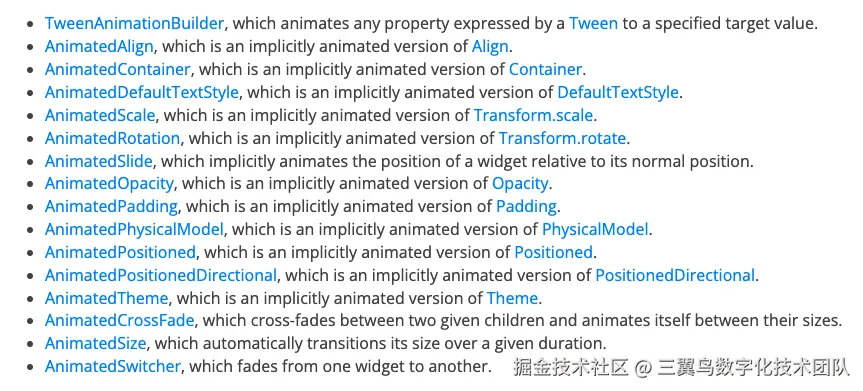
通过使用 Flutter 的 动画库,你可以为 UI 中的组件添加运动和创建视觉效果。你可以使用库中的一套组件来管理动画,这些组件统称为隐式动画 或隐式动画组件 ,其名称源于它们都实现了 ImplicitlyAnimatedWidget 类。使用隐式动画,你可以通过设置一个目标值,驱动 widget 的属性进行动画变换;每当目标值发生变化时,属性会从旧值逐渐更新到新值。通过这种方式,隐式动画内部实现了动画控制,从而能够方便地使用--- 隐式动画组件会管理动画效果,用户不需要再进行额外的处理。
实现方式示例 示例:使用 AnimatedOpacity widget 进行透明度动画
-
选择要进行动画的 widget 属性
-
想要创建淡入效果,可以使用
AnimatedOpacitywidget 对opacity属性进行动画。将Columnwidget 换成AnimatedOpacitywidget:less@override Widget build(BuildContext context) { return ListView(children: <Widget>[ Image.network(owlUrl), TextButton( child: const Text( 'Show Details', style: TextStyle(color: Colors.blueAccent), ), onPressed: () => {}, ), const Column( children: [ Text('Type: Owl'), Text('Age: 39'), Text('Employment: None'), ], ), AnimatedOpacity( child: const Column( children: [ Text('Type: Owl'), Text('Age: 39'), Text('Employment: None'), ], ), ), ]); } -
为动画属性初始化一个状态变量
scala
class _FadeInDemoState extends State<FadeInDemo> {
  double opacity = 0;

  @override
  Widget build(BuildContext context) {
    return ListView(children: <Widget>[
      // ...
      AnimatedOpacity(
        opacity: opacity,
child: const Column(- 为动画设置一个时长
除了 opacity 参数以外,AnimatedOpacity 还需要为动画设置 duration。在下面的例子中,动画会以两秒的时长运行:
less
AnimatedOpacity(
  duration: const Duration(seconds: 2),
  opacity: opacity,
child: const Column(- 为动画设置一个触发器,并选择一个结束值
less
TextButton(
  child: const Text(
    'Show Details',
    style: TextStyle(color: Colors.blueAccent),
  ),
  onPressed: () => {},
  onPressed: () => setState(() {
    opacity = 1;
  }),
),
使用动画曲线
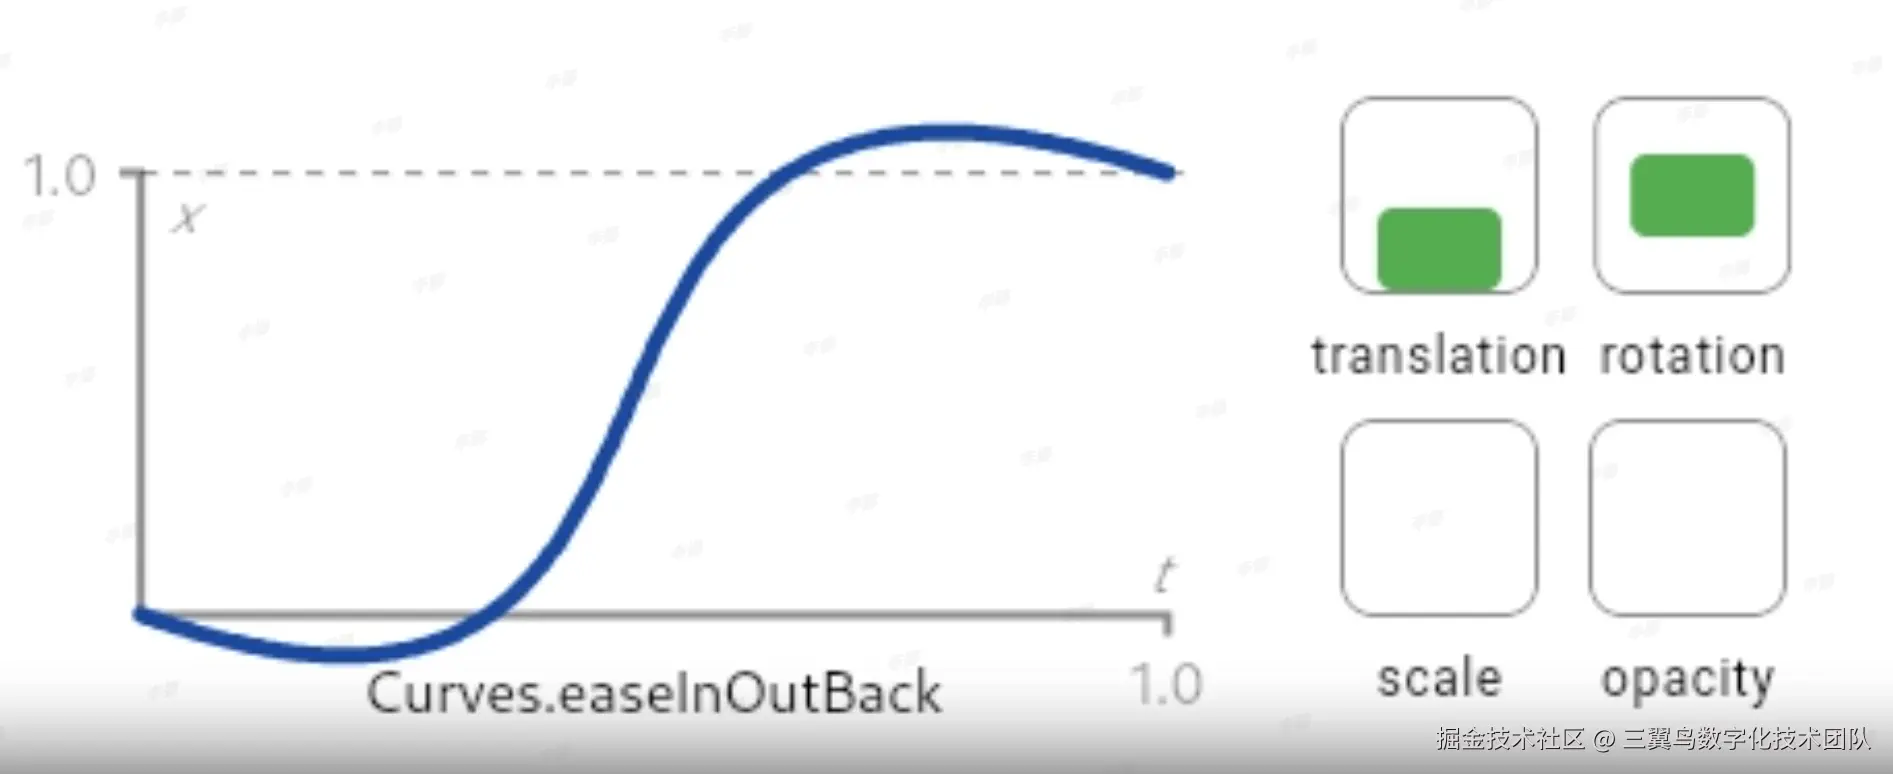
- 隐式动画还允许你在
duration时长内控制动画的 速率 变化。用来定义这种速率变化的参数是Curve,或者Curves这些已经预定义的曲线。 - 在 上面的示例中可以添加一个
curve参数,然后将常量easeInOutBack传递给curve,即可以自定义动效曲线
less
AnimatedOpacity(
  duration: const Duration(seconds: 2),
  opacity: opacity,
  curve: Curves.easeInOutBack,
  child: const Column(
    children: [
      Text('Type: Owl'),
      Text('Age: 39'),
      Text('Employment: None'),
    ],
  ),
),
- 其他动效曲线都可以在
Curves类中查看各种曲线的定义
1.1.2 动画控制器
介绍
AnimationController 是个特殊的 Animation 对象,每当硬件准备新帧时,他都会生成一个新值。默认情况下,AnimationController 在给定期间内会线性生成从 0.0 到 1.0 的数字。
基本动画类
Animation对象在一段时间内,持续生成介于两个值之间的插入值CurvedAnimation定义动画进程为非线性曲线。AnimationController是个特殊的Animation对象,每当硬件准备新帧时,他都会生成一个新值Tween定义动画插入不同的范围或数据类型。
实现方式示例
简单的元素放大示例
- 实现
SingleTickerProviderStateMixin以vsync对象(vsync的存在防止后台动画消耗不必要的资源)
scala
class _LogoAppState extends State<LogoApp> with SingleTickerProviderStateMixin - 定义动画控制器
AnimationController
less
AnimationController controller =
AnimationController(duration: const Duration(seconds: 2), vsync: this);- 定义动画
Animation
scss
Animation<double> animation = Tween<double>(begin: 0, end: 300).animate(controller);- widget上的使用
less
Container(
    height: 300,
    width: 300,
    height: animation.value,
    width: animation.value,
    child: const FlutterLogo(),
  )
监控动画过程
使用 addStatusListener() 作为动画状态的变更提示,比如开始,结束,或改变方向。
scss
animation = Tween<double>(begin: 0, end: 300).animate(controller)
  ..addStatusListener((status) => print('$status'));
上面的例子在起始或结束时,使用 addStatusListener() 反转动画。制造"呼吸"效果
scss
animation = Tween<double>(begin: 0, end: 300).animate(controller)
..addStatusListener((status) {
if (status == AnimationStatus.completed) {
controller.reverse();
} else if (status == AnimationStatus.dismissed) {
controller.forward();
}
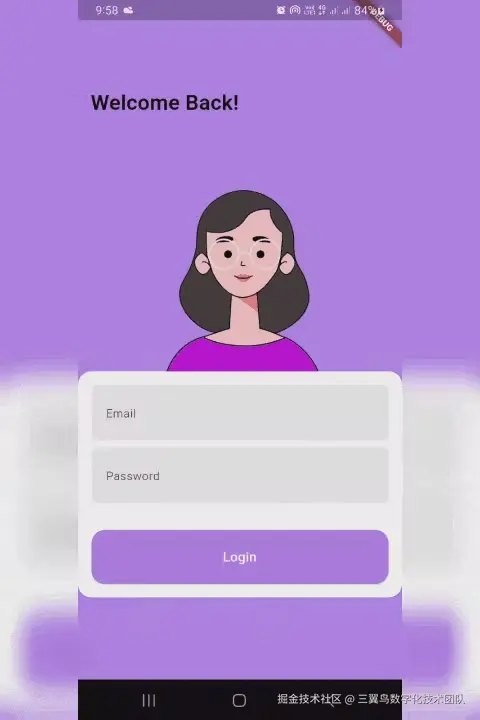
})1.1.3 动效组件 Lottie rive
Lottie
使用方式
less
Lottie. asset (
'assets/images/loading_img.json',
height: 24.w,
width: 24.w,
package: Constant. package ,
)
控制动画播放
// 定义控制器
AnimationController _controller = AnimationController(vsync: this);
// 初始化时控制器赋值
Lottie.asset(
'assets/LottieLogo1.json',
controller: _controller,
height: 300,
onLoaded: (composition) {
setState(() {
_controller.duration = composition.duration;
});
},
);
// 使用控制器,同:动画控制器
_controller.forward();
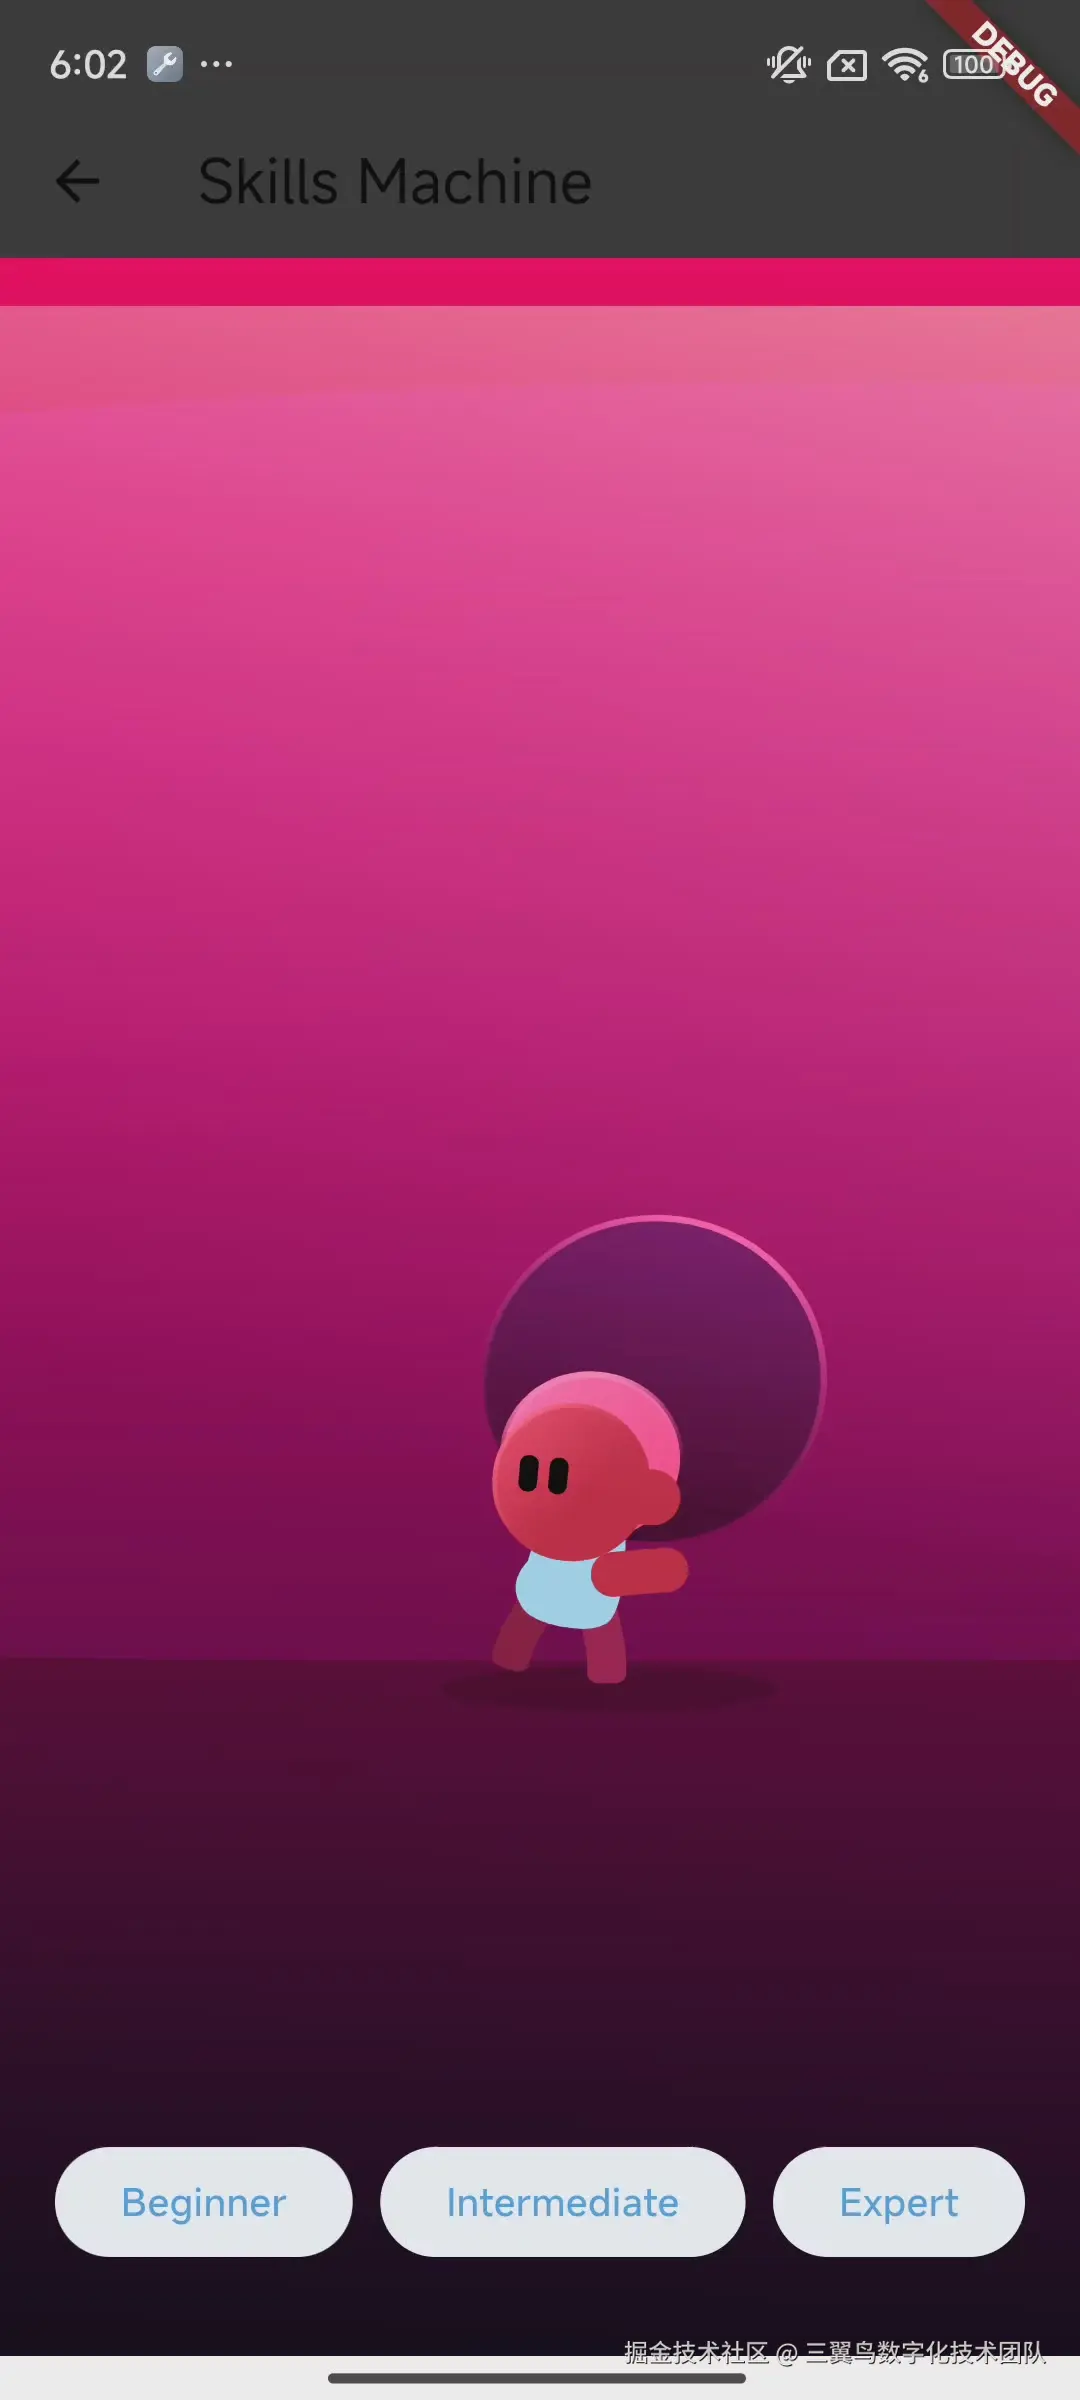
_controller.stop();Rive
介绍:Rive 是一个实时交互式设计和动画工具,该库允许您使用高级 API 完全控制 Rive 文件,以实现简单的交互和动画,以及使用低级 API 在单个画布中为多个画板、动画和状态机创建自定义渲染循环。
使用方式:使用animation进行控制
动画定义:
动画控制实现:
ini
// 定义画板
Artboard? _artboard;
// 初始化画板赋值
RiveAnimation.asset(
'assets/circle_color_test.riv',
animations: [_riveAnimation],
fit: BoxFit.cover,
onInit: (artboard) {
_artboard = artboard;
},
);
// 调用画板修改Animation
SimpleAnimation _animationBlue = SimpleAnimation('blue')
_artboard?.addController(_animationBlue)
// 或者直接修改Animation
setState(() {
_riveAnimation = 'blue';
});
// 调用Artboard控制动画播放
_artboard?.pause();
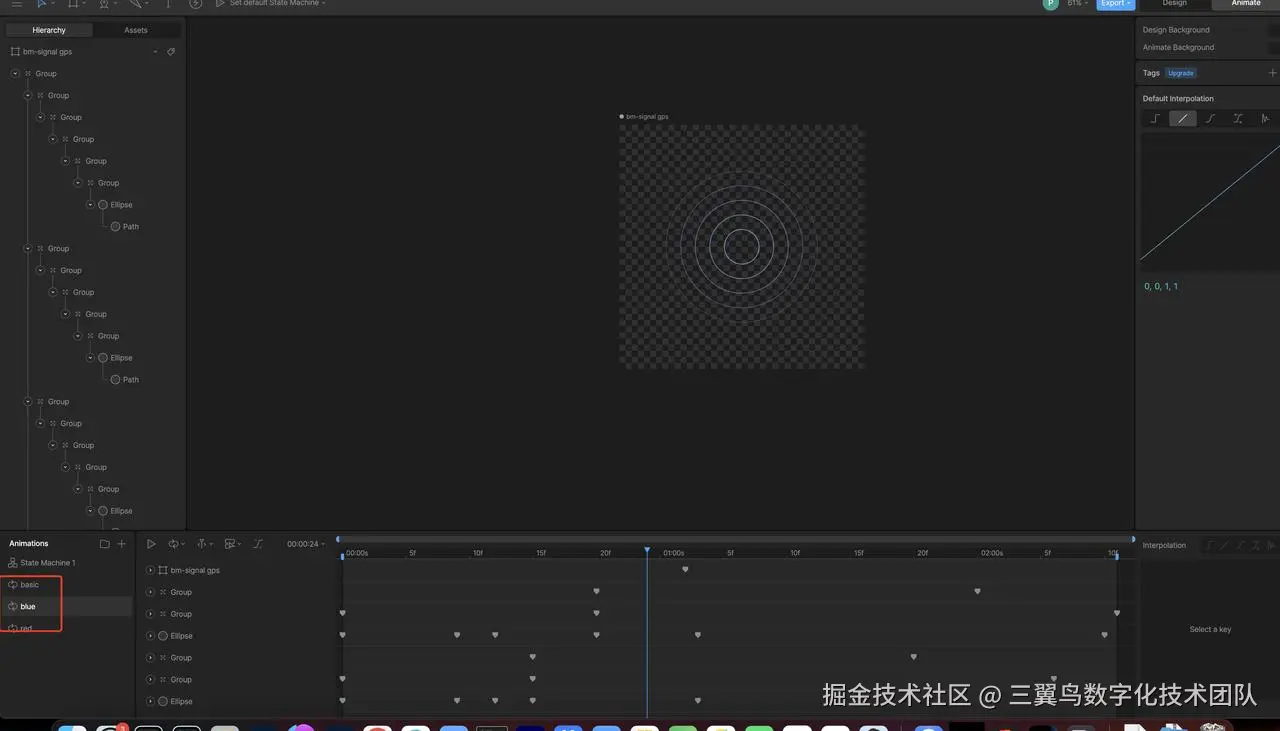
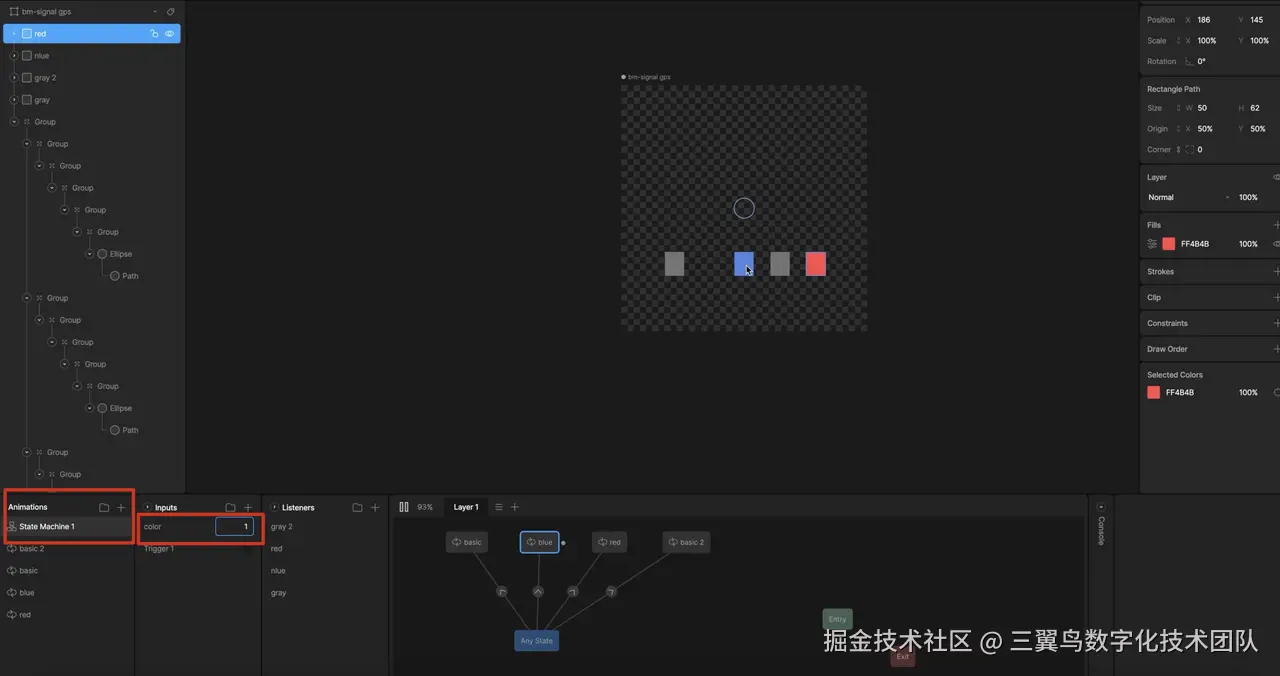
_artboard?.play();使用状态机进行控制:
动画定义
动画控制实现
scss
// 定义状态机属性
SMINumber? color;

// 初始化状态机赋值
void _onRiveInit(Artboard artboard) {
  final StateMachineController? controller =
      StateMachineController.fromArtboard(artboard, 'State Machine 1');
  artboard.addController(controller!);
  color = controller.getNumberInput('color');
}

RiveAnimation.asset(
  'packages/package/assets/theme/color_sel.riv',
  fit: BoxFit.cover,
  onInit: _onRiveInit,
)

// 使用状态机控制动画播放
color?.change(1);
color?.change(2);
组合使用示例:
7MHXxJGHc9s4savv81yem8sg8amwb
Screenrecorder
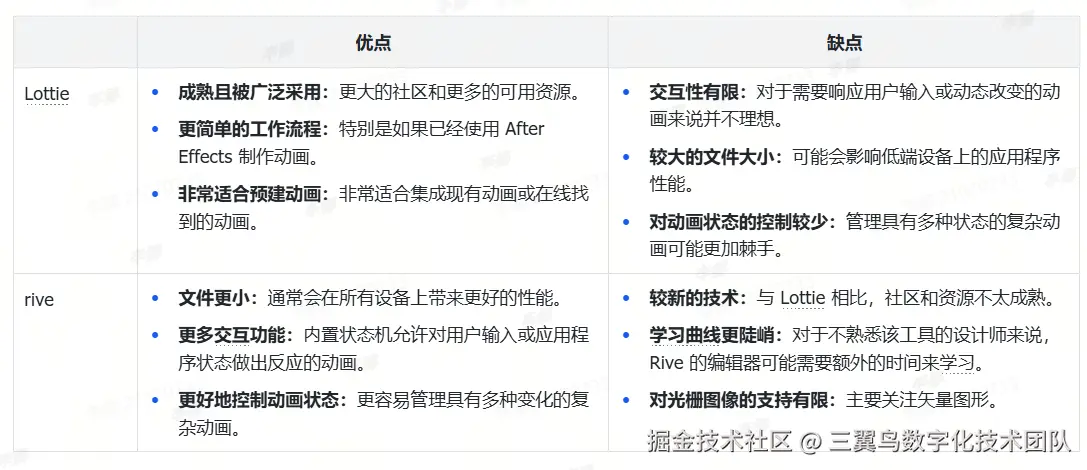
对比
1.1.4图片动效资源
实现方式
针对gif和webp等图片资源实现的动效,flutter官方SDK提供的Image.asset就可以正常显示:
less
Image.asset(
  'assets/theme/88.webp',
  height: 42.w,
  width: 42.w,
  fit: BoxFit.cover,
  gaplessPlayback: false,
  bundle: PlatformAssetBundle(),
  package: 'package',
)
优化
但是官方SDK只能显示,无法进行播放进度控制和循环播放等操作(目前已有提案,但是仍未实现)
** Proposal Add AnimatedImageController to communicate with animated images (GIF, AVIF, APNG, etc) **#111150
**Improve Images in Flutter to allow for more control over GIFs such as playback status and speed. **#59605
因此使用第三方的组件进行播放进度控制:gif: ^2.3.0
实现原理
- 使用
PaintingBinding将gif/webp等动效文件的帧信息获取并暂存
ini
bytes = provider.bytes;

final buffer = await ImmutableBuffer.fromUint8List(bytes);
Codec codec = await PaintingBinding.instance.instantiateImageCodecWithSize(
  buffer,
);

List<ImageInfo> infos = [];
Duration duration = Duration();

for (int i = 0; i < codec.frameCount; i++) {
  FrameInfo frameInfo = await codec.getNextFrame();
  infos.add(ImageInfo(image: frameInfo.image));
  duration += frameInfo.duration;
}- 使用
GifController(AnimationController)控制当前在哪一帧,然后获取对应的帧数据进行展示
arduino
// ......
  setState(() {
    _frameIndex = _frames.isEmpty
        ? 0
        : ((_frames.length - 1) * _controller.value).floor();
  });
// ......

@override
Widget build(BuildContext context) {
  final RawImage image = RawImage(
    image: _frame?.image,
    width: widget.width,
    height: widget.height,
    scale: _frame?.scale ?? 1.0,
    color: widget.color,
    colorBlendMode: widget.colorBlendMode,
    fit: widget.fit,
    alignment: widget.alignment,
    repeat: widget.repeat,
    centerSlice: widget.centerSlice,
    matchTextDirection: widget.matchTextDirection,
  );
  return image;
}
存在的问题
Displaying GIFs causing memory increase and app crash#65815
** **Performance Gif will make GC frequently, and it'll make the phone heat up****#80702
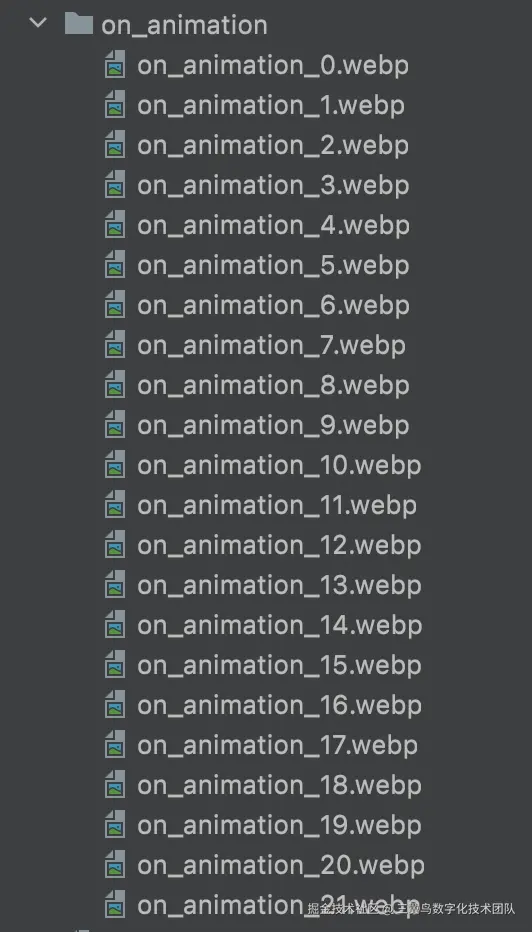
1.1.5 序列帧动效
实现方式:
- UI将动效导出序列帧切图,定义prefix和对应的index
- 定义帧数使用的Tween Animation
ini
AnimationController _animationController =
    AnimationController(vsync: this, duration: widget.duration);
Animation<int> _animation = IntTween(
      begin: beginIndex,
      end: endIndex)
.animate(_animationController!);- 使用
AnimatedBuilder和Image.asset渲染动效
php
AnimatedBuilder(
    animation: _animation!,
    builder: (BuildContext context, Widget? child) {
      return Image.asset(
        '${imagePrefix}${_animation?.value}.${imageType}',
        package: Constant.package,
        gaplessPlayback: true,
        fit: BoxFit.cover,
        scale: _dpr(),
        width: double.infinity,
        height: double.infinity,
      );
    });
1.2 性能需求
-
使用V9.0.0线上版本baseline进行本地修改,使用SoloX进行性能数据抓取(参照SoloX(2.5.3)使用说明_mac)。
-
分别对比不添加动效和添加动效的内存消耗
- 将新建的账号添加一台智能体脂秤设备,在release模式下重启app后的数据作为基准数据
- 对比进入基准数据、动画执行、动画执行完毕稳定后的数据
-
结果
动效类型 FD/sync_file CPU 内存 基准 527/57 2.92 378.16 隐式动画、路由动画 524/56 3.12多次执行6.19 387.07 控制器动画AnimationController 523/56 5.06 380.33 动效组件 Lottie 529/59 6.69 391.51 动效组件 Lottie循环执行 526/57 7.23 382.85 动效组件rive 525/52 4.48 377(+12) 图片动效资源 webp/gif 530/60多次执行:620/171 5.34 379.11多次执行:459.58 加了控制器的webp/gif动效 594/123多次执行无变化动效移除后:521.52/52 1.35→5.3 394.65→405.16 序列帧动效(10) 540/63 6.16 382.67 序列帧动效(100) 643/174 节能3.48 389(355)
1.3 扩展
1.3.1与路由组件结合实现页面切换效果
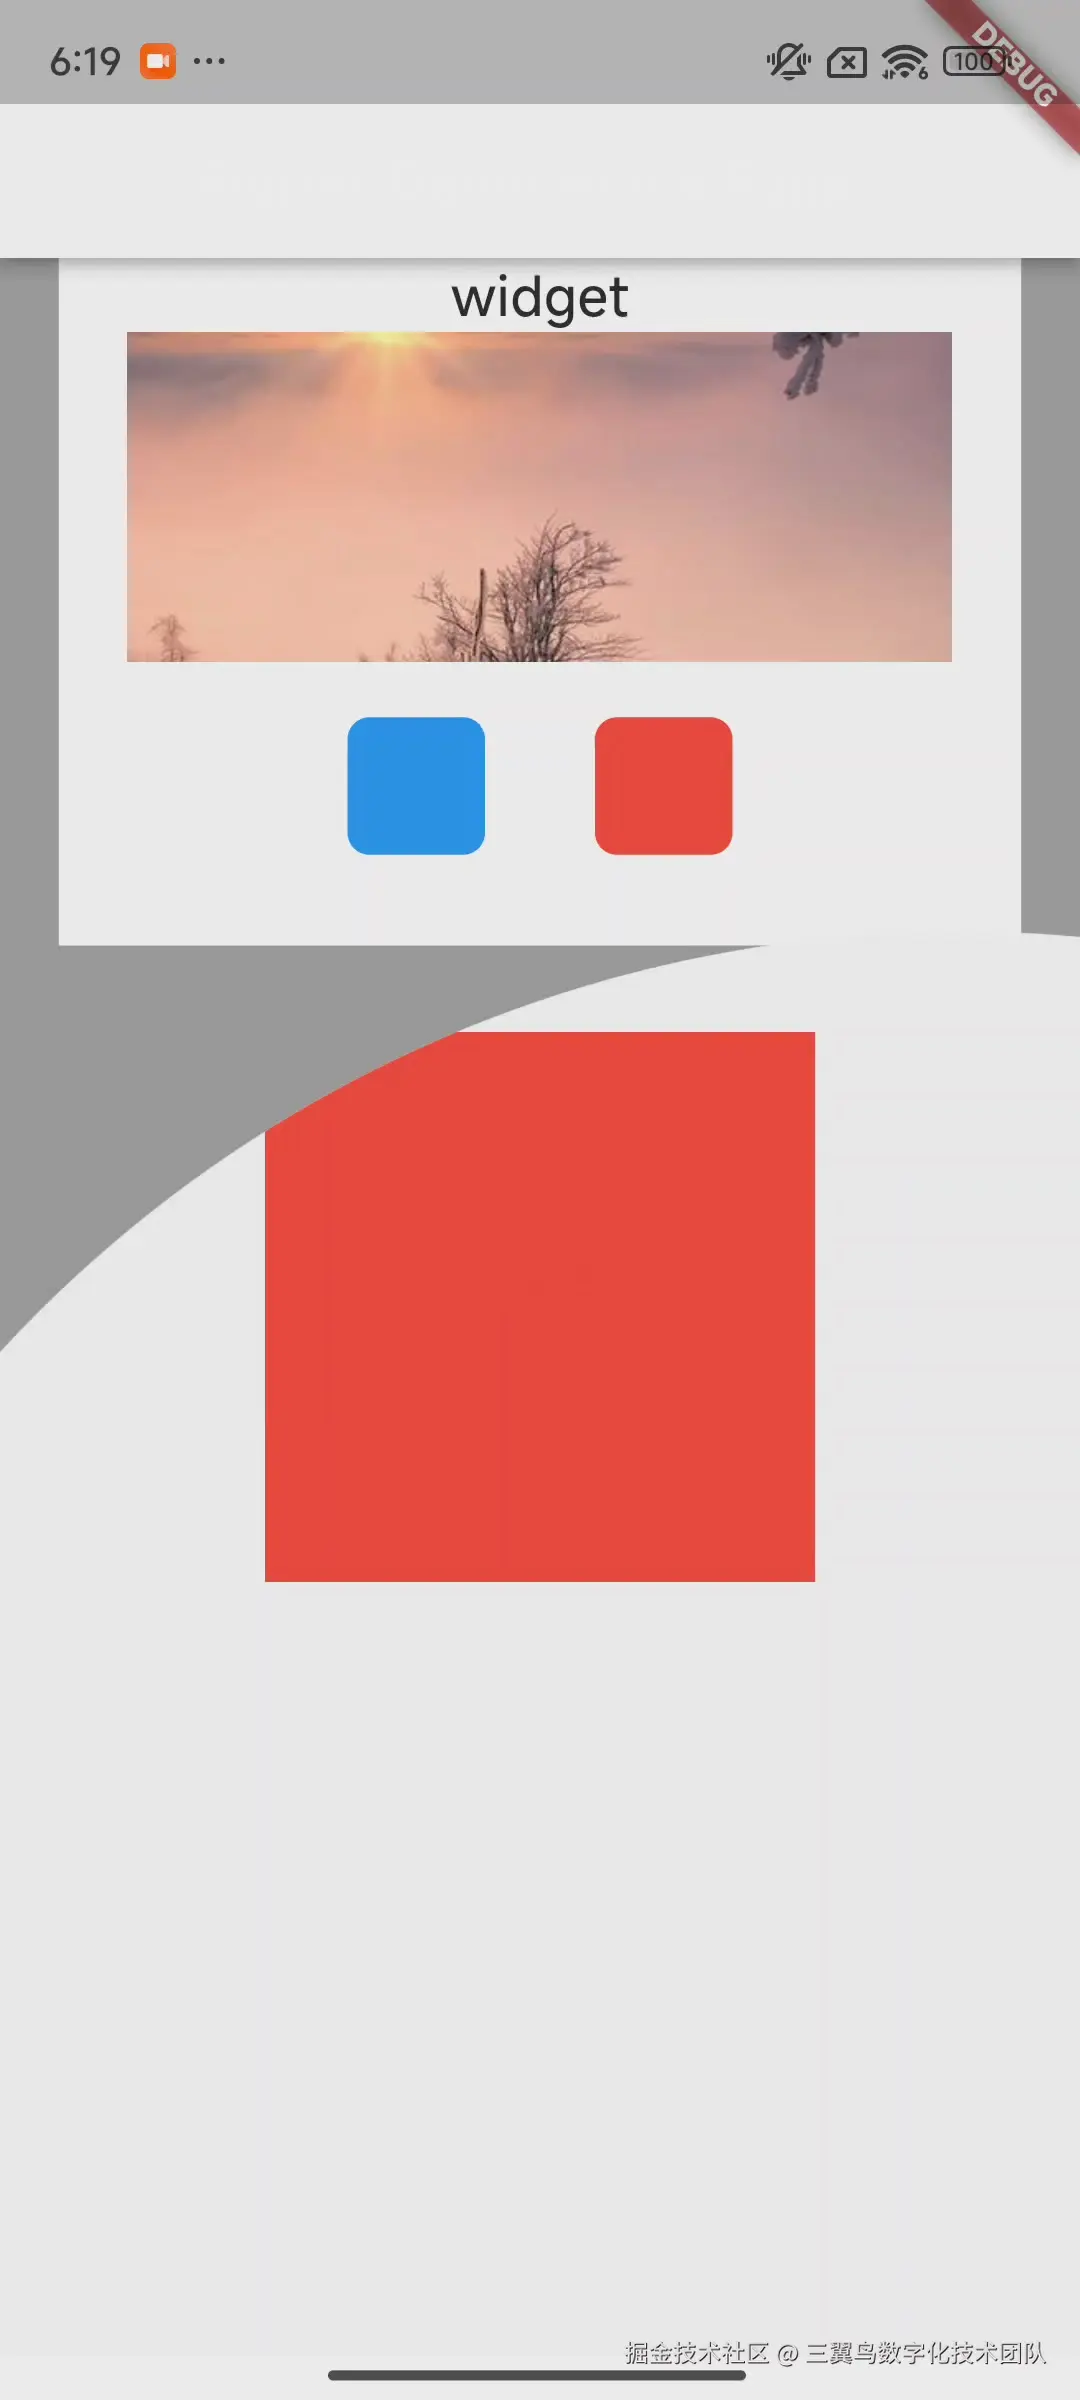
1Screenrecorder
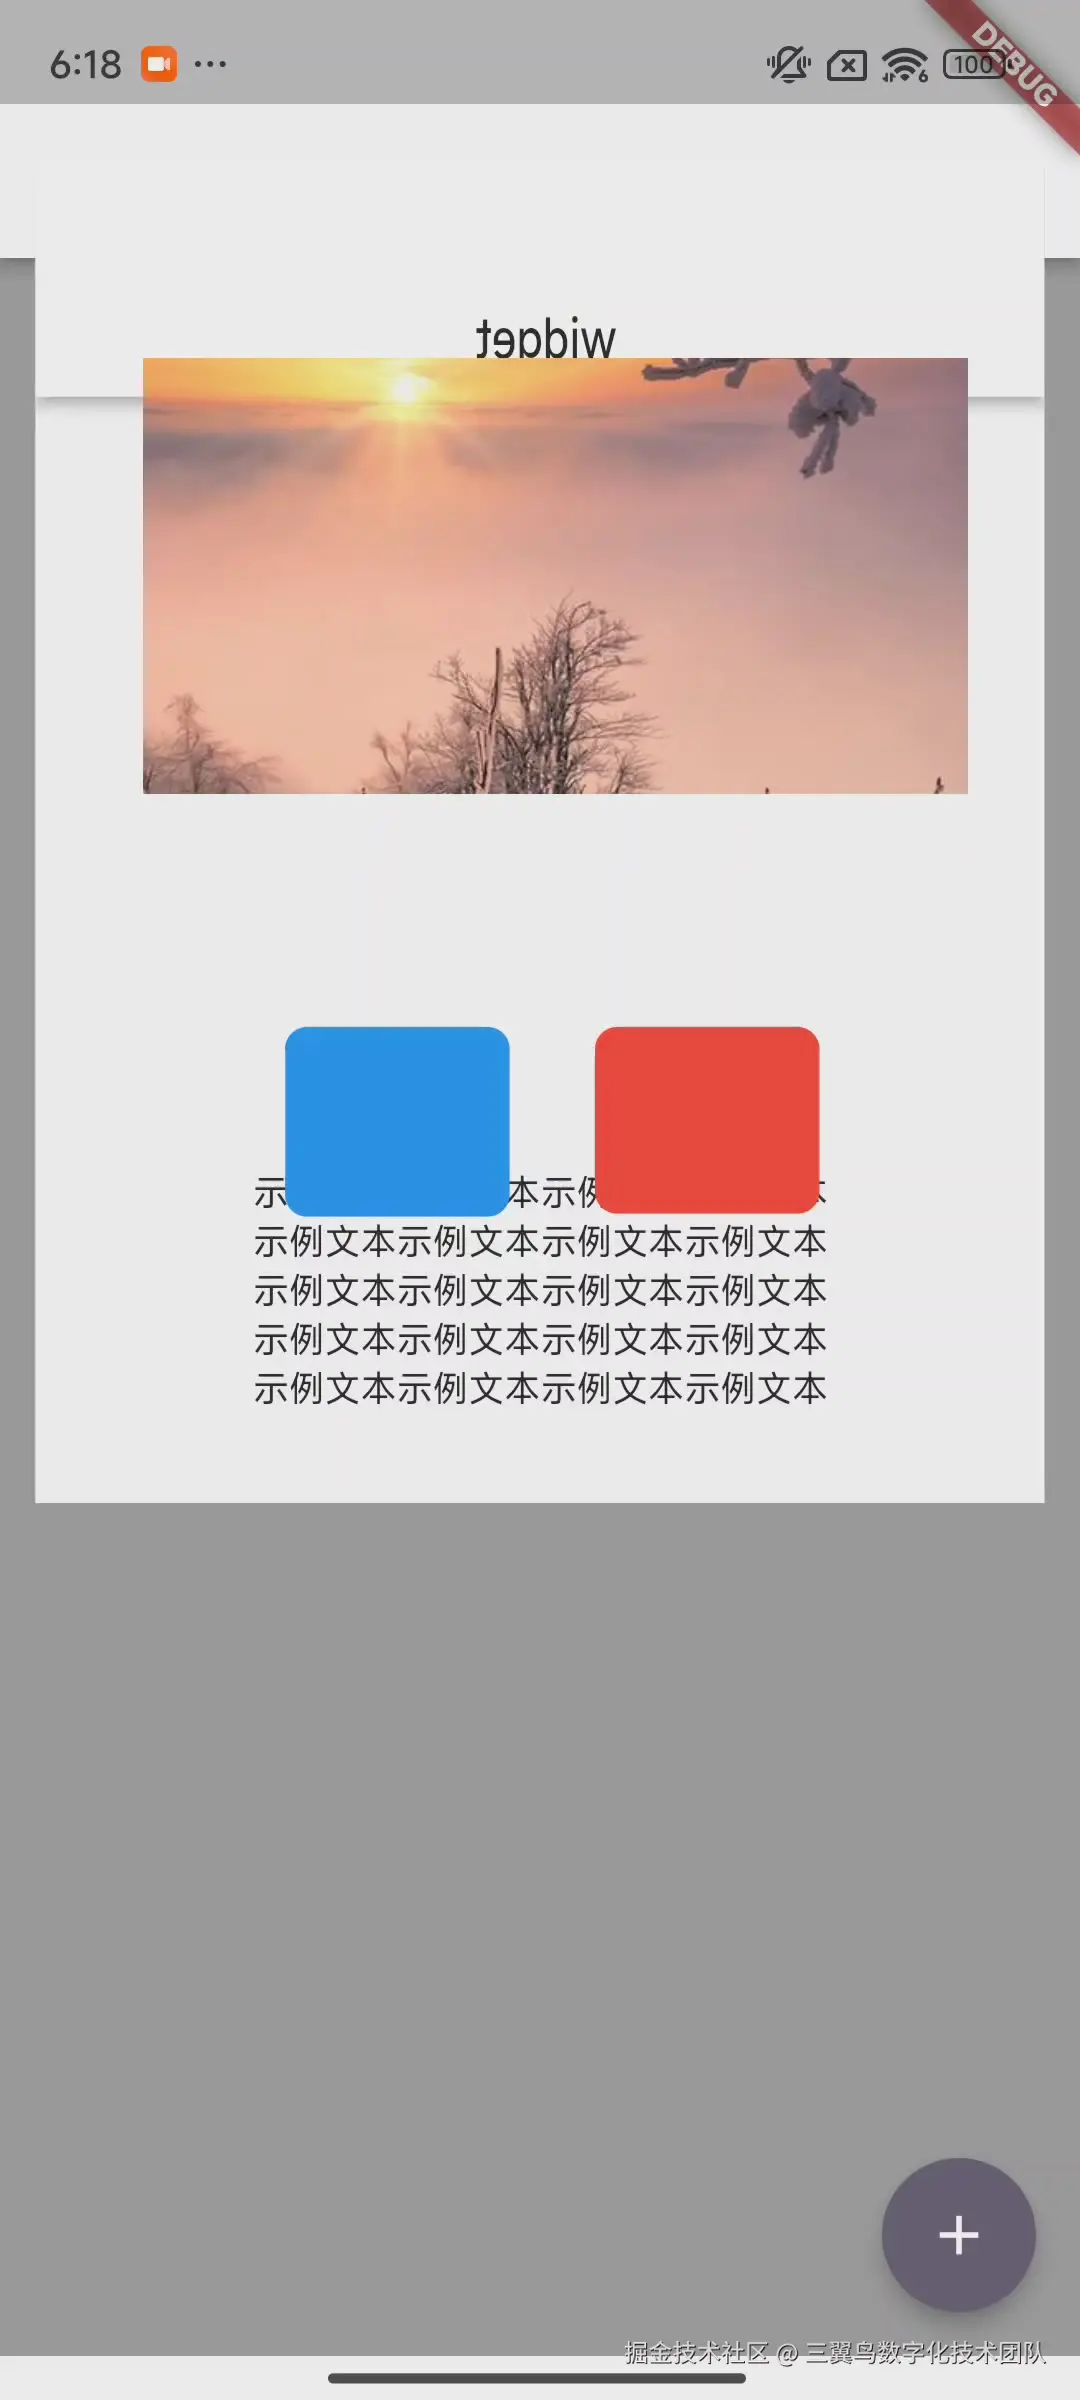
2Screenrecorder
代码
dart
import 'package:flutter/material.dart';
import 'package:flutter/scheduler.dart';

class TransformRoute<T> extends PageRoute<T> {
  final WidgetBuilder builder;
  final BuildContext childContext;

  TransformRoute(
      {required this.transitionDuration,
      required this.useRootNavigator,
      required this.builder,
      required this.childContext})
      : super();

  @override
  final Duration transitionDuration;

  final bool useRootNavigator;

  // Defines the position and the size of the (opening) [OpenContainer] within
  // the bounds of the enclosing [Navigator].
  final RectTween _rectTween = RectTween();

  AnimationStatus? _lastAnimationStatus;
  AnimationStatus? _currentAnimationStatus;

  @override
  TickerFuture didPush() {
    _takeMeasurements(navigatorContext: childContext);

    animation!.addStatusListener((AnimationStatus status) {
      _lastAnimationStatus = _currentAnimationStatus;
      _currentAnimationStatus = status;
    });

    return super.didPush();
  }

  @override
  bool didPop(T? result) {
    _takeMeasurements(
      navigatorContext: subtreeContext!,
      delayForSourceRoute: true,
    );
    return super.didPop(result);
  }

  @override
  void dispose() {
    super.dispose();
  }

  void _takeMeasurements({
    required BuildContext navigatorContext,
    bool delayForSourceRoute = false,
  }) {
    final RenderBox navigator = Navigator.of(
      navigatorContext,
      rootNavigator: useRootNavigator,
    ).context.findRenderObject()! as RenderBox;
    final Size navSize = _getSize(navigator);
    _rectTween.end = Offset.zero & navSize;

    void takeMeasurementsInSourceRoute([Duration? _]) {
      if (!navigator.attached) {
        return;
      }
      _rectTween.begin = _getRect(childContext, navigator);
    }

    if (delayForSourceRoute) {
      SchedulerBinding.instance
          .addPostFrameCallback(takeMeasurementsInSourceRoute);
    } else {
      takeMeasurementsInSourceRoute();
    }
  }

  Size _getSize(RenderBox render) {
    assert(render.hasSize);
    return render.size;
  }

  Rect _getRect(BuildContext context, RenderBox ancestor) {
    final RenderBox render = context.findRenderObject()! as RenderBox;
    assert(render.hasSize);
    return MatrixUtils.transformRect(
      render.getTransformTo(ancestor),
      Offset.zero & render.size,
    );
  }

  bool get _transitionWasInterrupted {
    bool wasInProgress = false;
    bool isInProgress = false;

    switch (_currentAnimationStatus) {
      case AnimationStatus.completed:
      case AnimationStatus.dismissed:
        isInProgress = false;
      case AnimationStatus.forward:
      case AnimationStatus.reverse:
        isInProgress = true;
      case null:
        break;
    }
    switch (_lastAnimationStatus) {
      case AnimationStatus.completed:
      case AnimationStatus.dismissed:
        wasInProgress = false;
      case AnimationStatus.forward:
      case AnimationStatus.reverse:
        wasInProgress = true;
      case null:
        break;
    }
    return wasInProgress && isInProgress;
  }

  void closeContainer({T? returnValue}) {
    Navigator.of(subtreeContext!).pop(returnValue);
  }

  @override
  Widget buildPage(
    BuildContext context,
    Animation<double> animation,
    Animation<double> secondaryAnimation,
  ) {
    return Align(
      alignment: Alignment.topLeft,
      child: AnimatedBuilder(
        animation: animation,
        builder: (BuildContext context, Widget? child) {
          final Animation<double> curvedAnimation = CurvedAnimation(
            parent: animation,
            curve: Curves.fastOutSlowIn,
            reverseCurve:
                _transitionWasInterrupted ? null : Curves.fastOutSlowIn.flipped,
          );
          final Rect rect = _rectTween.evaluate(curvedAnimation)!;
          return SizedBox.expand(
            child: Align(
              alignment: Alignment.topLeft,
              child: Transform.translate(
                offset: Offset(rect.left, rect.top),
                child: SizedBox(
                  width: rect.width,
                  height: rect.height,
                  child: Material(
                    clipBehavior: Clip.antiAlias,
                    animationDuration: Duration.zero,
                    child: Stack(
                      fit: StackFit.passthrough,
                      children: <Widget>[
                        // Open child fading in.
                        FittedBox(
                          fit: BoxFit.fitWidth,
                          alignment: Alignment.topLeft,
                          child: SizedBox(
                            width: _rectTween.end!.width,
                            height: _rectTween.end!.height,
                            child: Builder(
                              builder: (BuildContext context) {
                                return builder(context);
                              },
                            ),
                          ),
                        ),
                      ],
                    ),
                  ),
                ),
              ),
            ),
          );
        },
      ),
    );
  }

  @override
  bool get maintainState => true;

  @override
  Color? get barrierColor => null;

  @override
  bool get opaque => true;

  @override
  bool get barrierDismissible => false;

  @override
  String? get barrierLabel => null;
}
1.3.2 与Overlay组件结合实现消息横幅

RPReplay_Final
主要代码
less
void _createAnimation() {
  // 此处通过key去获取Widget的Size属性
  RenderBox renderBox =
      _childKey.currentContext?.findRenderObject() as RenderBox;
  Size size = renderBox.size;
  double deltaY = size.height; // 该值为位移动画需要的位移值
  // 如果fade动画不存在,则创建一个新的fade动画
  _fade = Tween<double>(begin: _fadeAnimate ? 0.0 : 1.0, end: 1.0)
      .animate(CurvedAnimation(parent: controller!, curve: Curves.ease));

  _translate = Tween<double>(begin: -deltaY, end: 0).animate(CurvedAnimation(
      parent: controller!, curve: Curves.ease)); // 前15%的时间用于执行平移动画
}

AnimationController createAnimationController() {
  return AnimationController(
    duration: const Duration(milliseconds: 400),
    debugLabel: debugLabel,
    vsync: navigator!,
  );
}

Widget _buildAnimation(BuildContext context, Widget? child) {
  return Transform.translate(
    offset: Offset(0, _translate?.value ?? 0),
    child: Opacity(
        opacity: _fade?.value ?? 0,
        child: child), // 此处使用translate.value不断取值来刷新child的偏移量
  );
}

  child: AnimatedBuilder(
    builder: _buildAnimation,
    animation: controller!,
    child: child,
  ),
2. 总结
| 动效类型 | 优点 | 缺点 | 动效文件大小 | 是否支持网络加载 | 使用难度 | 是否支持控制器 |
|---|---|---|---|---|---|---|
| 隐式动画 | 使用方便,通过state控制 | 无法实现复杂的动效效果 | / | / | 使用方便,通过state控制 | 否 |
| 控制器动画AnimationController | 使用复杂,需要自定义参数和曲线以及运行时机 | / | / | 使用复杂,需要自定义参数和曲线以及运行时机 | 是 | |
| 动效组件 Lottie | 实现方便,无需复杂切图;执行完成后性能恢复正常;不会导致fd增加 | 执行时占用CPU,执行完成后释放 | 开关机:7KB节能状态:128KB | 支持网络加载不支持缓存 | 使用方便,Lottie.asset``Lottie.network |
是 |
| 动效组件rive | 动效文件更小;能更好的控制动效状态和做出更多的交互 | 需要修改ndkVersion "25.1.8937393" | 三种颜色的水波纹放大:3KB | 支持网络加载 | 使用难度高,涉及到artboard、animations、stateMachines多种控制 | 是 |
| 图片动效资源 webp/gif | 直接使用Image.asset展示时多次执行的情况下会导致fd占用增加且执行完成后不回落 |
开关机:gif:11/14KBwebp:58/152KB节能状态:gif:3.7MBwebp:5.8MB | 支持网络加载支持缓存 | 使用方便Image.asset |
否 | |
| 加了控制器的webp/gif动效 | 与非受控相比执行时fd不会增加,且组件移除后快速回落 | 加载时导致fd大量增加 | 支持网络加载不支持缓存 | 使用方式一般Gif(controller: controller, image: NetworkImage()) |
是 | |
| 序列帧动效 | 执行时不会导致fd和内存增加 | 需要大量图片资源,不适用与server动态配置;执行时会导致fd和内存增加 | 开关机:2KB10/2KB22节能状态:82KB*119 | 不便于网络加载 | 使用复杂FrameAnimationImage |
否 |
3. 参考资料
- docs.flutter.cn/codelabs/im...
- Proposal Add AnimatedImageController to communicate with animated images (GIF, AVIF, APNG, etc)#111150
- Improve Images in Flutter to allow for more control over GIFs such as playback status and speed.#59605
- Displaying GIFs causing memory increase and app crash#65815
- Performance Gif will make GC frequently, and it'll make the phone heat up#80702
- docs.flutter.cn/ui/animatio...
- github.com/xvrh/lottie...
- rive.app/community/d...
- hackernoon.com/lang/zh/riv...
- medium.com/@sandeepkel...
4. 团队介绍
「三翼鸟数字化技术平台-网器场景」负责网器设备基础数据和计算、规则引擎、网器绑定、网器控制、安防音视频、网器跨平台接入验证等业务,服务产业及海尔智家线上用户;负责网器管理平台建设,提供产业设备基础数据底座、研发产业跨平台网器管理工具等,致力于提升用户交互体验和网器产品的智能化水平。