一、正向代理和反向代理
1、正向代理
用途
正向代理的具体用途,
通过代理服务器,突破client本身的ip访问限制,访问国外资源。
比如你在国内,是无法访问到国外的数据的,因为你的ip地址都被运营商检测了
你的ip无法直接访问到国外的数据,根本ip就不同。。
客户端 215.171.244.229江苏 电信
↓ (无法通信,中间有一堵墙)
youtube的服务器,ip
如何通信,基于正向代理,通过另一个ip的伪装去访问
客户端 215.171.244.229江苏 电信
↓(正向代理,连接上VPN,此时我client的ip表现,就不是215.171.244.229这个ip地址,而是代理服务器的ip地址,比如 )
是你的VPN服务器的ip地址(223.206.161.61)
↓
youtube的服务器ip(会看到请求是来自于谁?来自于 223.206.161.61)
正向代理是什么,就是 proxy代理的是client。
隐藏client真实信息,可以保护client服务器,隐藏自己的ip,免受攻击。
2、反向代理
反向代理,proxy 代理的就是 server服务端。
二、正向代理实验
1、图解正向代理和反向代理的区别
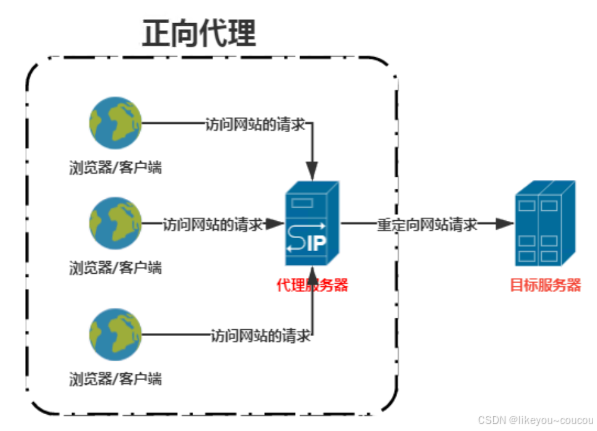
正向代理,指的是通过代理服务器 代理浏览器/客户端去重定向请求访问到目标服务器 的一种代理服务。
正向代理服务的特点是代理服务器 代理的对象是浏览器/客户端,也就是对于目标服务器 来说浏览器/客户端是隐藏的。
所以,只需要基于nginx的proxy_pass转发给一个后端节点就行,可以实现正向代理。
2、nginx正向代理
准备环境:至少需要一台机器
web-8:10.0.0.8
首先需要安装nginx软件
[web-8 root ~] # yum -y install nginx编辑nginx.conf配置文件
# 更改配置文件之前先备份一下
[web-8 root /etc/nginx] # cp nginx.conf nginx.conf.bak


[web-8 root /etc/nginx] # cat nginx.conf
server {  # HTTP 服务,一个 server 可以配置多个 location
        listen 80;  # 服务监听端口
	    resolver 114.114.114.114; #指定DNS服务器IP地址
        server_name localhost;  # 主机名、域名

	#正向代理转发http请求
        location / {
		    proxy_pass                 http://$host$request_uri;
            proxy_set_header           HOST $host;
            proxy_buffers              256 4k;
       	    proxy_max_temp_file_size   0k;
            proxy_connect_timeout      30;
            proxy_send_timeout         60;
            proxy_read_timeout         60;
            proxy_next_upstream error  timeout invalid_header http_502;

	        root /usr/share/nginx/html;  # 页面存放目录
            index index.html index.htm;  # 默认页面
        }
配置文件解释:
1.proxy_pass http://hostrequest_uri:这个指令告诉 Nginx 将请求转发给后端的服务器。host 代表请求头中的 Host 字段,即客户端请求的域名;request_uri 代表请求的 URI,包括查询字符串。
**2. proxy_set_header HOST host**:设置传递给后端服务器的 Host 请求头为 host,即客户端请求的域名。确保代理服务器将客户端请求的域名(比如 example.com)发送到后端服务器。
3. proxy_buffers 256 4k:指定 Nginx 在与后端服务器交换数据时,使用的缓冲区大小。这里表示:256 个 4KB 的缓冲区来接收从后端服务器返回的响应数据。
4. proxy_max_temp_file_size 0k:指定缓存到临时文件的最大文件大小。此处设置为 0k,表示禁止将响应内容缓存到临时文件
5. proxy_connect_timeout 30:设置与后端服务器建立连接的超时时间,单位为秒。这里设置为 30 秒,表示如果 Nginx 在 30 秒内无法与后端服务器建立连接,则会中断请求
6. proxy_send_timeout 60:设置 Nginx 向后端服务器发送请求的超时时间,单位为秒。这里设置为 60 秒,表示如果 Nginx 向后端服务器发送请求时,超过 60 秒没有响应,则中断请求。
7. proxy_read_timeout 60:设置 Nginx 等待后端服务器响应的超时时间,单位为秒。这里设置为 60 秒,表示 Nginx 等待后端服务器返回数据的时间为 60 秒,超过时间则中断请求。
8. proxy_next_upstream error timeout invalid_header http_502:指定在某些条件下,Nginx 会尝试将请求转发到下一个 upstream 服务器。这里设置了多个触发条件:
error:当后端服务器出现错误时,尝试转发请求。timeout:当与后端服务器的连接超时时,尝试转发请求。invalid_header:当后端服务器返回无效的响应头时,尝试转发请求。http_502:当返回 502 Bad Gateway 错误时,尝试转发请求到下一个服务器。
测试nginx正向代理
curl -I http://www.baidu.com/ -v -x 10.0.0.8:80
bash
更改完配置文件后检测一下是否正常
[web-8 root /etc/nginx] # nginx -t
nginx: the configuration file /etc/nginx/nginx.conf syntax is ok
nginx: configuration file /etc/nginx/nginx.conf test is successful
[web-8 root /etc/nginx] #

重启nginx
[web-8 root /etc/nginx] # systemctl restart nginx


[web-8 root /etc/nginx] # curl -I http://www.baidu.com/ -v -x 10.0.0.8:80
* About to connect() to proxy 10.0.0.8 port 80 (#0)
*   Trying 10.0.0.8...
* Connected to 10.0.0.8 (10.0.0.8) port 80 (#0)
> HEAD http://www.baidu.com/ HTTP/1.1
> User-Agent: curl/7.29.0
> Host: www.baidu.com
> Accept: */*
> Proxy-Connection: Keep-Alive
>
< HTTP/1.1 200 OK
HTTP/1.1 200 OK
< Server: nginx/1.20.1
Server: nginx/1.20.1
< Date: Thu, 23 Oct 2025 06:48:22 GMT
Date: Thu, 23 Oct 2025 06:48:22 GMT
< Content-Type: text/html
Content-Type: text/html
< Content-Length: 277
Content-Length: 277
< Connection: keep-alive
Connection: keep-alive
< Accept-Ranges: bytes
Accept-Ranges: bytes
< Cache-Control: private, no-cache, no-store, proxy-revalidate, no-transform
Cache-Control: private, no-cache, no-store, proxy-revalidate, no-transform
< Etag: "575e1f60-115"
Etag: "575e1f60-115"
< Last-Modified: Mon, 13 Jun 2016 02:50:08 GMT
Last-Modified: Mon, 13 Jun 2016 02:50:08 GMT
< Pragma: no-cache
Pragma: no-cache
< Tr_id: bfe_7688070633717255922
Tr_id: bfe_7688070633717255922

<
* Connection #0 to host 10.0.0.8 left intact
三、反向代理
1、基于Http Proxy模块,Http Proxy模块是Nginx实现反向代理的核心,最常用指令为proxy_pass和proxy_cache
bash
[web-9 root ~] # cat /etc/nginx/nginx.conf

http {
    server {
        listen       8088;
        #listen       [::]:80;
        server_name  _;
        root         /usr/share/nginx/html;

	location / {
        	proxy_pass http://10.0.0.8:808;  # 反向代理到的目标服务器

	}
bash
(15:52:57)[web-9 root ~] # curl 127.0.0.1:8088
this is web-8 html
(15:53:05)[web-9 root ~] # curl 127.0.0.1:8088
this is web-8 html
(15:53:31)[web-9 root ~] # curl 10.0.0.9:8088
this is web-8 html
(15:53:51)[web-9 root ~] # curl 127.0.0.1:8088
this is web-8 html
四、nginx负载均衡
nginx负载均衡到httpd服务器
1、准备环境
|-------|----------|-------|
| 主机 | IP | 服务 |
| slb-5 | 10.0.0.5 | nginx |
| web-8 | 10.0.0.8 | httpd |
| web-9 | 10.0.0.9 | httpd |
2、前置准备
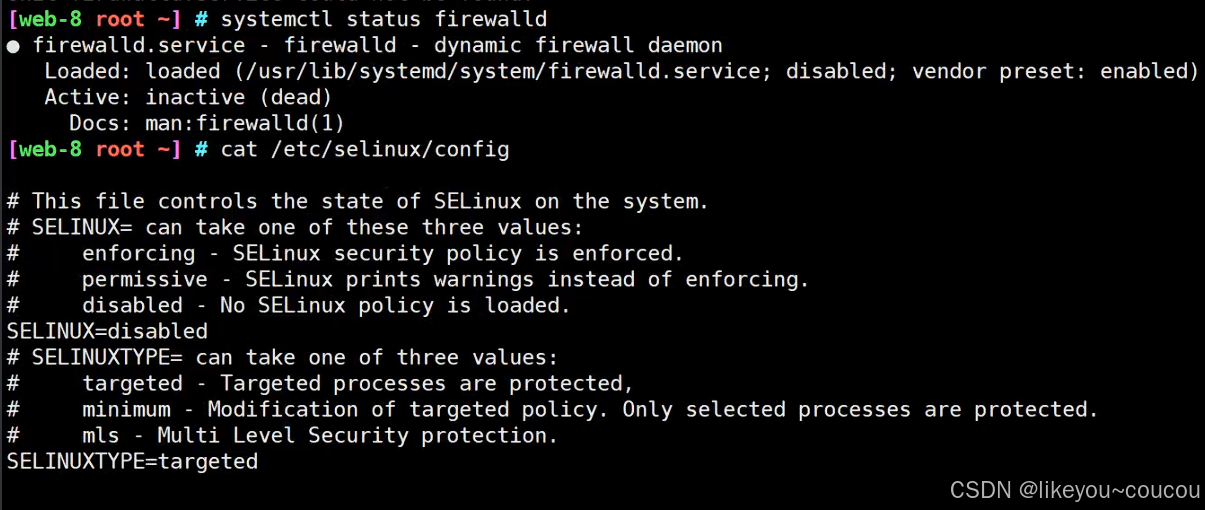
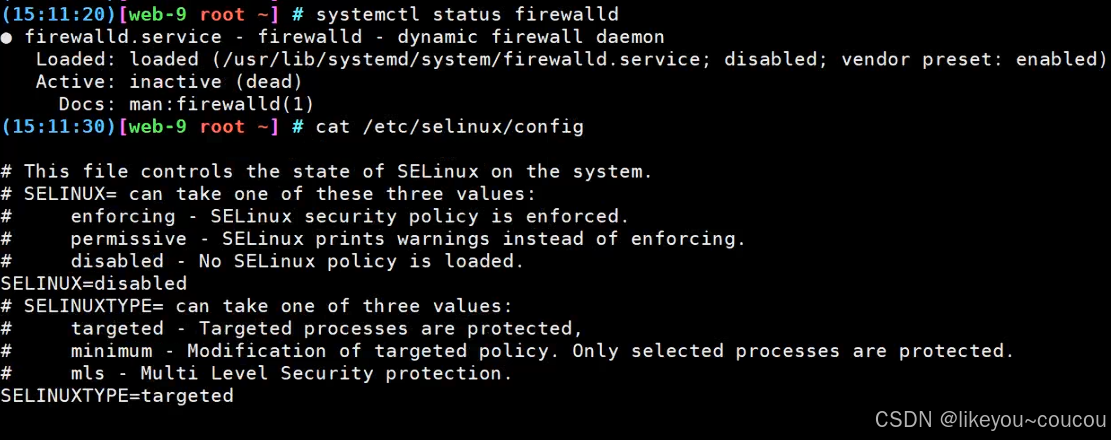
三台主机关闭防火墙和selinux,主机互通
bash
关闭防火墙
systemctl stop firewalld && systemctl disable firewalld

关闭selinux
setenforce 0 && sed -i 's/SELINUX=enforcing/SELINUX=disabled/' /etc/selinux/config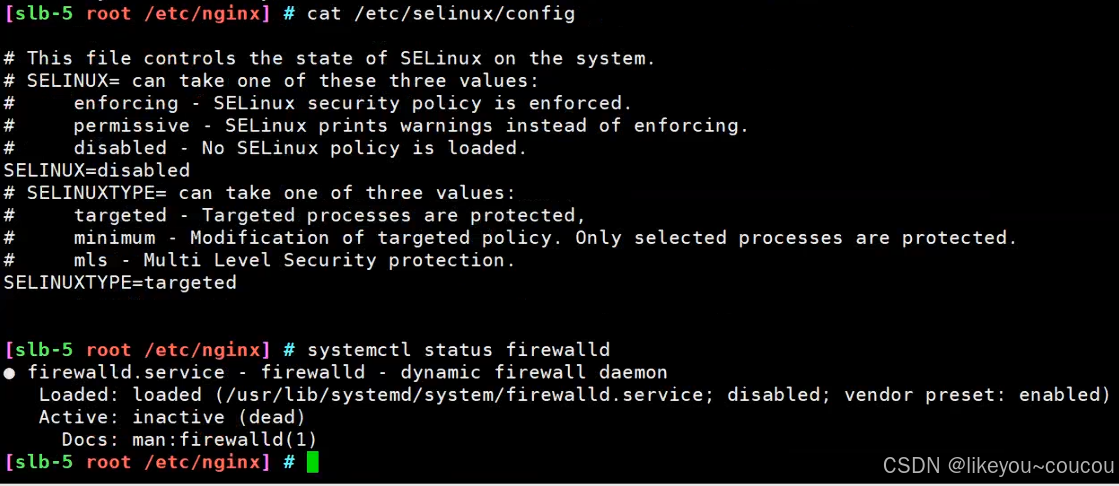
3、安装软件服务并启动
bash
web-8安装httpd并启动,创建测试网页
[web-8 root ~] # yum -y install httpd
[web-8 root ~] # systemctl start httpd
[web-8 root ~] # systemctl status httpd
● httpd.service - The Apache HTTP Server
   Loaded: loaded (/usr/lib/systemd/system/httpd.service; disabled; vendor preset: disabled)
   Active: active (running) since Fri 2025-10-24 14:58:19 CST; 16min ago
     Docs: man:httpd(8)
           man:apachectl(8)
 Main PID: 1195 (httpd)
   Status: "Total requests: 6; Current requests/sec: 0; Current traffic:   0 B/sec"
   CGroup: /system.slice/httpd.service
           ├─1195 /usr/sbin/httpd -DFOREGROUND
           ├─1196 /usr/sbin/httpd -DFOREGROUND
           ├─1197 /usr/sbin/httpd -DFOREGROUND
           ├─1198 /usr/sbin/httpd -DFOREGROUND
           ├─1199 /usr/sbin/httpd -DFOREGROUND
           ├─1200 /usr/sbin/httpd -DFOREGROUND
           └─1201 /usr/sbin/httpd -DFOREGROUND

[web-8 root ~] # echo 'this is web-8 html' > /var/www/html/index.html


web-9安装httpd并启动,创建测试网页
(15:17:15)[web-9 root ~] # yum -y install httpd
(15:17:15)[web-9 root ~] # systemctl start httpd
(15:11:36)[web-9 root ~] # systemctl status httpd
● httpd.service - The Apache HTTP Server
   Loaded: loaded (/usr/lib/systemd/system/httpd.service; disabled; vendor preset: disabled)
   Active: active (running) since Fri 2025-10-24 14:58:26 CST; 16min ago
     Docs: man:httpd(8)
           man:apachectl(8)
 Main PID: 15519 (httpd)
   Status: "Total requests: 5; Current requests/sec: 0; Current traffic:   0 B/sec"
   CGroup: /system.slice/httpd.service
           ├─15519 /usr/sbin/httpd -DFOREGROUND
           ├─15521 /usr/sbin/httpd -DFOREGROUND
           ├─15522 /usr/sbin/httpd -DFOREGROUND
           ├─15523 /usr/sbin/httpd -DFOREGROUND
           ├─15524 /usr/sbin/httpd -DFOREGROUND
           ├─15525 /usr/sbin/httpd -DFOREGROUND
           └─15527 /usr/sbin/httpd -DFOREGROUND
[web-9 root ~] # echo 'this is web-9 html' > /var/www/html/index.html
4、配置nginx负载均衡
bash
[slb-5 root /etc/nginx] # cat nginx.conf

http {
  upstream backend {           #定义后端服务器集群名(命名backend)
        server 10.0.0.8:80;    # web-8机器,默认权重1
        server 10.0.0.9:80;    # web-9机器,默认权重2
	}

    server {
        listen       80;       # 监听端口80
        listen       [::]:80;  # 允许 Nginx 监听 IPv6 地址上的端口 80,使得服务支持 IPv6 客户端访问
        server_name  _;        # server_name 用于指定这个 server 块响应的域名或 IP 地址
        root         /usr/share/nginx/html;

        location / {            # 用于处理请求的路径。这里的 / 表示所有请求都经过此 location 块进行处理

        proxy_pass http://backend;    # proxy_pass 指令将请求转发到上面定义的 upstream backend 服务器池
	    proxy_set_header Host $host;  # proxy_set_header 用于修改请求头。这里设置 Host 请求头为原始请求中的 Host 值,这样后端服务器可以识别请求的主机名
        proxy_set_header X-Real-IP $remote_addr; # 设置 X-Real-IP 请求头,将客户端的 IP 地址传递给后端服务器。这样后端可以知道请求的真实客户端 IP

	}


[slb-5 root /etc/nginx] # nginx -t
nginx: the configuration file /etc/nginx/nginx.conf syntax is ok
nginx: configuration file /etc/nginx/nginx.conf test is successful
[slb-5 root /etc/nginx] # systemctl restart nginx
[slb-5 root /etc/nginx] #
5、测试访问是否成功
bash
[slb-5 root ~] # curl 10.0.0.5
this is web-9 html
[slb-5 root ~] # curl 10.0.0.5
this is web-8 html
[slb-5 root ~] # curl 10.0.0.5
this is web-9 html
[slb-5 root ~] # curl 10.0.0.5
this is web-8 html
[slb-5 root ~] # 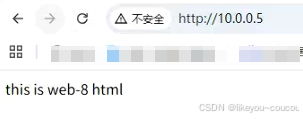
6、自定义配置权重
slb-5机器设置weight=3,让其承担3倍请求:
bash
[slb-5 root ~] # cat /etc/nginx/nginx.conf
{
upstream backend {
server 10.0.0.8:80 weight=3; # 权重3,承担访问3/4请求
server 10.0.0.9:80; # 权重1,承担访问1/4请求
}
[slb-5 root ~] # nginx -t
nginx: the configuration file /etc/nginx/nginx.conf syntax is ok
nginx: configuration file /etc/nginx/nginx.conf test is successful
[slb-5 root ~] #
[slb-5 root ~] # nginx -s reload
[slb-5 root ~] #
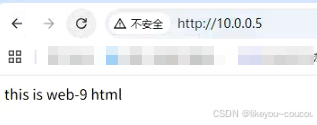
[slb-5 root ~] # curl 10.0.0.5
this is web-8 html
[slb-5 root ~] # curl 10.0.0.5
this is web-8 html
[slb-5 root ~] # curl 10.0.0.5
this is web-9 html
[slb-5 root ~] # curl 10.0.0.5
this is web-8 html