文章目录
- 前言
- 一、对话框添加按钮
- 二、DcmParser类导出函数
-
- [1. Export函数](#1. Export函数)
- 2.导出JPG
- [3. 导出PNG](#3. 导出PNG)
- [4. 导出BMP](#4. 导出BMP)
- [5. 导出TIFF](#5. 导出TIFF)
- [6. 导出MP4](#6. 导出MP4)
前言
本章介绍从dicom文件生成bmp、jpg、png、tiff格式的图片。单帧图生成一张,多帧图生成与帧数相同数量的图片。超过10帧(含10帧)的多帧图可以导出mp4格式视频
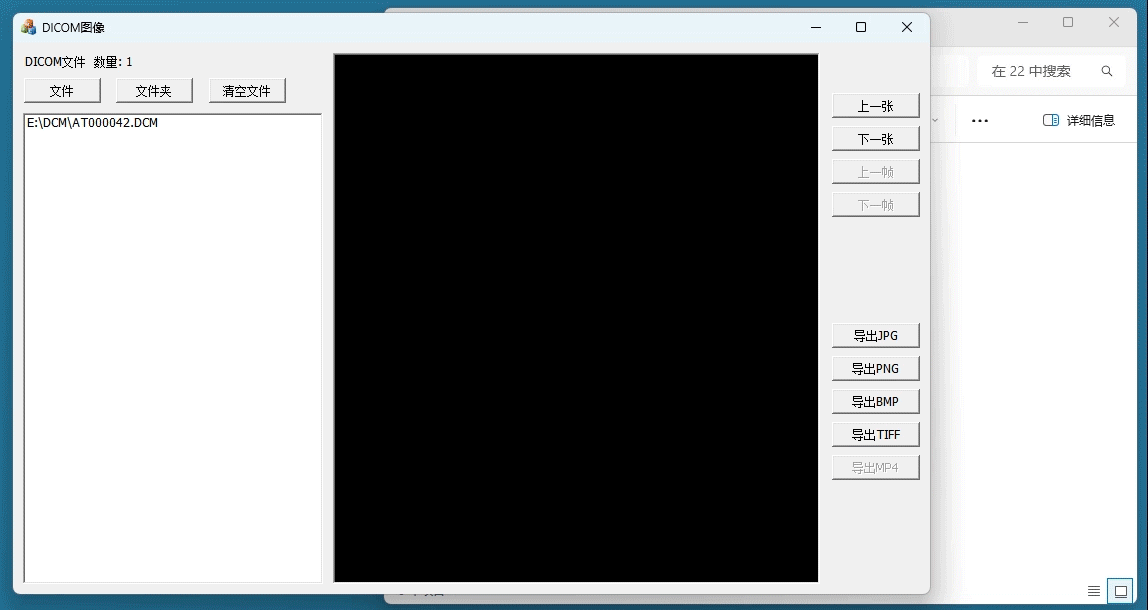
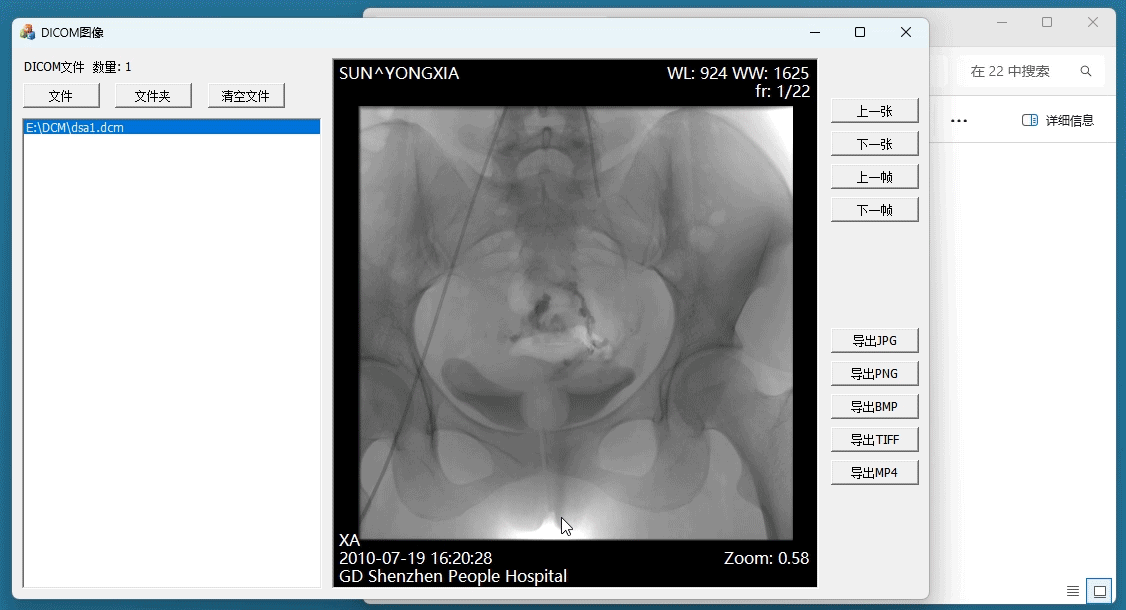
效果如下 :
-
单帧图
-
多帧图
一、对话框添加按钮
CDcmImageDlg类按钮响应函数:
cpp
void CDcmImageDlg::OnBnClickedButtonExpJpg()
{
	std::string dst = SelectFolder();
	if (!m_disp.Export(dst, 0)) {
		MessageBox(_T("导出JPG失败!"));
	}
}


void CDcmImageDlg::OnBnClickedButtonExpPng()
{
	std::string dst = SelectFolder();
	if (!m_disp.Export(dst, 1)) {
		MessageBox(_T("导出PNG失败!"));
	}
}

void CDcmImageDlg::OnBnClickedButtonExpBmp()
{
	std::string dst = SelectFolder();
	if (!m_disp.Export(dst, 2)) {
		MessageBox(_T("导出BMP失败!"));
	}
}

void CDcmImageDlg::OnBnClickedButtonExpTiff()
{
	std::string dst = SelectFolder();
	if (!m_disp.Export(dst, 3)) {
		MessageBox(_T("导出TIFF失败!"));
	}
}

void CDcmImageDlg::OnBnClickedButtonExpVideo()
{
	std::string dst = SelectFolder();
	if (!m_disp.Export(dst, 4)) {
		MessageBox(_T("导出MP4失败!"));
	}
	else {
		MessageBox(_T("导出MP4完成!"));
	}
}
Displayer 接口函数:
cpp
// format = 0 jpg, 1 png, 2 bmp, 3 tiff, 4 mp4(多帧图有效)
bool Displayer::Export(std::string dst, int format)
{
	if (m_pImage == nullptr) return false;
	return m_pImage->Export(dst, format);

}
二、DcmParser类导出函数
1. Export函数
根据format参数,分别调用SaveToJpg, SaveToPng,SaveToBmp,SaveToTiff,SaveToVideo函数保存为不同格式
format = 0 jpg, 1 png, 2 bmp, 3 tiff, 4 mp4(多帧图有效)
cpp
bool DcmParser::Export(std::string dst, int format)
{
	int result = 0;
	int nFrames = GetFrameCount();
	std::string sopInsUid = GetTagStringValue(0x0008, 0x0018);
	std::string serInsUid = GetTagStringValue(0x0020, 0x000e);
	std::string patId = GetTagStringValue(0x0010, 0x0020);
	std::string ext[] = { ".jpg", ".png", ".bmp", ".tif", ".jpg" };
	std::string serDir = dst + "\\" + patId;
	MakePath(serDir);

	std::vector<std::string> videoFiles;
	int w, h;

	for (int i=0; i<nFrames; i++)
	{
		std::string fn = serDir + "\\" + "frame_" + std::to_string(i) + ext[format];

		DicomImage *di = createImage(i);
		int frame = i - m_nFrameStart;

		if (i == 0) {
			w = di->getWidth();
			h = di->getHeight();
		}

		switch (format)
		{
		case 0:  // jpg
		case 4:
		{
			result = SaveToJpg(di, fn, frame);
			if (result && format==4)
			{
				videoFiles.push_back(fn);
			}
		}
		break;
		case 1:  // png
			result = SaveToPng(di, fn, frame);
			break;
		case 2:  // bmp
			result = di->writeBMP(fn.c_str(), 0, frame);
			result = SaveToBmp(di, fn, frame);
			break;
		case 3:  // tiff
		{
			//std::string tivVer = DiTIFFPlugin::getLibraryVersionString();
			//CString msg = tivVer.c_str();
			//
			//OutputDebugString(msg + "\r\n");
			//DiTIFFPlugin tiffPlugin;
			//tiffPlugin.setCompressionType(E_tiffLZWCompression);
			////tiffPlugin.setCompressionType(E_tiffPackBitsCompression);
			//tiffPlugin.setLZWPredictor(E_tiffLZWPredictorDefault);
			//tiffPlugin.setRowsPerStrip(OFstatic_cast(unsigned long, 0));
			//result = di->writePluginFormat(&tiffPlugin, ofile, frame);

			result = SaveToTiff(di, fn, frame);

		}
		break;
		default:
			break;
		}
	}

	if (format == 4) {
		if (videoFiles.size() > 9) {
			std::string fn = serDir + "\\" + patId + ".mp4";
			SaveToVideo(videoFiles, w, h, fn);
		}
		else {
			result = 0;
		}

	}

	return result>0;
}
2.导出JPG
导出JPG调用DiJPEGPlugin插件类。
导出JPG,PNG,TIFF格式,都可以调用插件实现,
需要在编译dcmtk时添加预编译库,勾选DCMTK_WITH_OPENJPEG、DCMTK_WITH_PNG、DCMTK_WITH_TIFF,参考文章基于dcmtk的dicom工具 第一章 编译dcmtk3.6.9
cpp
int DcmParser::SaveToJpg(DicomImage* di, std::string dst, int frame)
{
	DiJPEGPlugin plugin;
	plugin.setQuality(OFstatic_cast(unsigned int, 100));
	plugin.setSampling(ESS_422);
	return di->writePluginFormat(&plugin, dst.c_str(), frame);
}
3. 导出PNG
导出PNG调用DiPNGPlugin 插件类
cpp
int DcmParser::SaveToPng(DicomImage* di, std::string dst, int frame)
{
	DiPNGPlugin pngPlugin;
	pngPlugin.setInterlaceType(E_pngInterlaceAdam7);
	pngPlugin.setMetainfoType(E_pngFileMetainfo);
	return di->writePluginFormat(&pngPlugin, dst.c_str(), frame);
}
4. 导出BMP
导出BMP不需要调用插件类,DicomImage可直接保存为BMP格式
cpp
int DcmParser::SaveToBmp(DicomImage* di, std::string dst, int frame)
{
	return di->writeBMP(dst.c_str(), 0, frame);
}
5. 导出TIFF
导出TIFF本来有插件类DiTIFFPlugin可用,但是在我电脑上导出失败,经调试后发现在writePluginFormat内部,TIFFFdOpen函数调用失败。
FILE *stream = fopen(filename, "wb");
int stream_fd = fileno(stream);
TIFF *tif = TIFFFdOpen(stream_fd, "TIFF", "w"); 失败,总是返回0
DiTIFFPlugin类调用方法,有兴趣的朋友可以自行研究:
cpp
	DiTIFFPlugin tiffPlugin;
	//tiffPlugin.setCompressionType(E_tiffLZWCompression);
	tiffPlugin.setCompressionType(E_tiffPackBitsCompression);
	tiffPlugin.setLZWPredictor(E_tiffLZWPredictorDefault);
	tiffPlugin.setRowsPerStrip(OFstatic_cast(unsigned long, 0));
	result = di->writePluginFormat(&tiffPlugin, fn.c_str(), frame);
解决方法,不调用TIFFFdOpen,改用TIFFOpen:
cpp
int DcmParser::SaveToTiff(DicomImage* di, std::string dst, int frame)
{
	void *data = OFconst_cast(void *, di->getOutputData(8, frame, 0));
	if (data == nullptr) {
		return 0;
	}

	int cols = di->getWidth();
	int rows = di->getHeight();
	OFBool isMono = di->isMonochrome();
	short photometric = isMono ? PHOTOMETRIC_MINISBLACK : PHOTOMETRIC_RGB;
	short samplesperpixel = isMono ? 1 : 3;
	unsigned long bytesperrow = cols * samplesperpixel;

	long opt_rowsperstrip = OFstatic_cast(long, 0);
	if (opt_rowsperstrip <= 0) opt_rowsperstrip = 8192 / bytesperrow;
	if (opt_rowsperstrip == 0) opt_rowsperstrip++;

	TIFF* tif = TIFFOpen(dst.c_str(), "w");
	if (!tif) {
		return 0;
	}

	int ret = 0;
	ret = TIFFSetField(tif, TIFFTAG_IMAGEWIDTH, cols);
	ret = TIFFSetField(tif, TIFFTAG_IMAGELENGTH, rows);
	ret = TIFFSetField(tif, TIFFTAG_BITSPERSAMPLE, 8);
	ret = TIFFSetField(tif, TIFFTAG_COMPRESSION, COMPRESSION_PACKBITS);
	ret = TIFFSetField(tif, TIFFTAG_PHOTOMETRIC, photometric);
	ret = TIFFSetField(tif, TIFFTAG_SAMPLESPERPIXEL, samplesperpixel);
	ret = TIFFSetField(tif, TIFFTAG_ROWSPERSTRIP, opt_rowsperstrip);

	int OK = 1;
	unsigned long offset = 0;
	unsigned char *bytedata = OFstatic_cast(unsigned char *, data);
	for (Uint16 i = 0; (i < rows) && OK; i++)
	{
		if (TIFFWriteScanline(tif, bytedata + offset, i, 0) < 0)
			OK = 0;
		offset += bytesperrow;
	}

	TIFFFlushData(tif);
	TIFFClose(tif);

	return OK;
}
6. 导出MP4
多帧图可导出mp4视频,先导出jpg,再通过opencv用jpg文件生成视频文件。
MFC项目导入opencv参考VS2017配置OpenCV4.5.1
我安装的是opencv4.6.0版本,记得把opencv_world460.dll,opencv_videoio_ffmpeg460.dll都拷贝到程序运行目录,才能生成mp4格式的视频,如果只拷贝了opencv_world460.dll,则只能生成MJPG格式视频
cpp
int DcmParser::SaveToVideo(std::vector<std::string>& videoFiles, int w, int h, std::string dst)
{
	cv::VideoWriter writer;
	cv::Mat cvImg;
	//writer = cv::VideoWriter(fn,
	//	cv::VideoWriter::fourcc('M', 'J', 'P', 'G'), 5,
	//	cv::Size(w, h));

	writer = cv::VideoWriter(dst,
		cv::VideoWriter::fourcc('M', 'P', '4', 'V'), 5,
		cv::Size(w, h));

	for (int i = 0; i < videoFiles.size(); i++)
	{
		std::string jpgFn = videoFiles.at(i);
		cvImg = cv::imread(jpgFn);
		writer << cvImg;
		DeleteFile(jpgFn.c_str());
	}

	return 1;
}