本文原创作品,良心制作,干货为主,简洁清晰,一看就会
文章目录
- 前言
- 一、Ubuntu下载mysql5.7
-
- [步骤 1:添加 MySQL 5.7 官方源](#步骤 1:添加 MySQL 5.7 官方源)
- [步骤 2:更新软件包索引](#步骤 2:更新软件包索引)
- [步骤 3:安装 MySQL 5.7](#步骤 3:安装 MySQL 5.7)
- [步骤 4:验证安装](#步骤 4:验证安装)
- [步骤 5:(可选)配置远程访问](#步骤 5:(可选)配置远程访问)
- 卸载方法(如需)
- 二、下载时常见错误
-
- [错误 1:sudo apt update时出错](#错误 1:sudo apt update时出错)
- [错误 2:找不到版本号](#错误 2:找不到版本号)
- [错误 3:首次登录时报错](#错误 3:首次登录时报错)
- [错误 4:mysqld_safe Directory '/var/run/mysqld' for UNIX socket file don't exists](#错误 4:mysqld_safe Directory '/var/run/mysqld' for UNIX socket file don't exists)
- [错误 5:更改配置文件为远程可连接后启动不了mysql](#错误 5:更改配置文件为远程可连接后启动不了mysql)
前言
一、Ubuntu下载mysql5.7
在 Ubuntu 系统中安装 MySQL 5.7 可以按照以下步骤操作(适用于 Ubuntu 16.04/18.04 等版本,Ubuntu 20.04+ 官方源默认无 5.7,需手动添加源):
步骤 1:添加 MySQL 5.7 官方源
下载 MySQL 5.7 的 APT 源配置包(以 Ubuntu 18.04 为例,其他版本可替换对应版本号,如 bionic 改为 xenial 对应 16.04):
bash
root@mysql:~# wget https://dev.mysql.com/get/mysql-apt-config_0.8.12-1_all.deb
root@mysql:~# ls
mysql-apt-config_0.8.12-1_all.deb
安装配置包,选择 MySQL 5.7 作为默认版本:
bash
root@mysql:~# sudo dpkg -i mysql-apt-config_0.8.12-1_all.deb出现界面时,选择 MySQL Server & Cluster → 选择 mysql-5.7 → 按 OK 确认。
步骤 2:更新软件包索引
bash
root@mysql:~# sudo apt update步骤 3:安装 MySQL 5.7
bash
root@mysql:~# apt-cache madison mysql-server | grep 5.7   #列出源中所有可用的 mysql-server 版本
mysql-server | 5.7.42-1ubuntu18.04 | http://repo.mysql.com/apt/ubuntu bionic/mysql-5.7 amd64 Packages
mysql-server | 5.7.42-0ubuntu0.18.04.1 | http://mirrors.aliyun.com/ubuntu bionic-updates/main amd64 Packages
mysql-server | 5.7.42-0ubuntu0.18.04.1 | http://mirrors.aliyun.com/ubuntu bionic-security/main amd64 Packages
mysql-server | 5.7.21-1ubuntu1 | http://mirrors.aliyun.com/ubuntu bionic/main amd64 Packages
mysql-community | 5.7.42-1ubuntu18.04 | http://repo.mysql.com/apt/ubuntu bionic/mysql-5.7 Sources
bash
root@mysql:~# sudo apt install mysql-server=5.7.42-1ubuntu18.04 # 下载实际查到的版本号安装过程中会提示设置 MySQL root 用户密码,输入并确认密码。
步骤 4:验证安装
检查 MySQL 服务状态:显示 active (running) 则表示启动成功
bash
root@mysql:~# systemctl status mysql
● mysql.service - MySQL Community Server
Loaded: loaded (/lib/systemd/system/mysql.service; enabled; vendor preset: enabled)
Active: active (running) since Thu 2025-11-06 14:36:29 CST; 54s ago
Main PID: 5862 (mysqld)
 Tasks: 27 (limit: 4623)
CGroup: /system.slice/mysql.service
        └─5862 /usr/sbin/mysqld --daemonize --pid-file=/var/run/mysqld/mysqld.pid

Nov 06 14:36:29 mysql-slave1 systemd[1]: Starting MySQL Community Server...
Nov 06 14:36:29 mysql-slave1 systemd[1]: Started MySQL Community Server.
登录 MySQL 验证版本:
bash
root@mysql:~# mysql -u root -p'密码'输入密码后,执行以下命令查看版本: 输出包含 5.7.x 即表示安装成功
sql
mysql> SELECT VERSION();
+-----------+
| VERSION() |
+-----------+
| 5.7.42    |
+-----------+
步骤 5:(可选)配置远程访问
若需远程连接 MySQL,需修改配置:
编辑 MySQL 配置文件:
bash
root@mysql:~#  vim /etc/mysql/mysql.conf.d/mysqld.cnf
bind-address    = 0.0.0.0
将 bind-address = 127.0.0.1 注释或改为 0.0.0.0(允许所有IP访问)
重启 MySQL 服务:
bash
root@mysql:~# systemctl restart mysql授权 root 用户远程访问(登录 MySQL 后执行):
sql
mysql> use mysql;

mysql> update user set Host='%' where User='root';    #设置远程登录

mysql> flush privileges;  #刷新权限
卸载方法(如需)
bash
sudo apt remove --purge mysql-server mysql-client mysql-common
sudo rm -rf /var/lib/mysql /etc/mysql
sudo apt autoremove
sudo apt autoclean
二、下载时常见错误
错误 1:sudo apt update时出错
bash
root@mysql:~# sudo apt update
Hit:1 http://mirrors.aliyun.com/ubuntu bionic InRelease
Hit:2 http://mirrors.aliyun.com/ubuntu bionic-updates InRelease
Hit:3 http://mirrors.aliyun.com/ubuntu bionic-backports InRelease
Hit:4 http://mirrors.aliyun.com/ubuntu bionic-security InRelease
Get:5 http://repo.mysql.com/apt/ubuntu bionic InRelease [20.0 kB]
Err:5 http://repo.mysql.com/apt/ubuntu bionic InRelease
  The following signatures couldn't be verified because the public key is not available: NO_PUBKEY B7B3B788A8D3785C
Hit:6 https://apt.kitware.com/ubuntu bionic InRelease
Reading package lists... Done
W: GPG error: http://repo.mysql.com/apt/ubuntu bionic InRelease: The following signatures couldn't be verified because the public key is not available: NO_PUBKEY B7B3B788A8D3785C
E: The repository 'http://repo.mysql.com/apt/ubuntu bionic InRelease' is not signed.
N: Updating from such a repository can't be done securely, and is therefore disabled by default.
N: See apt-secure(8) manpage for repository creation and user configuration details.
解决方法
出现 "NO_PUBKEY B7B3B788A8D3785C" 错误是因为系统缺少 MySQL 仓库的 GPG 公钥,导致无法验证仓库签名
bash
#执行以下命令手动导入对应的公钥
#命令说明:--keyserver 指定从 Ubuntu 官方密钥服务器获取,--recv-keys 后跟需要导入的完整公钥 ID
root@mysql:~# sudo apt-key adv --keyserver keyserver.ubuntu.com --recv-keys B7B3B788A8D3785C
Executing: /tmp/apt-key-gpghome.QHC4CBPDGu/gpg.1.sh --keyserver keyserver.ubuntu.com --recv-keys B7B3B788A8D3785C
gpg: key B7B3B788A8D3785C: public key "MySQL Release Engineering <mysql-build@oss.oracle.com>" imported
gpg: Total number processed: 1
gpg:               imported: 1
错误 2:找不到版本号
若无法找到版本,尝试不指定版本直接安装,安装过程中会默认安装源中最新的 MySQL 5.7 版本
解决方法
bash
root@mysql:~# sudo apt install mysql-server错误 3:首次登录时报错
出现 ERROR 1045 (28000) 通常是密码错误或权限问题导致的
bash
root@mysql:~# mysql -uroot -p'Qing@123'
mysql: [Warning] Using a password on the command line interface can be insecure.
ERROR 1045 (28000): Access denied for user 'root'@'localhost' (using password: YES)
解决方法
bash
root@mysql-slave1:~# systemctl stop mysql
root@mysql-slave1:~# mysqld_safe --skip-grant-tables --user=mysql &   #跳过权限验证的方式启动 MySQL
#执行后会后台运行,终端可能无响应,直接打开新的终端窗口操作即可
bash
root@mysql-slave1:~# mysql -uroot
mysql> alter user 'root'@'%' identified by 'Qing@123';   #设置新密码

mysql> flush privileges;

mysql> \q
sql
root@mysql-slave1:~# mysql -p'Qing@123'  #登录成功
mysql: [Warning] Using a password on the command line interface can be insecure.
Welcome to the MySQL monitor.  Commands end with ; or \g.
Your MySQL connection id is 3
Server version: 5.7.42 MySQL Community Server (GPL)

Copyright (c) 2000, 2023, Oracle and/or its affiliates.

Oracle is a registered trademark of Oracle Corporation and/or its
affiliates. Other names may be trademarks of their respective
owners.

Type 'help;' or '\h' for help. Type '\c' to clear the current input statement.

mysql>
错误 4:mysqld_safe Directory '/var/run/mysqld' for UNIX socket file don't exists

解决方法
bash
#可能会接着出现这个错误
#错误原因是 /var/run/mysqld 目录不存在
#该错误是临时目录未自动创建导致的,创建后不会再次出现
root@mysql-slave1:~# 2025-11-06T06:41:02.489748Z mysqld_safe Logging to '/var/log/mysql/error.log'.
2025-11-06T06:41:02.490835Z mysqld_safe Directory '/var/run/mysqld' for UNIX socket file don't exists.
root@mysql-slave1:~# mkdir -p /var/run/mysqld
root@mysql-slave1:~# chown -R mysql:mysql /var/run/mysqld
root@mysql-slave1:~# sudo mysqld_safe --skip-grant-tables --user=mysql #重新以跳过权限验证方式启动 MySQL
#执行后会后台运行,终端可能无响应,直接打开新的终端窗口操作即可
错误 5:更改配置文件为远程可连接后启动不了mysql
将 bind-address = 127.0.0.1 注释或改为 0.0.0.0后,启动不了mysql
报错
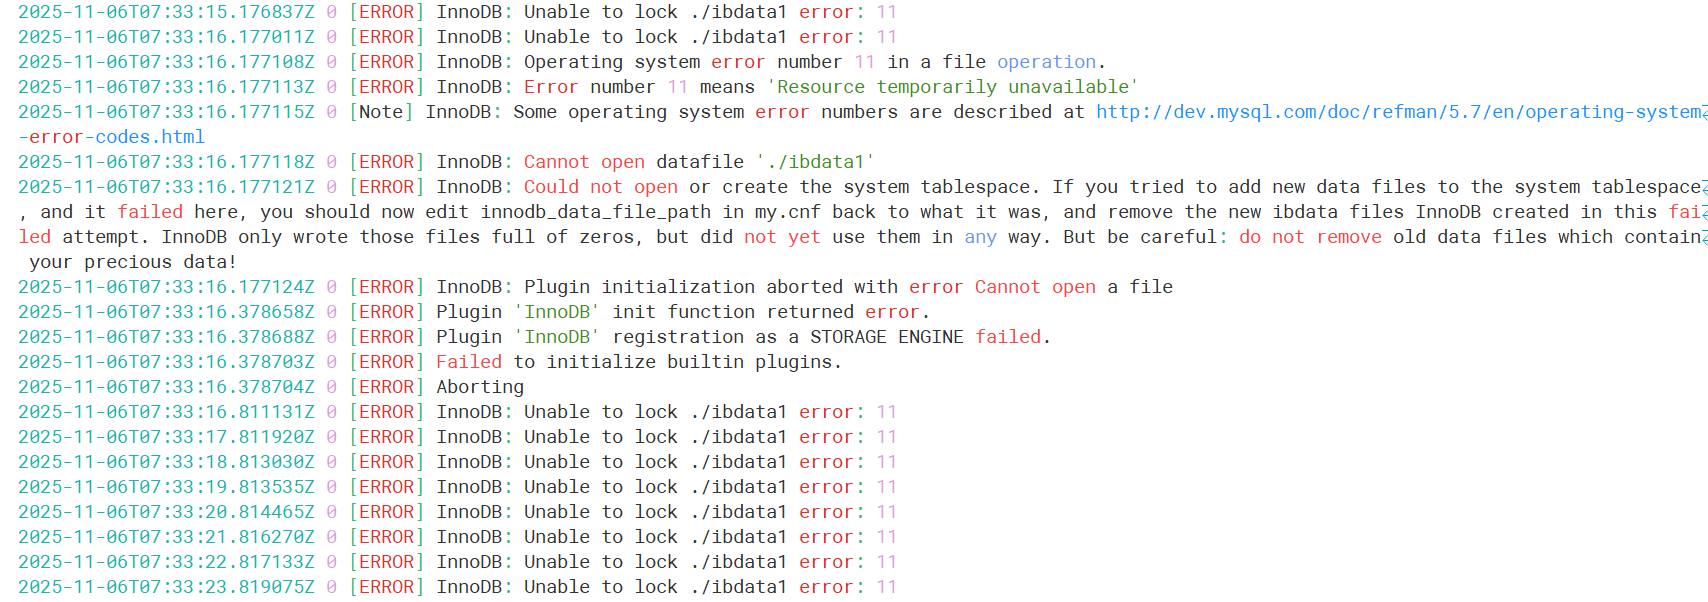
错误日志显示 InnoDB: Unable to lock ./ibdata1 error: 11,核心原因是 MySQL 数据目录中的关键文件(ibdata1)被锁定或权限不足,导致 InnoDB 引擎初始化失败
解决方法
bash
# 强制终止所有 MySQL 相关进程
root@mysql:~# systemctl stop mysql
root@mysql:~# pkill -9 mysql
root@mysql:~# pkill -9 mysqld
root@mysql:~# ps aux | grep mysql
root       7298  0.0  0.0  13140  1040 pts/0    S+   07:39   0:00 grep --color=auto mysql
root@mysql:~# ps aux | grep mysqld
root       7300  0.0  0.0  13140  1152 pts/0    S+   07:39   0:00 grep --color=auto mysqld
bash
# 递归修改数据目录权限(默认路径为 /var/lib/mysql)
root@mysql:~# chown -R mysql:mysql /var/lib/mysql
root@mysql:~# chmod -R 755 /var/lib/mysql
root@mysql:~# sudo rm -f /var/run/mysqld/mysqld.pid  # 移除 PID 文件(若存在)
root@mysql:~# sudo rm -f /var/lib/mysql/ib_logfile0  # 重建 InnoDB 日志/var/lib/mysql/ib_logfile1
root@mysql:~# cd /var/lib/mysql
root@mysql:/var/lib/mysql# rm -f ib_logfile0 ib_logfile1  # 删除 InnoDB 日志文件(MySQL 会自动重建)
再次重启mysql即可成功
注:
文中若有疏漏,欢迎大家指正赐教。
本文为100%原创,转载请务必标注原创作者,尊重劳动成果。
求赞、求关注、求评论!你的支持是我更新的最大动力,评论区等你~
后续会持续分享MySQL相关知识。