该文章的交互效果和完整代码可以在 我的博客 查看
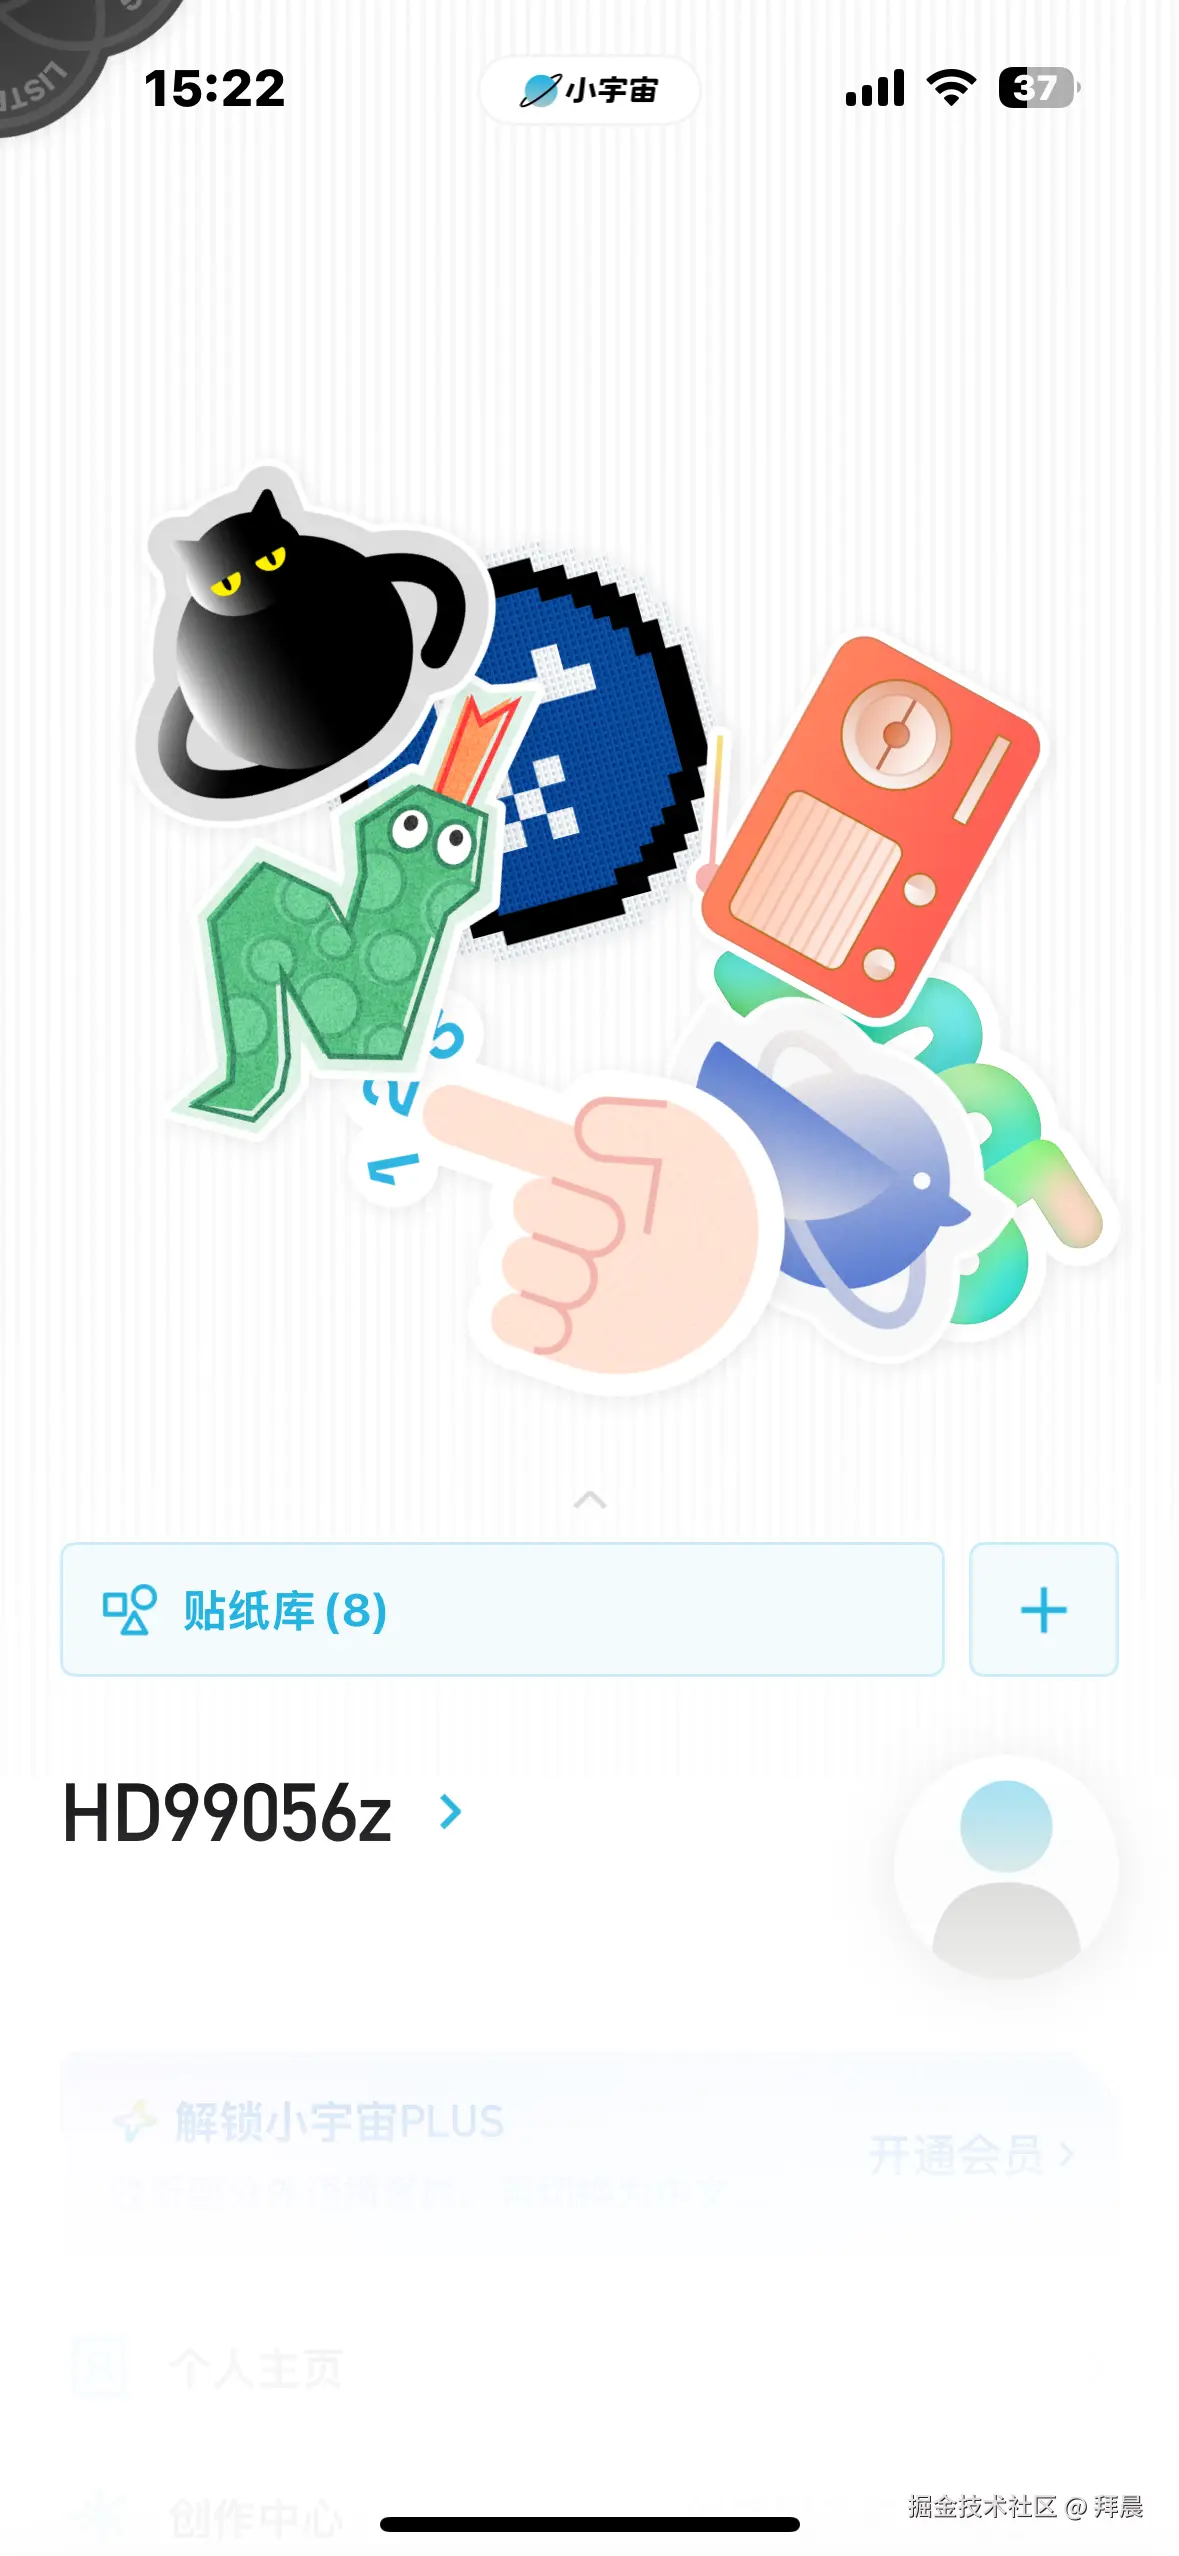
小宇宙个人页面有一个贴纸墙的小功能,用来展示自己获得的一些成就,这个贴纸墙可以自己来调整贴纸位置,感觉是一个很好的功能,于是用motion复刻了一下

需要实现
- 拖拽移动贴纸
- 拖拽时有发光和放大效果
- 层级关系,点击之后置顶
搭建框架
tsx
import {motion} from 'motion/react'

const stickers = [
  {
    id: 1,
    image: '/stickers/fox.png',
    width: 100,
    height: 100,
  },
  {
    id: 2,
    image: '/stickers/santa-claus-1.png',
    width: 100,
    height: 100,
  },
  {
    id: 3,
    image: '/stickers/santa-claus-2.png',
    width: 100,
    height: 100,
  },
  {
    id: 4,
    image: '/stickers/santa-claus-3.png',
    width: 100,
    height: 100,
  },
]

const StickerWall = () => {
  return (
    <div className="sticker-wall container w-[800px] h-[800px] border border-dashed border-gray-300">
      {stickers.map((sticker) => (
        <motion.div
          key={sticker.id}
          className="sticker"
          style={{
            width: sticker.width,
            height: sticker.height,
            backgroundImage: `url(${sticker.image})`,
          }}
        >
          <img
            width={sticker.width}
            height={sticker.height}
            src={sticker.image}
            alt={sticker.id.toString()}
          />
        </motion.div>
      ))}
    </div>
  );
}

export default StickerWall
实现拖拽
实现拖拽这个很简单,只需要给图片元素增加drag属性,motion会自动给他绑定事件,实现拖拽效果
参考文档:motion.dev/docs/react-...
这里我们不需要动量效果,也就是停止拖拽后还会继续移动,所以给他设置为false
另外设置dragConstraint,控制元素能被拖动的范围,这里我们使用constraintRef设置为必须在父容器之内
tsx
<motion.img
  key={sticker.id}
  drag
  dragConstraints={constraintsRef}
  dragElastic={0.1}
  dragMomentum={false}
  width={STICKER_SIZE}
  height={STICKER_SIZE}
  src={sticker.image}
  alt={sticker.id.toString()}
/>
实现拖拽动画
motion元素提供了whileTap,我们可以在拖拽时给元素修改scale样式。这里不能用whileDrag,因为drag事件必须是移动了3个像素才会触发,所以鼠标点下去的时候,元素并不会放大
tsx
<motion.img
  className='sticker border-2 border-gray '
  key={sticker.id}
  drag
  dragConstraints={constraintsRef}
  dragElastic={0.1}
  dragMomentum={false}
  whileTap={{ scale: 1.2, cursor: 'grabbing' }}
  transition={{ type: 'spring', stiffness: 400, damping: 30 }}
  width={STICKER_SIZE}
  height={STICKER_SIZE}
  src={sticker.image}
  alt={sticker.id.toString()}
/>
实现发光效果
接下来我们要实现一个金属反光的效果,这个比较复杂,我们来拆解一下:
反光效果可以用一个白色的条从左到右运动实现,要实现这一的效果我们需要:
- 手动触发动画,而且只播放一次
- 白色条有模糊效果,看起来更真实
- 初始位置在贴纸外侧,触发后移动到右侧
由于这个反光条在图片上方,所以我们把这个容器写到img元素后面,根据层叠上下文:"在一个相同父级里,DOM 元素按它们在文档流中的顺序依次叠放:后出现的兄弟元素会在视觉上覆盖前一个元素。"
外面容器只是用来定位,在里面渲染一个倾斜的矩形,这里为了方便调试,加上了边框。
tsx
<motion.div
  className="pointer-events-none absolute inset-0 overflow-hidden rounded-md border-2"
  initial="initial"
  animate={shineControls}
  variants={{
    initial: { x: '-100%' },
    active: {
      x: '100%',
      transition: {
        duration: 0.5,
        ease: 'easeInOut',
      },
    },
  }}
>
  <motion.div
    className="absolute top-0 h-full w-1/3 bg-black rotate-12"
  />
</motion.div>
接着优化一下样式,白色条需要用渐变来渲染,从透明到白色再到透明
容器的透明度初始值也要为0,不然贴纸左边会有白色,显示有点怪。
要实现手动触发,需要用到useAnimationControls钩子,通过start、stop、set来控制动画播放,我们在variants定义了一些变量,通过set这些变量名来触发对应的效果。
typescript
const StickerItem = ({
  sticker,
  constraintsRef,
}: {
  sticker: Sticker
  constraintsRef: MutableRefObject<HTMLDivElement | null>
}) => {
  const shineControls = useAnimationControls()

  const triggerShine = useCallback(() => {
    shineControls.stop()
    shineControls.set('initial')
    void shineControls.start('active').then(() => {
      shineControls.set('initial')
    })
  }, [shineControls])

  return (
    <motion.div
      className="sticker relative flex items-center justify-center border-2 border-gray-200 bg-white shadow-sm"
      drag
      dragConstraints={constraintsRef}
      dragElastic={0.1}
      dragMomentum={false}
      whileTap={{ scale: 1.2, cursor: 'grabbing' }}
      transition={{ type: 'spring', stiffness: 400, damping: 30 }}
      style={{
        width: STICKER_SIZE,
        height: STICKER_SIZE,
      }}
      onPointerDown={triggerShine}
    >
      <img
        src={sticker.image}
        alt={sticker.id.toString()}
        className="pointer-events-none h-full w-full object-contain"
      />
      <motion.div
        className="pointer-events-none absolute inset-0 overflow-hidden rounded-md"
        initial="initial"
        animate={shineControls}
        variants={{
          initial: { opacity: 0, x: '-50%' },
          active: {
            opacity: 1,
            x: '100%',
            transition: {
              duration: 0.5,
              ease: 'easeInOut',
            },
          },
        }}
      >
        <motion.div
          className="absolute top-0 h-full w-1/3 rotate-12 bg-gradient-to-r from-transparent via-white to-transparent blur"
        />
      </motion.div>
    </motion.div>
  )
}
实现层级效果
在小宇宙的贴纸墙中存在着层级关系,点击一个贴纸他会置顶,通过这样的方式可以实现贴纸层级的效果
那么在motion+react中我们怎么取维护层级关系呢
首先用一个state维护所有sticker的层级,给一个初始层级。点击贴纸的时候置顶,这里有两种实现方法,一种是点击之后让贴纸的index变成最大值+1,但是这样会导致index越来越大。
tsx
const [zIndices, setZIndices] = useState<Record<number, number>>(() => {
  const initial: Record<number, number> = {}
  stickers.forEach((sticker, index) => {
    initial[sticker.id] = index + 1
  })
  return initial
})

const handleActivate = (id: number) => {
  setZIndices((prev) => {
    const nextTop = topZIndexRef.current + 1
    topZIndexRef.current = nextTop
    return {
      ...prev,
      [id]: nextTop,
    }
  })
}
另一种方法是,利用队列的特性,激活贴纸的直接移动到队首。
tsx
const [order, setOrder] = useState<number[]>(() =>
  stickers.map((sticker) => sticker.id)
)

const handleActivate = useCallback((id: number) => {
  setOrder((prev) => {
    const next = prev.filter((item) => item !== id)
    next.unshift(id)
    return next
  })
}, [])