水波纹的核心原理很简单:就像往水里扔石子,水面会泛起一圈圈涟漪。在 Shader 里,就是用正弦/余弦函数模拟这种"波动",再让纹理或顶点跟着波动"动起来"。
一、先搭个舞台:用 Three.js 加载图片当背景
要做水波纹,得先有个"水面"载体。这里我们用 Three.js 的 Shader 材质,加载一张图片当"水面"背景。
typescript
import * as THREE from "three";
import BGImage from "../assets/bg.png";

export class Experience {
  private readonly scene: THREE.Scene;
  private readonly camera: THREE.OrthographicCamera;
  private readonly renderer: THREE.WebGLRenderer;
  private readonly bgTexture = new THREE.TextureLoader().load(BGImage);
  private readonly uniforms = {
    uTime: { value: 0 }, // 时间变量,用来控制波纹动画
    uResolution: {
      value: new THREE.Vector2(window.innerWidth, window.innerHeight),
    }, // 屏幕分辨率
    uClickPosition: { value: new THREE.Vector2(0, 0) }, // 鼠标点击位置
    uClickTime: { value: 0 }, // 点击发生的时间
    uTexture: { value: this.bgTexture }, // 背景纹理
    uAspect: { value: window.innerWidth / window.innerHeight }, // 屏幕宽高比
  };

  plane: THREE.Mesh | null = null;
  planeMaterial: THREE.ShaderMaterial | null = null;

  constructor() {
    this.scene = new THREE.Scene();
    // 正交相机,适合2D效果展示
    this.camera = new THREE.OrthographicCamera(-1, 1, 1, -1, 0.1, 1000);
    this.camera.position.set(0, 0, 1);

    this.renderer = new THREE.WebGLRenderer();
    this.renderer.setPixelRatio(window.devicePixelRatio);
    this.renderer.setSize(window.innerWidth, window.innerHeight);
    document.body.appendChild(this.renderer.domElement);

    this.createPlane(); // 创建"水面"平面
    this.animation(); // 启动动画循环
    this.setupEventListeners(); // 监听鼠标点击
  }

  private createPlane() {
    const geometry = new THREE.PlaneGeometry(2, 2); // 创建立方体
    this.planeMaterial = new THREE.ShaderMaterial({
      transparent: true,
      side: THREE.DoubleSide, // 双面可见
      uniforms: this.uniforms,
      // 顶点着色器:传递纹理坐标给片元着色器
      vertexShader: /*glsl*/ `
        varying vec2 vUv;
        void main() {
          vUv = uv;
          gl_Position = projectionMatrix * modelViewMatrix * vec4(position, 1.0);
        }
      `,
      // 片元着色器:暂时只显示原图
      fragmentShader: /*glsl*/ `
        varying vec2 vUv;
        uniform sampler2D uTexture;

        void main() {
          // 直接采样纹理颜色,相当于"静止的水面"
          gl_FragColor = texture2D(uTexture, vUv);
        }
      `,
    });
    this.plane = new THREE.Mesh(geometry, this.planeMaterial);
    this.scene.add(this.plane);
  }

  private setupEventListeners() {
    // 监听鼠标点击,记录点击位置和时间
    window.addEventListener("click", (e) => {
      this.uniforms.uClickTime.value = performance.now() / 1000;
      this.uniforms.uClickPosition.value = new THREE.Vector2(
        e.clientX / window.innerWidth,
        1 - e.clientY / window.innerHeight // 转换坐标,让点击位置和纹理坐标对应
      );
    });
  }

  private animation() {
    requestAnimationFrame(() => this.animation());
    this.uniforms.uTime.value = performance.now() / 1000; // 更新时间
    this.renderer.render(this.scene, this.camera); // 渲染场景
  }
}
关键代码解释
texture2D(uTexture, vUv):就像"贴墙纸",根据纹理坐标vUv从uTexture中取对应位置的颜色。gl_FragColor:片元的最终颜色,这里直接输出纹理颜色,所以屏幕上会显示原图。
二、画个圈圈:先实现一个静态圆环
水波纹是一圈圈扩散的,我们先从"画个圈圈"开始练手,搞个黑色圆环放在水面上。
glsl
varying vec2 vUv;
uniform vec2 uResolution;
uniform float uAspect;
uniform sampler2D uTexture;

void main() {
  vec4 originalColor = texture2D(uTexture, vUv); // 原图颜色

  // 圆环三要素:中心、半径、厚度
  vec2 center = vec2(0.5, 0.5); // 屏幕中心
  float radius = 0.25; // 圆环半径
  float thickness = 0.05; // 圆环厚度

  // 计算当前像素到圆心的距离
  float dist = length(vUv - center);

  // 用 step 函数"切出"圆环:只保留距离在 [radius-thickness, radius] 之间的像素
  float ring = step(radius - thickness, dist) - step(radius, dist);

  // 混合颜色:圆环部分显示黑色,其他部分显示原图
  gl_FragColor = mix(originalColor, vec4(0.0, 0.0, 0.0, 1.0), ring);
}
效果如下: 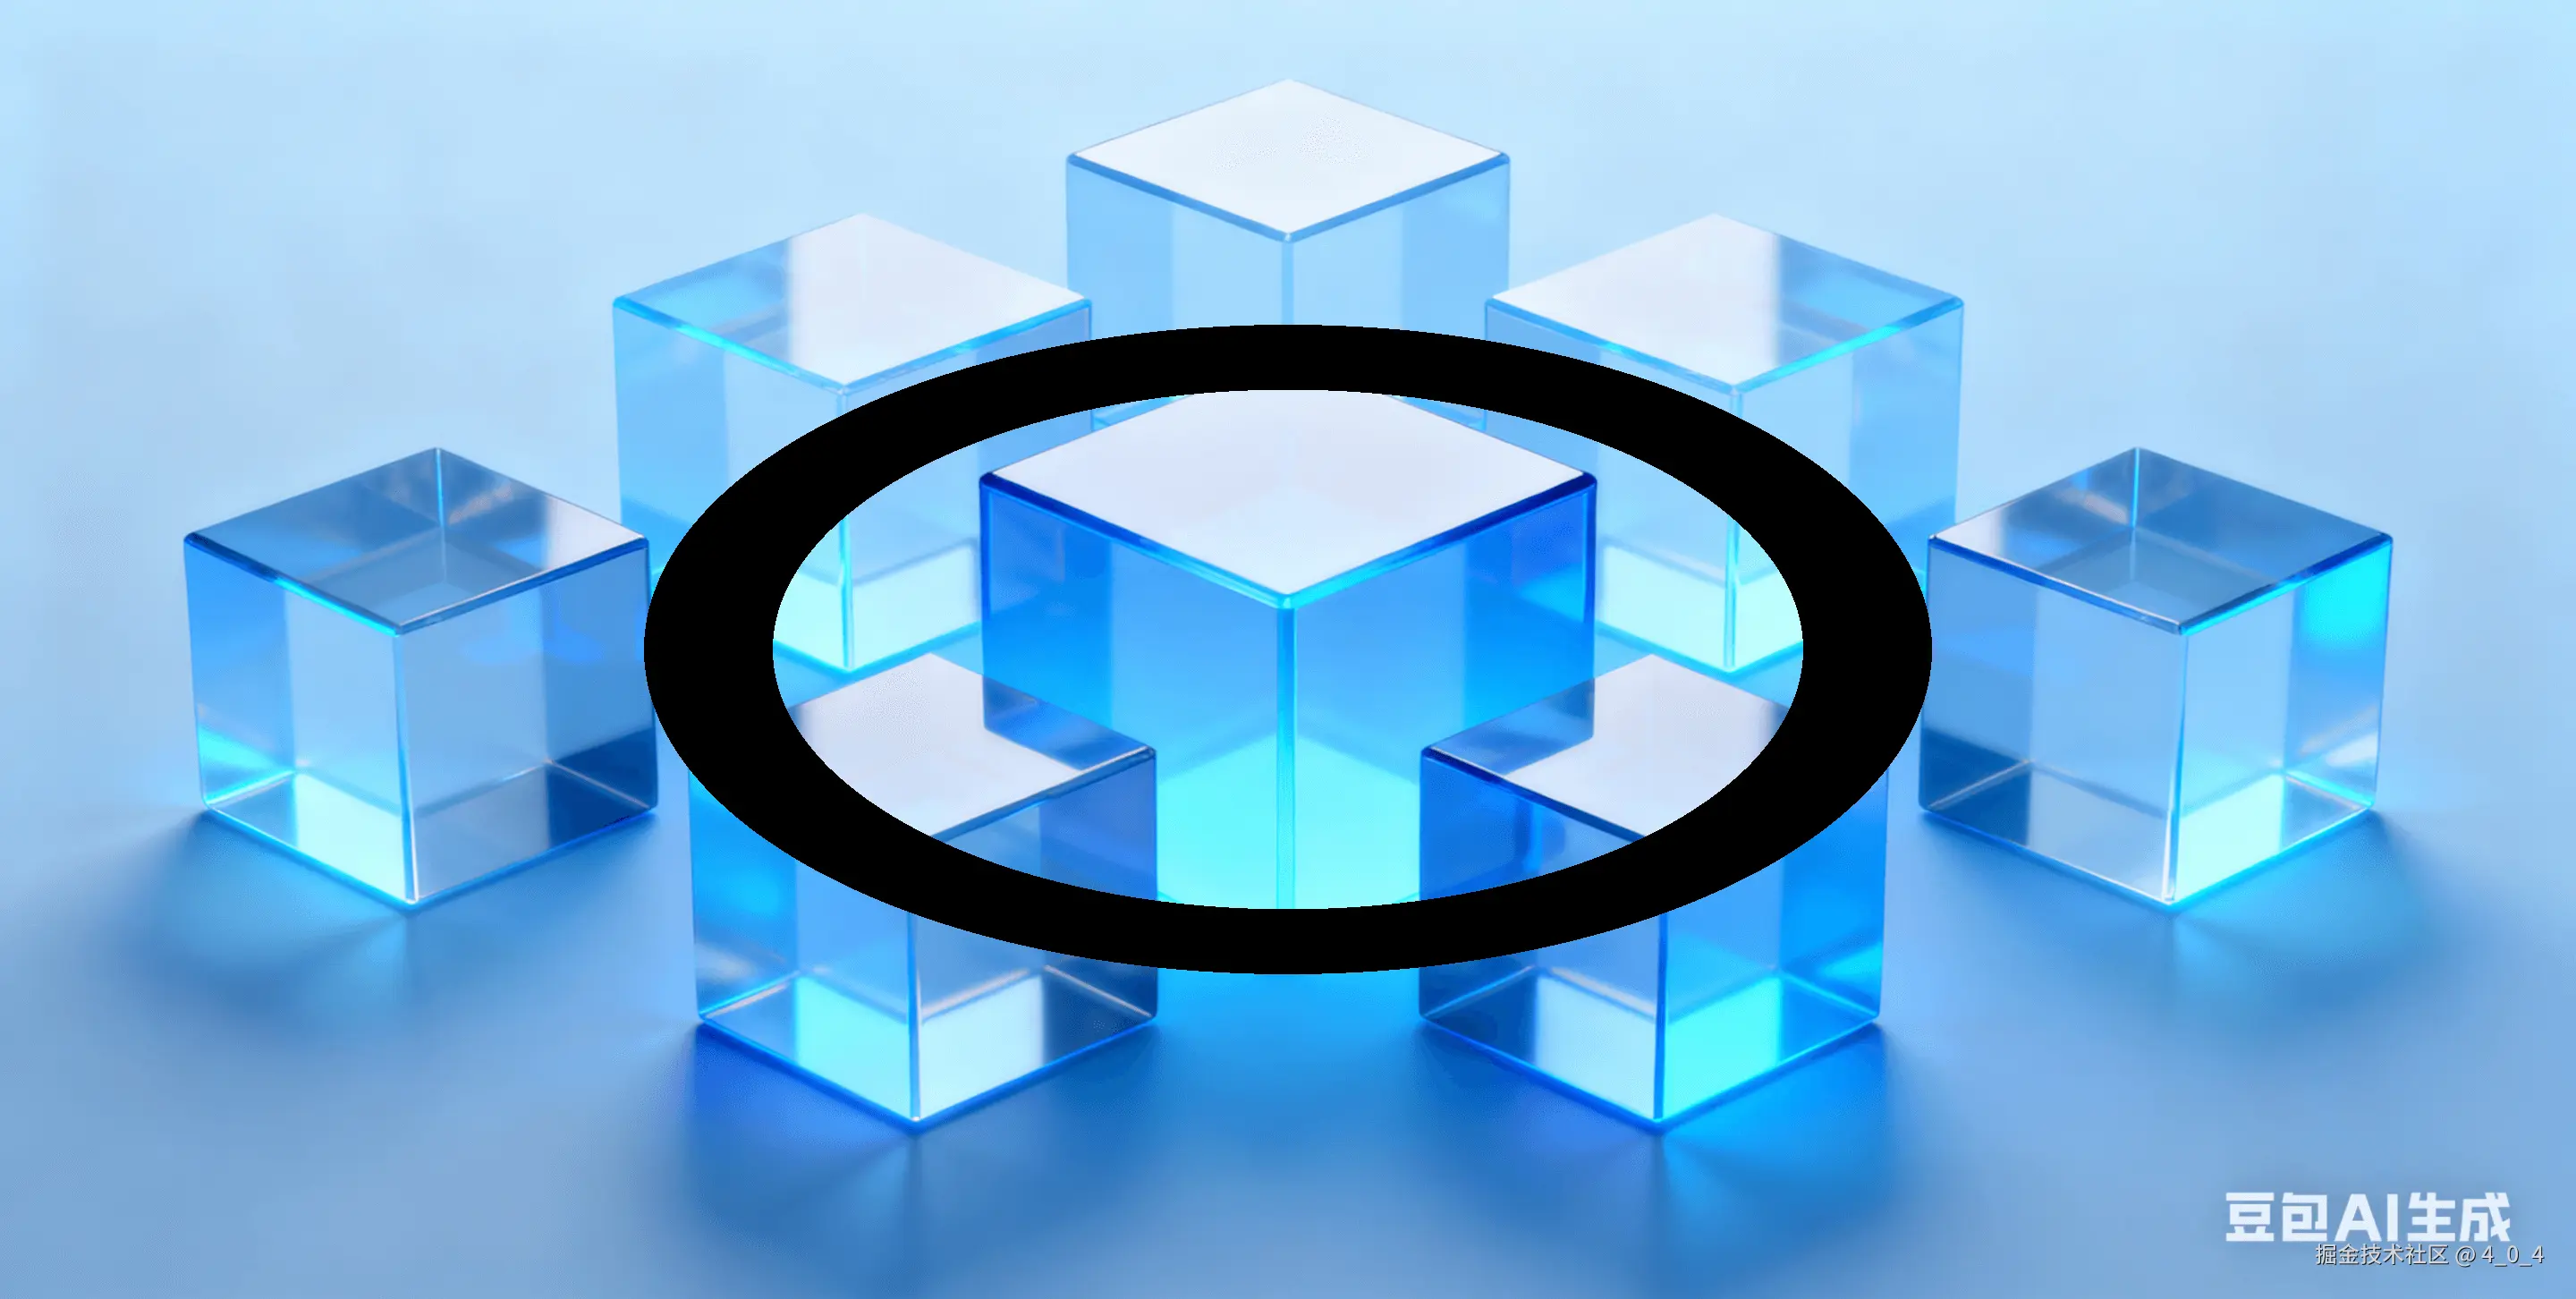
Shader 黑科技:step 和 mix 函数
step(阈值, 数值):相当于"开关",数值 ≥ 阈值返回 1.0,否则返回 0.0。这里用两个 step 相减,精准"抠出"圆环区域。mix(颜色A, 颜色B, 混合因子):相当于"调色盘",混合因子为 1 时显示颜色 B,为 0 时显示颜色 A,中间值则混合两者。
等价于"人话"代码
如果用 if 语句写,效果一样但效率低,Shader 里优先用内置函数:
glsl
if (dist >= radius - thickness && dist <= radius) {
  gl_FragColor = vec4(0.0, 0.0, 0.0, 1.0); // 圆环部分变黑
} else {
  gl_FragColor = originalColor; // 其他部分显示原图
}
三、修复"椭圆 bug":让圆环在任意屏幕比例下都正
刚才的圆环在非 1:1 屏幕上会变成椭圆,就像把圆形按扁了。这是因为纹理坐标的宽高比和屏幕不一致,我们需要"矫正"坐标。
glsl
varying vec2 vUv;
uniform vec2 uResolution;
uniform float uAspect;
uniform sampler2D uTexture;

void main() {
  vec4 originalColor = texture2D(uTexture, vUv);

  vec2 center = vec2(0.5, 0.5);
  float radius = 0.25;
  float thickness = 0.05;

  // 关键修复:矫正坐标比例
  vec2 correctedPos = vUv - center;
  correctedPos.x *= uResolution.x / uResolution.y; // 按屏幕宽高比调整x轴

  // 用矫正后的坐标计算距离
  float dist = length(correctedPos);

  float ring = step(radius - thickness, dist) - step(radius, dist);
  gl_FragColor = mix(originalColor, vec4(0.0, 0.0, 0.0, 1.0), ring);
}
原理
屏幕宽大于高时,x 轴会被"拉长",乘以 uResolution.x / uResolution.y 相当于把 x 轴"压缩"回去,让圆环恢复圆形。
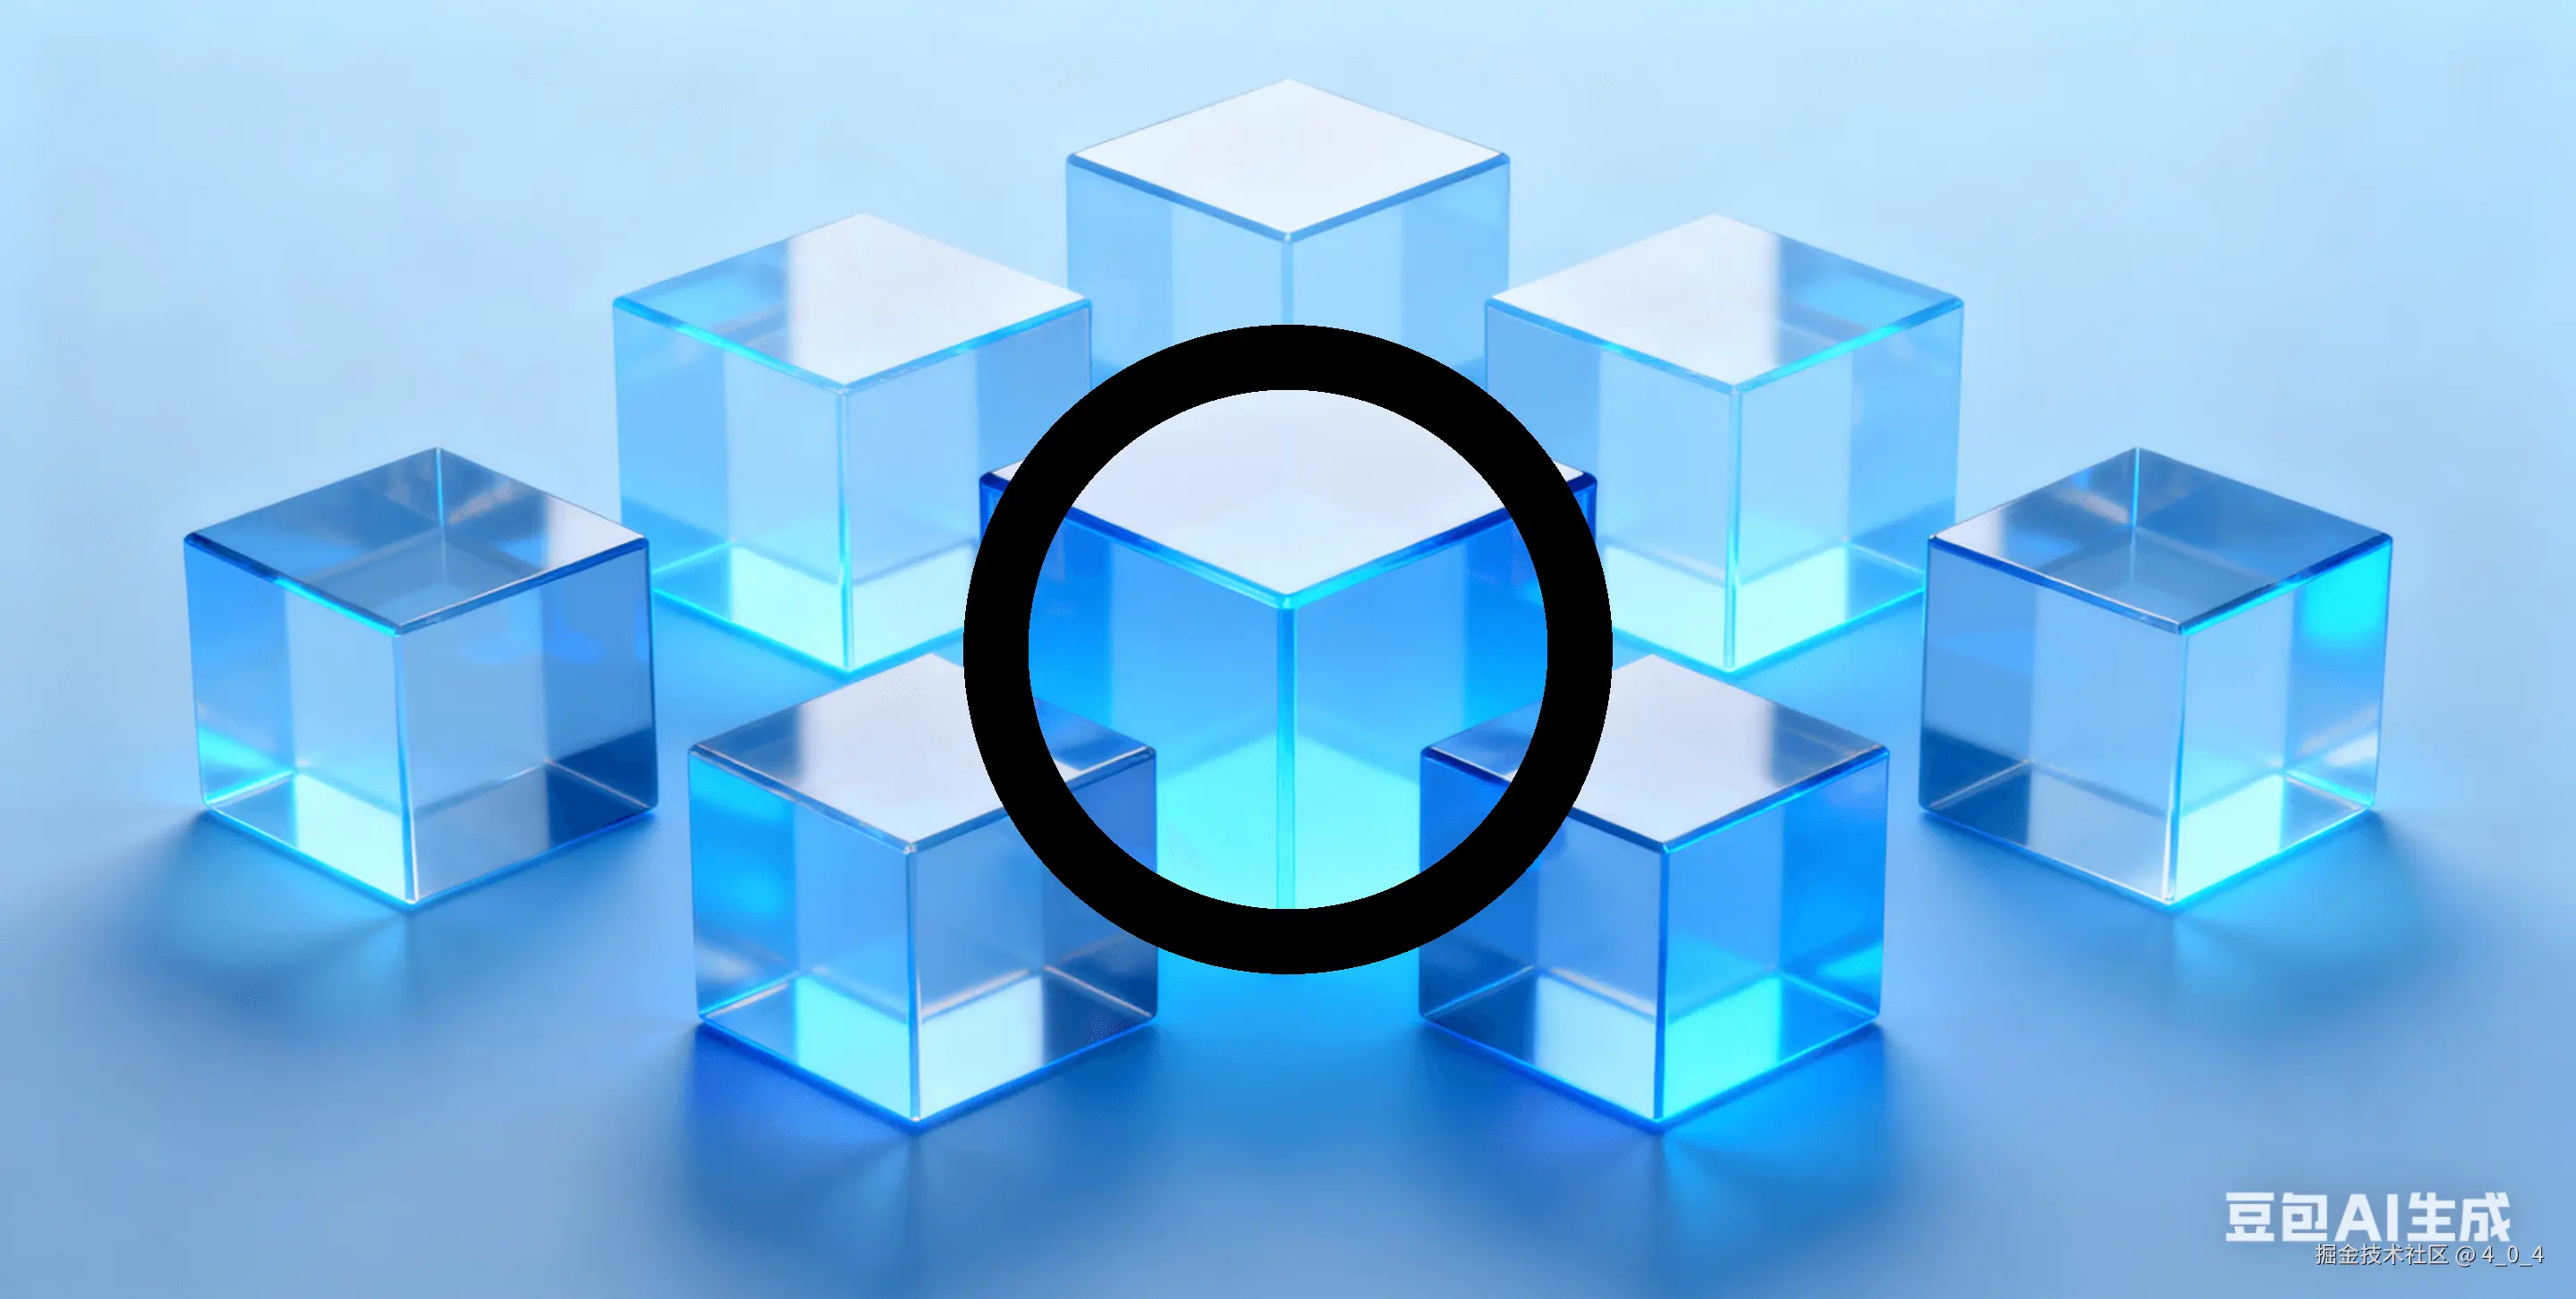
四、让圈圈动起来:实现黑色部分的水波纹
现在圆环是静态的,我们要让它变成"涟漪"。核心是用正弦函数模拟波动,扰动纹理坐标,让颜色跟着"晃"。
glsl
varying vec2 vUv;
uniform vec2 uResolution;
uniform float uAspect;
uniform sampler2D uTexture;

void main() {
  vec4 originalColor = texture2D(uTexture, vUv);

  vec2 center = vec2(0.5, 0.5);
  float radius = 0.25;
  float thickness = 0.05;

  vec2 correctedPos = vUv - center;
  correctedPos.x *= uResolution.x / uResolution.y;
  float dist = length(correctedPos);

  float ring = step(radius - thickness, dist) - step(radius, dist);

  // 🔥 波纹核心:用正弦函数模拟波动
  float waveFreq = 50.0; // 波纹密度,数值越大波纹越密
  float wave = sin(dist * waveFreq); // 正弦函数产生周期性波动
  float ripple = wave * 0.5 + 0.5; // 把波动范围从[-1,1]映射到[0,1]

  // 让波纹沿圆心向外扩散
  vec2 rippleDir = normalize(correctedPos); // 计算从圆心到当前像素的方向
  vec2 distortedUV = vUv + rippleDir * ripple * 0.02; // 扰动纹理坐标
  vec4 rippleColor = texture2D(uTexture, distortedUV); // 采样扰动后的颜色

  // 圆环部分显示波纹效果,其他部分显示原图
  gl_FragColor = mix(originalColor, rippleColor, ring);
}
效果如下: 
原理
正弦函数的周期性刚好模拟了水波的起伏,扰动纹理坐标相当于让"水面"上的像素跟着波动偏移,从而产生波纹视觉效果。
五、互动起来:鼠标点击哪里,波纹就从哪里来
之前的波纹固定在屏幕中心,现在我们让它"听指挥",点击屏幕任意位置,波纹就从点击处扩散。
glsl
varying vec2 vUv;
uniform vec2 uResolution;
uniform vec2 uClickPosition; // 鼠标点击位置(从Three.js传递过来)
uniform float uAspect;
uniform sampler2D uTexture;

void main() {
  vec4 originalColor = texture2D(uTexture, vUv);

  // 把圆心换成鼠标点击位置
  vec2 center = uClickPosition;
  float radius = 0.25;
  float thickness = 0.05;

  vec2 correctedPos = vUv - center;
  correctedPos.x *= uResolution.x / uResolution.y;
  float dist = length(correctedPos);

  float ring = step(radius - thickness, dist) - step(radius, dist);

  float waveFreq = 50.0;
  float wave = sin(dist * waveFreq);
  float ripple = wave * 0.5 + 0.5;
  vec2 rippleDir = normalize(correctedPos);
  vec2 distortedUV = vUv + rippleDir * ripple * 0.02;
  vec4 rippleColor = texture2D(uTexture, distortedUV);

  gl_FragColor = mix(originalColor, rippleColor, ring);
}
关键
Three.js 中已经通过 setupEventListeners 记录了点击位置 uClickPosition,这里直接用它作为圆心即可。
六、让波纹扩散:点击后圆环自动放大
现在波纹是固定大小的,我们要让它像真实水波一样,点击后从中心慢慢放大。
glsl
varying vec2 vUv;
uniform vec2 uResolution;
uniform vec2 uClickPosition;
uniform float uTime; // 全局时间
uniform float uClickTime; // 点击发生的时间
uniform float uAspect;
uniform sampler2D uTexture;

void main() {
  vec4 originalColor = texture2D(uTexture, vUv);

  vec2 center = uClickPosition;
  // 🔥 半径随时间增长:点击后,半径 = 时间差 * 扩散速度
  float radius = (uTime - uClickTime) * 0.5;
  float thickness = 0.05;

  vec2 correctedPos = vUv - center;
  correctedPos.x *= uResolution.x / uResolution.y;
  float dist = length(correctedPos);

  float ring = step(radius - thickness, dist) - step(radius, dist);

  float waveFreq = 50.0;
  float wave = sin(dist * waveFreq);
  float ripple = wave * 0.5 + 0.5;
  vec2 rippleDir = normalize(correctedPos);
  vec2 distortedUV = vUv + rippleDir * ripple * 0.02;
  vec4 rippleColor = texture2D(uTexture, distortedUV);

  gl_FragColor = mix(originalColor, rippleColor, ring);
}
原理
uTime - uClickTime 是点击后的时间差,乘以扩散速度(0.5),半径就会随时间线性增长,看起来就是波纹在扩散。
七、优化视觉:让圆环边缘更平滑
之前的圆环边缘很锋利,真实水波边缘是渐变的,我们用 smoothstep 函数替换 step,让边缘变得平滑。
glsl
// 🔥 关键修改:用 smoothstep 替代 step
float ring = smoothstep(radius - thickness, radius, dist) - smoothstep(radius, radius + thickness, dist);
smoothstep 函数
和 step 类似,但会在阈值区间内做平滑过渡,避免生硬的边缘。这里让圆环的内边缘和外边缘都有渐变,看起来更柔和。
八、模拟真实衰减:波纹扩散后慢慢消失
真实水波会越扩散越弱,最后消失。我们给波纹加个淡出效果,让它扩散到一定范围后慢慢变回原图。
glsl
varying vec2 vUv;
uniform vec2 uResolution;
uniform vec2 uClickPosition;
uniform float uTime;
uniform float uClickTime;
uniform float uAspect;
uniform sampler2D uTexture;

void main() {
  vec4 originalColor = texture2D(uTexture, vUv);

  vec2 center = uClickPosition;
  float radius = (uTime - uClickTime) * 0.5;
  float thickness = 0.05;

  vec2 correctedPos = vUv - center;
  correctedPos.x *= uResolution.x / uResolution.y;
  float dist = length(correctedPos);

  float ring = smoothstep(radius - thickness, radius, dist) - smoothstep(radius, radius + thickness, dist);

  float waveFreq = 50.0;
  float wave = sin(dist * waveFreq);
  float ripple = wave * 0.5 + 0.5;
  vec2 rippleDir = normalize(correctedPos);
  vec2 distortedUV = vUv + rippleDir * ripple * 0.02;
  vec4 rippleColor = texture2D(uTexture, distortedUV);

  // 🔥 淡出逻辑:波纹扩散到一定半径后开始消失
  float fadeStart = 0.5; // 开始淡出的半径
  float fadeEnd = 1.0; // 完全消失的半径
  float fade = smoothstep(fadeStart, fadeEnd, radius); // 计算淡出因子

  // 波纹颜色随半径增大逐渐变回原图颜色
  rippleColor = mix(rippleColor, originalColor, fade);

  gl_FragColor = mix(originalColor, rippleColor, ring);
}
原理
当半径小于 fadeStart 时,fade 为 0,波纹效果完全显示;当半径在 fadeStart 到 fadeEnd 之间时,fade 从 0 过渡到 1,波纹逐渐变淡;当半径大于 fadeEnd 时,fade 为 1,波纹完全消失。