在CentOS中通过配置文件修改MySQL端口号
1.1 执行cd ~或su切换为root管理员用户
cd ~ 或 su1.2 执行命令打开配置文件
/etc/my.cnf是系统默认的配置文件路径 ,vi编辑my.cnf文件
vi /etc/my.cnf1.3 打开配置文件后添加port(你想修改的端口号)参数,此处以2604举例。

按键盘上的I键或INSERT键即可输入修改配置文件,修改完成后按键盘的ESC键退出修改,最后输入:wq保存修改
注:如果你不小心改错或删除了什么,想要回退上一步操作,在linux中的回退操作是:如果此时在编辑模式下先按ESC退出编辑模式,按字母"u"键即可回退,类比window中的ctrl+z
# For advice on how to change settings please see
# http://dev.mysql.com/doc/refman/8.0/en/server-configuration-defaults.html
[mysqld]
bind-address=0.0.0.0
# cache in MySQL. Start at 70% of total RAM for dedicated server, else 10%.
# innodb_buffer_pool_size = 128M
#
# Remove the leading "# " to disable binary logging
# Binary logging captures changes between backups and is enabled by
# default. It's default setting is log_bin=binlog
# disable_log_bin
#
# Remove leading # to set options mainly useful for reporting servers.
# The server defaults are faster for transactions and fast SELECTs.
# Adjust sizes as needed, experiment to find the optimal values.
# join_buffer_size = 128M
# sort_buffer_size = 2M
# read_rnd_buffer_size = 2M
#
# Remove leading # to revert to previous value for default_authentication_plugin,
# this will increase compatibility with older clients. For background, see:
# https://dev.mysql.com/doc/refman/8.0/en/server-system-variables.html#sysvar_default_authentication_plugin
# default-authentication-plugin=mysql_native_password

datadir=/var/lib/mysql
socket=/var/lib/mysql/mysql.sock

port=2604

character-set-server=utf8
default-storage-engine=innodb

log-error=/var/log/mysqld.log
pid-file=/var/run/mysqld/mysqld.pid
#skip-grant-tables
skip-name-resolve
1.4 重启MySQL
1.4.1 修改/添加完端口号后执行下方命令重启MySQL,先讲重启无报错的情况
systemctl restart mysqld1.4.2若无报错,使用 mysql -u root -p登录你的mysql,执行下方命令即可查看端口号
show global variables like 'port';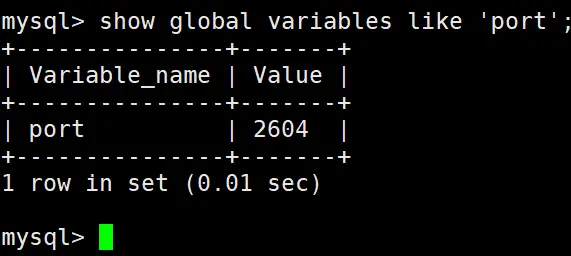
1.4.3此时端口就确认修改好了,使用navicat重新连接时,记得修改端口号(此处2604举例),此时有些朋友可能会显示"connection is being used"
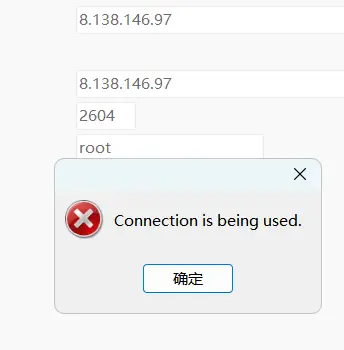
遇到这种情况,先把navicat关掉重启,然后把原本的数据库连接删掉,重新创建一个连接即可解决问题。
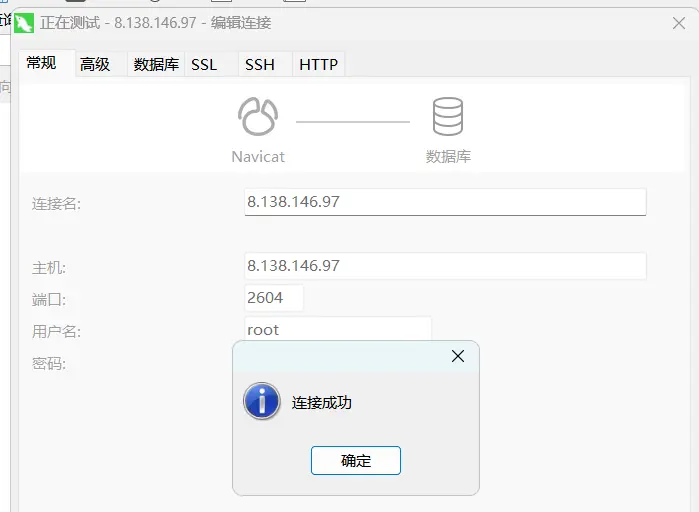
1.4.4有些朋友如果像笔者一样使用了阿里云ECS服务器实例的话,记得放开你添加的这个端口号
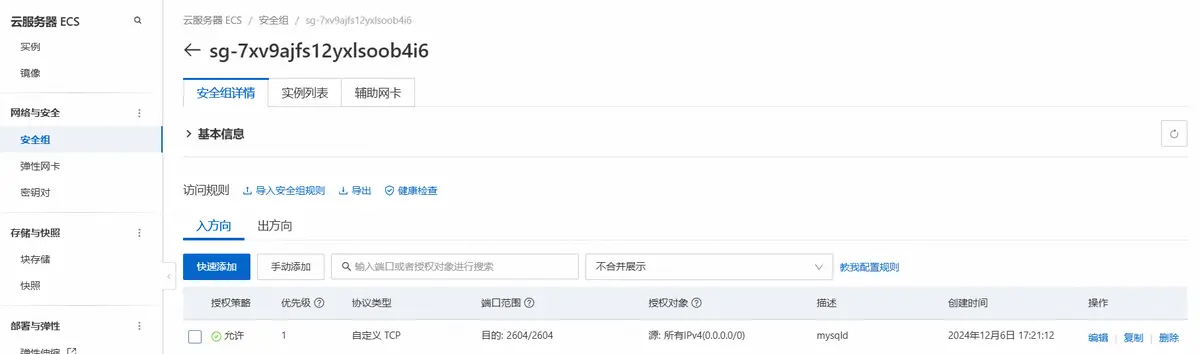
这样就可以连接成功了
1.5接下来讲讲使用命令systemctl restart mysqld重启数据库失败出现报错的情况
1.5.1首先执行下方命令查看报错情况
journalctl -xe可以看到报错一般是因为被Selinux拦截了

1.5.2 执行下方命令允许MySQL使用2604端口号
(端口号改成你自己设置的)semanage port -a -t mysqld_port_t -p tcp 26041.5.3再次执行命令重启MySQL即可成功修改端口号
systemctl restart mysqld** 这篇文章已经尽可能的详细,希望可以帮助到大家,如果有什么不懂的地方,欢迎在评论区留言,我会及时回复大家**