一、生成自签名证书(5 步完成)
步骤 1:安装 OpenSSL(Windows)
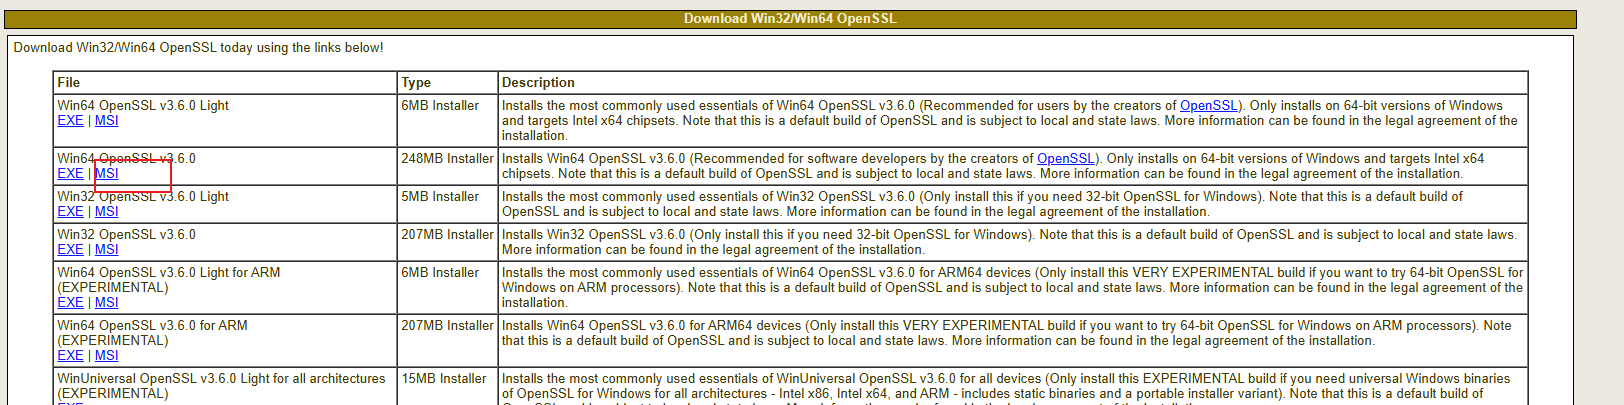
https://slproweb.com/products/Win32OpenSSL.html
如果不行就下载这个试试
下载 OpenSSL 轻量版:Win32 OpenSSL 下载(选「Win64 OpenSSL Light」,安装时选 "Copy OpenSSL DLLs to: The OpenSSL binaries (/bin) directory")。
步骤 2:打开命令提示符(管理员)
按下 Win+R → 输入 cmd → 右键选择「以管理员身份运行」。
步骤 3:创建证书存放目录 生成私钥(key 文件)
在 Nginx 目录下建 ssl 文件夹(比如 Nginx 装在 D:\nginx):
进入ssl文件夹 然后cmd
输入以下
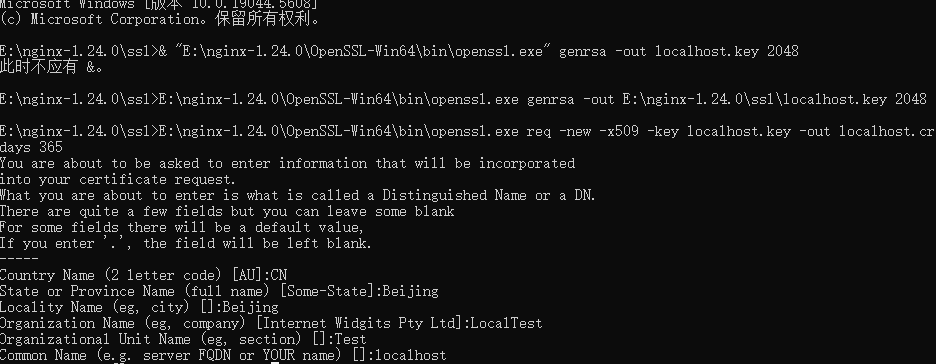
openssl genrsa -out localhost.key 2048
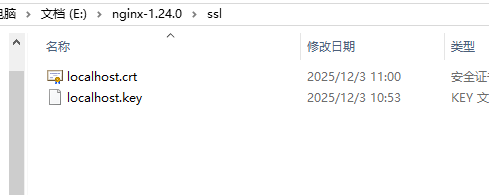
D:\nginx\ssl 会出现 localhost.key(这是私钥,别泄露)。
openssl req -new -x509 -key localhost.key -out localhost.crt -days 365
然后按下面的填写
Country Name (2 letter code) XX:CN
State or Province Name (full name) \[\]:Beijing
Locality Name (eg, city) Default City:Beijing
Organization Name (eg, company) Default Company Ltd:LocalTest
Organizational Unit Name (eg, section) \[\]:Test
Common Name (eg, your name or your server's hostname) \[\]:localhost # 必须填 localhost
Email Address \[\]:test@local.com
ssl文件夹会出现两个证书
生成自签名证书(crt 文件)
二、配置 Nginx 启用 HTTPS
步骤 1:打开 Nginx 配置文件
找到 Nginx 目录下的 conf\nginx.conf,用记事本 / VS Code 打开。
步骤 2:添加 HTTPS 配置
在 http { ... } 块内添加以下内容(替换为你的 Nginx 路径):
nginx
server {
listen 443 ssl; # 监听 HTTPS 默认端口 443
server_name localhost; # 对应证书的 Common Name
证书路径(填你生成的文件路径)
ssl_certificate D:/nginx/ssl/localhost.crt;
ssl_certificate_key D:/nginx/ssl/localhost.key;
网站根目录(填你的本地项目路径,比如 Nginx 默认的 html 文件夹)
root D:/nginx/html;
index index.html index.html;
}
可选:HTTP 自动跳转到 HTTPS(访问 http://localhost 会跳 https)
server {
listen 80;
server_name localhost;
return 301 https://hostrequest_uri;
}
三、启动 / 重启 Nginx
步骤 1:检查配置是否正确
Nginx 安装根目录 下(该目录包含nginx.exe和conf文件夹)cmd,
执行nginx -t
若显示 nginx: configuration file D:\nginx/conf/nginx.conf test is successful,说明配置正确。
步骤 2:启动 / 重启 Nginx
cmd
启动(首次)
start nginx
重启(修改配置后)
nginx -s reload
四、测试效果
打开浏览器,访问 https://localhost → 浏览器提示 "不安全"(自签名证书正常现象)→ 点击 "高级"→"继续访问",就能看到 Nginx 页面,说明 HTTPS 生效!