# vue-ego
## Project setup
```
yarn install
```
### Compiles and hot-reloads for development
```
yarn serve
```
### Compiles and minifies for production
```
yarn build
```
### Customize configuration
See [Configuration Reference](https://cli.vuejs.org/config/).
## 后台管理系统
某个个后台管理系统,包含商品管理 用户管理 订单等等信息
## 技术点
vue+Vue-router+Vuex+Element-ui+axios+其他第三方库
## 项目准备
1,mysql
2,iconfont
# 项目搭建
1,vue create vue-ego
2,vue-router vuex
3,axios
4, vue add element --(按需)
# 项目初始化
1,删除无用的组件 home.vue about.vue helloworld.vue...
2, css 初始化
3,incofont 图标导入
## 后台服务
1, express // 安装 npm i express -S
2, node.js 服务
3, jwt(生成token) jsonwebtoken //安装 npm i jsonwebtoken -S
在前台安装 jwt-decode 解析 token // 安装 npm i jwt-decode -S
4, mysql
5, mockjs -- 模拟数据 他是一个独立的模块知识点 前台后台随便放 mock.js不是后台服务
1, 安装 npm i mockjs -S
2, 引入
node.js 中使用 const Mock = require('mockjs')
前端 xx.js 文件中使用 import Mock from 'mockjs'
3, 语法 mock()方法
Mock.mock()
注意:mock()是一个方法,里面是一个对象,对象里面要生成某个字段
比如:要生成一个五角星
Mock.mock({
"string|1-10": "★"
})
## 路由大配置
1, 页码布局配置,同级登录界面
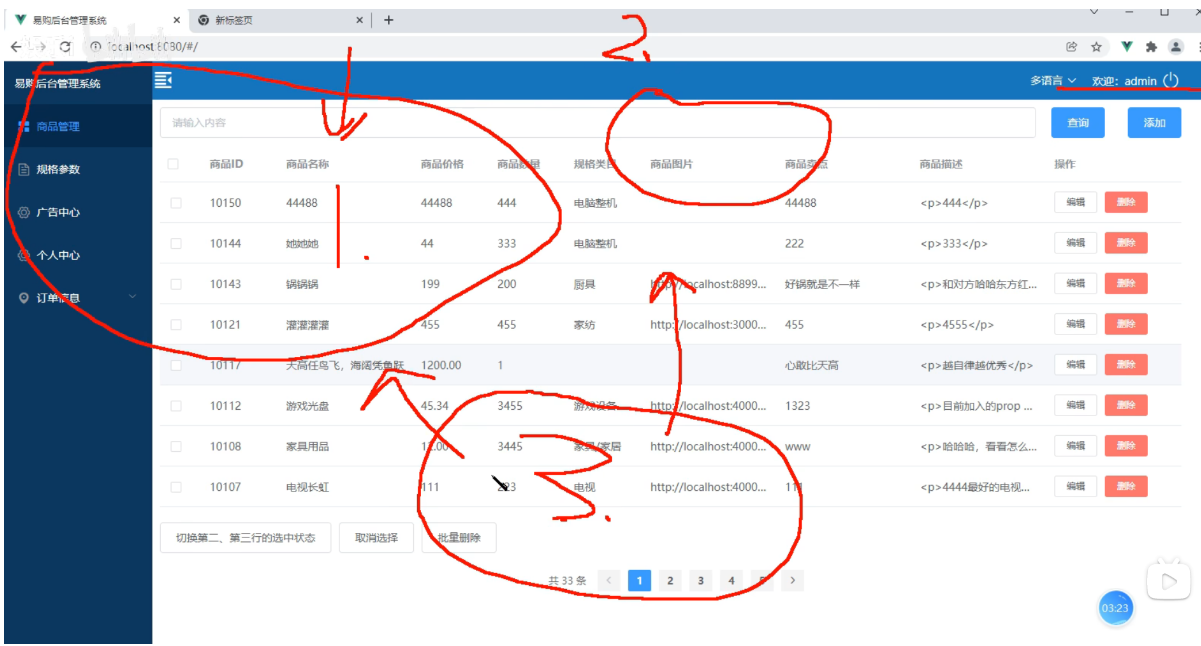
## 商品管理界面
## 类目选择
## 上传图片
1, element-ui upload 组件
2, 实现后台支持:
1, 后台安装 multer 模块 同时引入fs模块
2, router.js 入口文件导入模块
const fs = require('fs')
const multer = require('multer')
3, 上传图片 配置 upload
## 富文本编辑
1, 百度编译器
2, wangEditor
wangEditor 使用步骤:
1,官网网址: https://www.wangeditor.com/doc/
2, 基本使用
1, 安装: npm i wangeditor --save
2, 引入模块:
import E from "wangeditor"
3, 使用 wangeditor
const editor = new E("#div1")
editor.create()
3, 常用配置
1, 清空内容
editor.txt.clear() 清空编辑器内容
2, 设置内容
editor.txt.html('') 获取 html
3, 配置菜单
1, 配置菜单使用 editor.config.menus 定义显示哪些菜单和菜单的顺序
4, 配置 onchange 回调函数
配置 onchange 函数之后,用户操作 (鼠标点击,键盘打字等)导致的内容变化之后,会自 动触发 onchange 函数执行
## vue-i18n
1, 介绍:
Vue I18n 是 vue.js 的国际化插件,他可以轻松第将一些本地化功能集成到你的 vue.js 应用程序中。
2, 安装
1, npm install vue-i18n
2, main.js 导入 或者是单独的文件
import Vue from 'vue'
import VueI18n from 'vue-i18n'
Vue.use(VueI18n)
3, 使用步骤
1, 如果使用模块系统 (例如通过 vue-cli),则需要导入 Vue 和 VueI18n,然后调用 Vue.use(VueI18n).
import Vue from 'vue'
import VueI18n from 'vue-i18n'
Vue.use(VueI18n)
2, 准备翻译的语言环境信息
const messages = {
en: {// 英文
home: {
hello: 'hello world',
xx: xx,
...
},
goods: {
//
}
},
zh: {// 中文
home: {
hello: '您好 世界',
xx: xx,
...
},
goods: {
//
}
}
}
3, 通过选项创建 VueI18n 实例
const i18n = new VueI18n({
locale: 'en', // 设置当前选中的语言
messages, // 语言环境
})
4, 通过 `i18n` 选项创建 vue 实例
new Vue({ i18n }).$mount('#app')
5, 使用语法:
<p>{{ $t("home.hello") }}</p>
### element 国际化
1, 导入
import Element from 'element-ui'
2, 导入语言环境
import enLocale from 'element-ui/lib/locale/lang/en'
import zhLocale from 'element-ui/lib/locale/lang/zh-CN'
目前 Element 内置了以下语言:
简体中文(zh-CN)
英语(en)
德语(de)
葡萄牙语(pt)
西班牙语(es)
丹麦语(da)
法语(fr)
...
3, 配置语言环境
const messages = {
en: {
message: 'hello',
...enLocale // 或者用 object.assign({message: 'hello'}, enLocale)
},
zh: {
message: '您好',
...zhLocale // 或者用 Object.assign({message: '您好'},zhLocale)
}
}
4, 配置使用
Vue.use(Element, {
i18n: (key, value) => i18n.t(key, value)
})
##
安装 npm i jsonwebtoken -S
## 登录 路由拦截
```javascript
import router from '@/router/index.js';
// 获取 vuex 数据
import store from '@/store/index.js'
// 路由拦截
router.beforeEach((to, from, next) => {
// console.log('---to---', to);
// 1, 判断是否需要登录
if (to.matched.some(ele => ele.meta.isLogin)) {
// 2, 判断当前的用户是否已经登录
let token = store.state.loginModule.userinfo.token;
if (token) {
// 判断已登录
next();
} else { // 判断未登录
// 跳转到登录页面
next('/login');
}
} else { // 不需要登录
next();
}
})
```
## echats
## 1 安装 npm install echarts -S
## 2 使用方式
1, 导入 echarts 在组件内使用
2, 导入 全局, 挂载原型上 全局使用
3, 开发成 vue 插件
## 使用 - main.js
1, 导入 import * as echarts from 'echarts'
Vue.prototype.$echarts = echarts;
2, 直接使用
1, this.$echarts.xxx
## 规格参数
1, element-ui 官网 https://element.eleme.cn/#/zh-CN
2, mockjs 官网 http://mockjs.com/
3, iconfont 官网 https://www.iconfont.cn/
4, echarts 官网 https://echarts.apache.org/
5, echarts 实例官网 https://echarts.apache.org/examples/zh/index.html#chart-type-line