ComfyUI 本地部署精华指南(Windows + CUDA)
适用环境:Windows 10/11,NVIDIA GPU(如 RTX 4080),支持 CUDA 12.1+
一、创建 Conda 环境
powershell
conda create -n comfy python=3.10 -y
conda activate comfy
建议使用清华镜像源加速(已在你的配置中启用)。
二、克隆 ComfyUI 源码
由于 GitHub 访问不稳定,推荐使用 Gitee 镜像:
powershell
git clone https://gitee.com/weifuzi0217/ComfyUI.git
cd ComfyUI
三、安装依赖(关键:必须用 CUDA 版本 PyTorch)
❌ 错误做法(会安装 CPU-only 版本):
bash
pip install torch torchvision torchaudio -i https://pypi.tuna.tsinghua.edu.cn/simple✅ 正确做法(指定 cu121 官方源):
方法 1:直接从 PyTorch 官方下载(推荐)
powershell
pip install torch==2.4.0 torchvision==0.19.0 torchaudio==2.4.0 --index-url https://download.pytorch.org/whl/cu121若网络慢,可先手动下载
.whl文件(链接),再本地安装:
powershell
pip install torch-2.4.0+cu121-cp310-cp310-win_amd64.whl ...方法 2:验证是否成功
python
python -c "import torch; print(torch.__version__, torch.cuda.is_available())"
# 应输出:2.4.0+cu121 True
安装其余依赖(使用清华源加速):
powershell
pip install -r requirements.txt -i https://pypi.tuna.tsinghua.edu.cn/simple四、启动 ComfyUI
powershell
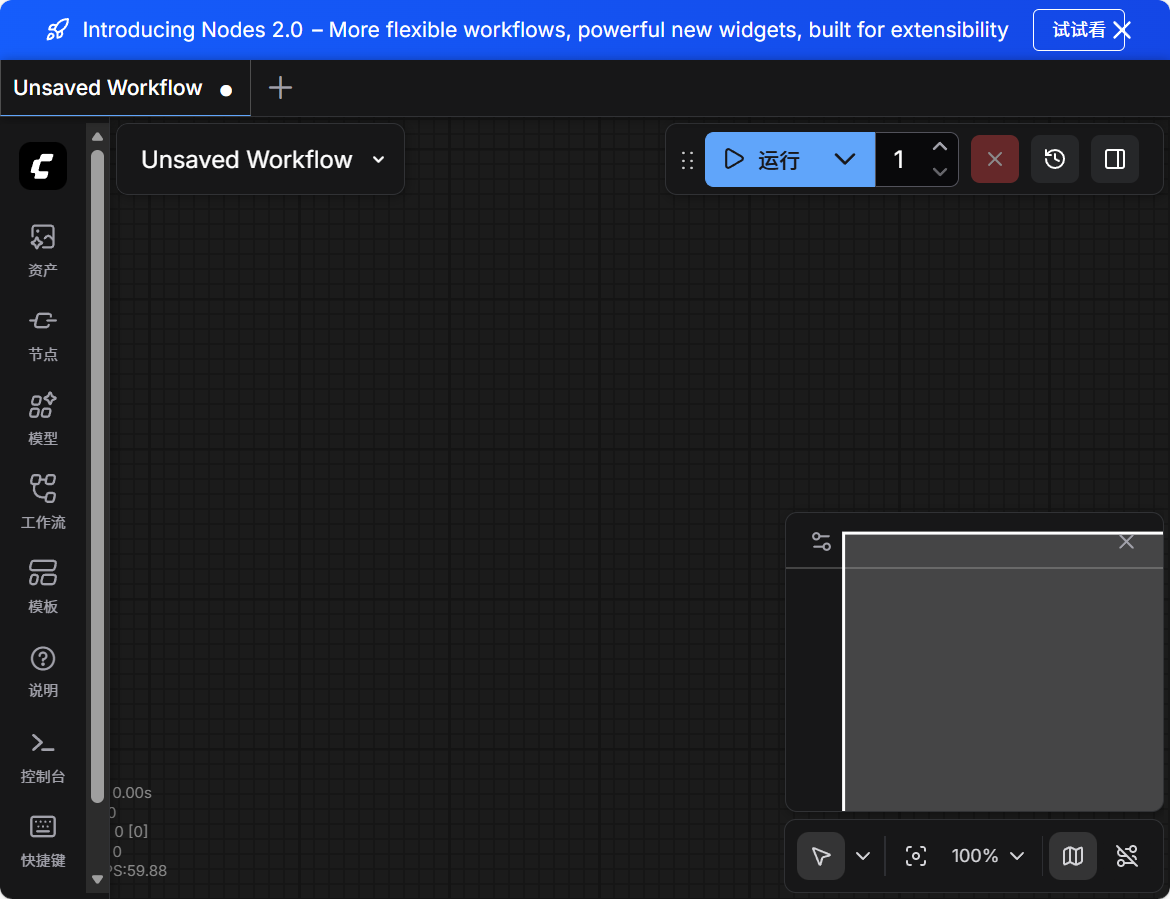
python main.py成功启动后,终端将显示:
To see the GUI go to: http://127.0.0.1:8188打开浏览器访问即可使用。
五、常见问题解决
| 问题 | 原因 | 解决方案 |
|---|---|---|
AssertionError: Torch not compiled with CUDA enabled |
安装了 CPU 版 PyTorch | 卸载后重装 cu121 版本 |
git clone 失败 |
GitHub 网络限制 | 改用 Gitee 镜像或代理 |
| 启动卡住/无响应 | 显存不足或驱动不兼容 | 确保 NVIDIA 驱动 ≥ 535,CUDA ≥ 12.1 |
六、附:环境信息(供参考)
- GPU: NVIDIA GeForce RTX 4080 SUPER
- Driver: 561.09
- CUDA Version: 12.6(向后兼容 cu121)
- Python: 3.10
- PyTorch: 2.4.0+cu121
- ComfyUI: v0.4.0
✅ 完成以上步骤,即可在本地高效运行 ComfyUI,充分利用 GPU 加速。