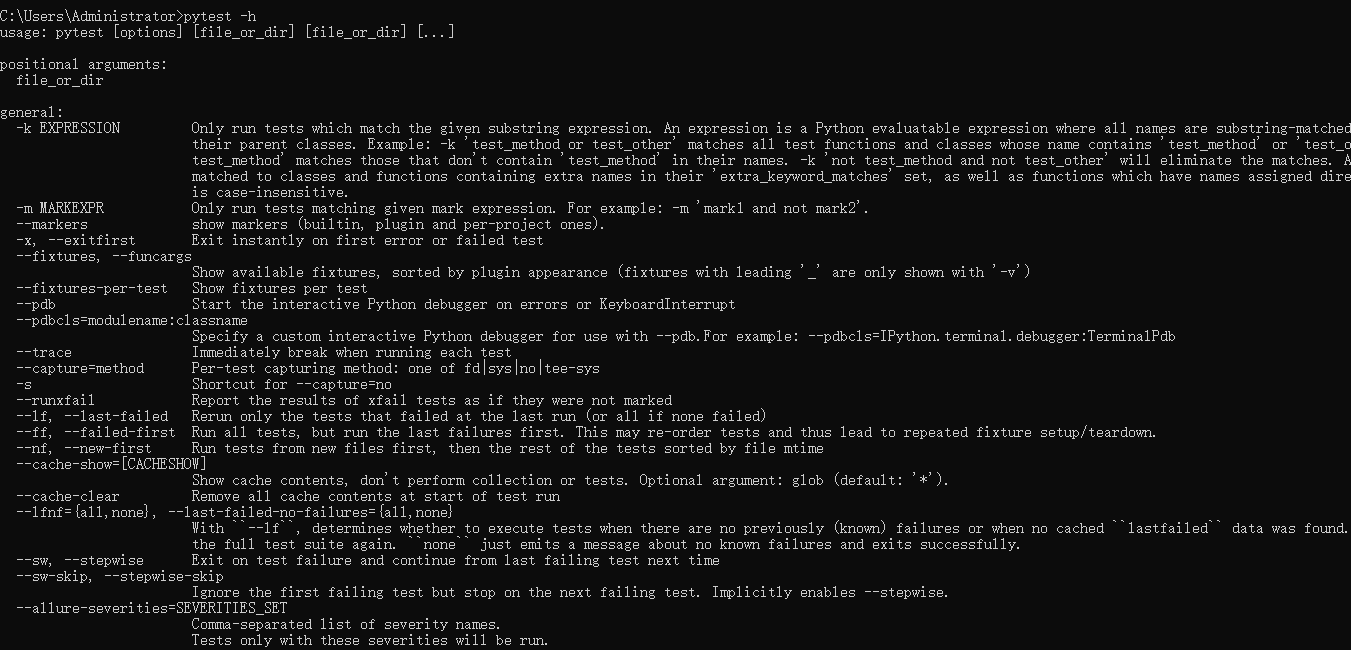
刚开始使用pytest的同学,可能感觉最复杂的点就是其提供的各种参数,丰富的命令行参数在带来了灵活控制测试行为的同时也增加了对于新手的上手难度。在这里,我总结了一下pytest常用参数的分类,并提供详细的使用方法!
如果读者是pytest小白,可以参考下面的文章,快速上手pytest:
用最精简的例子带您快速了解Pytest框架中最核心的功能-CSDN博客
一、基础运行参数
-
指定运行范围
-
pytest <路径>运行指定目录或文件中的测试(默认当前目录)。
pytest tests/              # 运行 tests 目录下的所有测试
pytest test_api.py         # 运行单个文件
pytest tests/test_math.py::test_add  # 运行特定测试函数
-
-
-v/--verbose显示详细输出(包括每个测试用例的名称和结果)。
pytest -v -
-s/--capture=no禁用输出捕获,直接打印测试中的
print或日志信息。pytest -s -
-k <表达式>通过名称匹配测试用例(支持逻辑运算符
and/or/not)。pytest -k "add and not multiply" # 运行名称包含 add 但不含 multiply 的测试 -
-m <标记>运行带有特定标记的测试用例(需提前用
@pytest.mark标记)。pytest -m "smoke or regression" # 运行标记为 smoke 或 regression 的测试
二、失败处理参数
-
-x/--exitfirst遇到第一个失败用例后立即停止测试。
pytest -x -
--lf/--last-failed仅重新运行上次失败的测试。
pytest --lf -
--ff/--failed-first先运行上次失败的测试,再运行其他测试。
pytest --ff -
--pdb在测试失败时自动进入调试模式(需安装
pdb)。pytest --pdb
三、输出与报告
-
--tb=<style>控制失败时的堆栈跟踪信息格式,常用选项:
-
--tb=short:简洁显示错误信息 -
--tb=line:仅显示错误行 -
--tb=no:不显示堆栈跟踪
pytest --tb=short -
-
-q/--quiet简化输出,仅显示总体结果。
pytest -q -
--junitxml=<path>生成 JUnit 格式的 XML 测试报告(常用于 CI/CD)。
pytest --junitxml=results.xml -
--html=<path>生成 HTML 测试报告(需安装
pytest-html)。pytest --html=report.html
四、并发与性能
-
-n <num>/--numprocesses=<num>使用多进程并行运行测试(需安装
pytest-xdist)。pytest -n 4 # 使用4个进程并行执行 -
--durations=<num>显示最耗时的 N 个测试用例。
pytest --durations=10 # 显示最慢的10个测试
五、覆盖率与配置
-
--cov=<path>生成代码覆盖率报告(需安装
pytest-cov)。pytest --cov=src # 统计 src 目录的覆盖率 -
-c <file>指定自定义配置文件(默认使用
pytest.ini)。pytest -c custom_config.ini
六、常用参数组合示例
# 常用组合:详细输出 + 打印日志 + 快速失败
pytest -v -s -x

# 运行标记为 smoke 的测试,并生成 HTML 报告
pytest -m smoke --html=report.html

# 并行运行测试并生成覆盖率报告
pytest -n 4 --cov=src --cov-report=html
最常用参数总结
| 参数 | 用途说明 | 示例 |
|---|---|---|
-v |
显示详细测试结果 | pytest -v |
-s |
打印测试中的输出(如 print) |
pytest -s |
-k <表达式> |
按名称筛选测试用例 | pytest -k "login" |
-m <标记> |
按标记运行测试 | pytest -m "smoke" |
-x |
遇到失败立即停止 | pytest -x |
--lf |
仅重跑上次失败的用例 | pytest --lf |
--tb=short |
简化错误堆栈信息 | pytest --tb=short |
--durations |
统计测试耗时 | pytest --durations=5 |
--cov |
生成代码覆盖率报告 | pytest --cov=src |