Label Studio介绍:Label Studio 是一款开源的数据标签工具。它允许你用简单直接的界面为音频、文本、图片、视频和时间序列等数据类型命名,并导出为多种模型格式。它可以用于准备原始数据或改进现有训练数据,以获得更准确的机器学习模型。
Label Studio源代码地址:github.com/HumanSignal...
Label Studio界面如下: 
Label Studio ML backend :Label Studio 机器学习后端是一个 SDK,可以让你把机器学习代码打包成 Web 服务器。该网页服务器可以连接到正在运行的 Label Studio 实例,以实现自动化标签任务。 Github地址:Label Studio ML backend
下面介绍使用视觉大模型Qwen2-VL作为ML backend实现自动标注
环境搭建
硬件配置
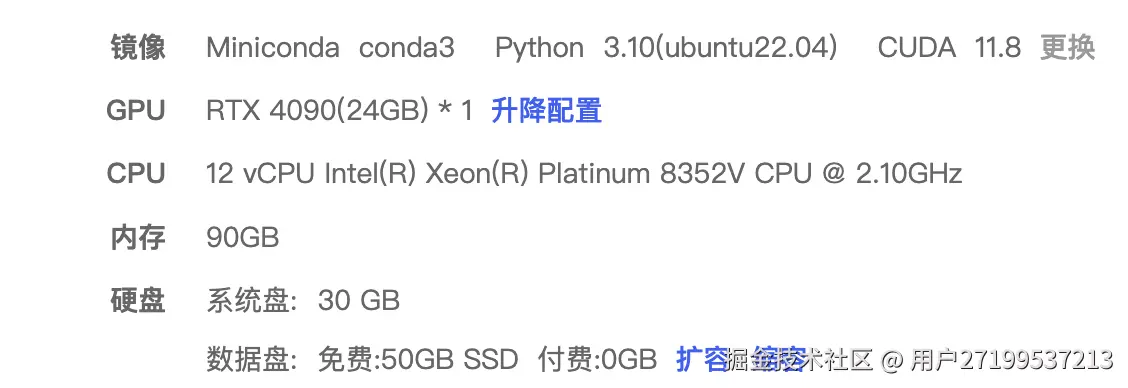
我是在AutoDL网站上(www.autodl.com/home)租的云服务器,规格配置如下图
1.创建虚拟环境
python
conda create -n labels python=3.102.安装 Label Studio
python
pip install label-studio最终安装的版本如下 
3.配置 Label Studio 数据目录
默认数据存储在 ~/.local/share/label-studio,可以使用如下命令重新配置目录
python
export LABEL_STUDIO_LOCAL_FILES_SERVING_ENABLED=true
export LABEL_STUDIO_LOCAL_FILES_DOCUMENT_ROOT=autodl-tmp/label-studio-develop/data
开发 ML Backend 服务
1.安装 Backend 依赖
python
pip install flask requests pillow python-dotenv gunicorn2.创建项目结构
python
mkdir -p ml_backend
cd ml_backend
3.创建环境变量文件 .env
python
nano .env填入 Qwen-VL 相关API调用信息
python
QWEN_API_KEY=HHKM7PMBA4SKWMRZFQMLGZL73IMSU******
QWEN_BASE_URL=https://ai.gitee.com/v1/chat/completions
MODEL_NAME= Qwen2-VL-72B
4.编写 Backend 代码 app.py
python
# app.py
# 修改点:使用归一化坐标输出 bbox
# 修改Prompt,框选结果更准确完整

import os
import io
import base64
import logging
from PIL import Image
import requests
from flask import Flask, request, jsonify
from dotenv import load_dotenv
import json
import urllib.parse

load_dotenv()

app = Flask(__name__)
logging.basicConfig(level=logging.INFO)

API_KEY = os.getenv("QWEN_API_KEY")
BASE_URL = os.getenv("QWEN_BASE_URL")
MODEL_NAME = os.getenv("MODEL_NAME", "qwen-vl-plus")

if not API_KEY:
    raise ValueError("❌ Missing QWEN_API_KEY in .env file!")


def call_qwen_vl(image_b64: str, prompt: str):
    headers = {
        "Authorization": f"Bearer {API_KEY}",
        "Content-Type": "application/json"
    }
    payload = {
        "model": MODEL_NAME,
        "messages": [
            {
                "role": "system",
                "content": (
                    "You are an expert object detector. "
                    "Only output a strict JSON with NO explanation, markdown, or extra text. "
                    "Use ONLY these labels: Airplane, Drone, Helicopter, Bird. "
                    "The 'bbox' must be in normalized coordinates (0.0 to 1.0) relative to image width and height: [x1_norm, y1_norm, x2_norm, y2_norm], where (0,0) is top-left and (1,1) is bottom-right. "
                    "Example: {\"objects\":[{\"label\":\"Airplane\",\"bbox\":[0.062,0.119,0.143,0.211]}]}"
                )
            },
            {
                "role": "user",
                "content": [
                    {"type": "image_url", "image_url": {"url": f"data:image/jpeg;base64,{image_b64}"}},
                    {"type": "text", "text": prompt}
                ]
            }
        ],
        "stream": False,
        "max_tokens": 1024,
        "temperature": 0.2
    }

    try:
        response = requests.post(BASE_URL, headers=headers, json=payload, timeout=30)
        response.raise_for_status()
        data = response.json()
        content = data['choices'][0]['message']['content']
        return content
    except Exception as e:
        logging.error(f"Qwen API error: {e}")
        if 'response' in locals() and hasattr(response, 'text'):
            logging.error(f"API Response: {response.text}")
        return None


@app.route('/predict', methods=['POST'])
def predict():
    try:
        tasks = request.json.get('tasks', [])
        if not tasks:
            return jsonify([])

        task = tasks[0]

        # 🔒 关键修复:跳过已有标注的任务,避免锁冲突
        if task.get('annotations') and len(task['annotations']) > 0:
            logging.info("Task already annotated, skipping prediction to avoid lock conflict.")
            return jsonify([])

        image_data = task['data']['image']
        logging.info(f"Received image_data: {image_data}")

        # ==== 读取图片 ====
        img_bytes = None
        if image_data.startswith('/data/upload/'):
            rel_path = urllib.parse.unquote(image_data[len('/data/upload/'):])
            real_path = os.path.join('/root/.local/share/label-studio/media/upload', rel_path)
            with open(real_path, 'rb') as f:
                img_bytes = f.read()
        elif image_data.startswith('data:image'):
            img_bytes = base64.b64decode(image_data.split(',', 1)[1])
        else:
            img_bytes = requests.get(image_data, timeout=10).content

        img = Image.open(io.BytesIO(img_bytes))
        w, h = img.size
        logging.info(f"✅ Original image dimensions: width={w}, height={h}")

        # 转 JPEG 再编码
        buf = io.BytesIO()
        img.save(buf, format="JPEG")
        image_b64 = base64.b64encode(buf.getvalue()).decode('utf-8')

        # ==== 调 LLM ====
        prompt = (
            "Detect ALL instances of Airplane, Drone, Helicopter, or Bird in the image. "
            "For each object, return a bounding box that fully contains the entire object, "
            "including wings, tail, engines, and fuselage. "
            "Do NOT cut off any part of the object. "
            "Use normalized coordinates [x1_norm, y1_norm, x2_norm, y2_norm], "
            "where (0,0) is top-left and (1,1) is bottom-right. "
            "Only output valid JSON with no extra text. "
            "Example: {\"objects\":[{\"label\":\"Airplane\",\"bbox\":[0.062,0.119,0.857,0.421]}]}"
        )

        result_str = call_qwen_vl(image_b64, prompt)
        logging.info(f"Model response raw: {result_str}")

        if not result_str:
            return jsonify([])

        # ==== 清洗 JSON ====
        clean_str = result_str.strip()
        if clean_str.count("{") > clean_str.count("}"):
            clean_str += "}" * (clean_str.count("{") - clean_str.count("}"))
        if clean_str.count("[") > clean_str.count("]"):
            clean_str += "]" * (clean_str.count("[") - clean_str.count("]"))

        try:
            result = json.loads(clean_str)
        except json.JSONDecodeError as e:
            logging.error(f"JSON decode error: {e}")
            return jsonify([])

        # ==== 组装 Label Studio 标注 ====
        ls_results = []
        for obj in result.get("objects", []):
            try:
                label = obj.get("label")
                bbox = obj.get("bbox")

                if not bbox or len(bbox) != 4:
                    continue

                x1, y1, x2, y2 = map(float, bbox)
                logging.info(f"Raw normalized bbox from model: x1={x1:.4f}, y1={y1:.4f}, x2={x2:.4f}, y2={y2:.4f}")

                # 直接乘以 100 转为 Label Studio 百分比
                x = x1 * 100.0
                y = y1 * 100.0
                width = (x2 - x1) * 100.0
                height = (y2 - y1) * 100.0

                # 边界安全
                x = max(0.0, min(100.0, x))
                y = max(0.0, min(100.0, y))
                width = max(0.0, min(100.0 - x, width))
                height = max(0.0, min(100.0 - y, height))

                logging.info(f"Computed LS coords: x={x:.4f}, y={y:.4f}, width={width:.4f}, height={height:.4f}")

                ls_results.append({
                    "from_name": "label",
                    "to_name": "image",
                    "type": "rectanglelabels",
                    "value": {
                        "x": round(x, 2),
                        "y": round(y, 2),
                        "width": round(width, 2),
                        "height": round(height, 2),
                        "rotation": 0,
                        "rectanglelabels": [label]
                    }
                })
            except Exception as e:
                logging.error(f"Error processing object {obj}: {e}")
                continue

        return jsonify({
            "results": [
                {
                    "result": ls_results,
                    "score": 1.0,
                    "model_version": "qwen-vl"
                }
            ]
        })

    except Exception as e:
        logging.exception("predict error")
        return jsonify([])


@app.route('/health', methods=['GET'])
def health():
    return jsonify({"status": "ok"})


@app.route('/setup', methods=['POST'])
def setup():
    return jsonify({
        "model_name": "Qwen-VL",
        "supported_tasks": ["image"],
        "supported_label_config": {
            "from_name": "label",
            "to_name": "image",
            "type": "rectanglelabels",
            "labels": ["Airplane", "Drone", "Helicopter", "Bird"]
        }
    })


if __name__ == '__main__':
    app.run(host='0.0.0.0', port=6008, debug=False)
5.启动 ML Backend 服务
我在autodl云服务器上部署,默认只开放6006和6008端口。 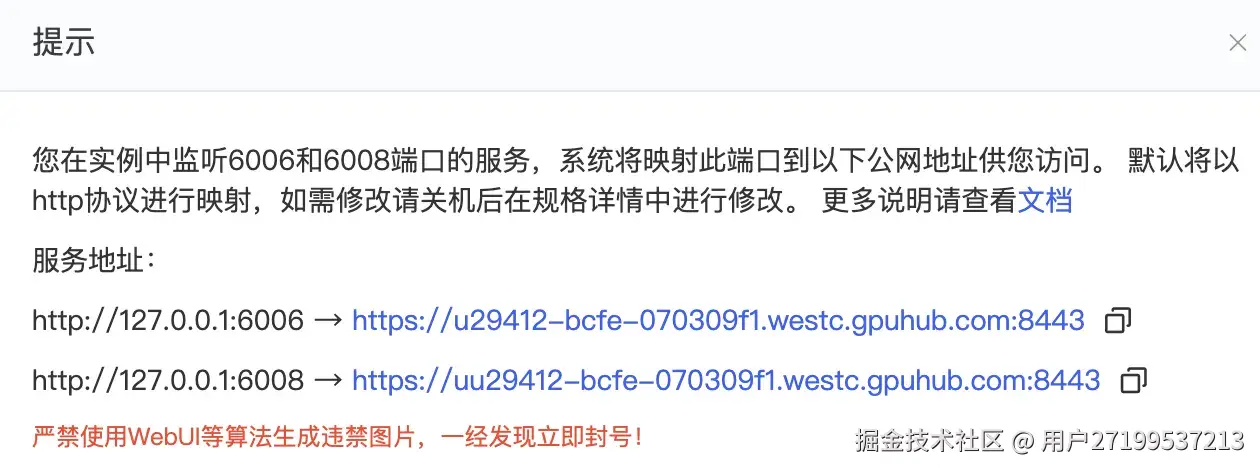 我在6008端口运行ML Backend 服务,在6006端口启动 Label Studio。启动命令如下:
python
# 返回 ml_backend 目录(确保 .env 和 app.py 在当前目录)
cd ml_backend
# 启动服务(后台运行)
nohup gunicorn -w 2 -b 0.0.0.0:6008 app:app > backend.log 2>&1 &
-w 2:启动 2 个工作进程。 -b 0.0.0.0:9090:监听所有 IP 的 6008 端口。 nohup ... &:使进程在 SSH 断开后继续运行。 日志输出到 backend.log。

6.配置 Label Studio 项目
6.1启动 Label Studio(后台)
ruby
nohup label-studio start --host 0.0.0.0 --port 6006 --no-browser > labelstudio.log 2>&1 & 上述两个服务都启动之后,打开浏览器访问http://<your_server_ip>:port 我访问链接:u29412-bcfe-070309f1.westc.gpuhub.com:8443/
可看到Label Studio登录页面,第一次访问需要注册账号,后面就可以直接登录了。 这里可能会遇到报错信息,登录界面注册可能会报错,labelstudio没有识别域名为可信源 需要在上面创建的.env文件中加上环境变量,这样每次启动label studio服务的时候就会读取环境变量。
python
export LABEL_STUDIO_ALLOWED_HOSTS="localhost,127.0.0.1,u29412-bcfe-070309f1.westc.gpuhub.com"
export LABEL_STUDIO_CSRF_TRUSTED_ORIGINS="https://u29412-bcfe-070309f1.westc.gpuhub.com:8443"
export LABEL_STUDIO_SECURE_PROXY_SSL_HEADER="HTTP_X_FORWARDED_PROTO=https"
export LABEL_STUDIO_DEBUG=True
上面信息需要根据自身情况设定,将要访问的域名加入白名单
注册登录成功之后,显示如下界面 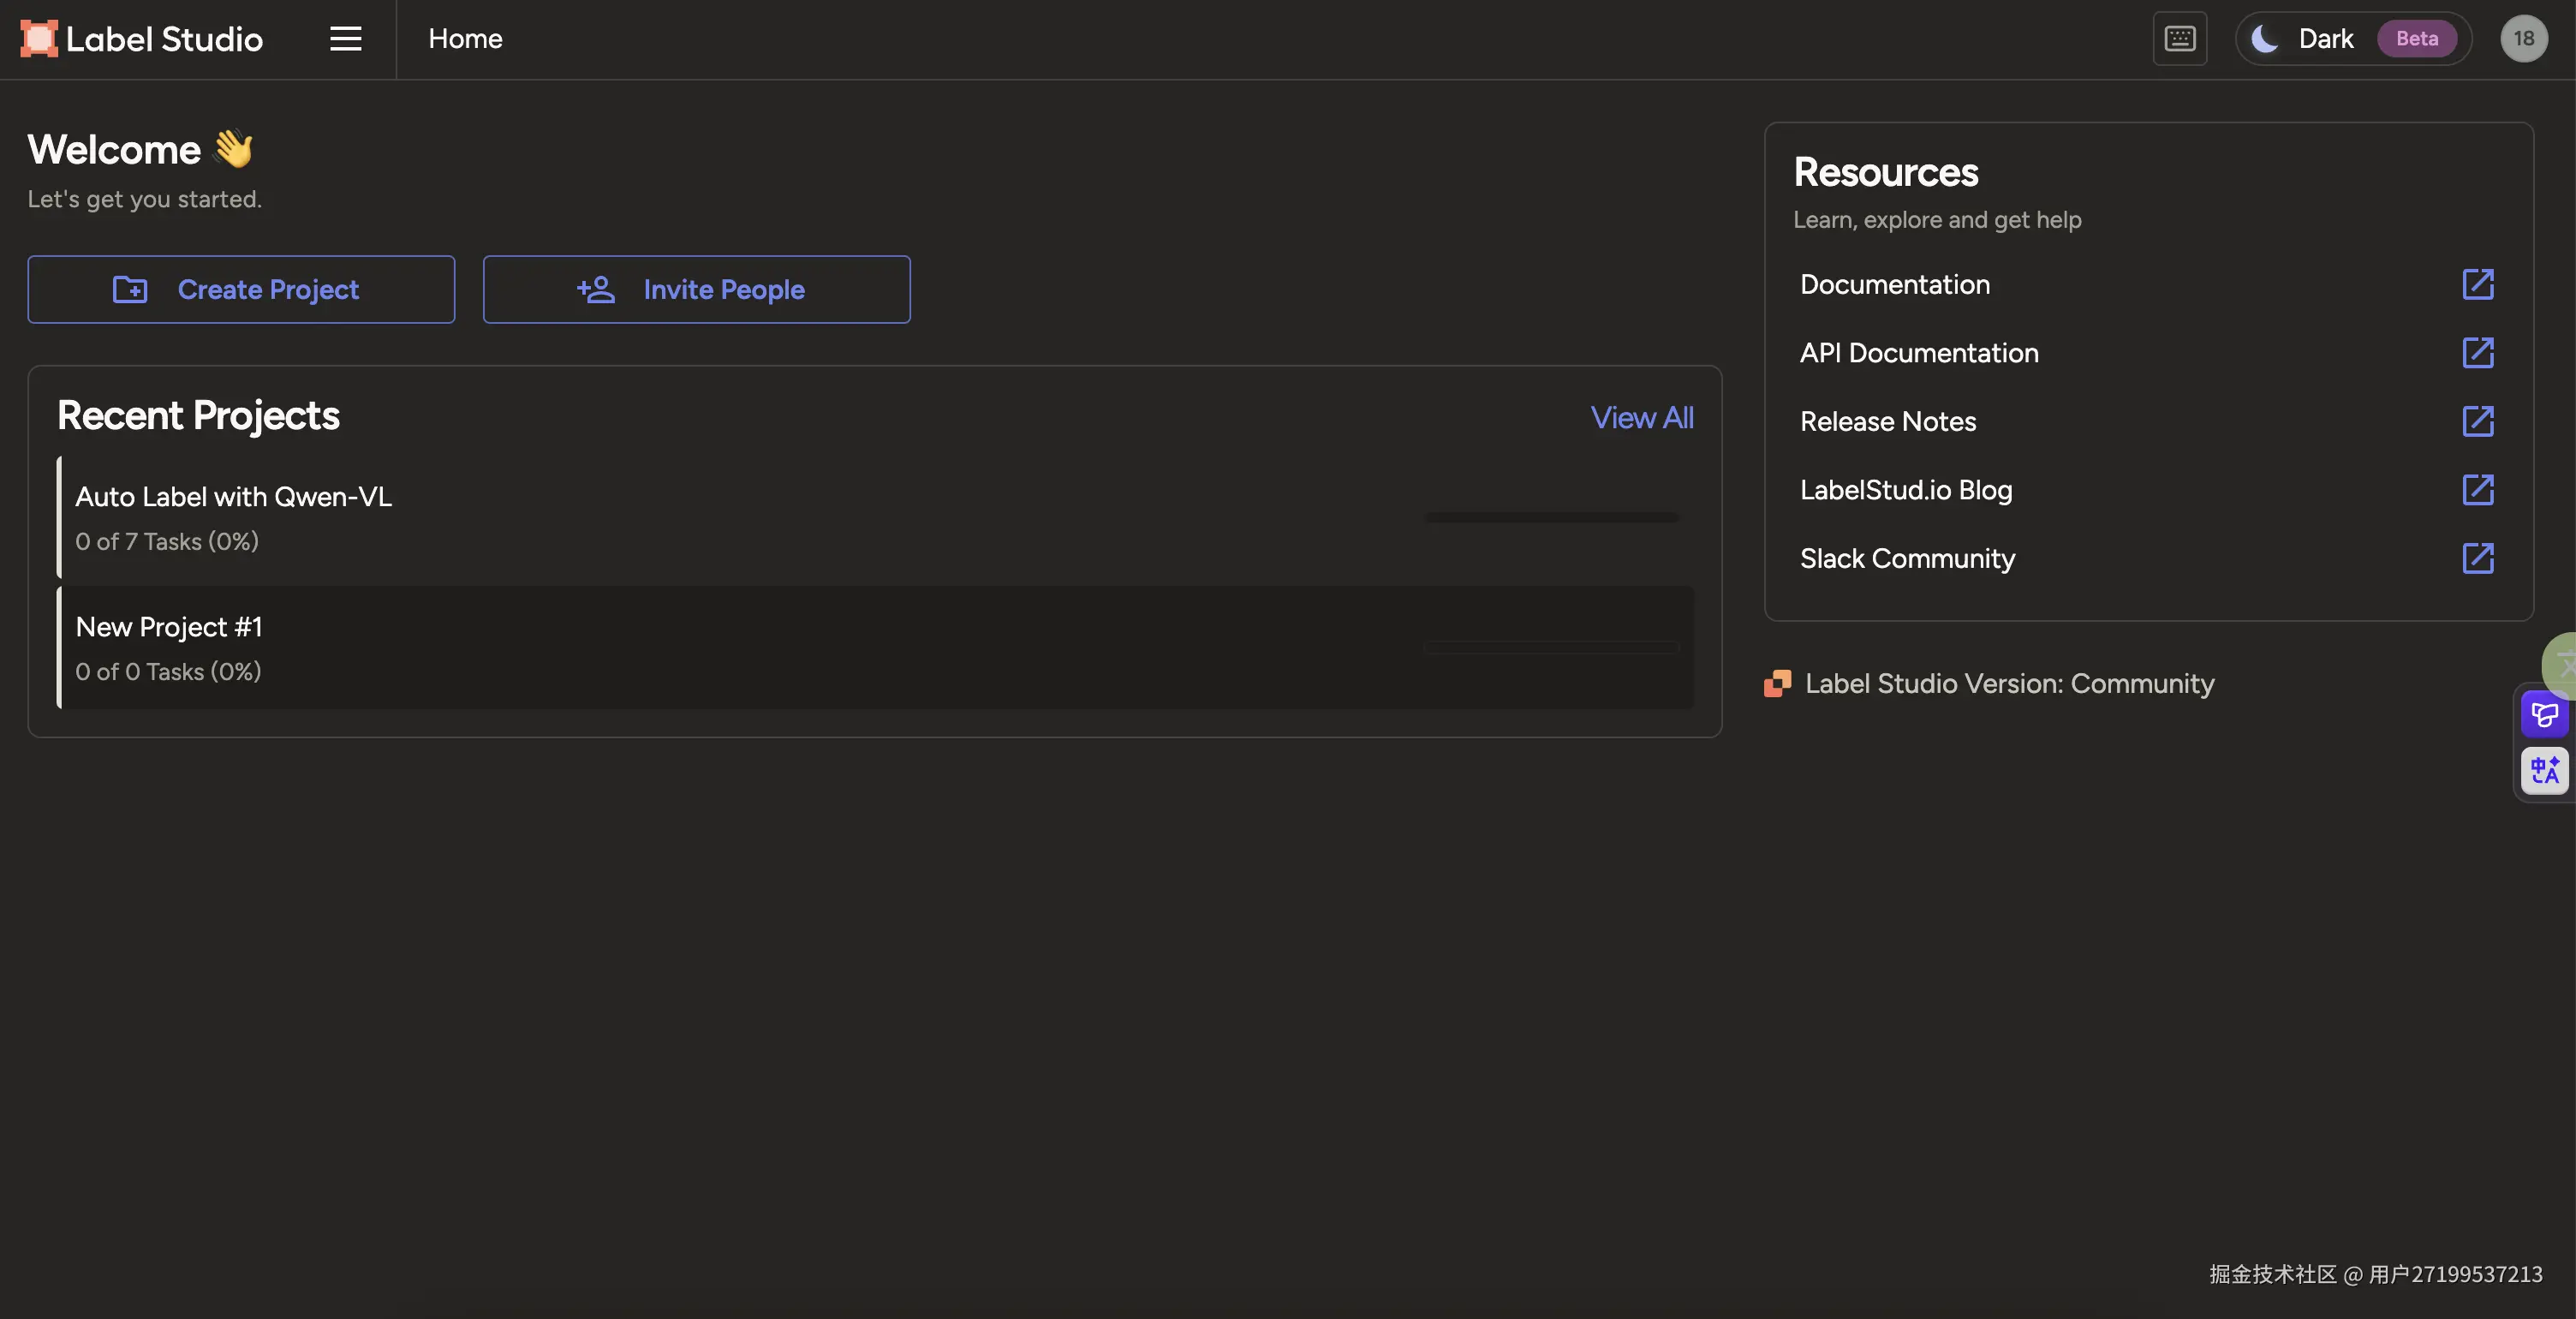
6.2 创建项目
点击Create Project,创建一个新项目 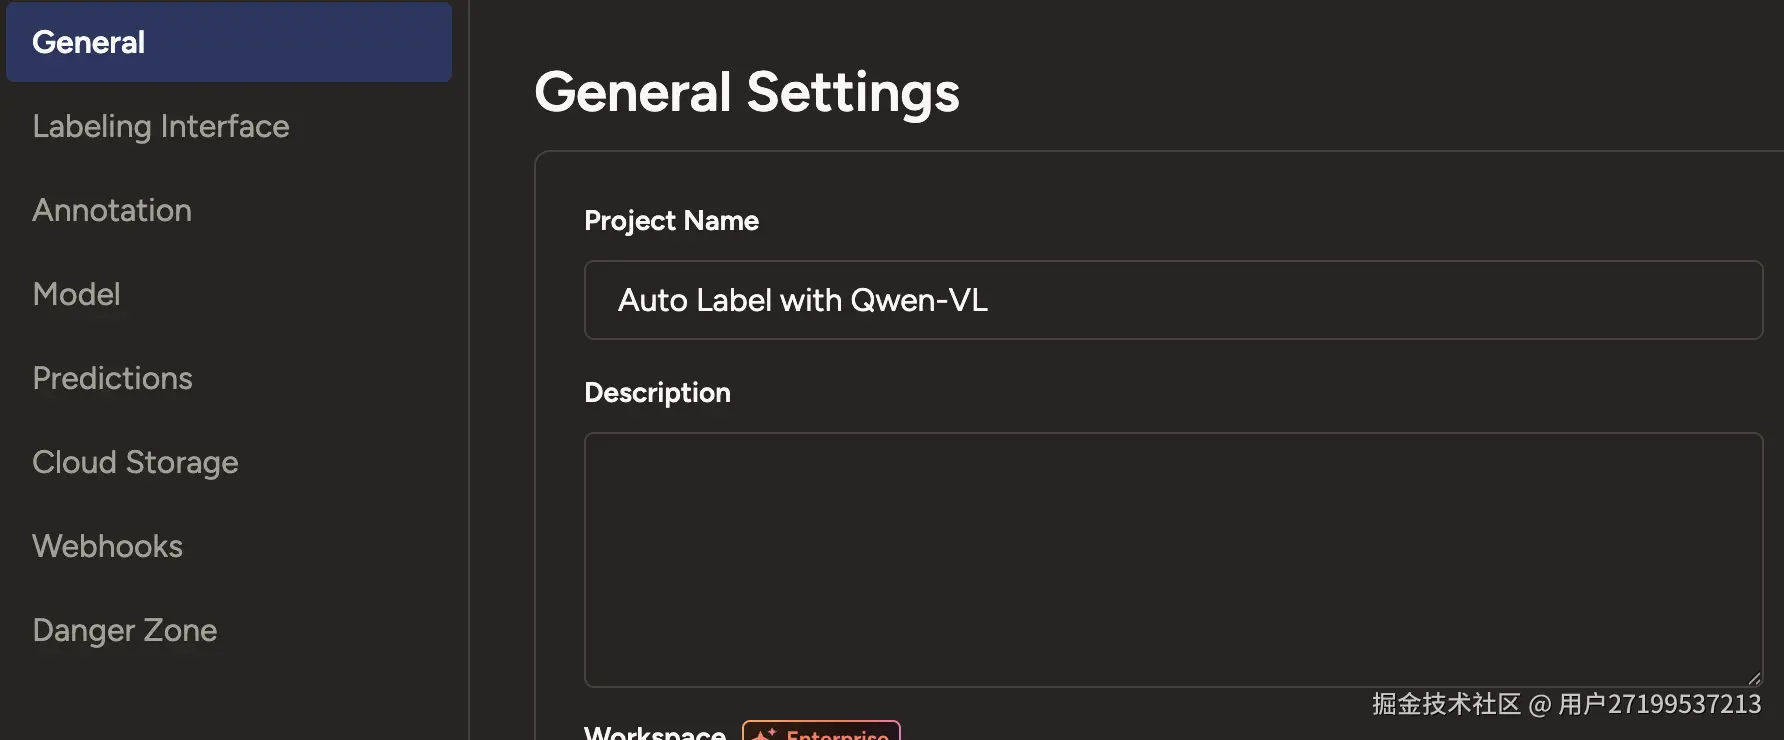 点击Labeling Interface,在Label中填入你的数据集覆盖的标签,点击Save。
python
<View>
  <Image name="image" value="$image"/>
  <RectangleLabels name="label" toName="image">
    <Label value="Airplane" background="green"/>
    <Label value="Drone" background="#FFA39E"/>
    <Label value="Helicopter" background="#D4380D"/>
    <Label value="Bird" background="#FFC069"/>
  </RectangleLabels>
</View>
6.3配置 ML Backend
进入项目 → Settings (⚙️) → Model填入Name和Backend URL 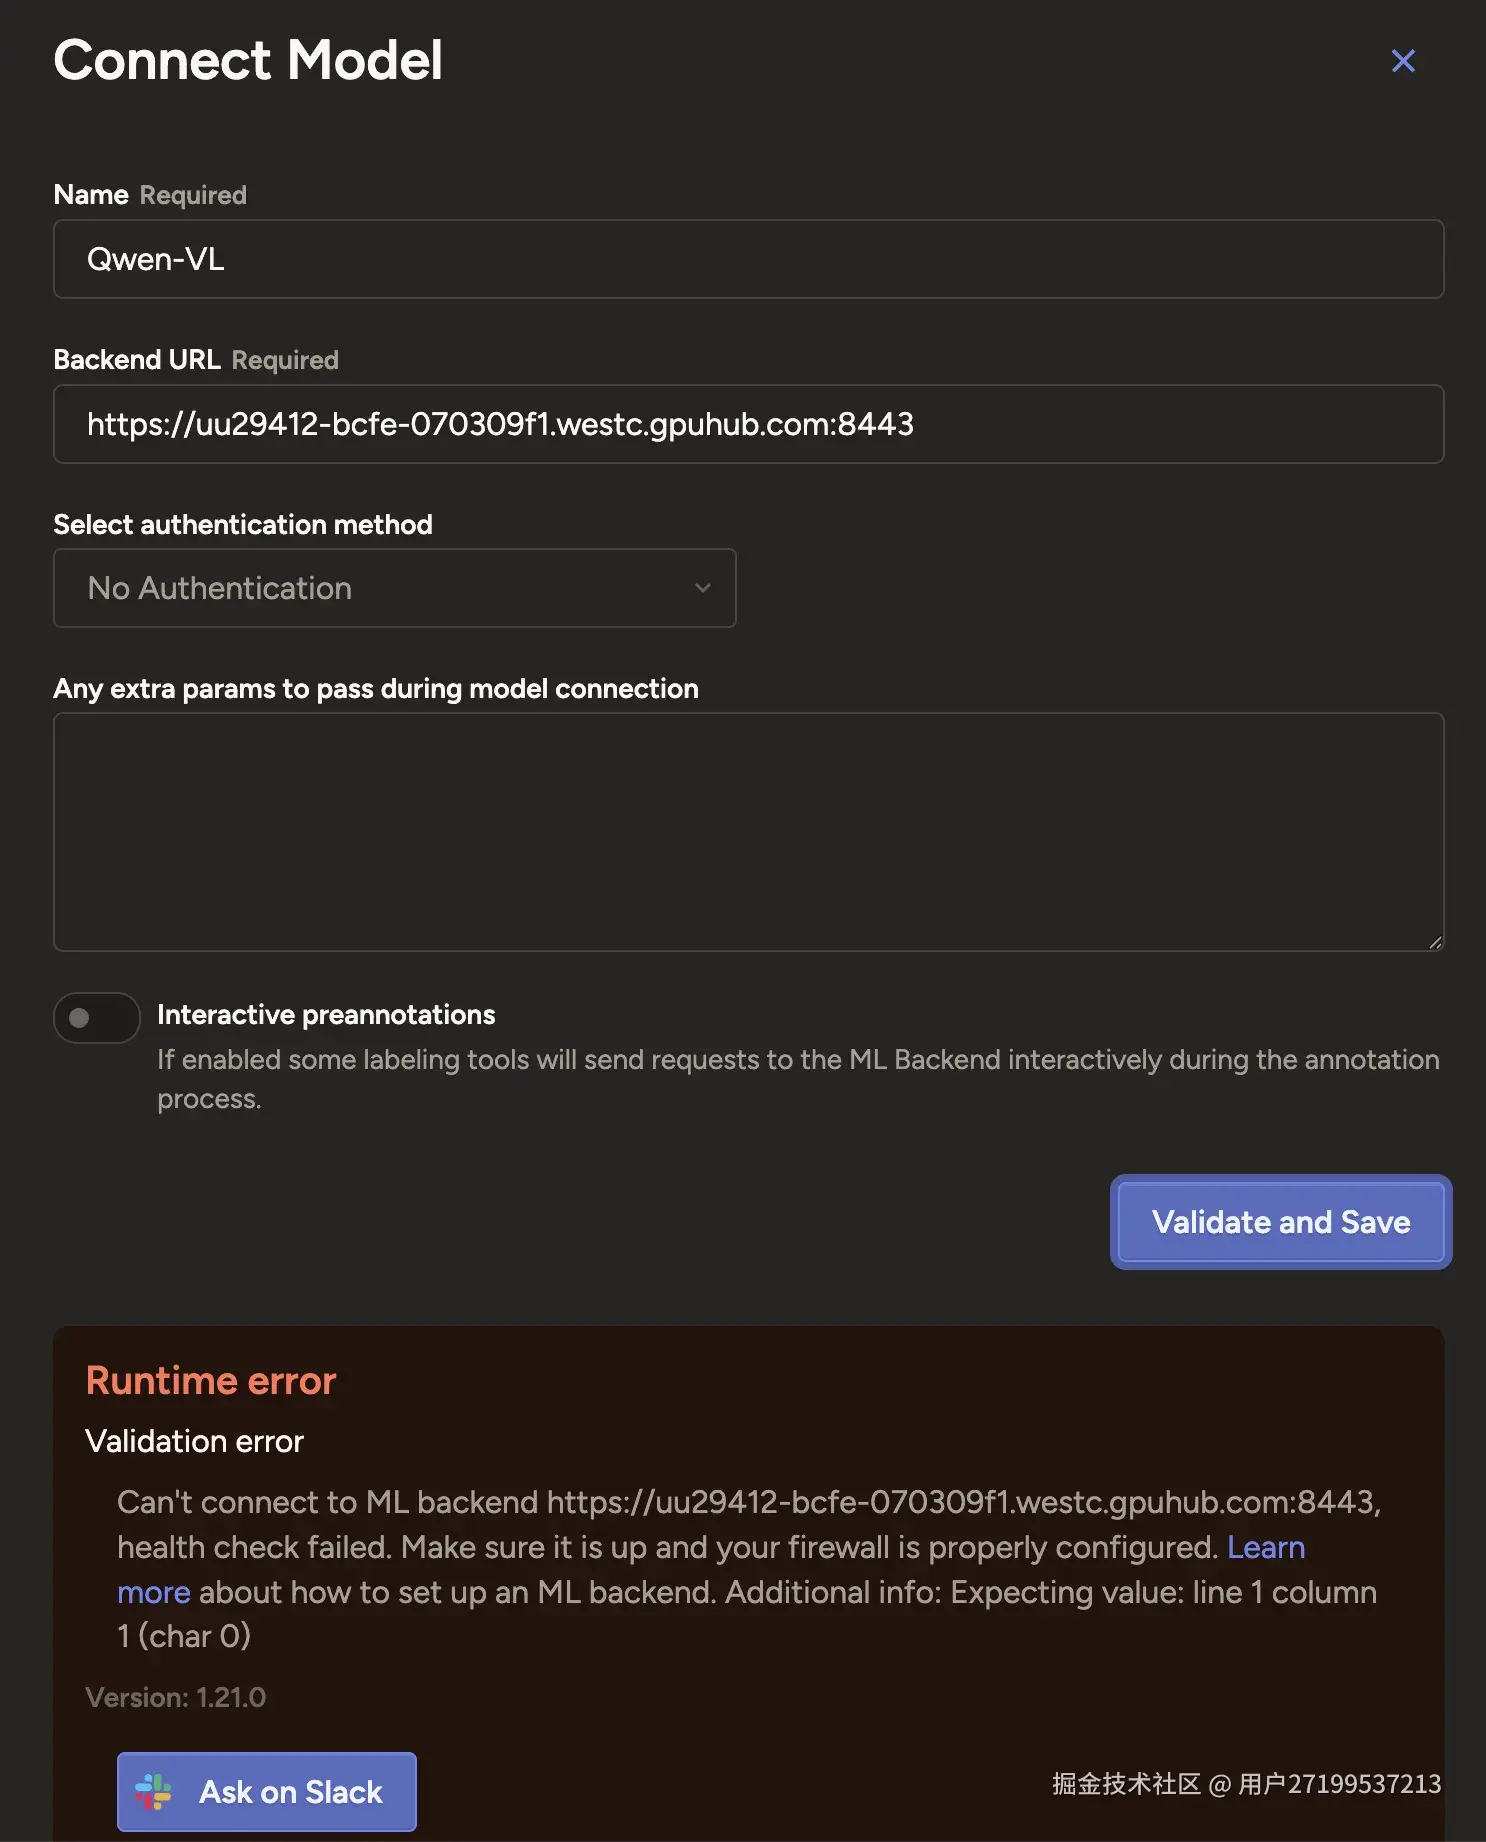 URL应填ML backend服务对应的地址:uu29412-bcfe-070309f1.westc.gpuhub.com:8443 可能出现验证错误 解决方法:app.py 必须返回一个 可被 JSON 解析的内容
python
import json
@app.route('/health', methods=['GET'])
def health():
    return json.dumps({"status": "ok"}), 200, {'Content-Type': 'application/json'}
接着又报错: Runtime error Validation error ● Successfully connected to uu29412-bcfe-070309f1.westc.gpuhub.com:8443 but it doesn't look like a valid ML backend. Reason: 404 Client Error: Not Found for url: uu29412-bcfe-070309f1.westc.gpuhub.com:8443/setup. Check the ML backend server console logs to check the status.There might be something wrong with your model or it might be incompatible with the current labeling configuration. 解决方法: 实现 /setup 路由,返回当前模型支持的 Label Studio 标注配置信息
python
@app.route('/setup', methods=['POST'])
def setup():
    # 返回模型支持的标签配置
    return jsonify({
        "model_name": "Qwen-VL",
        "supported_tasks": ["image"],
        "supported_label_config": {
            "from_name": "label",          # 对应你的 labeling config 中的 from_name
            "to_name": "image",            # 对应 to_name
            "type": "rectanglelabels",     # 标注类型
            "labels": ["Airplane", "Drone", "Helicopter", "Bird"]  # 可选:模型能识别的类别(可动态获取)
        }
    })
再次返回模型连接页面,显示连接成功 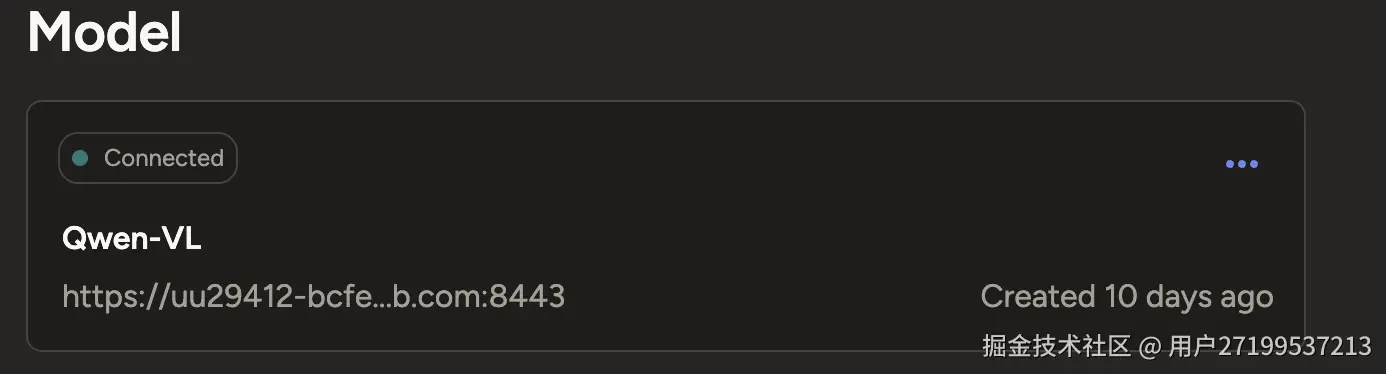 配置成功后可返回项目页面,导入图片
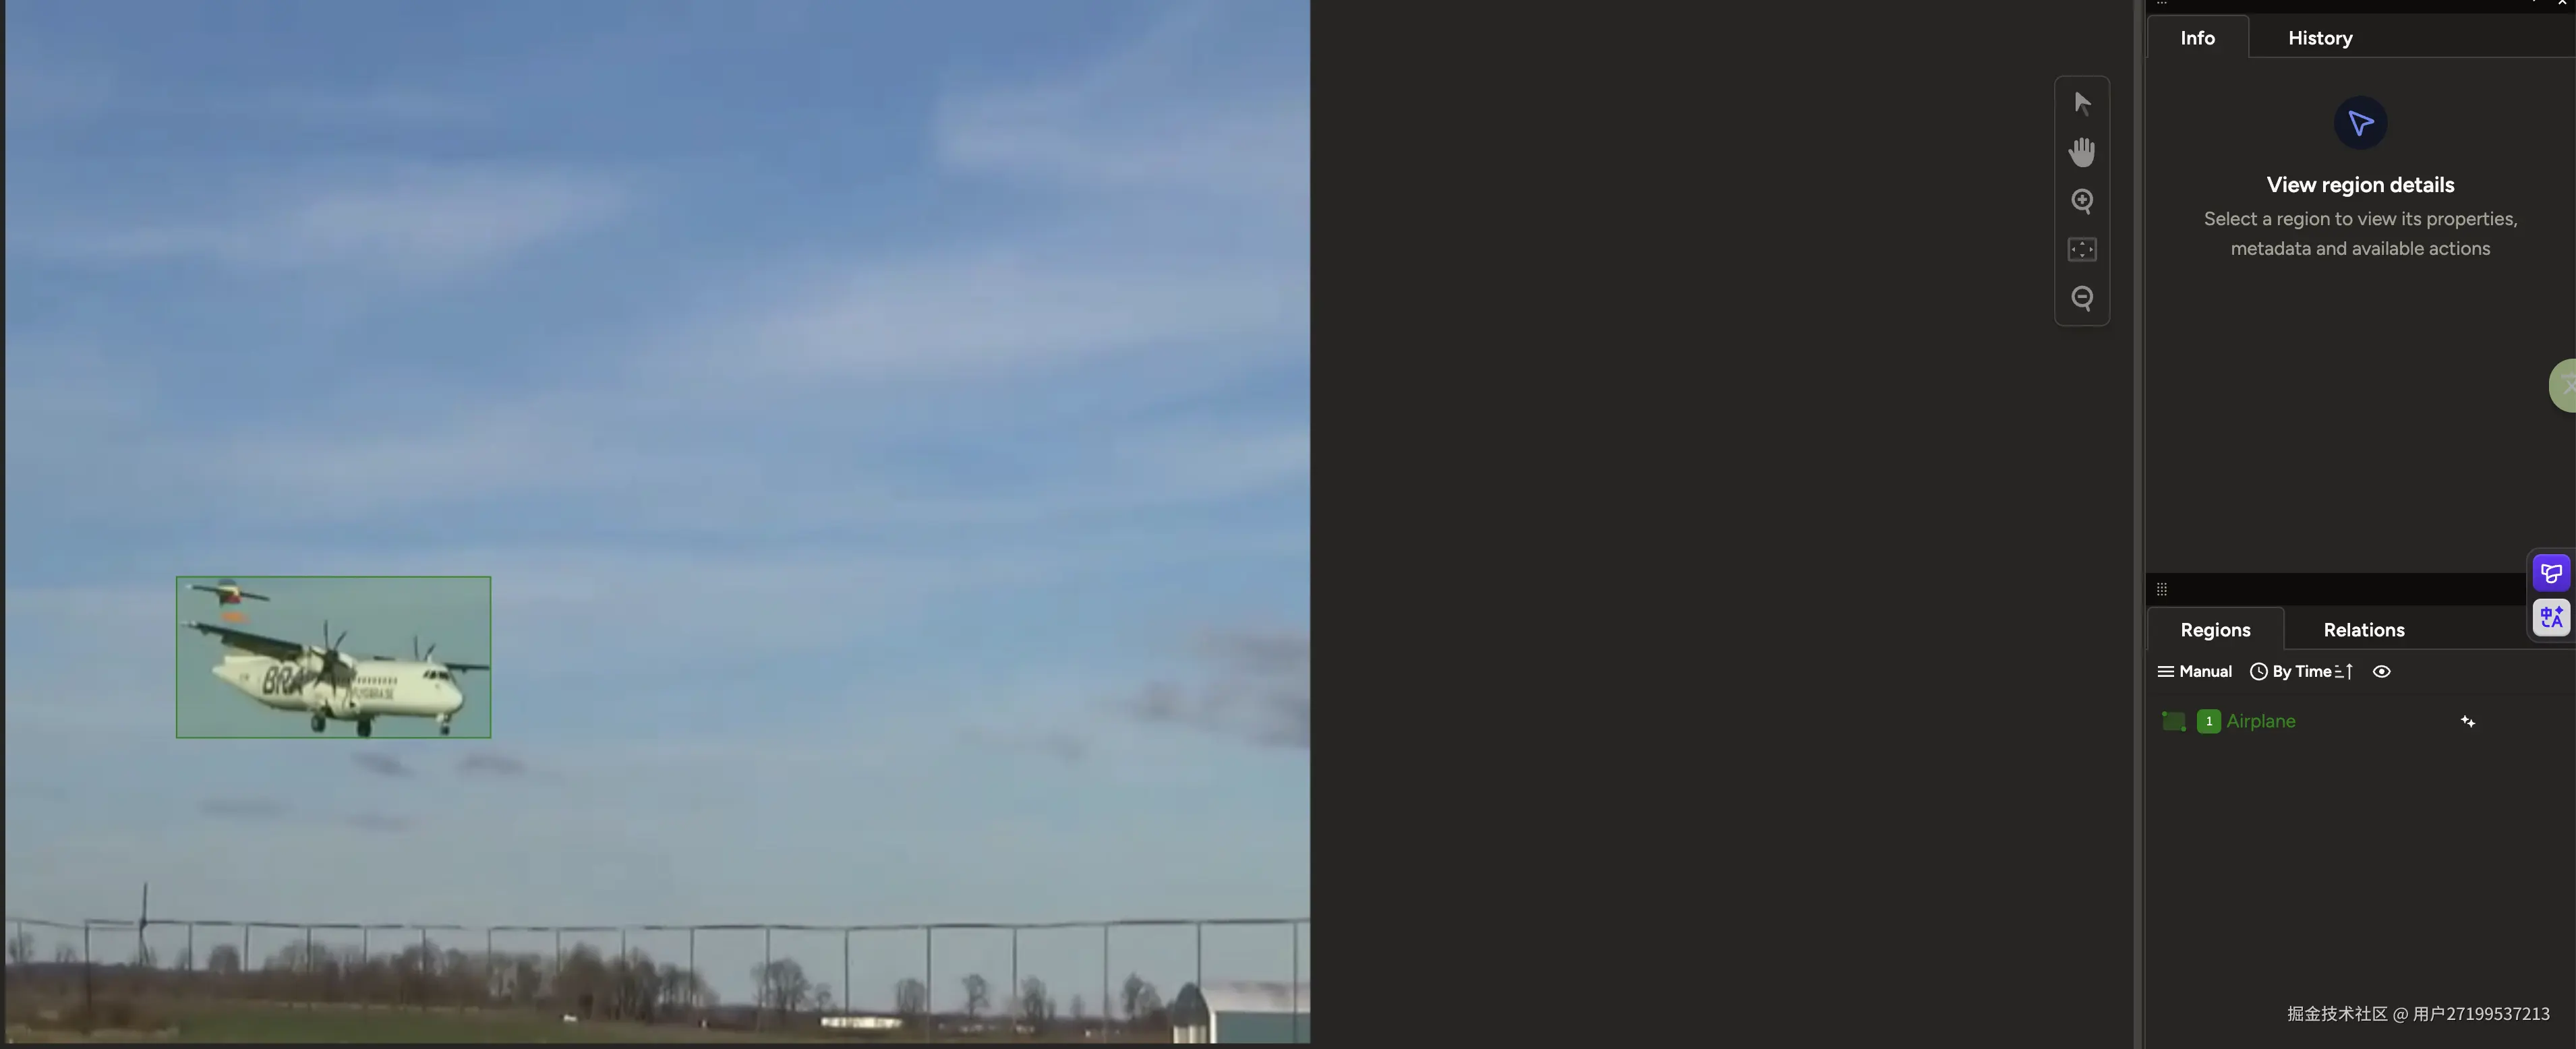
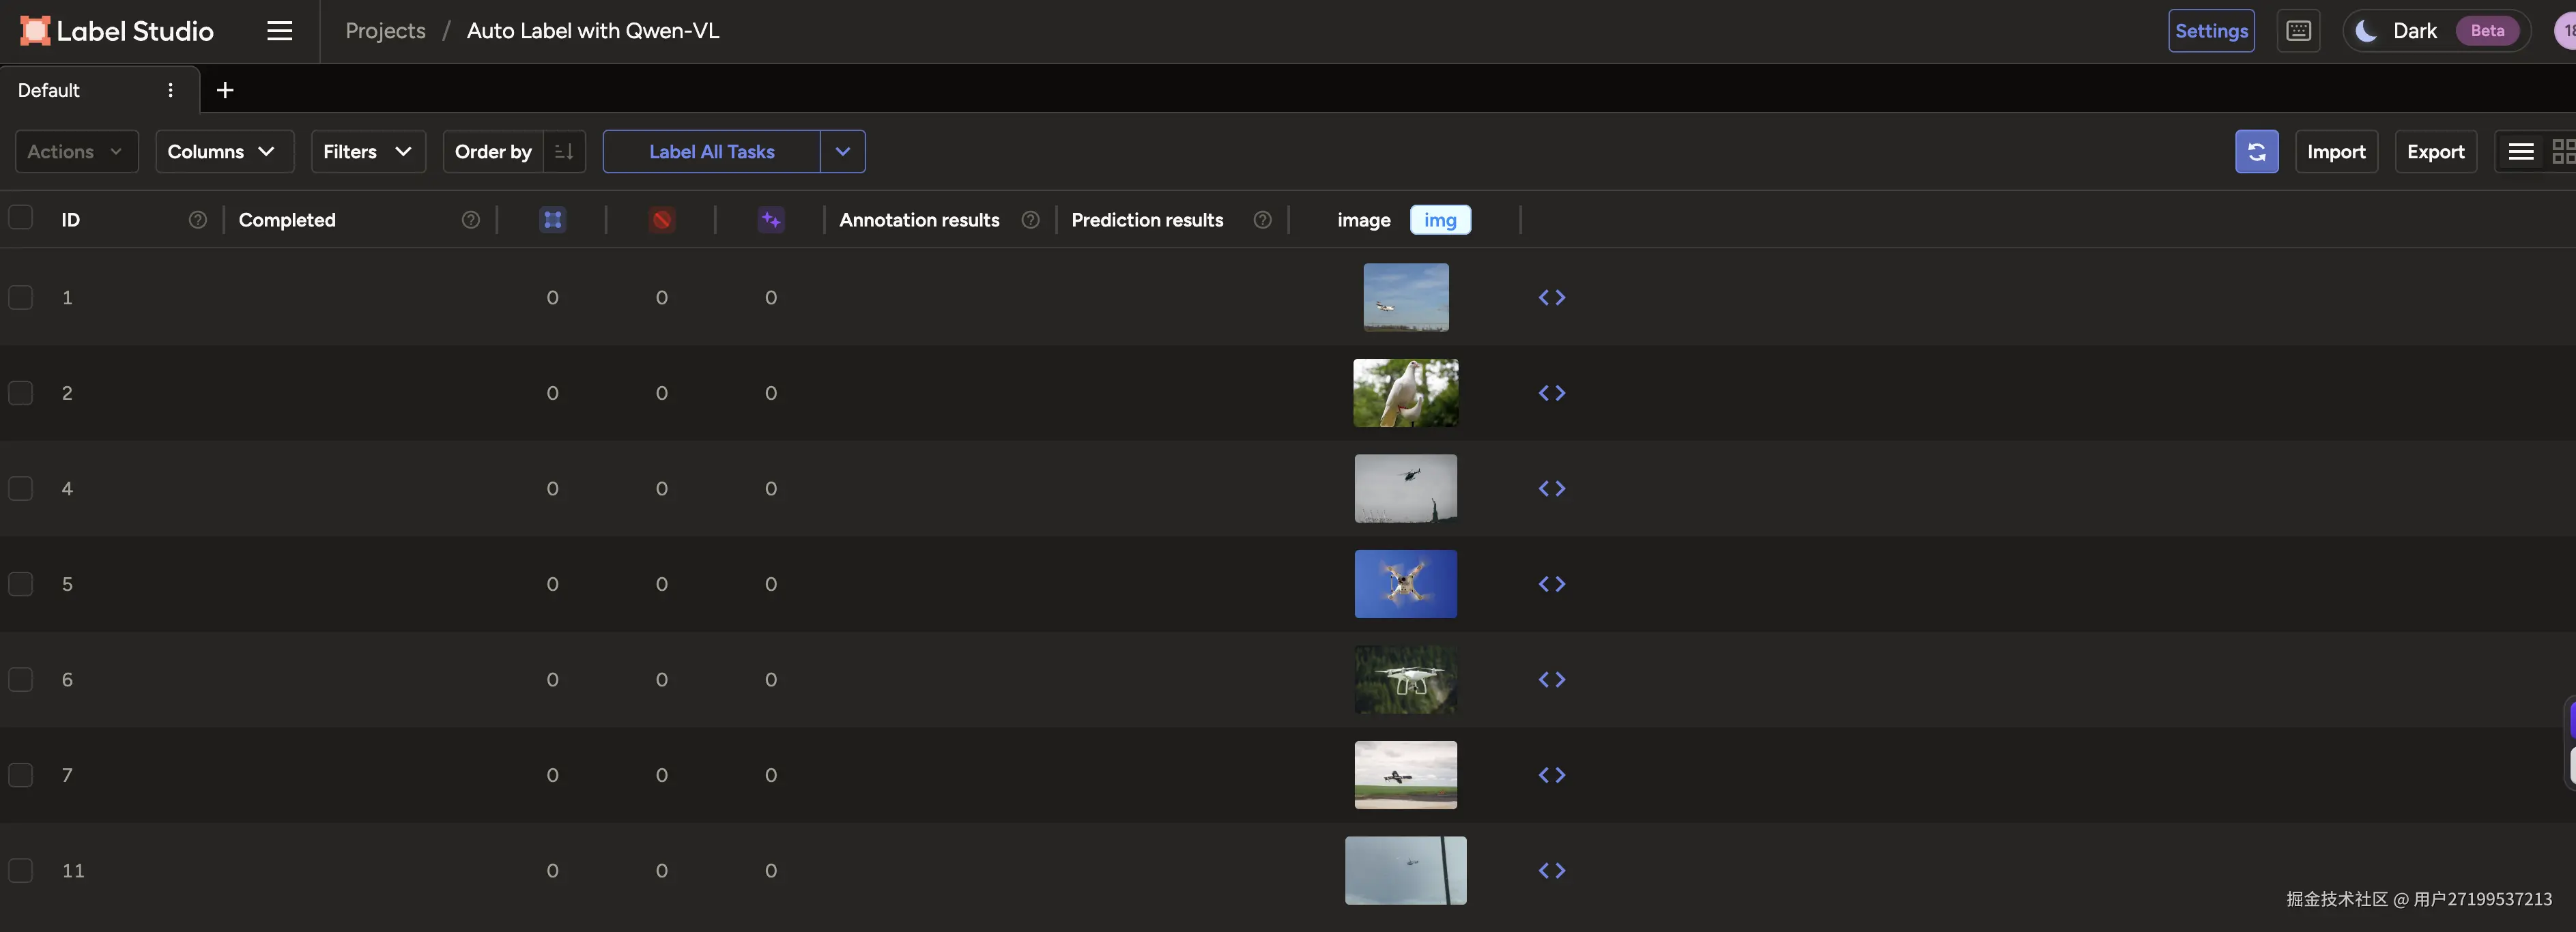 点击Label All Tasks可以进行自动标注 只集成视觉大模型,标注效果还不够精确,标签都能打正确,但是画框不准,不能完全覆盖目标。
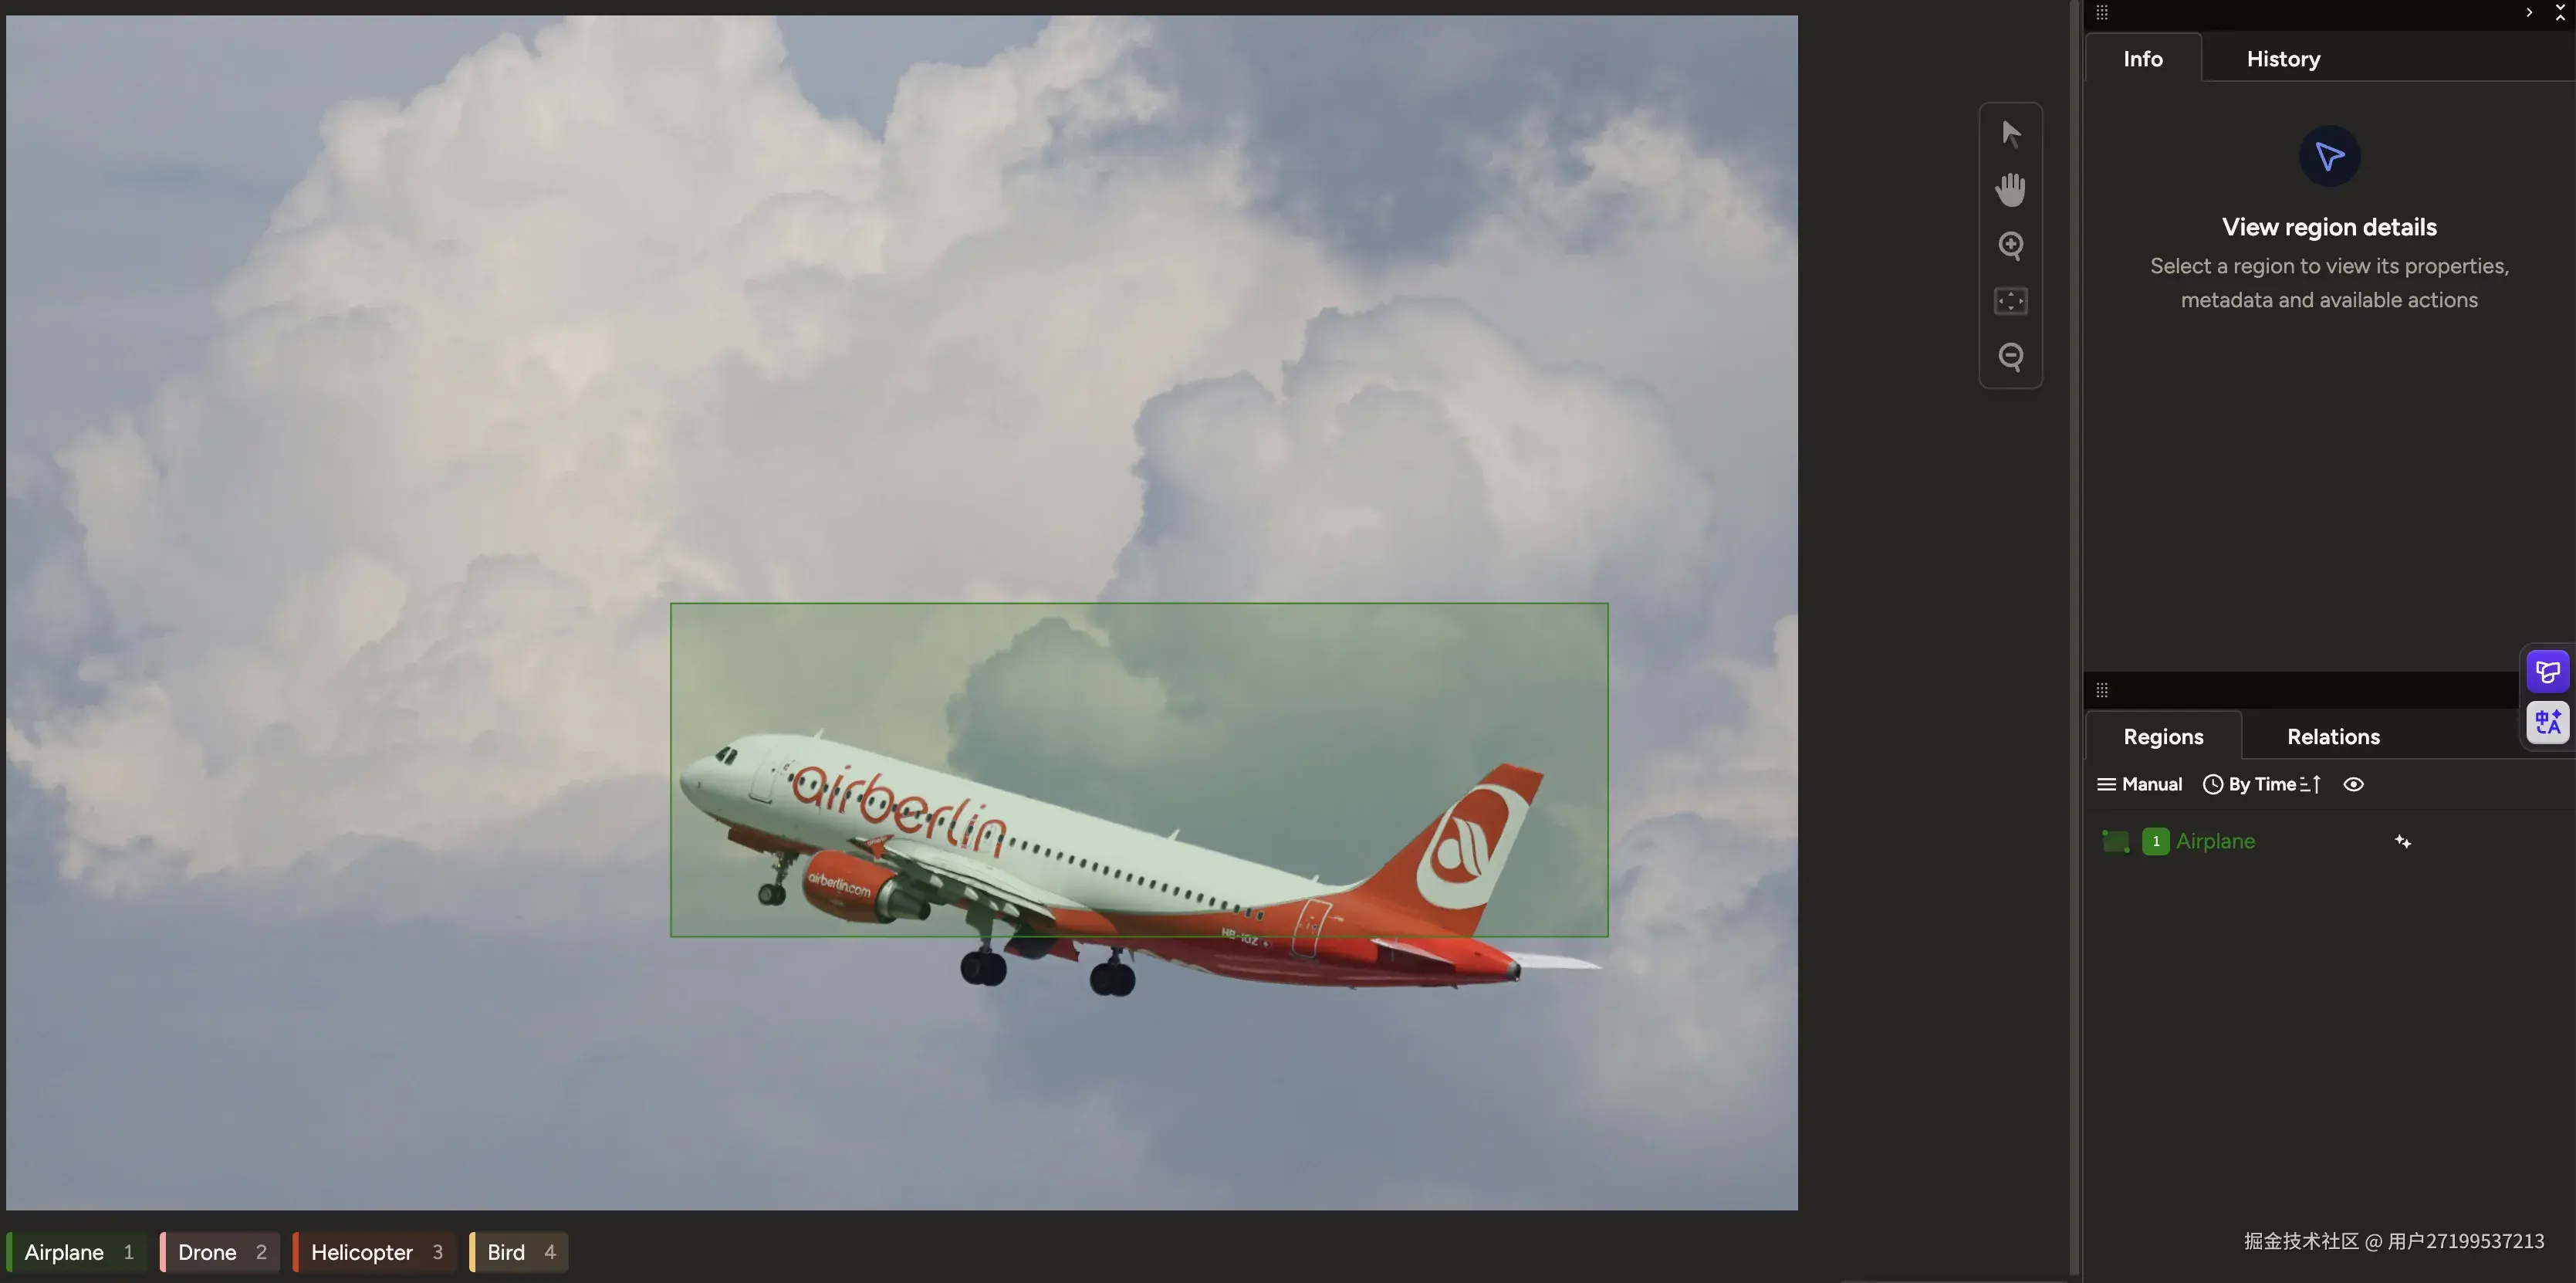
6.4自动标注效果提升
后面想了一个解决思路:首先用轻量级 YOLOv10 检测图像中可能属于空中目标(如飞机、鸟、风筝等)的区域,再将每个候选区域裁剪后送入 Qwen-VL 多模态大模型进行细粒度分类,仅保留被确认为 设定标签的结果。
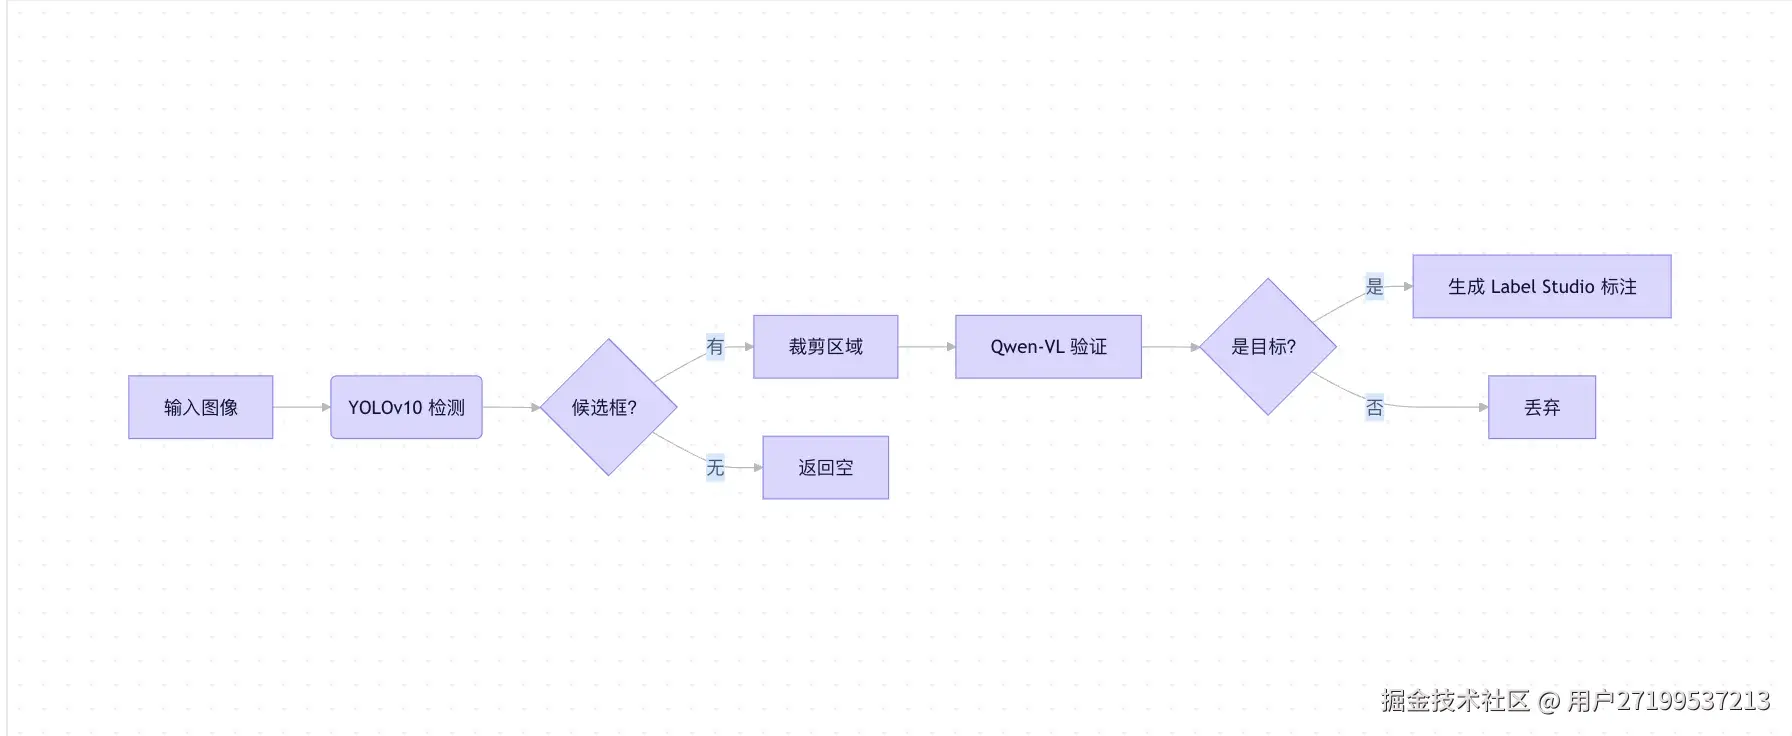 改进后代码如下:
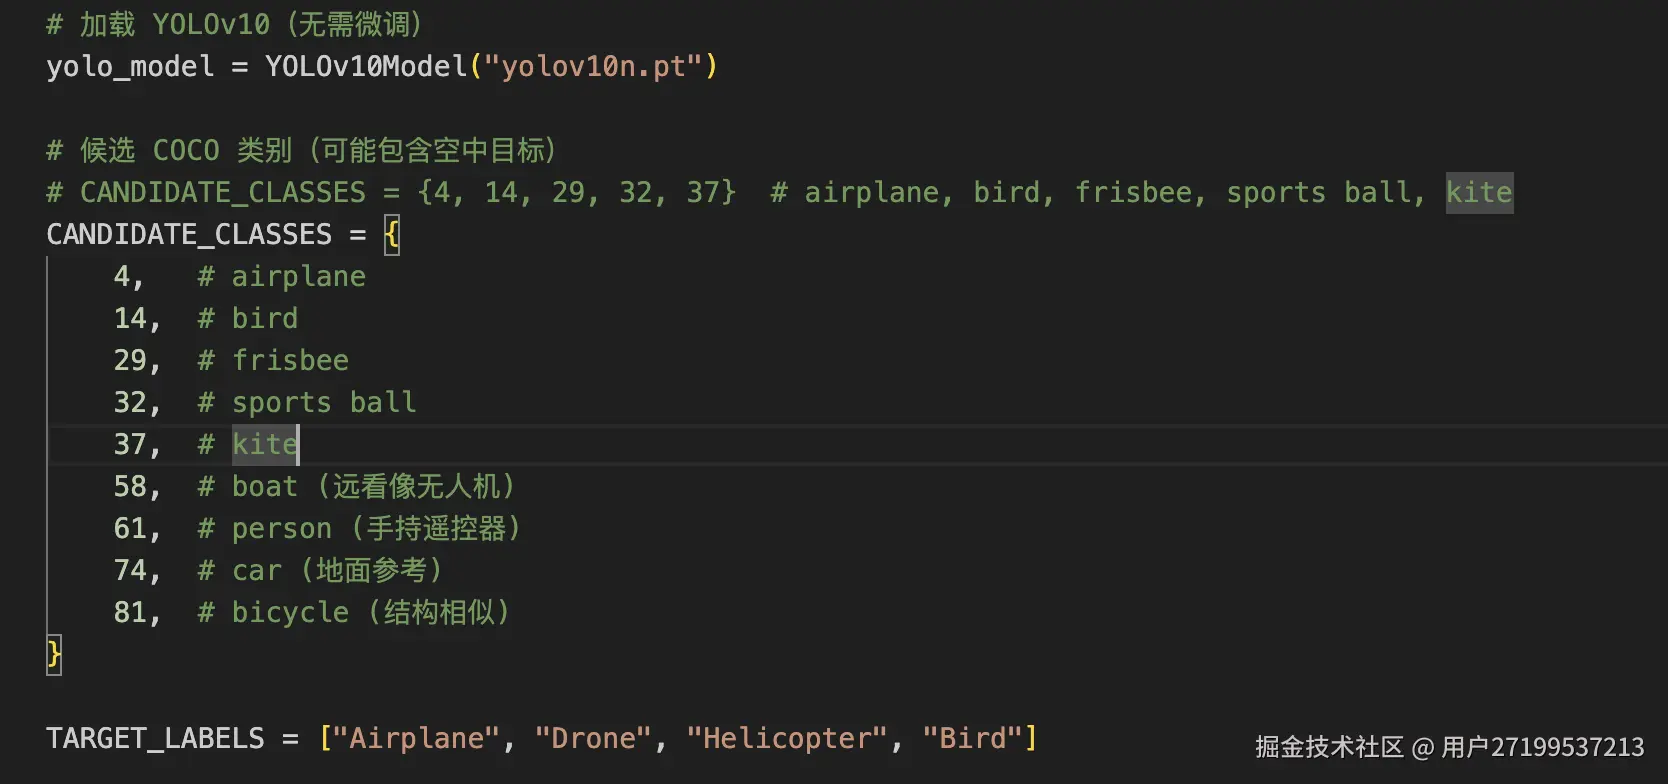
最终标注效果