一、适用环境
1、操作系统:Windows
2、前提条件:Anaconda,Git,Modelscope模型,Hunyuan3D项目压缩包,dust3r项目压缩包,Pytorch,Pytorch3D,部分依赖库。
二、操作步骤
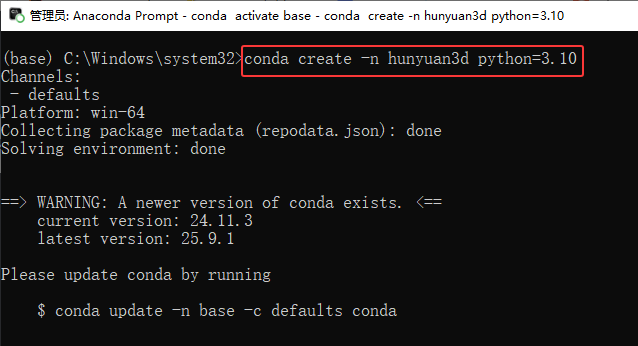
1、创建虚拟环境
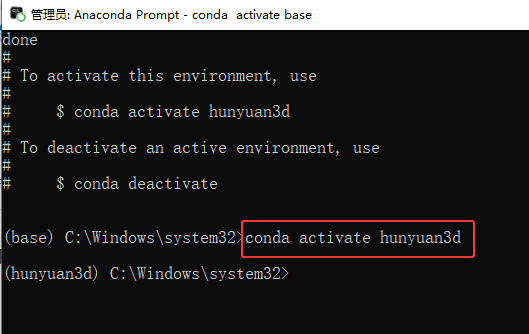
2、激活虚拟环境
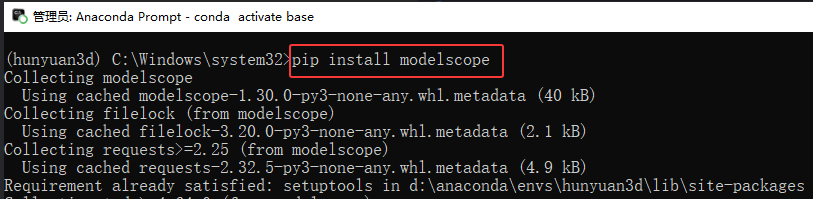
3、安装Modelscope模型库
pip install modelscope
4、下载Hunyuan3D项目压缩包,并解压Hunyuan3D项目压缩包(指定位置解压)
https://github.com/Tencent-Hunyuan/Hunyuan3D-1/archive/refs/heads/main.zip
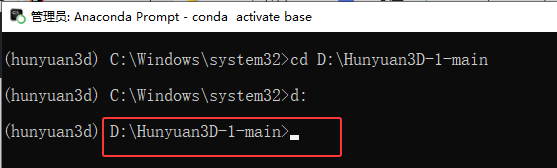
5、进入解压后的项目(根据自己解压的路径调整)
cd D:\Hunyuan3D-1-main
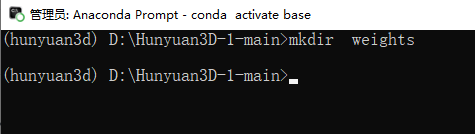
6、安装模型(两个大模型)
(1)创建weights文件夹
mkdir weights
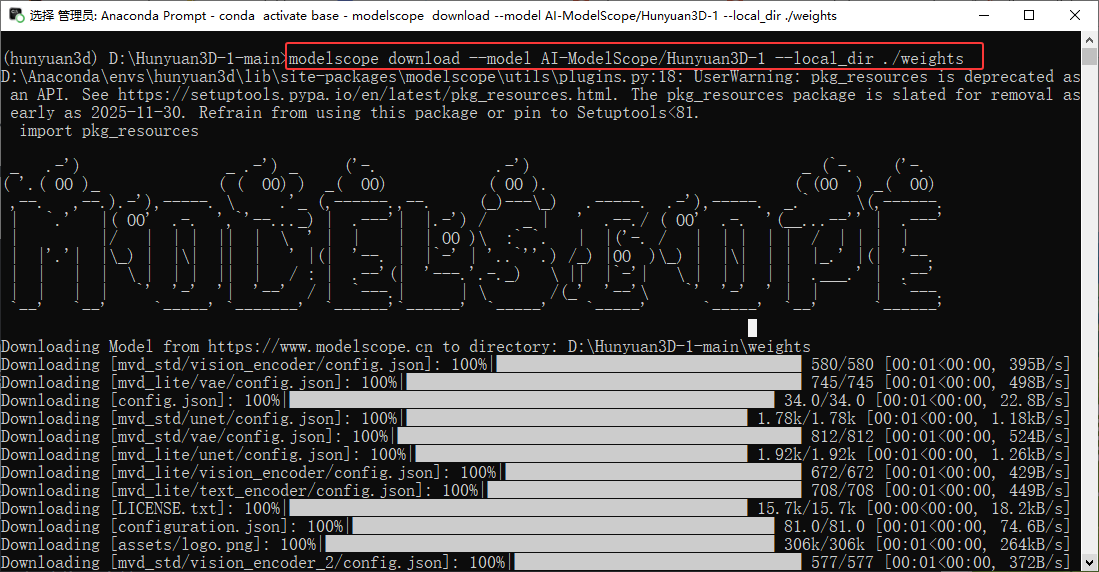
(2)安装模型一,执行命令将模型加载到weights文件夹中。
modelscope download --model AI-ModelScope/Hunyuan3D-1 --local_dir ./weights
(3)在已创建的weights文件夹下新建文件夹hunyuanDiT
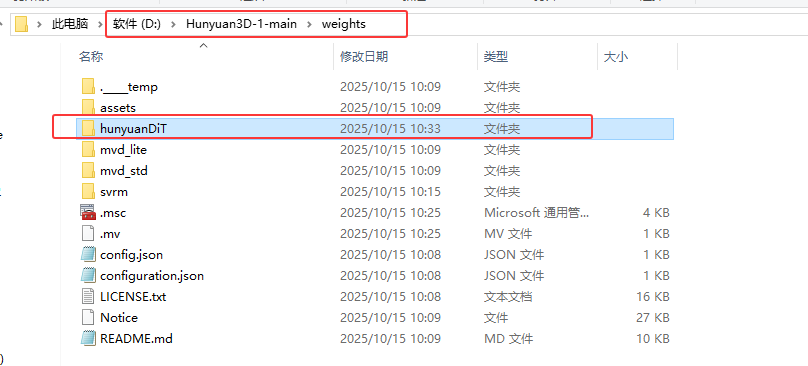
(4)安装模型二,执行命令将模型加载到hunyuanDiT文件夹中。
modelscope download --model AI-ModelScope/HunyuanDiT-v1.1-Diffusers-Distilled --local_dir ./weights/hunyuanDiT
7、安装依赖库
(1)安装pytorch(必须安装GPU PyTorch)
GPU(需安装CUDA搭配使用):
pip install torch==2.0.0 torchvision==0.15.1 torchaudio==2.0.1 --index-url https://download.pytorch.org/whl/cu118
(2)安装其他依赖库
①将项目D:\Hunyuan3D-1-main下的requirements.txt文件修改为如下配置:
python
diffusers==0.31.0
numpy==1.26.4
transformers==4.46.2
rembg==2.0.59
tqdm==4.67.0
omegaconf==2.3.0
matplotlib==3.9.2
opencv-python==4.10.0.84
imageio==2.36.0
jaxtyping==0.2.34
einops==0.8.0
sentencepiece==0.2.0
accelerate==1.1.1
trimesh==4.5.2
PyMCubes==0.1.6
xatlas==0.0.9
libigl==2.5.1
# pytorch3d==0.7.6
git+https://github.com/facebookresearch/pytorch3d@stable
# nvdiffrast==0.3.3
git+https://github.com/NVlabs/nvdiffrast
open3d==0.18.0
ninja==1.11.1.1
②执行命令安装库
pip install -r requirements.txt
8、若此时直接运行以下代码
python main.py --text_prompt "一颗红色的柳树" --save_folder ./outputs/liushu/ --max_faces_num 90000 --do_texture_mapping --do_render
会出现报错:
ModuleNotFoundError: No module named 'dust3r'
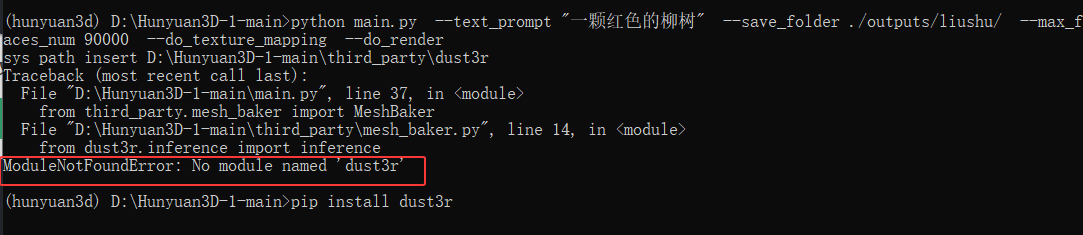
解决方法:
(1)进入third_party目录,递归加载dust3r项目压缩包。(需提前安装Git软件或参考最下方教程)
cd third_party
git clone --recursive https://github.com/naver/dust3r.git

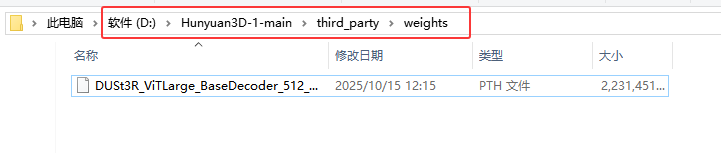
(2)下载以下模型放到third_party/weights文件夹下
https://download.europe.naverlabs.com/ComputerVision/DUSt3R/DUSt3R_ViTLarge_BaseDecoder_512_dpt.pth
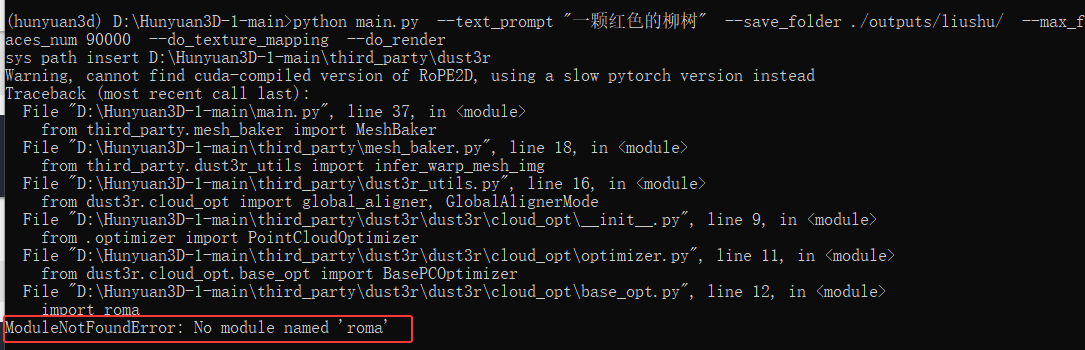
9、安装依赖库roma
pip install roma
否则运行代码会出现以下报错:
ModuleNotFoundError: No module named 'roma'
10、切换到Hunyuan3D-1-main目录,运行代码:
python main.py --text_prompt "一颗红色的柳树" --save_folder ./outputs/liushu/ --max_faces_num 90000 --do_texture_mapping --do_render
三、补充与扩展
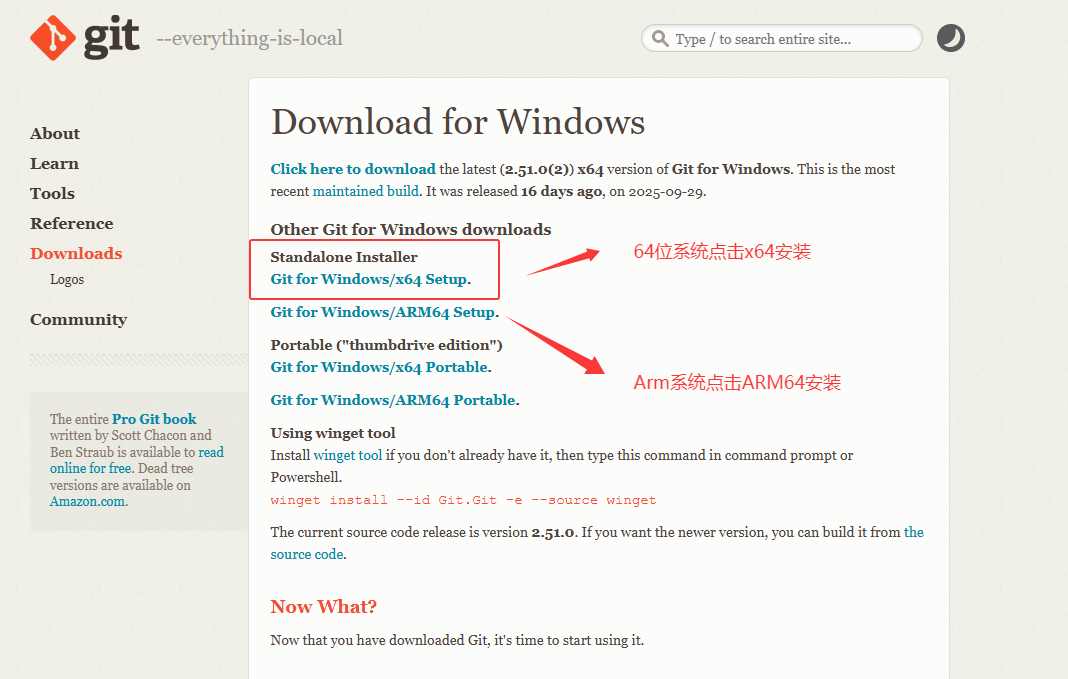
1、Git下载
(1)官网下载安装包
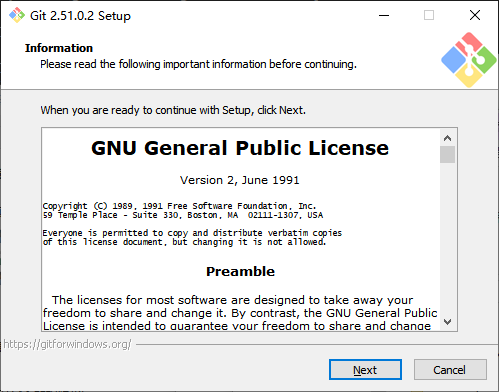
(2)打开安装包,Next。
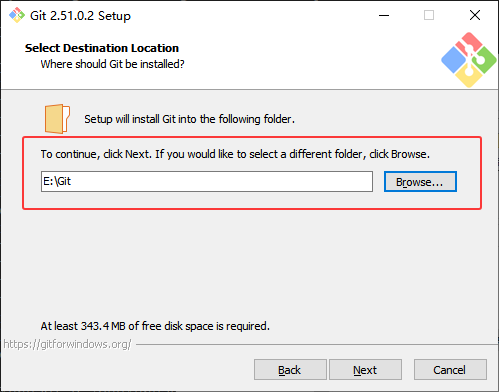
(3)选择安装位置,Next。
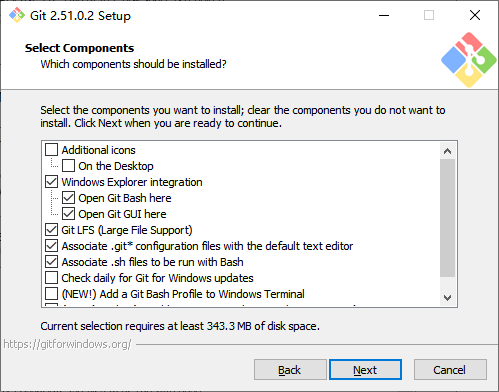
(4)Next
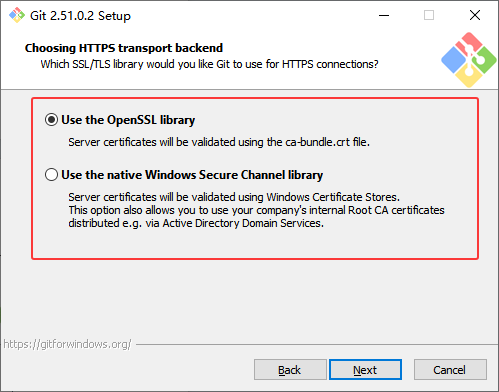
(5)后续一直点Next,直到以下界面,勾选Use the OpenSSL library。
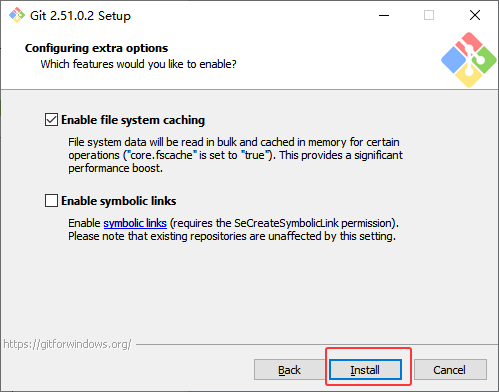
(6)一直默认点Next即可,直到出现Install,点击Install安装。
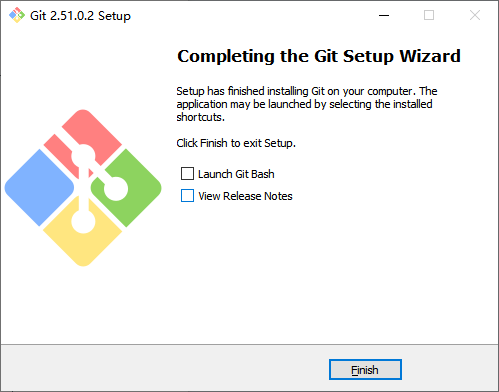
(7)安装完毕,Finish。