1. 配置文件概述:告别硬编码
在软件开发中,硬编码 (Hard Coding) 是指将数据直接嵌入源代码的行为 。这种做法会导致程序灵活性差,例如手机字体大小若被写死,将无法满足不同用户的偏好 。
配置文件的作用在于解决硬编码问题,将易变信息(如数据库连接、端口号、第三方密钥)集中管理 。当程序启动时,它会从配置文件中读取数据并加载运行,从而实现用户与应用的交互 。
2. Spring Boot 配置文件的三大格式
Spring Boot 在启动时会自动从 classpath 路径寻找并加载以下格式的文件 :
| 格式名称 | 后缀名 | 特点 |
|---|---|---|
| Properties | .properties |
早期默认格式,创建项目时的默认选择 |
| YAML | .yml |
缩写形式,开发中最常用,支持树形结构 |
| YAML | .yaml |
全称形式,与 .yml 使用方式一致 |
2.1 优先级与共存说明
- 共存性:理论上两者可并存于同一项目 。
- 优先级 :当配置冲突时,
.properties的优先级高于.yml。 - 建议:实际开发中应统一使用一种格式以降低维护成本 。
3. Properties 语法与读取实战
3.1 基础语法
Properties 采用 key=value 的键值对形式,使用 # 作为注释 。
文件配置如下:
ini
# 设置项目启动端口
server.port=8080
# 数据库连接配置
spring.datasource.url=jdbc:mysql://127.0.0.1:3306/testdb
spring.datasource.username=root


AI写代码properties
123456
3.2 使用 @Value 读取配置
在 Java 代码中,可以使用 ${} ({}里面填写键名)格式配合 @Value 注解主动读取内容 。
kotlin
import org.springframework.beans.factory.annotation.Value;
import org.springframework.web.bind.annotation.RequestMapping;
import org.springframework.web.bind.annotation.RestController;

@RequestMapping("/prop")
@RestController
public class PropertiesController {

    @Value("${spring.datasource.url}")
    private String url;

    @RequestMapping("/read")
    public String readProperties() {
        return "从配置文件中读取url" + url;
    }
}

AI写代码java
运行
12345678910111213141516
运行效果: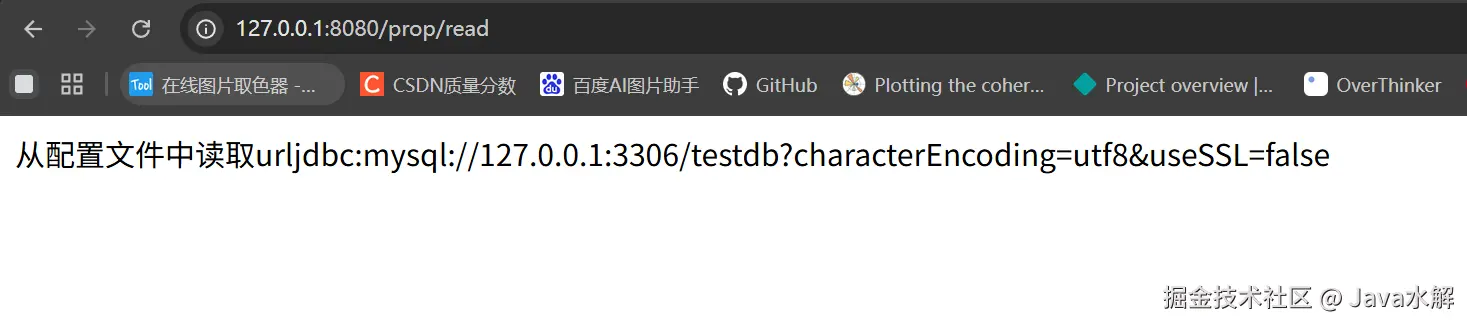
3.3 properties缺点
properties配置是以key-value的形式配置的,如下图所示:

从上述配置key看出,properties配置文件中会有很多的冗余的信息,比如这些:

想要解决这个问题,就得使用yml配置文件的格式化了
4. YAML (YML) 进阶指南
YAML 是一种树形结构的标记语言,通过缩进表示层级 。
4.1 核心语法规范
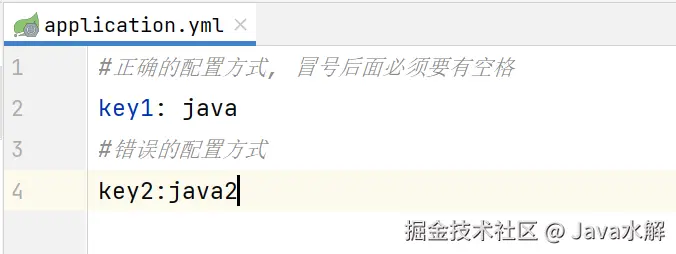
- 冒号空格 :
key和value之间必须有 英文冒号+空格 ,空格不可省略 。 - 数据类型支持 :支持字符串、布尔值、整数、浮点数以及
null(用~表示) 。
单层级与多层级的表示规则
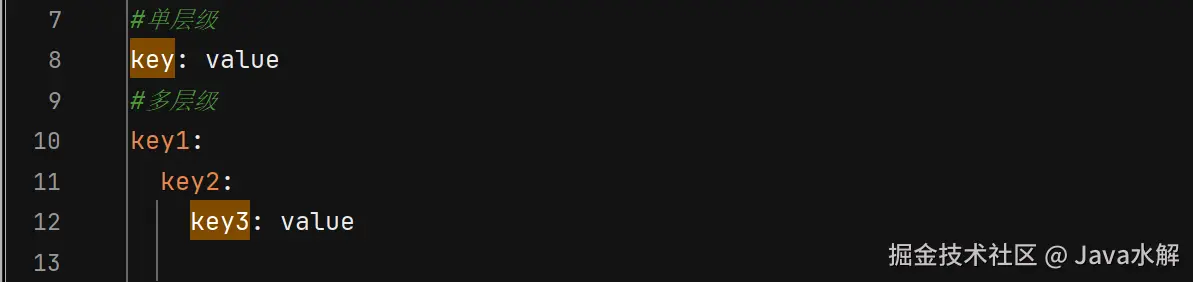
多层级的key前面要空两个格,且同级需对齐!
4.2 yaml语法与读取示例
yaml文件配置如下
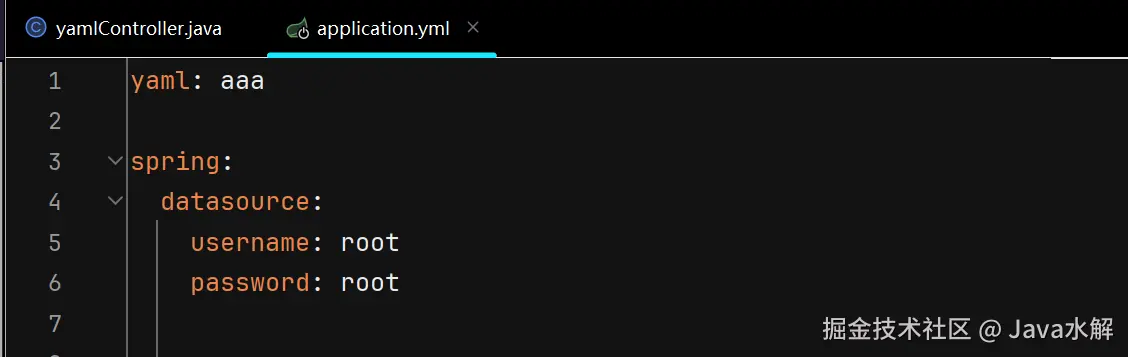
Java代码读取配置信息
kotlin
import org.springframework.beans.factory.annotation.Value;
import org.springframework.web.bind.annotation.RequestMapping;
import org.springframework.web.bind.annotation.RestController;
@RequestMapping("/yaml")
@RestController
public class yamlController {
@Value("${yaml}")
private String yaml;
@Value("${spring.datasource.username}")
private String username;
@Value("${spring.datasource.password}")
private String password;
@RequestMapping("/read")
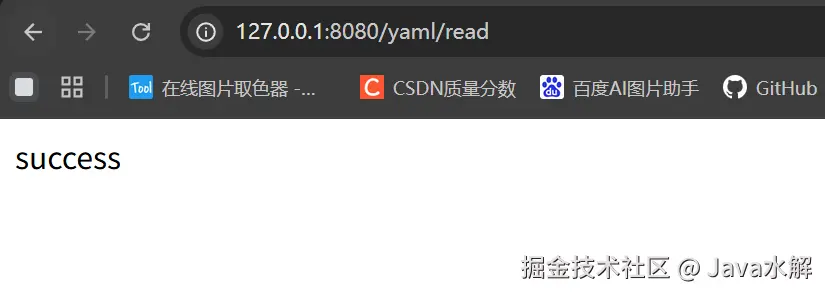
public String read() {
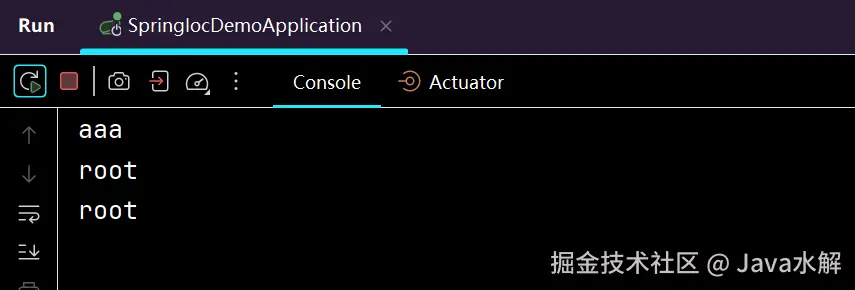
System.out.println(yaml);
System.out.println(username);
System.out.println(password);
return "success";
}
}
AI写代码java
运行
123456789101112131415161718192021222324252627运行结果
打印配置
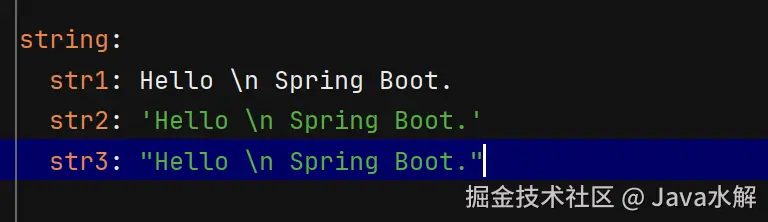
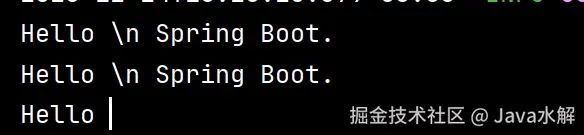
4.3 字符串的引号差异
YAML 中字符串默认不加引号,但单双引号有本质区别 :
- 单引号 ('') :会转义 特殊字符,使其变为普通字符串(如
\n输出为字符\n) - 双引号 ("") :不会转义特殊字符,保留其本身含义(如
\n输出为换行)
4.4 对象、集合与 Map 的读取
配置对象
YML 配置示例:
yaml
student:
  id: 1
  name: Java
  age: 18

AI写代码yaml
1234
Java 实体类映射:
对于复杂数据形态,建议使用 @ConfigurationProperties 注解 。
less
@Data
@ConfigurationProperties(prefix = "student")  // 会从配置文件中找到student的前缀
@Configuration
public class Student {
    private Integer id;
    private String name;
    private Integer age;
}

AI写代码java
运行
12345678
运行打印结果

配置集合
YML 配置示例:
yaml
dbtypes:
  name:
    - mysql
    - sqlserver
    - db2
  map:
    k1: kk1
    k2: kk2
    k3: kk3

AI写代码yaml
123456789
Java 实体类映射:
对于复杂数据形态,建议使用 @ConfigurationProperties 注解 。
less
@Data
@ConfigurationProperties(prefix = "dbtypes")
@Configuration
public class DbTypeConfig {
    private List<String> name;
    private Map<String, String> map;
}

AI写代码java
运行
1234567
运行打印结果

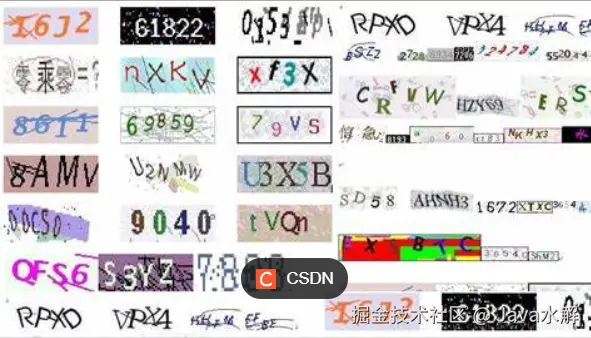
5. 综合性练习:验证码案例实战
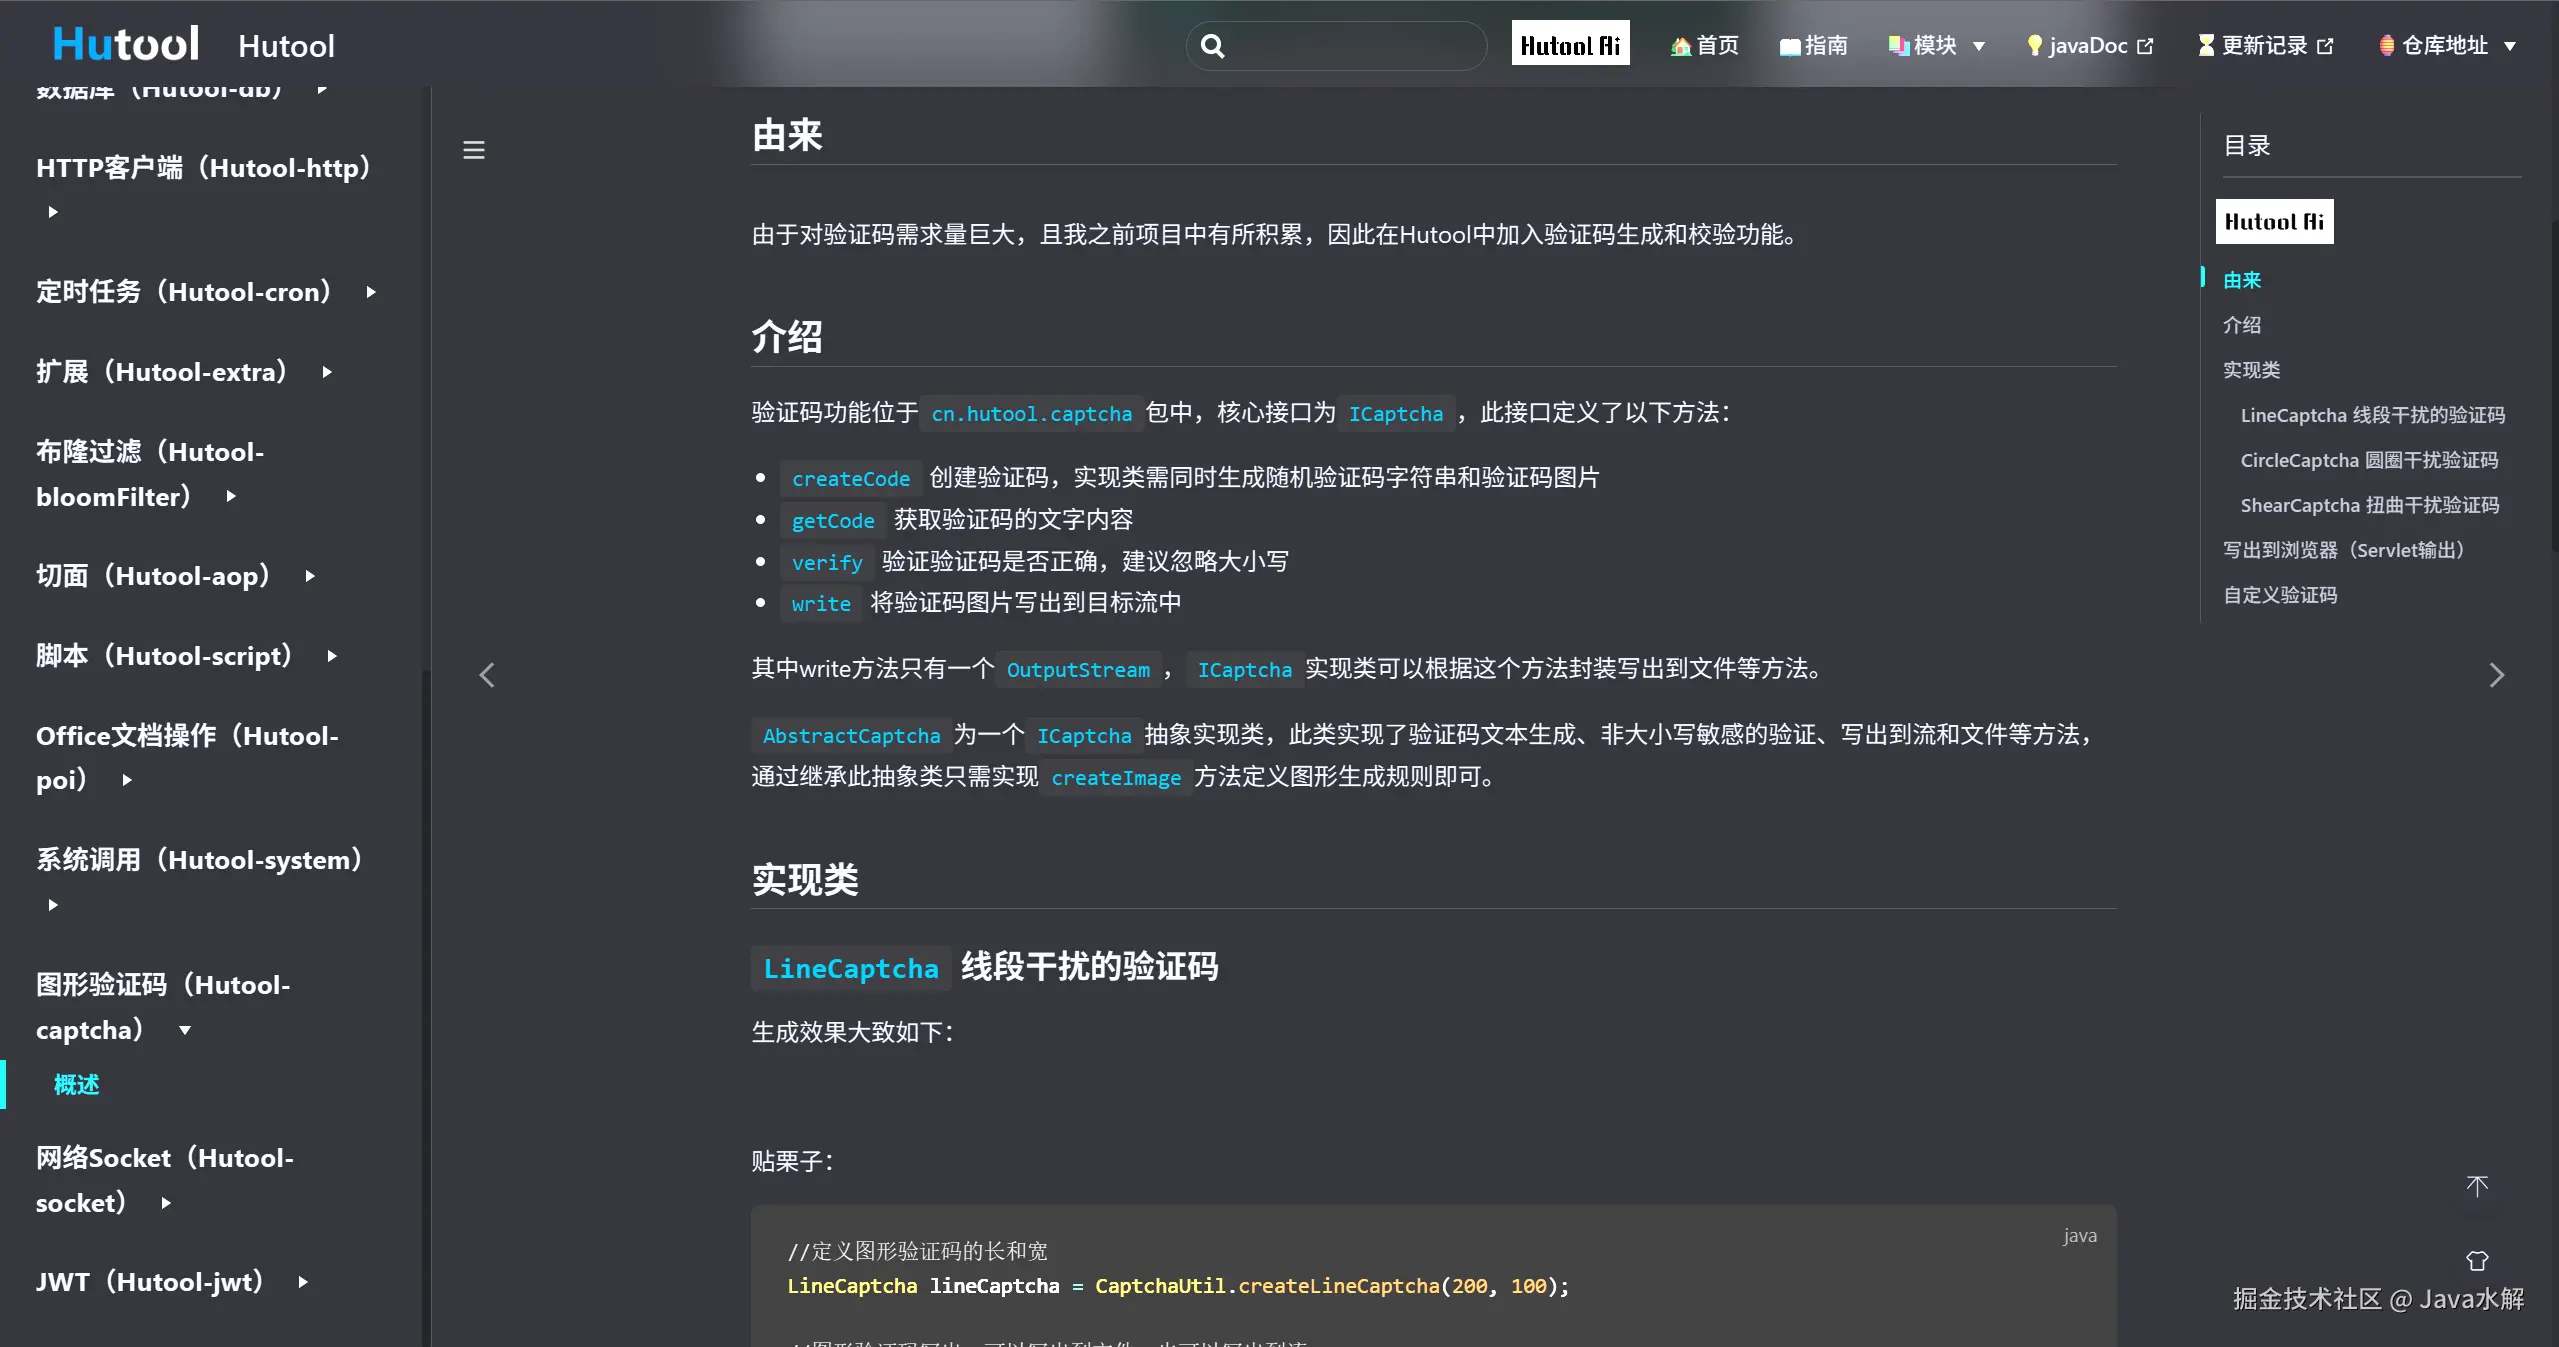
本案例基于 Hutool 第三方工具包实现一个后端生成、校验验证码的功能 。
5.1 需求分析
- 后端生成验证码图片并返回流 。
- 将验证码及其生成时间存入
Session。 - 用户提交验证码,后端校验一致性及有效期(1分钟内有效) 。
5.2 约定前后端交互接口
接口定义
-
生成验证码
请求URL:/captcha/getCaptcha
响应:验证码图片内容 -
校验验证码是否正确
请求:/captcha/checkini请求URL: /captcha/check 请求参数: captcha=xn8d AI写代码java 运行 12响应:true根据用户输⼊的验证码,校验验证码是否正确.true:验证成功.false:验证失败.
配置文件定义(解决硬编码问题)
在 application.yml 中定义验证码的尺寸及 Session 的 Key :
yaml
spring:
  application:
    name: spring-captcha-demo

captcha:
  width: 100
  height: 40
#  通过设置session配置项,避免日后需要到处修改
  session:
    code: SESSION_CODE_KEY
    date: SESSION_DATE_KEY

AI写代码yaml
1234567891011
验证码相关接口
java
import cn.hutool.captcha.CaptchaUtil;
import cn.hutool.captcha.LineCaptcha;
import cn.overthinker.spring.captcha.demo.model.CaptchaProperties;
import jakarta.servlet.http.HttpServletRequest;
import jakarta.servlet.http.HttpServletResponse;
import jakarta.servlet.http.HttpSession;
import org.springframework.beans.factory.annotation.Autowired;
import org.springframework.util.StringUtils;
import org.springframework.web.bind.annotation.RequestMapping;
import org.springframework.web.bind.annotation.RestController;

import java.io.IOException;

@RestController
@RequestMapping("/captcha")
public class CaptchaController {

    @Autowired
    private CaptchaProperties captchaProperties;
    private  static long VILD_MiLLTS_TIME = 5 * 60 * 1000;


    @RequestMapping("/getCaptcha")
    public void genCaptcha(HttpServletRequest request, HttpServletResponse response) {
        //定义图形验证码的长和宽
        LineCaptcha lineCaptcha = CaptchaUtil.createLineCaptcha(captchaProperties.getWidth(), captchaProperties.getHeight());
        String code = lineCaptcha.getCode();
        System.out.println(code);
        //图形验证码写出,可以写出到文件,也可以写出到流
        try {
            response.setContentType("image/jpeg");
            response.setHeader("Pragma", "No-cache");
            lineCaptcha.write(response.getOutputStream());

            //拿到这个请求的session,并且将code写入到session
            HttpSession session = request.getSession();
            session.setAttribute(captchaProperties.getSession().getCode(), code);
            //记录时间保持五分钟内有效
            session.setAttribute(captchaProperties.getSession().getDate(), System.currentTimeMillis());
            response.getOutputStream().close();

        } catch (IOException e) {
            throw new RuntimeException(e);
        }
    }

    @RequestMapping("/check")
    public Boolean checkCaptcha(String captcha, HttpSession session) {

        //先判断是否为空
        if(!StringUtils.hasLength(captcha)) {
            return false;
        }
        // 从session中获取code和时间
        String code = session.getAttribute(captchaProperties.getSession().getCode()).toString();
        long data = (long)session.getAttribute(captchaProperties.getSession().getDate());
        if(captcha.equalsIgnoreCase(code) && (System.currentTimeMillis() - data < VILD_MiLLTS_TIME)) {
            return true;
        }
        return false;
    }

}

AI写代码java
运行
1234567891011121314151617181920212223242526272829303132333435363738394041424344454647484950515253545556575859606162636465
前端相关代码
xml
<!DOCTYPE html>
<html lang="en">
<head>
<meta charset="utf-8">
<title>验证码</title>
<style>
#inputCaptcha {
height: 30px;
vertical-align: middle;
}
#verificationCodeImg{
vertical-align: middle;
}
#checkCaptcha{
height: 40px;
width: 100px;
}
</style>
</head>
<body>
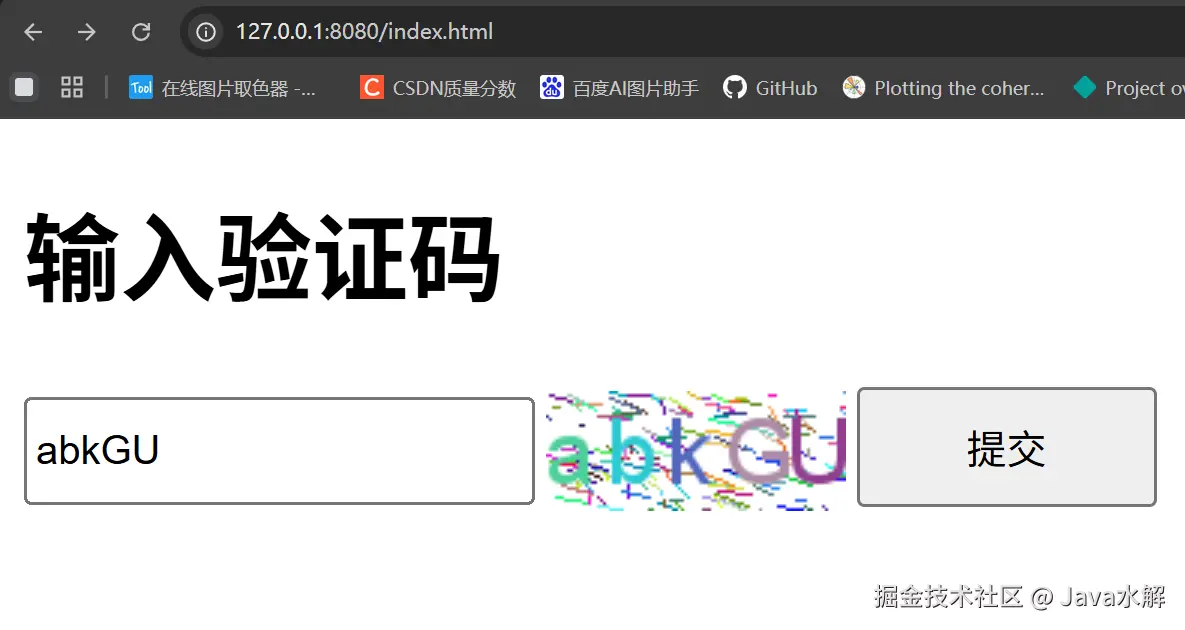
<h1>输入验证码</h1>
<div id="confirm">
<input type="text" name="inputCaptcha" id="inputCaptcha">
<img id="verificationCodeImg" src="/captcha/getCaptcha" style="cursor: pointer;" title="看不清?换一张" />
<input type="button" value="提交" id="checkCaptcha">
</div>
<script src="https://cdn.bootcdn.net/ajax/libs/jquery/3.6.4/jquery.min.js"></script>
<script>
$("#verificationCodeImg").click(function(){
$(this).hide().attr('src', '/captcha/getCaptcha?dt=' + new Date().getTime()).fadeIn();
});
$("#checkCaptcha").click(function () {
// alert("验证码校验");
$.ajax({
url:'/captcha/check',
type:'post',
data:{
captcha:$('#inputCaptcha').val()
},
success:function (result) {
if(result){
location.href = 'success.html';
}else {
alert("验证码错误!");
}
}
});
});
</script>
</body>
</html>
AI写代码html
12345678910111213141516171819202122232425262728293031323334353637383940414243444546474849505152535455565758运行结果

6. 总结
- Properties 语法简单但存在冗余,适用于简单项目 。
- YAML 结构清晰、支持类型丰富,是目前 Spring Boot 开发的主流选择 。
- 读取技巧 :简单配置用
@Value,结构化配置(对象/集合)首选@ConfigurationProperties。 - 建议:yml可以和properties共存,但⼀个项目中建议只使用⼀种配置类型文件