https://github.com/xuhongv/BlufiEsp32WeChat/tree/master
本项目代码展示是使用的uniapp开发的微信小程序
原生开发的直接使用上面的链接下载下来即可测试和做修改了
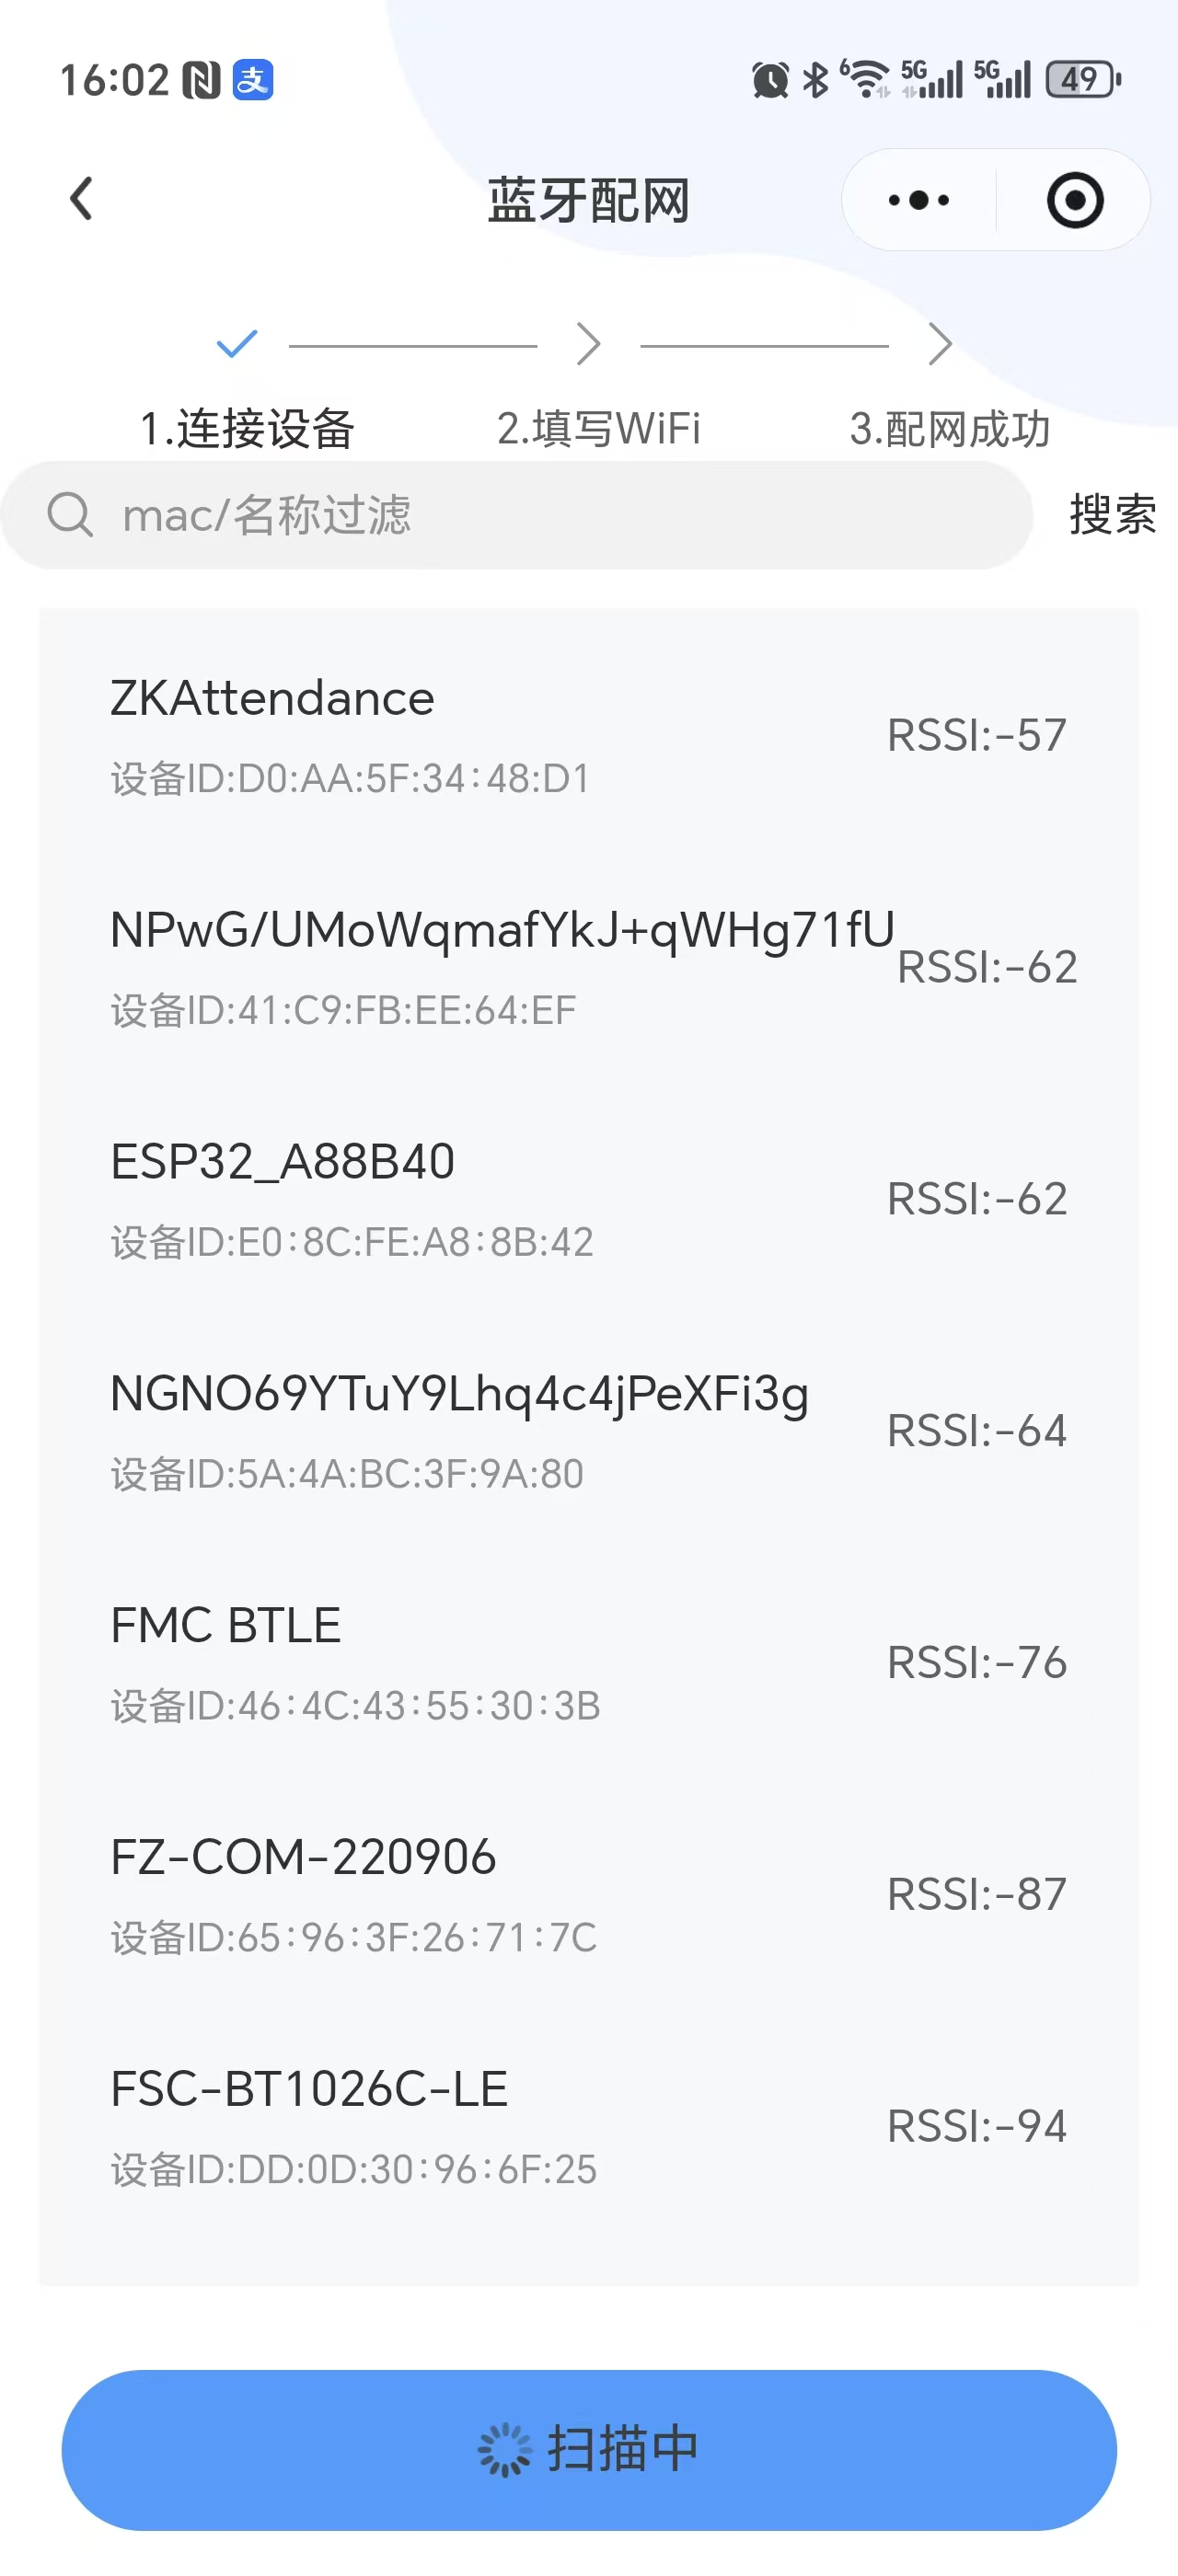
当前页面是点击蓝牙配网,打开蓝牙后会搜索附件的蓝牙设备
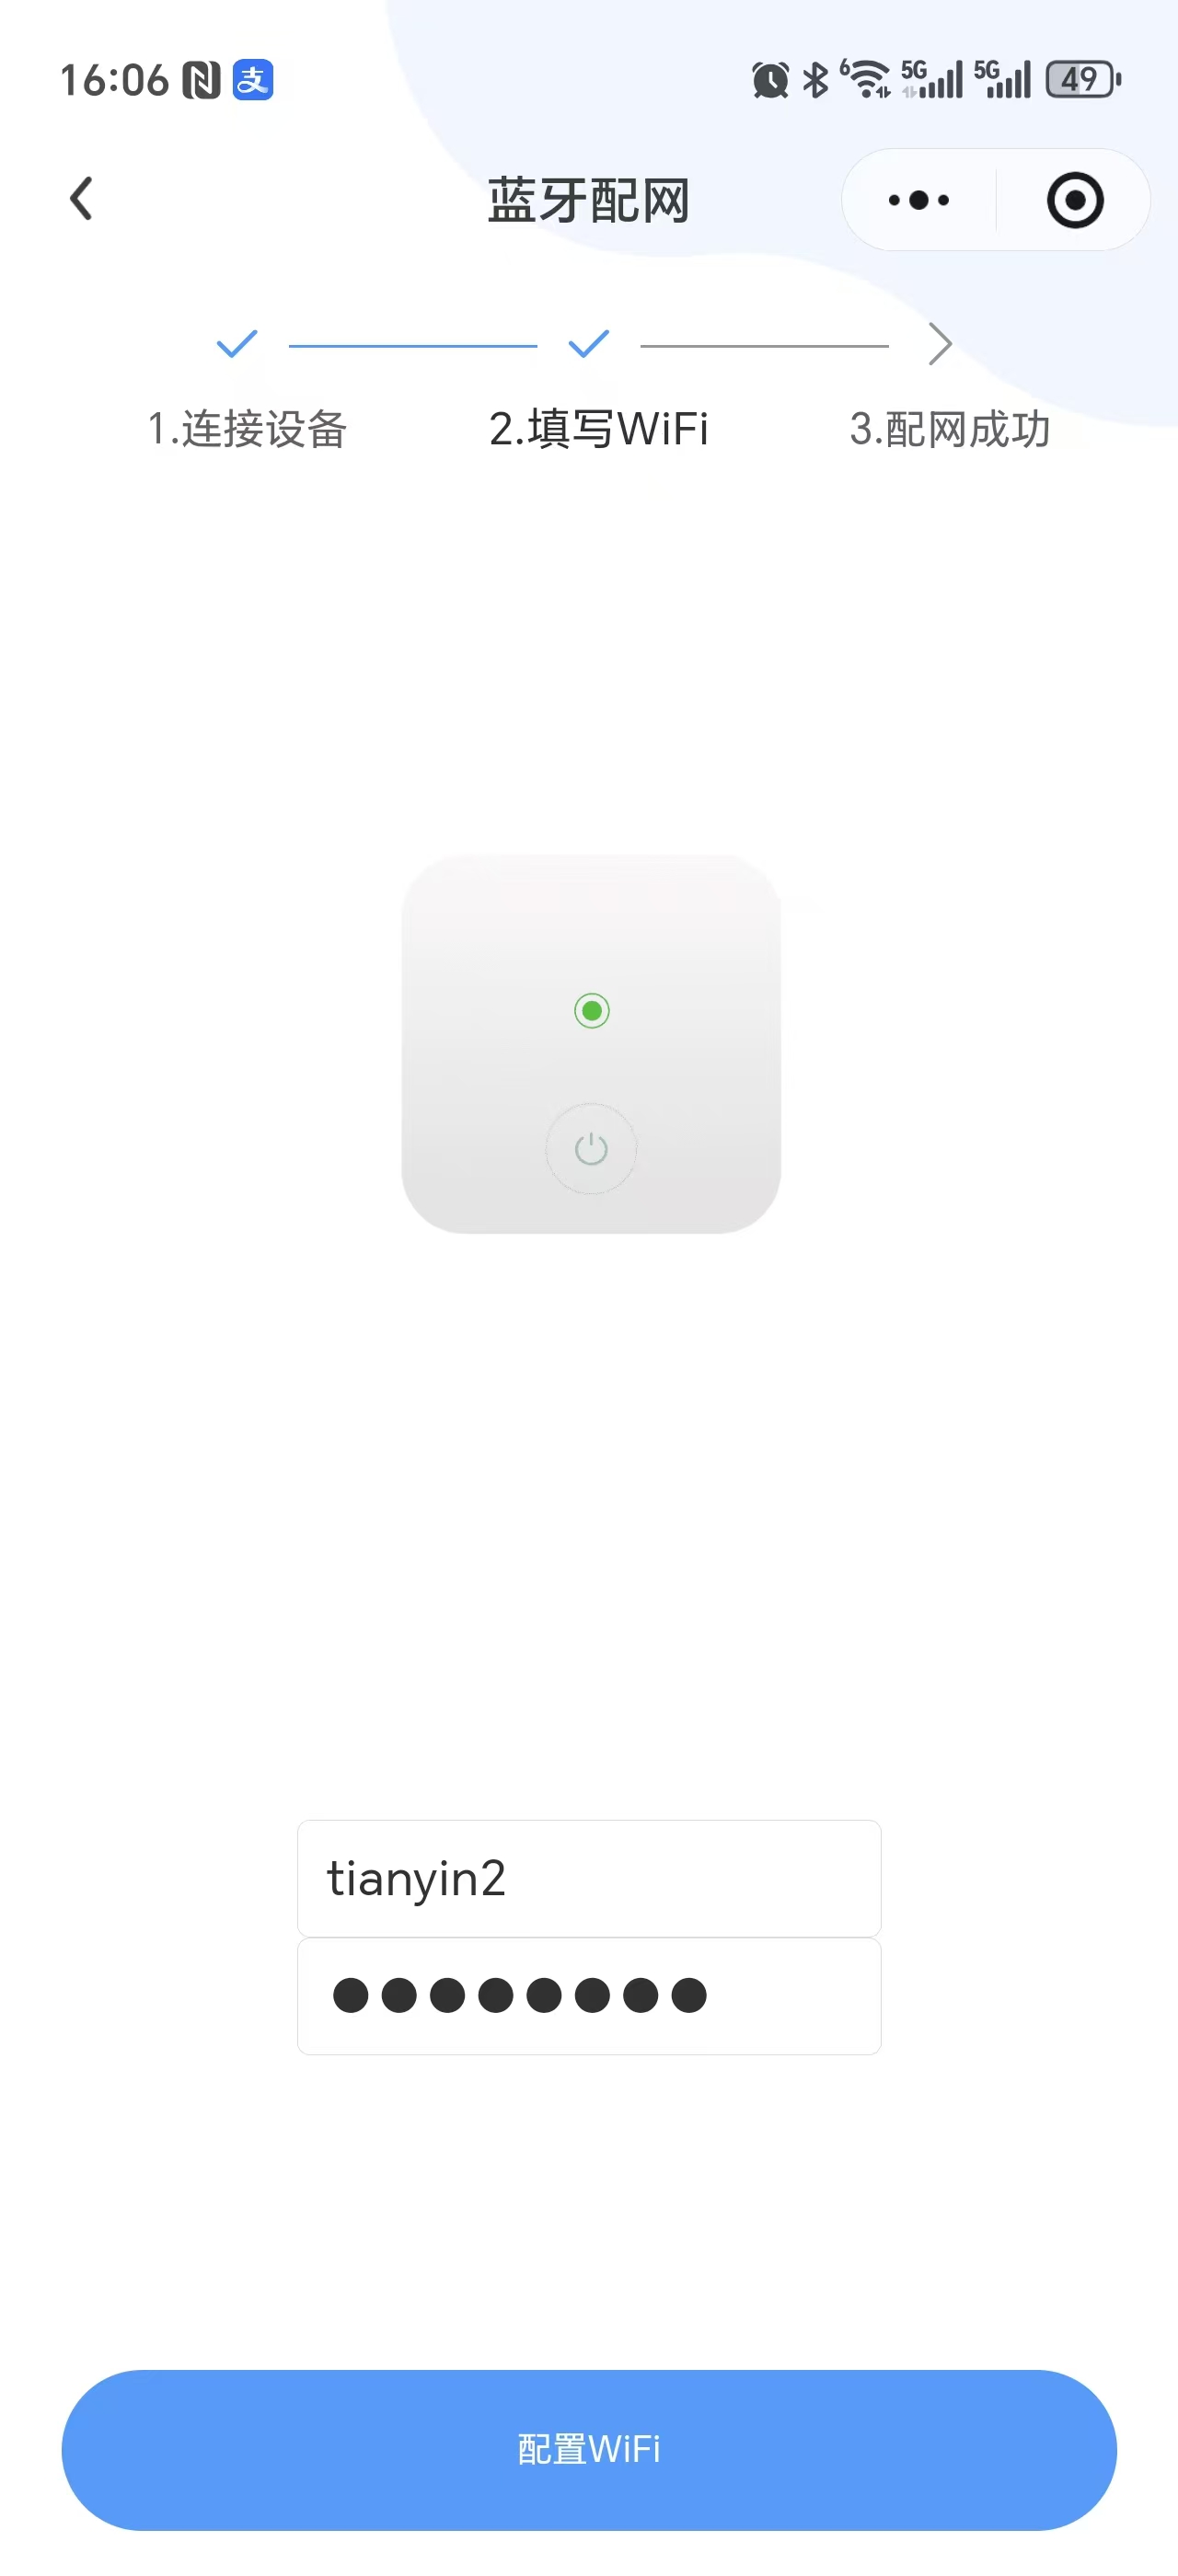
点击搜索到的蓝牙设备即可进入到该页面输入账号和密码,点击配置wifi(密码输入错误会连接超时,不会提示密码错误或者其他信息)
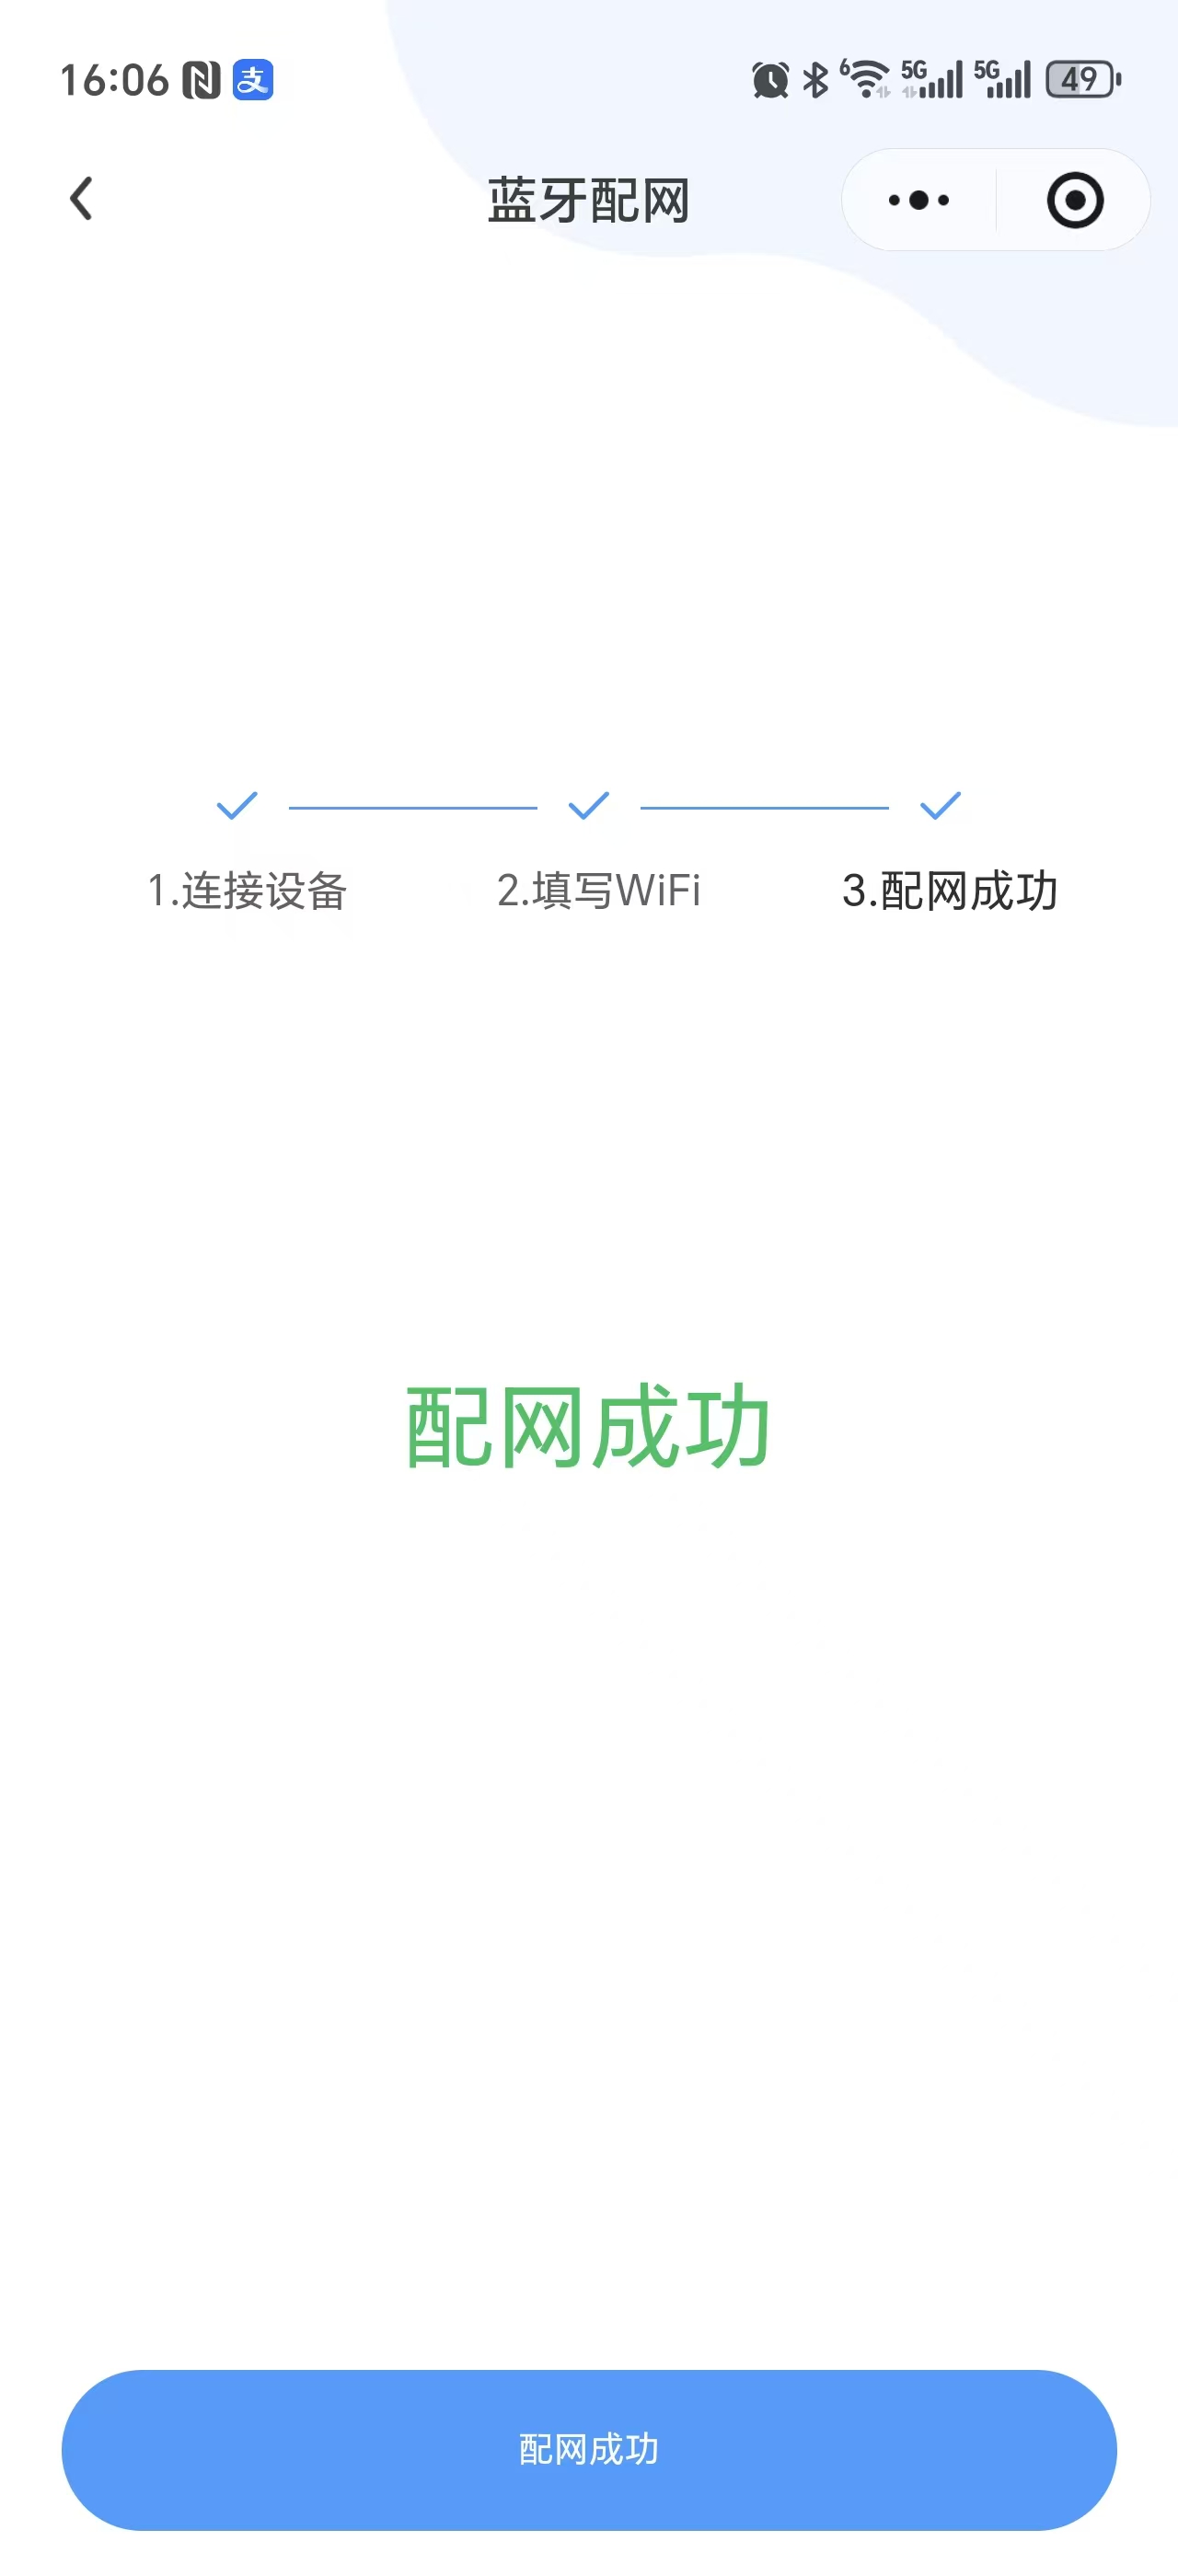
配网成功(连接2.4G或者2.4G和5G二合一的都可以,不允许连接5G的wifi)
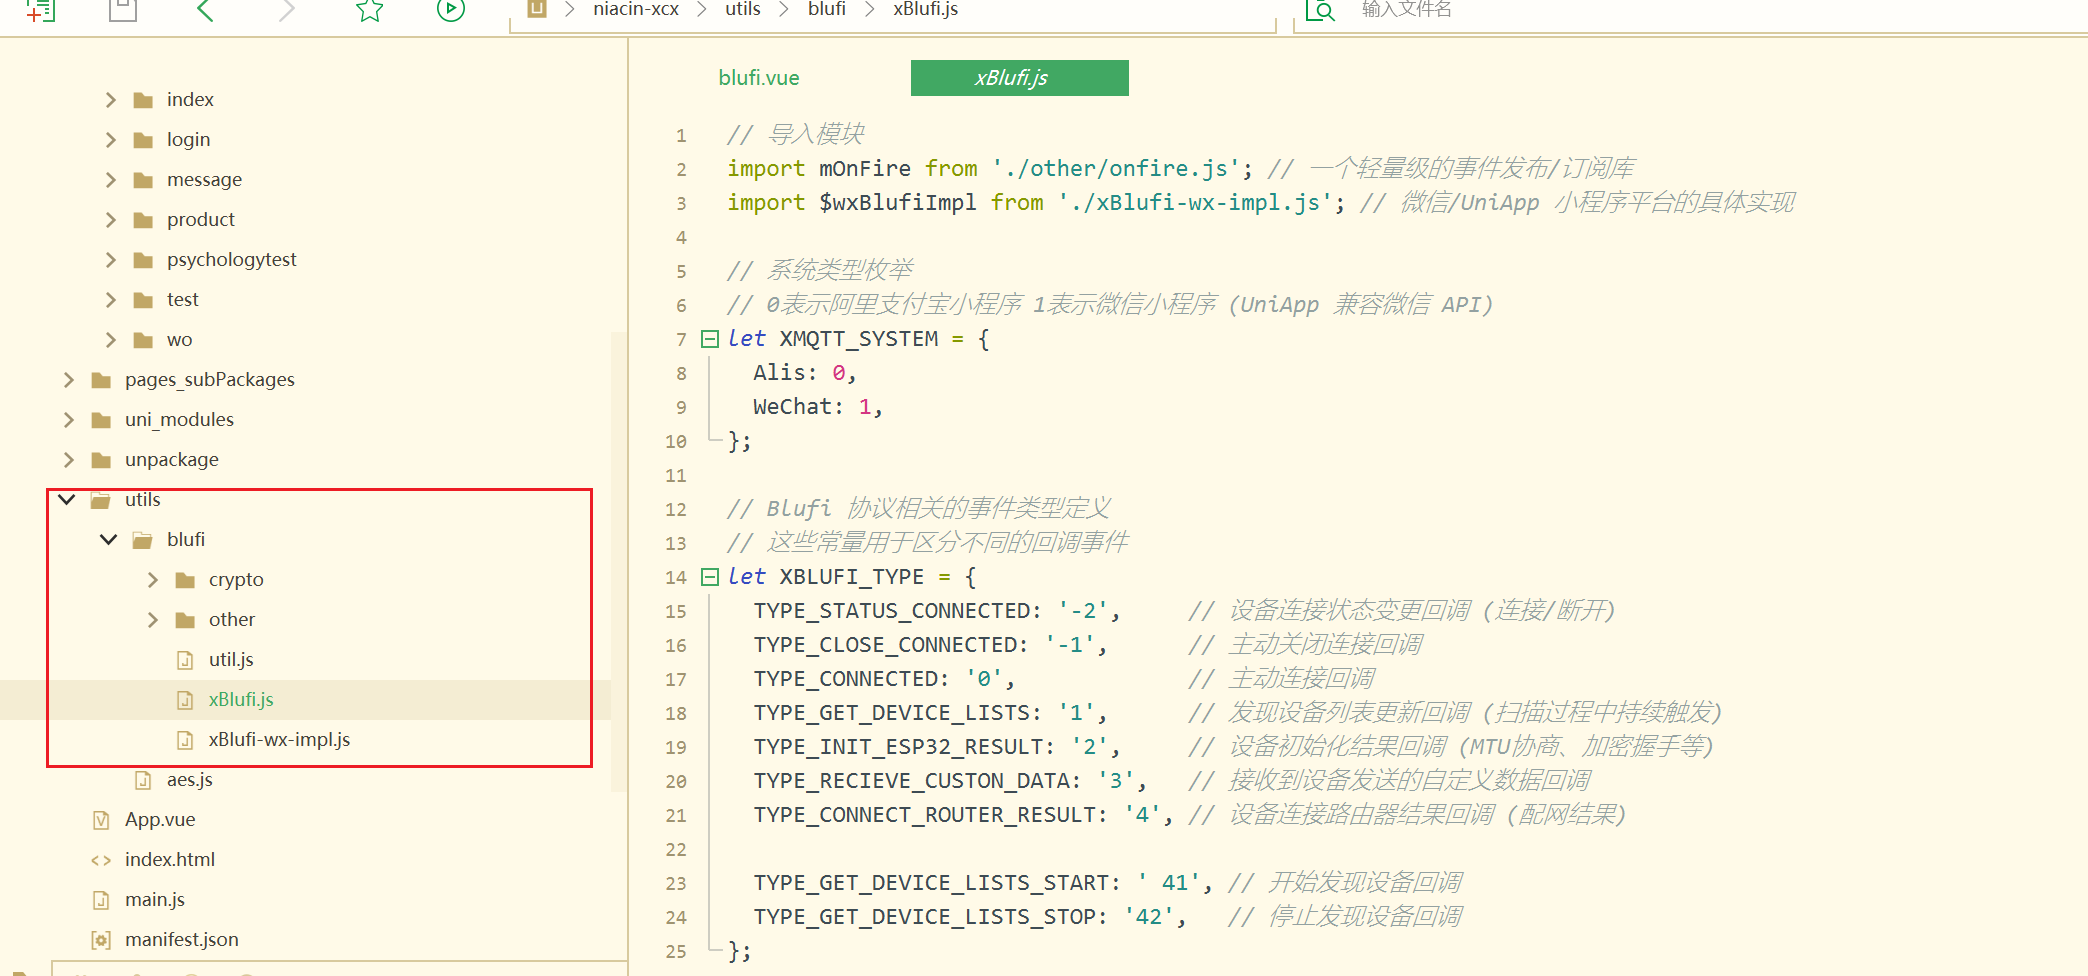
这是我的blufi.vue的代码
javascript
<template>
	<view class="blufi-page-container">
		<header-nav text='蓝牙配网'></header-nav>
		<view class="height200"></view>
		<view class="blufi-step-wrapper">
			<u-steps :current="stepActive" activeIcon="checkmark" inactiveIcon="arrow-right">
				<u-steps-item title="1.连接设备"></u-steps-item>
				<u-steps-item title="2.填写WiFi"></u-steps-item>
				<u-steps-item title="3.配网成功"></u-steps-item>
			</u-steps>
		</view>
		<block v-if="stepActive == 0">
			<view class="blufi-filter-wrapper">
				<u-search :v-model="value" placeholder="mac/名称过滤" @change="filterChange" />
			</view>
			<view class="blufi-list-wrapper">
				<block v-for="item in devicesList" :key="item.deviceId">
					<!-- 1. 事件绑定:bindtap 改为 @click -->
					<!-- 2. 属性绑定:border="{{ false }}" 改为 :border="false" -->
					<view
						v-if="(match(item.deviceId, macFilter) || match(item.name, macFilter)) && item.name.length > 0"
						class="blufi-list-item" :id="item.deviceId" @click="blufiConnect">
						<u-transition :mode="fade" show="true">
							<u-cell :title="'设备名称:' + item.localName ? item.localName : item.name"
								:value="'RSSI:'+ item.RSSI" :label="'设备ID:'+item.deviceId" :border="false" />
						</u-transition>
					</view>
				</block>
				<view class="blufi-note-content" v-if="devicesList.length == 0">
					扫描前, 请确保蓝牙和位置权限已打开
				</view>

				<!-- <u-cell title="'设备名称:' + item.localName ? item.localName : item.name" value="'RSSI:'+ item.RSSI" label="'设备ID:'+item.deviceId" :border="false" />
					<u-cell title="'设备名称:' + item.localName ? item.localName : item.name" value="'RSSI:'+ item.RSSI" label="'设备ID:'+item.deviceId" :border="false" />
					<u-cell title="'设备名称:' + item.localName ? item.localName : item.name" value="'RSSI:'+ item.RSSI" label="'设备ID:'+item.deviceId" :border="false" />
					<u-cell title="'设备名称:' + item.localName ? item.localName : item.name" value="'RSSI:'+ item.RSSI" label="'设备ID:'+item.deviceId" :border="false" /> -->
			</view>
		</block>

		<view class="blufi-wifi-input-wrapper" v-if="stepActive == 1">
			<u-transition mode="fade" show="true">
				<image class="blufi-wifi-input-cover"
					src="https://img.alicdn.com/tfs/TB1nzXJXmf2gK0jSZFPXXXsopXa-774-774.png"></image>
			</u-transition>
			<u-transition mode="fade" show="true">
				<van-cell-group>
					<u--input :value="ssid " clearable label="SSID" placeholder="请输入WiFi名" @change="ssidChange" />
					<u--input :value="password " type="text" :password="!showPassword" label="密码" placeholder="请输入密码"
						@change="passwordChange" />
					<!-- required border="false" :icon="showPassword?'eye':'closed-eye'"     @click-icon="onClickeye"-->
				</van-cell-group>
			</u-transition>
		</view>
		<u-transition :show="stepActive == 2" mode="fade">
			<view class="blufi-success-wrapper">
				配网成功
				<van-icon size="240rpx" name="checked" />
			</view>
		</u-transition>
		<view class="blufi-btn-wrapper">
			<u-button @click="blufiBtnHandle" shape="circle" type="primary" :loading="blufiLoadStatus"
				:loadingText="blufiloadInfo" size="large">{{blufiloadInfo}}</u-button>
			<!-- <u-button @click="blufiBtnHandle" type="primary" size="large">停</u-button> -->
		</view>
	</view>
</template>

<script>
	js文件就不展示了,大家可以先尝试自己去做一下基本上都是没有问题的,实在没撤可以评论区或者留言
</script>

<style scoped>
	.blufi-page-container {
		height: 100vh;
		width: 100%;
		display: flex;
		flex-direction: column;
		justify-content: space-between;
	}

	.blufi-step-wrapper {
		padding: 0rpx 40rpx;
	}

	.blufi-filter-wrapper {
		z-index: 0;
	}

	.blufi-note-content {
		text-align: center;
		color: #6b6b6b;
		font-size: 38rpx;
		font-weight: bold;
		margin-top: 100rpx;
	}

	.blufi-list-wrapper {
		flex: 1;
		margin: 25rpx;
		background-color: #f7f8fa;
		overflow-y: scroll;
	}

	.blufi-list-item {
		margin: 15rpx 15rpx 0rpx 15rpx;
		border-radius: 16rpx;
		overflow: hidden;
	}

	.blufi-wifi-input-wrapper {
		flex: 1;
		margin: 25rpx;
		display: flex;
		align-items: center;
		flex-direction: column;
		justify-content: space-around;
	}

	.blufi-wifi-input-cover {
		height: 400rpx;
		width: 400rpx;
	}

	.blufi-btn-wrapper {
		/* width: 100%; */
		padding: 30rpx 40rpx;
	}

	.blufi-success-wrapper {
		height: 600rpx;
		display: flex;
		flex-direction: column;
		justify-content: space-around;
		font-size: 60rpx;
		text-align: center;
		color: #07c160;
	}


	.loading-container {
		z-index: 3;
	}

	.loading-wrapper {
		position: absolute;
		top: 50%;
		left: 50%;
		transform: translate(-50%, -50%);
		color: white;
		display: flex;
		flex-direction: column;
		z-index: 4;
	}

	.loading-info {
		color: white;
		margin-top: 30rpx;
	}
</style>
别忘记了引入这几个文件(这几个js文件有点大记得合理分配包的空间)