目录
- [Azure GPT5.2配置](#Azure GPT5.2配置)
- oh-my-opencode插件安装
Azure GPT5.2配置
在环境变量中添加这几个变量然后重启软件即可:
AZURE_RESOURCE_NAME=""
AZURE_OPENAI_ENDPOINT=""
AZURE_OPENAI_API_KEY="你的Azure API Key"
AZURE_OPENAI_API_VERSION="2025-xx-xx-xxx"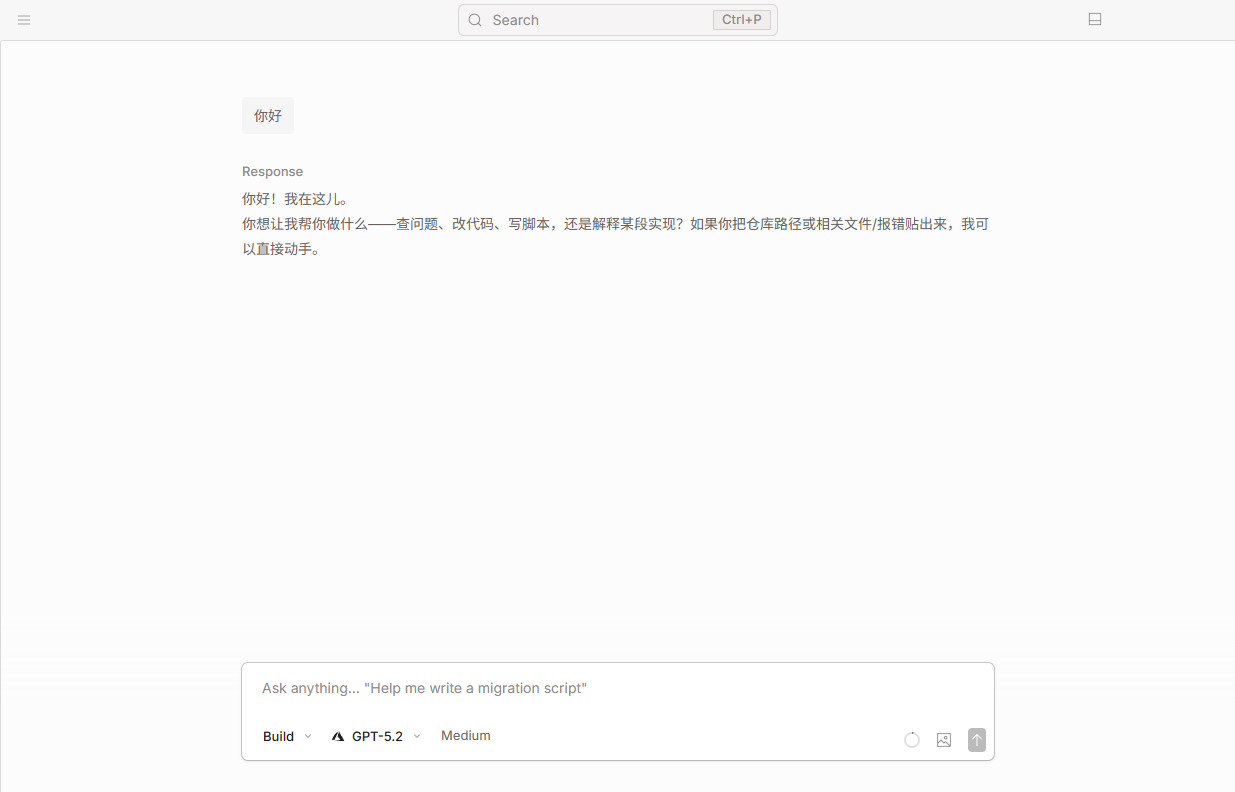
oh-my-opencode插件安装
首先需要安装Bun,在PowerShell中运行:
# 安装 Bun
irm https://bun.sh/install.ps1 | iex
# 装完后关闭并重新打开终端,让 PATH 生效,然后确认:
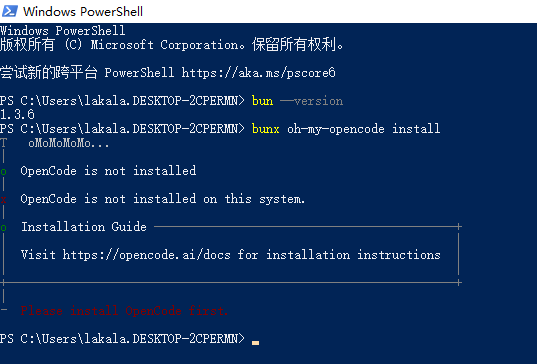
bun --version安装 oh-my-opencode:
bunx oh-my-opencode installoh-my-opencode 安装器要调用的是命令 opencode,但是OpenCode Desktop App 不会把 opencode 放到系统 PATH 里,所以 oh-my-opencode 才会提示 "OpenCode is not installed"。
在安装目录下我们可以看到有OpenCode.exe和opencode-cli.exe两个文件,最省事的做法是在 ~.bun\bin(已在 PATH)放一个 opencode.cmd 包装器。
1、先确认 CLI 本体可运行 在 PowerShell 执行:
& "D:\software\OpenCode\opencode-cli.exe" --version2、创建 opencode 命令别名
$exe = "D:\software\OpenCode\opencode-cli.exe"
$shim = "$env:USERPROFILE\.bun\bin\opencode.cmd"
"@echo off`r`n`"$exe`" %*" | Set-Content -Encoding ASCII $shim
关闭当前终端,重新打开一个 PowerShell,验证:
opencode --version3、安装 oh-my-opencode
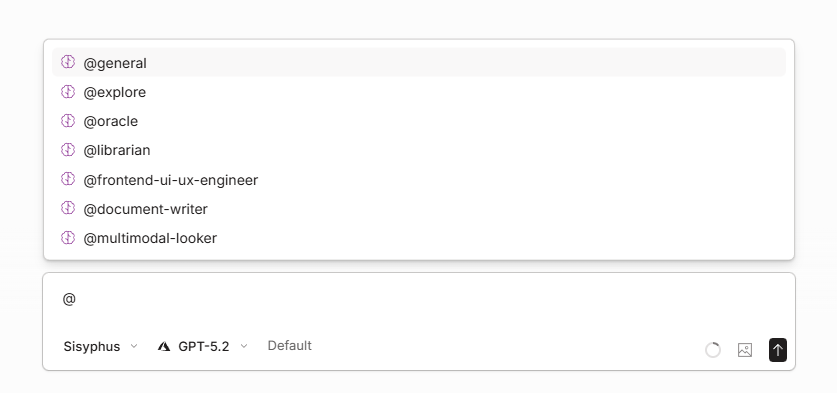
bunx oh-my-opencode install安装成功:

重启OpenCode Desktop App验证:
到此opencode Desktop App配置 Azure GPT5.2和oh-my-opencode插件安装就已经完成。