在实际项目开发中,数据库数据量往往较大,直接查询全量数据会导致性能下降、页面加载缓慢;同时,用户需要快速定位目标数据,搜索功能必不可少。本文基于 MyBatis 框架,结合前端 Vue+Element UI 与后端 SpringBoot 技术栈,详细讲解分页查询与搜索功能的完整实现流程,涵盖后端插件配置、动态 SQL 编写、前端请求封装与页面展示,帮助开发者高效落地核心业务功能。
一、技术栈说明与环境准备
1.1 核心技术栈
后端:SpringBoot(基础框架)、MyBatis(持久层框架)、PageHelper(MyBatis 分页插件)、MySQL(数据库)
前端:Vue3(前端框架)、axios(HTTP 请求工具)、Element UI(UI 组件库,含 el-table 表格、el-pagination 分页、el-input 搜索框等组件)
1.2 环境准备
后端:确保已完成 SpringBoot 与 MyBatis 的基础整合(可参考前文 SpringBoot3 整合 MyBatis 步骤),引入 PageHelper 依赖;
前端:搭建 Vue3+Element UI 项目,安装 axios 依赖,配置基础请求拦截器。
二、安装依赖
npm i axios -S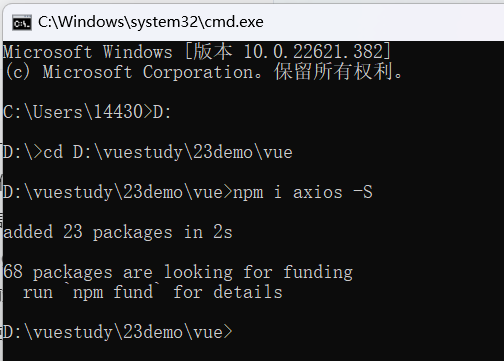
三、简单测试axios
在Home.vue当中配置
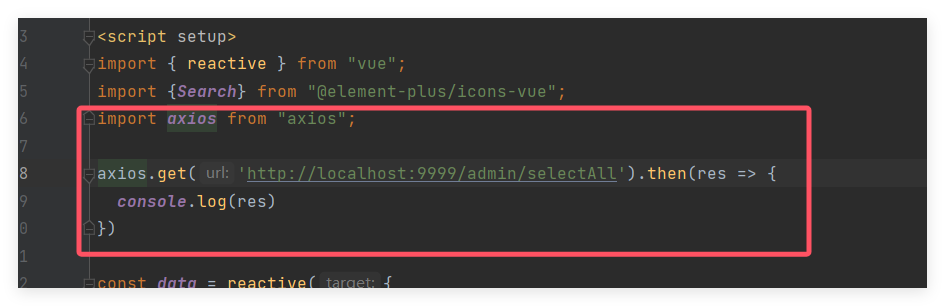
import axios from "axios";
axios.get("http://localhost:8080/user/findAll").then(res => {
console.log(res.data);
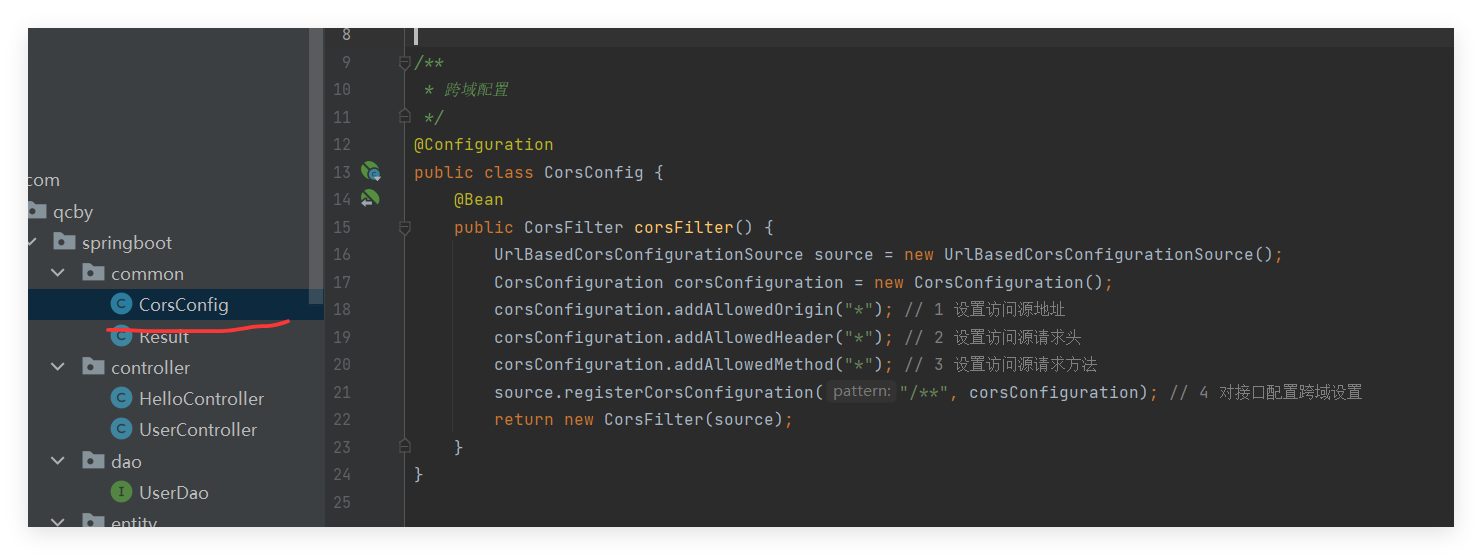
});四、SpringBoot设置跨域配置
前后端分离项目中,前端请求后端接口会存在跨域问题(浏览器同源策略限制),需在 SpringBoot 中添加跨域配置,允许前端域名的请求访问。
package com.qcby.schoolshop.common;

import org.springframework.context.annotation.Bean;
import org.springframework.context.annotation.Configuration;
import org.springframework.web.cors.CorsConfiguration;
import org.springframework.web.cors.UrlBasedCorsConfigurationSource;
import org.springframework.web.filter.CorsFilter;

@Configuration
public class CorsConfig {

    @Bean
    public CorsFilter corsFilter() {
        // 1. 创建CORS配置对象
        CorsConfiguration config = new CorsConfiguration();
        // 允许的源(前端地址,*表示允许所有源,生产环境建议指定具体地址)
        config.addAllowedOrigin("http://localhost:5173");
        // 允许的请求头(*表示允许所有)
        config.addAllowedHeader("*");
        // 允许的请求方法(*表示允许所有,也可以指定GET、POST、PUT等)
        config.addAllowedMethod("*");
        // 允许携带Cookie(如果需要跨域传递Cookie,需要开启这个,且前端请求也要配置withCredentials: true)
        config.setAllowCredentials(true);
        // 预检请求的缓存时间(单位:秒,减少预检请求的次数)
        config.setMaxAge(3600L);

        // 2. 配置路径映射(/**表示所有路径)
        UrlBasedCorsConfigurationSource source = new UrlBasedCorsConfigurationSource();
        source.registerCorsConfiguration("/**", config);

        // 3. 返回CORS过滤器
        return new CorsFilter(source);
    }
}
原因:前后端分离项目中,前端和后端通常运行在不同域名 / 端口(如前端 8081、后端 8080),浏览器的 "同源策略" 会禁止这种跨源请求,设置跨域是为了允许前端合法访问后端接口,避免请求被拦截,确保数据正常交互。
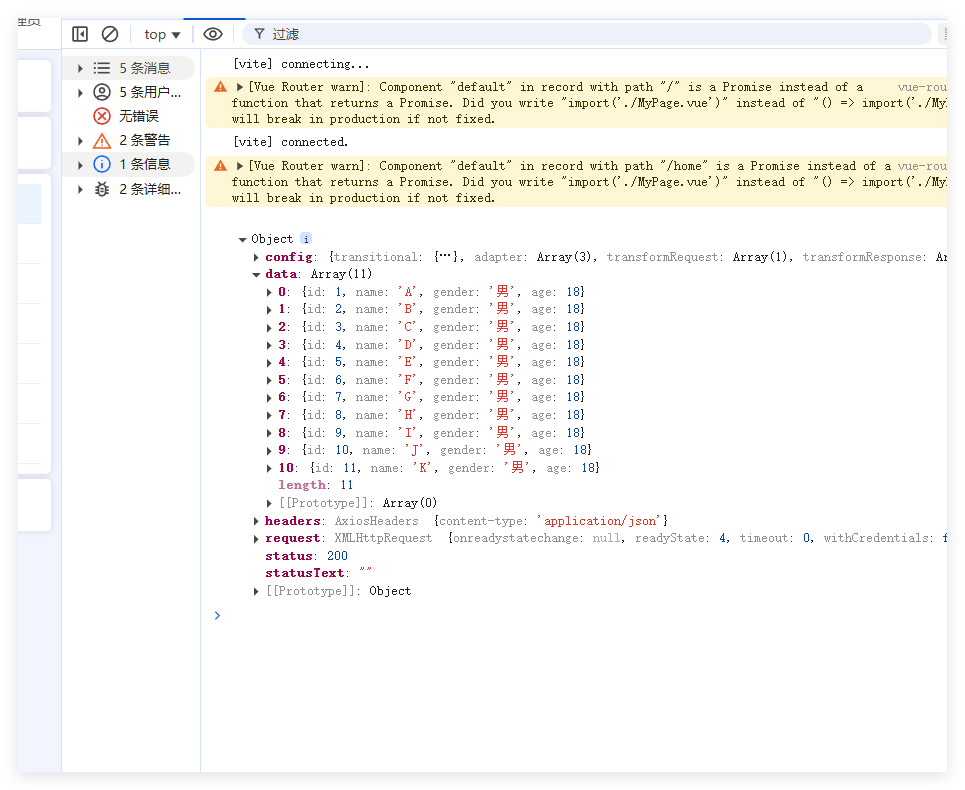
重启测试
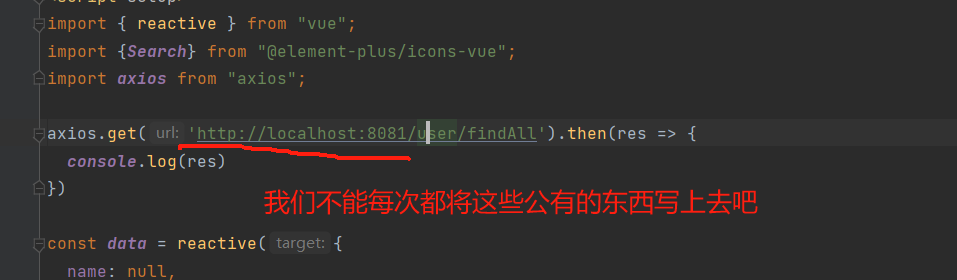
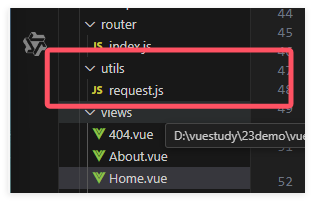
五、封装统一的请求工具:request.js
为了简化重复代码 (不用每次请求都写基础配置)、统一管理请求规则(如基础 URL、超时时间、请求头),还能集中处理请求 / 响应拦截(如 Token 添加、错误提示),提升代码复用性和可维护性,以后方便使用,我们新建一个request.js的文件来处理后台发来的数据
 import axios from "axios";
 axios.get('http://localhost:8080/user/findAll').then(res=>{
     console.log(res)
 })
import axios from "axios";
import {ElMessage} from "element-plus";

const request = axios.create({
  baseURL: 'http://localhost:9999',
  timeout: 30000  // 后台接口超时时间
})

// request 拦截器
// 可以自请求发送前对请求做一些处理
request.interceptors.request.use(config => {
  config.headers['Content-Type'] = 'application/json;charset=utf-8';
  return config
}, error => {
  return Promise.reject(error)
});

// response 拦截器
// 可以在接口响应后统一处理结果
request.interceptors.response.use(
  response => {
    let res = response.data;
    // 兼容服务端返回的字符串数据
    if (typeof res === 'string') {
      res = res ? JSON.parse(res) : res
    }
    return res;
  },
  error => {
    if (error.response.status === 404) {
      ElMessage.error('未找到请求接口')
    } else if (error.response.status === 500) {
      ElMessage.error('系统异常,请查看后端控制台报错')
    } else {
      console.error(error.message)
    }
    return Promise.reject(error)
  }
)
export default request
六、设置查询分页
6.1 Mapper.xml文件
<!--注意最后别写;-->
<select id="findAll" resultType="com.qcby.vuespringbootdemo.entity.User">
    select * from user order by id desc
</select>
6.2 导入分页的jar包 pom.xml
<!-- 分页插件pagehelper -->
<dependency>
    <groupId>com.github.pagehelper</groupId>
    <artifactId>pagehelper-spring-boot-starter</artifactId>
    <version>1.4.6</version>
    <!--排除和我们引入的mybatis的影响-->
    <exclusions>
        <exclusion>
            <groupId>org.mybatis</groupId>
            <artifactId>mybatis</artifactId>
        </exclusion>
    </exclusions>
</dependency>
6.3 service层开启分页查询
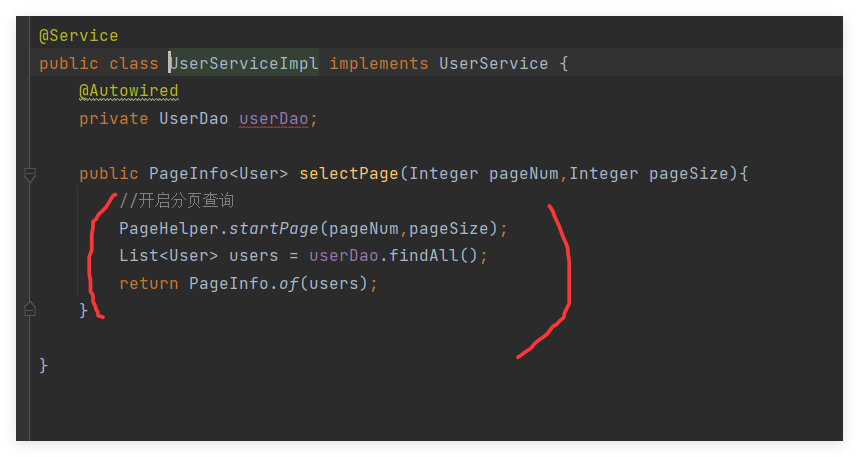
public PageInfo<User> selectPage(Integer pageNum,Integer pageSize){
    //开启分页查询
    PageHelper.startPage(pageNum,pageSize);
    List<User> users = userDao.findAll();
    return PageInfo.of(users);
}
6.4 Controller层
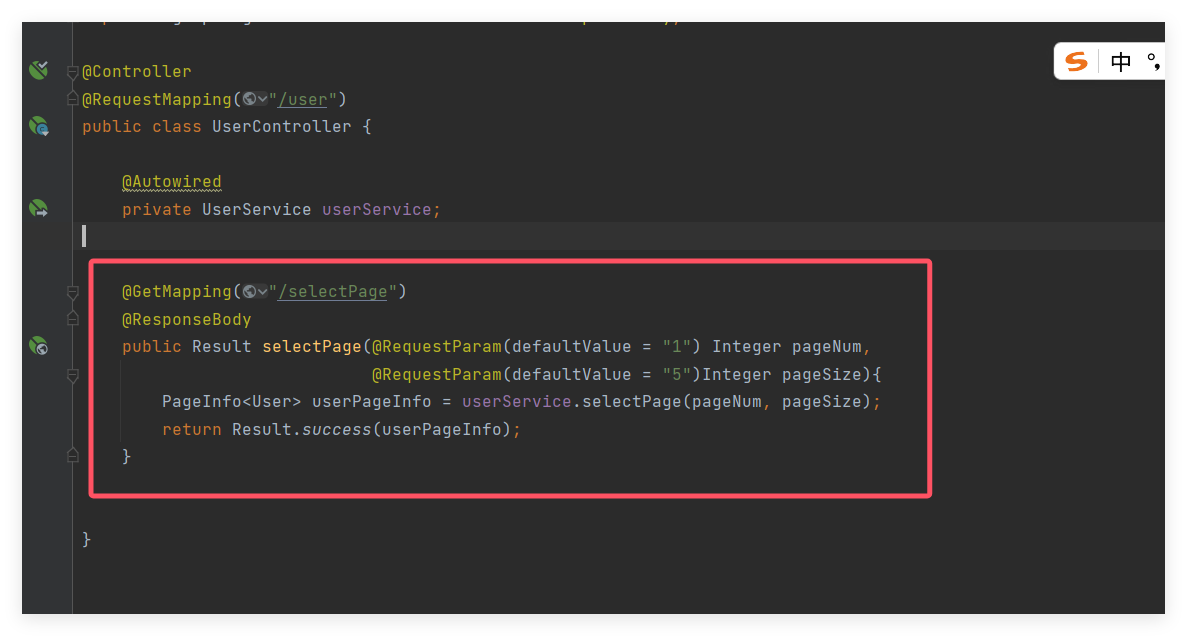
@GetMapping("/selectPage")
@ResponseBody
public Result selectPage(@RequestParam(defaultValue = "1") Integer pageNum,
                         @RequestParam(defaultValue = "5")Integer pageSize){
    PageInfo<User> userPageInfo = userService.selectPage(pageNum, pageSize);
    return Result.success(userPageInfo);
}
6.5 接口测试
http://localhost:8081/user/selectPage?pageNum=1&pageSize=5

6.6 前端展示
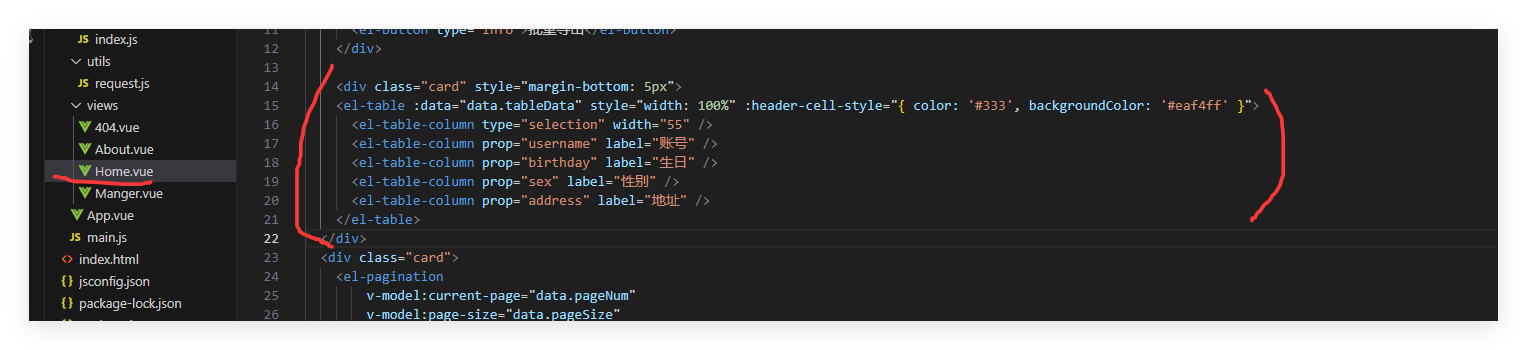
<div class="card" style="margin-bottom: 5px">
      <el-table :data="data.tableData" style="width: 100%" :header-cell-style="{ color: '#333', backgroundColor: '#eaf4ff' }">
        <!-- type="selection":这指定该列将包含用于行选择的复选框。它允许用户在表格中选择一行或多行。 -->
        <el-table-column type="selection" width="55" />
        <el-table-column prop="username" label="用户名" width="180" />
        <el-table-column prop="birthday" label="生日" width="180" />
        <el-table-column prop="sex" label="性别" width="80" />
        <el-table-column prop="address" label="地址" width="180" />
      </el-table>
    </div>
6.7 前端请求数据
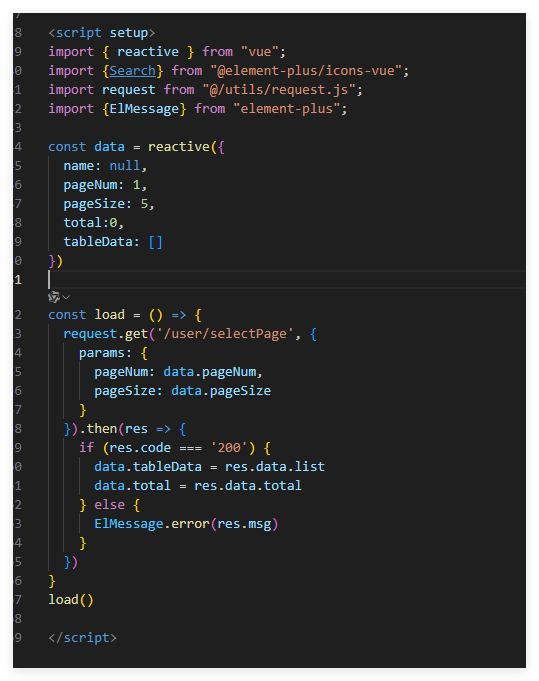
import { reactive } from "vue";
import {Search} from "@element-plus/icons-vue";
import request from "@/utils/request.js";
import {ElMessage} from "element-plus";

const data = reactive({
  name: null,
  pageNum: 1,
  pageSize: 5,
  total:0,
  tableData: []
})

const load = () => {
  request.get('/user/selectPage', {
    params: {
      pageNum: data.pageNum,
      pageSize: data.pageSize
    }
  }).then(res => {
    if (res.code === '200') {
      data.tableData = res.data.list
      data.total = res.data.total
    } else {
      ElMessage.error(res.msg)
    }
  })
}
load()
接下来处理一下时间的显示问题
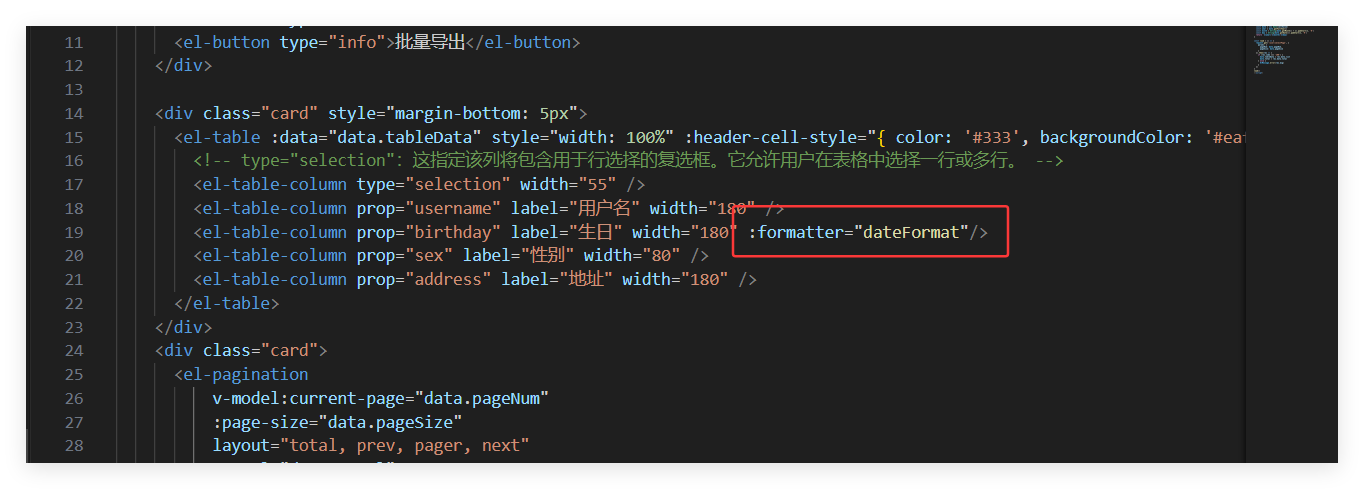
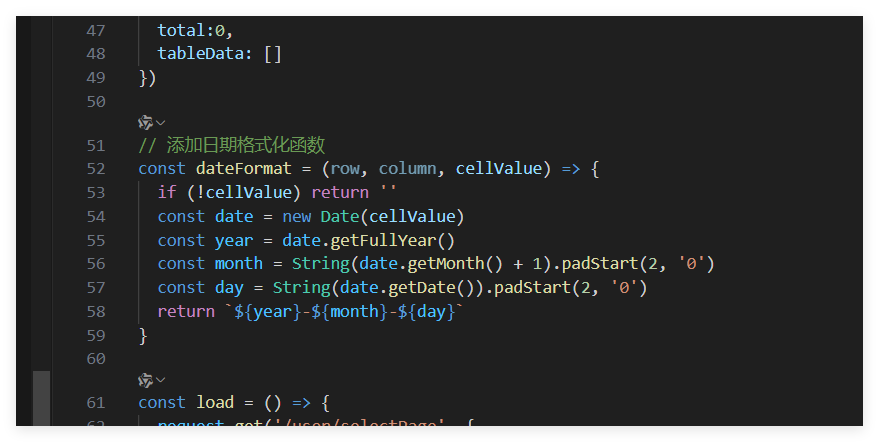
// 添加日期格式化函数
const dateFormat = (row, column, cellValue) => {
  if (!cellValue) return ''
  const date = new Date(cellValue)
  const year = date.getFullYear()
  const month = String(date.getMonth() + 1).padStart(2, '0')
  const day = String(date.getDate()).padStart(2, '0')
  return `${year}-${month}-${day}`
}
最后别忘了
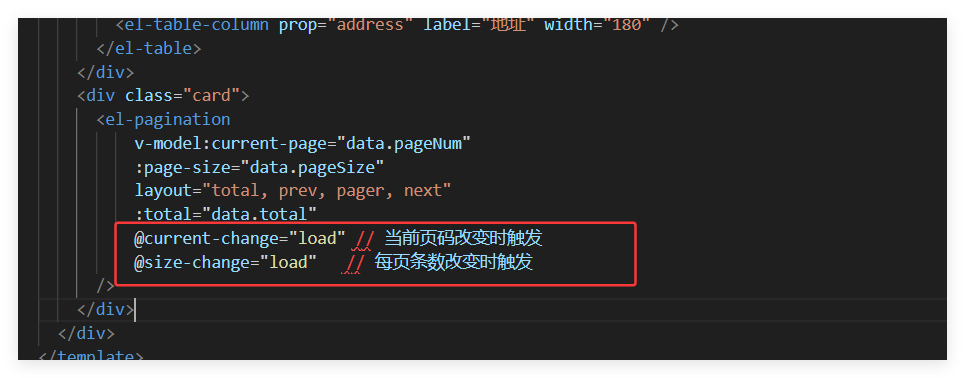
<div class="card">
      <el-pagination
          v-model:current-page="data.pageNum"
          :page-size="data.pageSize"
          layout="total, prev, pager, next"
          :total="data.total"
          @current-change="load"
          @size-change="load"
      />
    </div>
七、搜索设置
7.1 前端设置搜索框

<div class="card" style="margin-bottom: 5px">
      <el-input clearable @clear="load" style="width: 260px; margin-right: 5px" v-model="data.username" placeholder="请输入用户名查询" :prefix-icon="Search"></el-input>
      <el-input clearable @clear="load" style="width: 260px; margin-right: 5px" v-model="data.address" placeholder="请输入地址查询" :prefix-icon="Search"></el-input>
      <el-button type="primary" @click="load">查 询</el-button>
      <el-button @click="reset">重 置</el-button>
</div>
7.2 前端设置入参
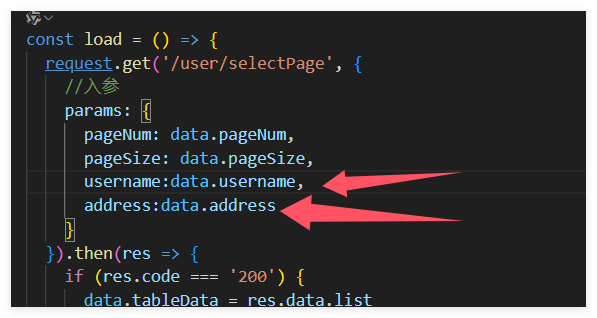
 params: {
      pageNum: data.pageNum,
      pageSize: data.pageSize,
      username: data.username,
      address: data.address
    }
7.3 设置重置
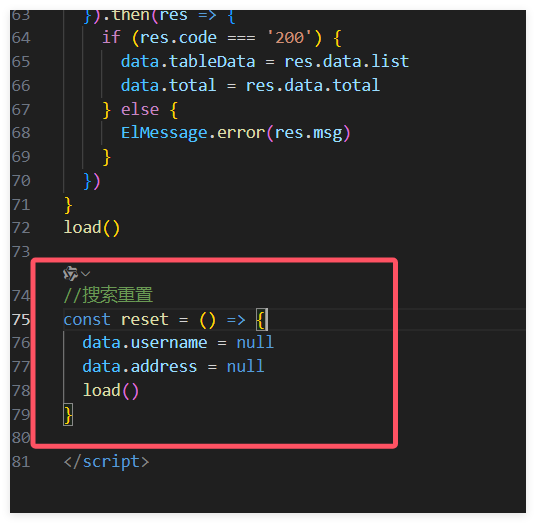
//搜索重置
const reset = () => {
  data.username = null
  data.address = null
  load()
}
7.4 Mapper.xml设置查询
<select id="findAll" resultType="com.qcby.springboot.entity.User"
        parameterType="com.qcby.springboot.entity.User">
    select * from user
        <where>
           <if test="username!=null">
               username like concat('%', #{username}, '%')
           </if>
            <if test="address!=null">
                and address  like concat('%', #{address}, '%')
            </if>
        </where>
    order by id
</select>
7.5 service层
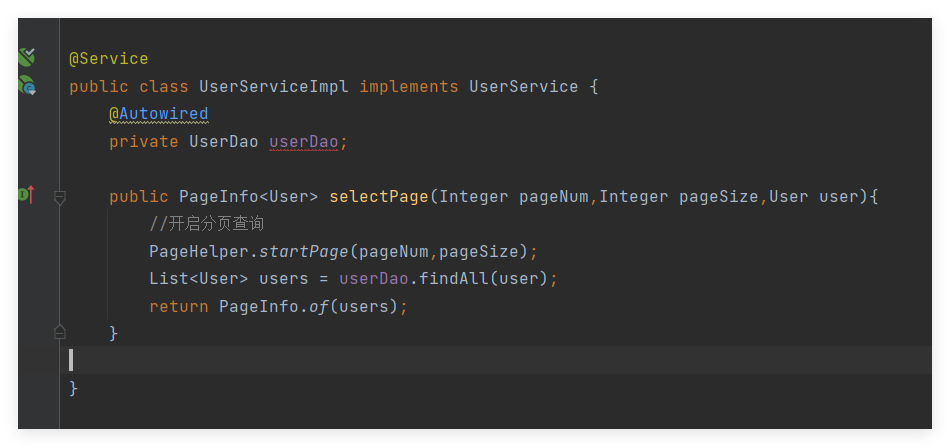
@Override
public PageInfo<User> selectPage(Integer pageNum, Integer pageSize,User user) {
    //开启分页查询
    PageHelper.startPage(pageNum,pageSize);
    List<User> users = userDao.findAll(user);
    return PageInfo.of(users);
}
7.6 controller层
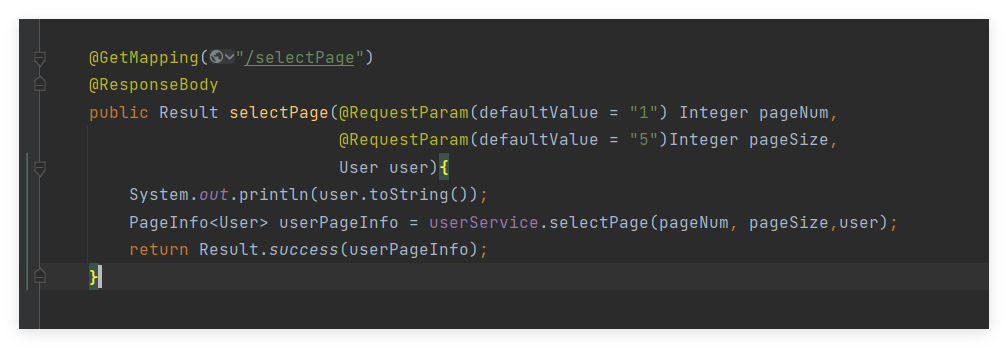
@GetMapping("/selectPage")
@ResponseBody
public Result selectPage(@RequestParam(defaultValue = "1") Integer pageNum,
                         @RequestParam(defaultValue = "5")Integer pageSize,
                         User user){
    System.out.println(user.toString());
    PageInfo<User> userPageInfo = userService.selectPage(pageNum, pageSize,user);
    return Result.success(userPageInfo);
}