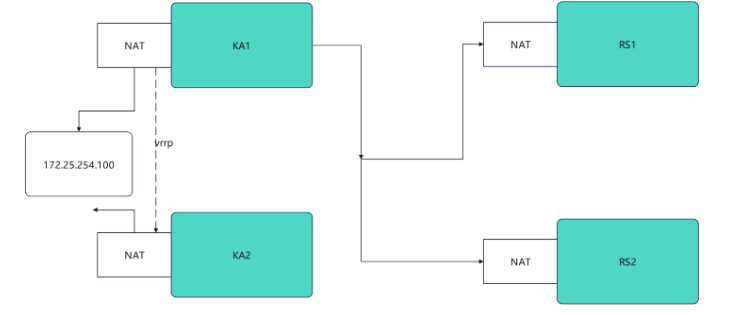
1.环境设定图(示例)
2.环境设定
#部署rs1和rh2(单网卡NAT模式)
root@rs1 \~# vmset.sh eth0 xxx.xx.xx.xx rs1
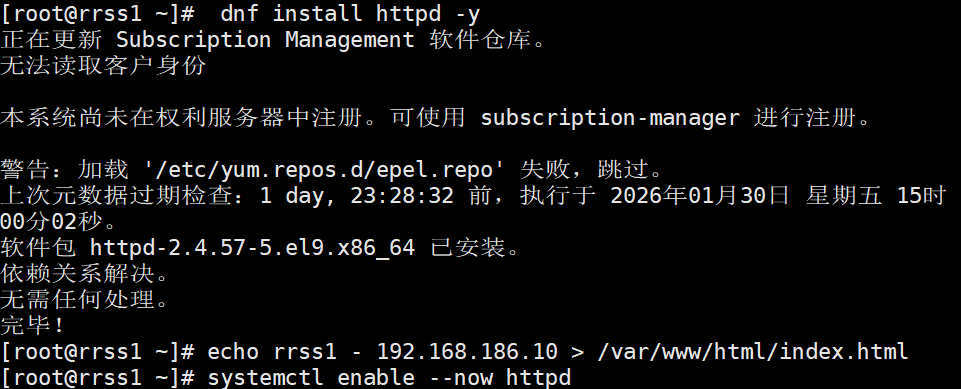
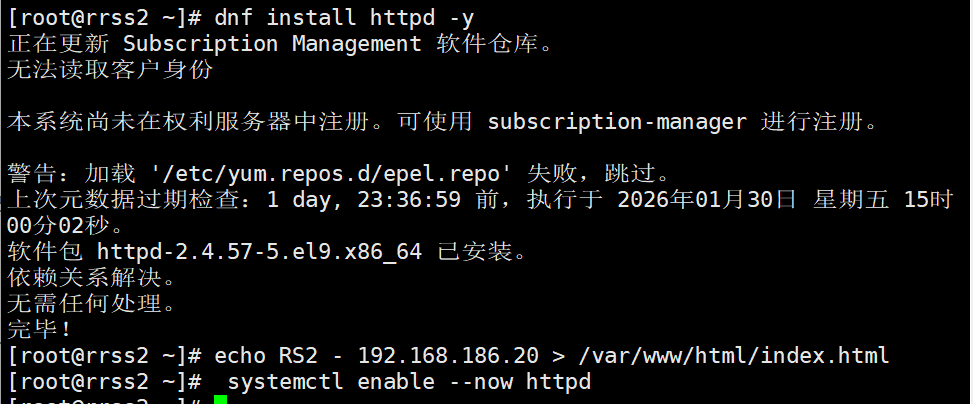
root@rs1 \~# dnf install httpd -y
root@rs1 \~# echo RS1 - xxx.xx.xx.xx > /var/www/html/index.html
root@rs1 \~# systemctl enable --now httpd
rrss1

rrss2

#测试:


#设定ka1和ka2
root@KA1 \~# vmset.sh eth0 xx.xx.xx.xx KA1
root@KA2 \~# vmset.sh eth0 xx.xx.xx.xx KA2


#设定本地解析
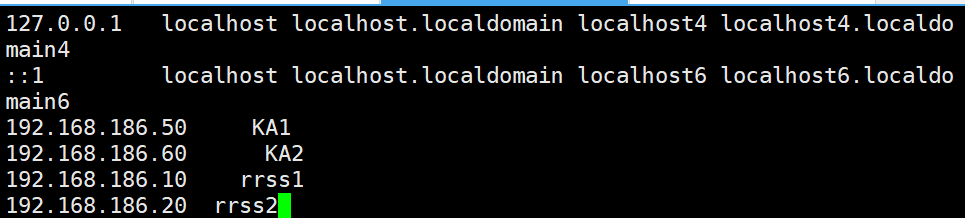
root@KA1 \~# vim /etc/hosts
127.0.0.1 localhost localhost.localdomain localhost4 localhost4.localdomain4
::1 localhost localhost.localdomain localhost6 localhost6.localdomain6
xx.xx.xx.xx KA1
xx.xx.xx.xx KA2
xx.xx.xx.xx rrss1
xx.xx.xx.xx rrss2
root@KA1 \~# for i in 60 10 20
> do
> scp /etc/hosts xx.xx.xx.xx.$i:/etc/hosts
> done

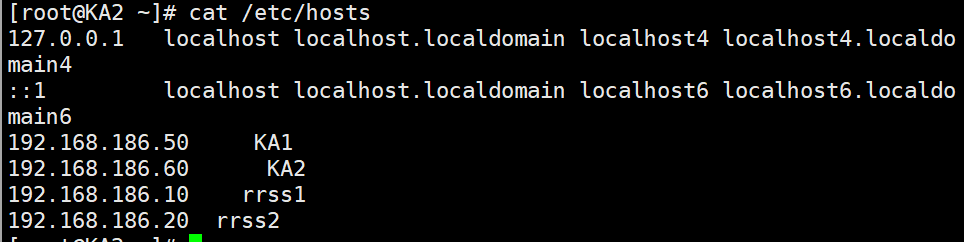
#在其他主机中查看/etc/hosts
#在ka1中开启时间同步服务
root@KA1 \~# vim /etc/chrony.conf
26 allow 0.0.0.0/0
29 local stratum 10

root@KA1 \~# systemctl restart chronyd
root@KA1 \~# systemctl enable --now chronyd

#在ka2中使用ka1的时间同步服务
root@KA2 \~# vim /etc/chrony.conf
pool 192.168.186.50 iburst

root@KA2 \~# systemctl restart chronyd
root@KA2 \~# systemctl enable --now chronyd

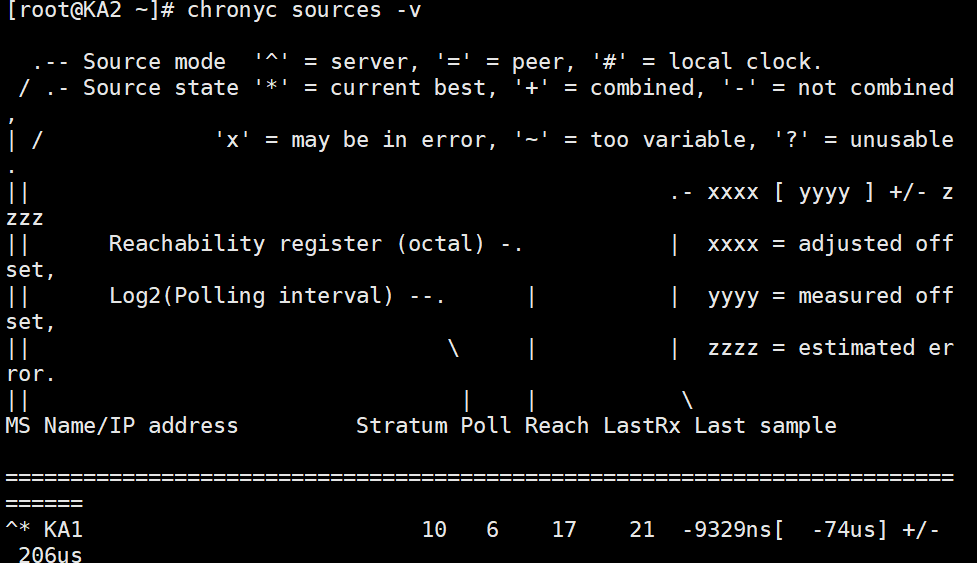
root@KA2 \~# chronyc sources -v