文章目录
-
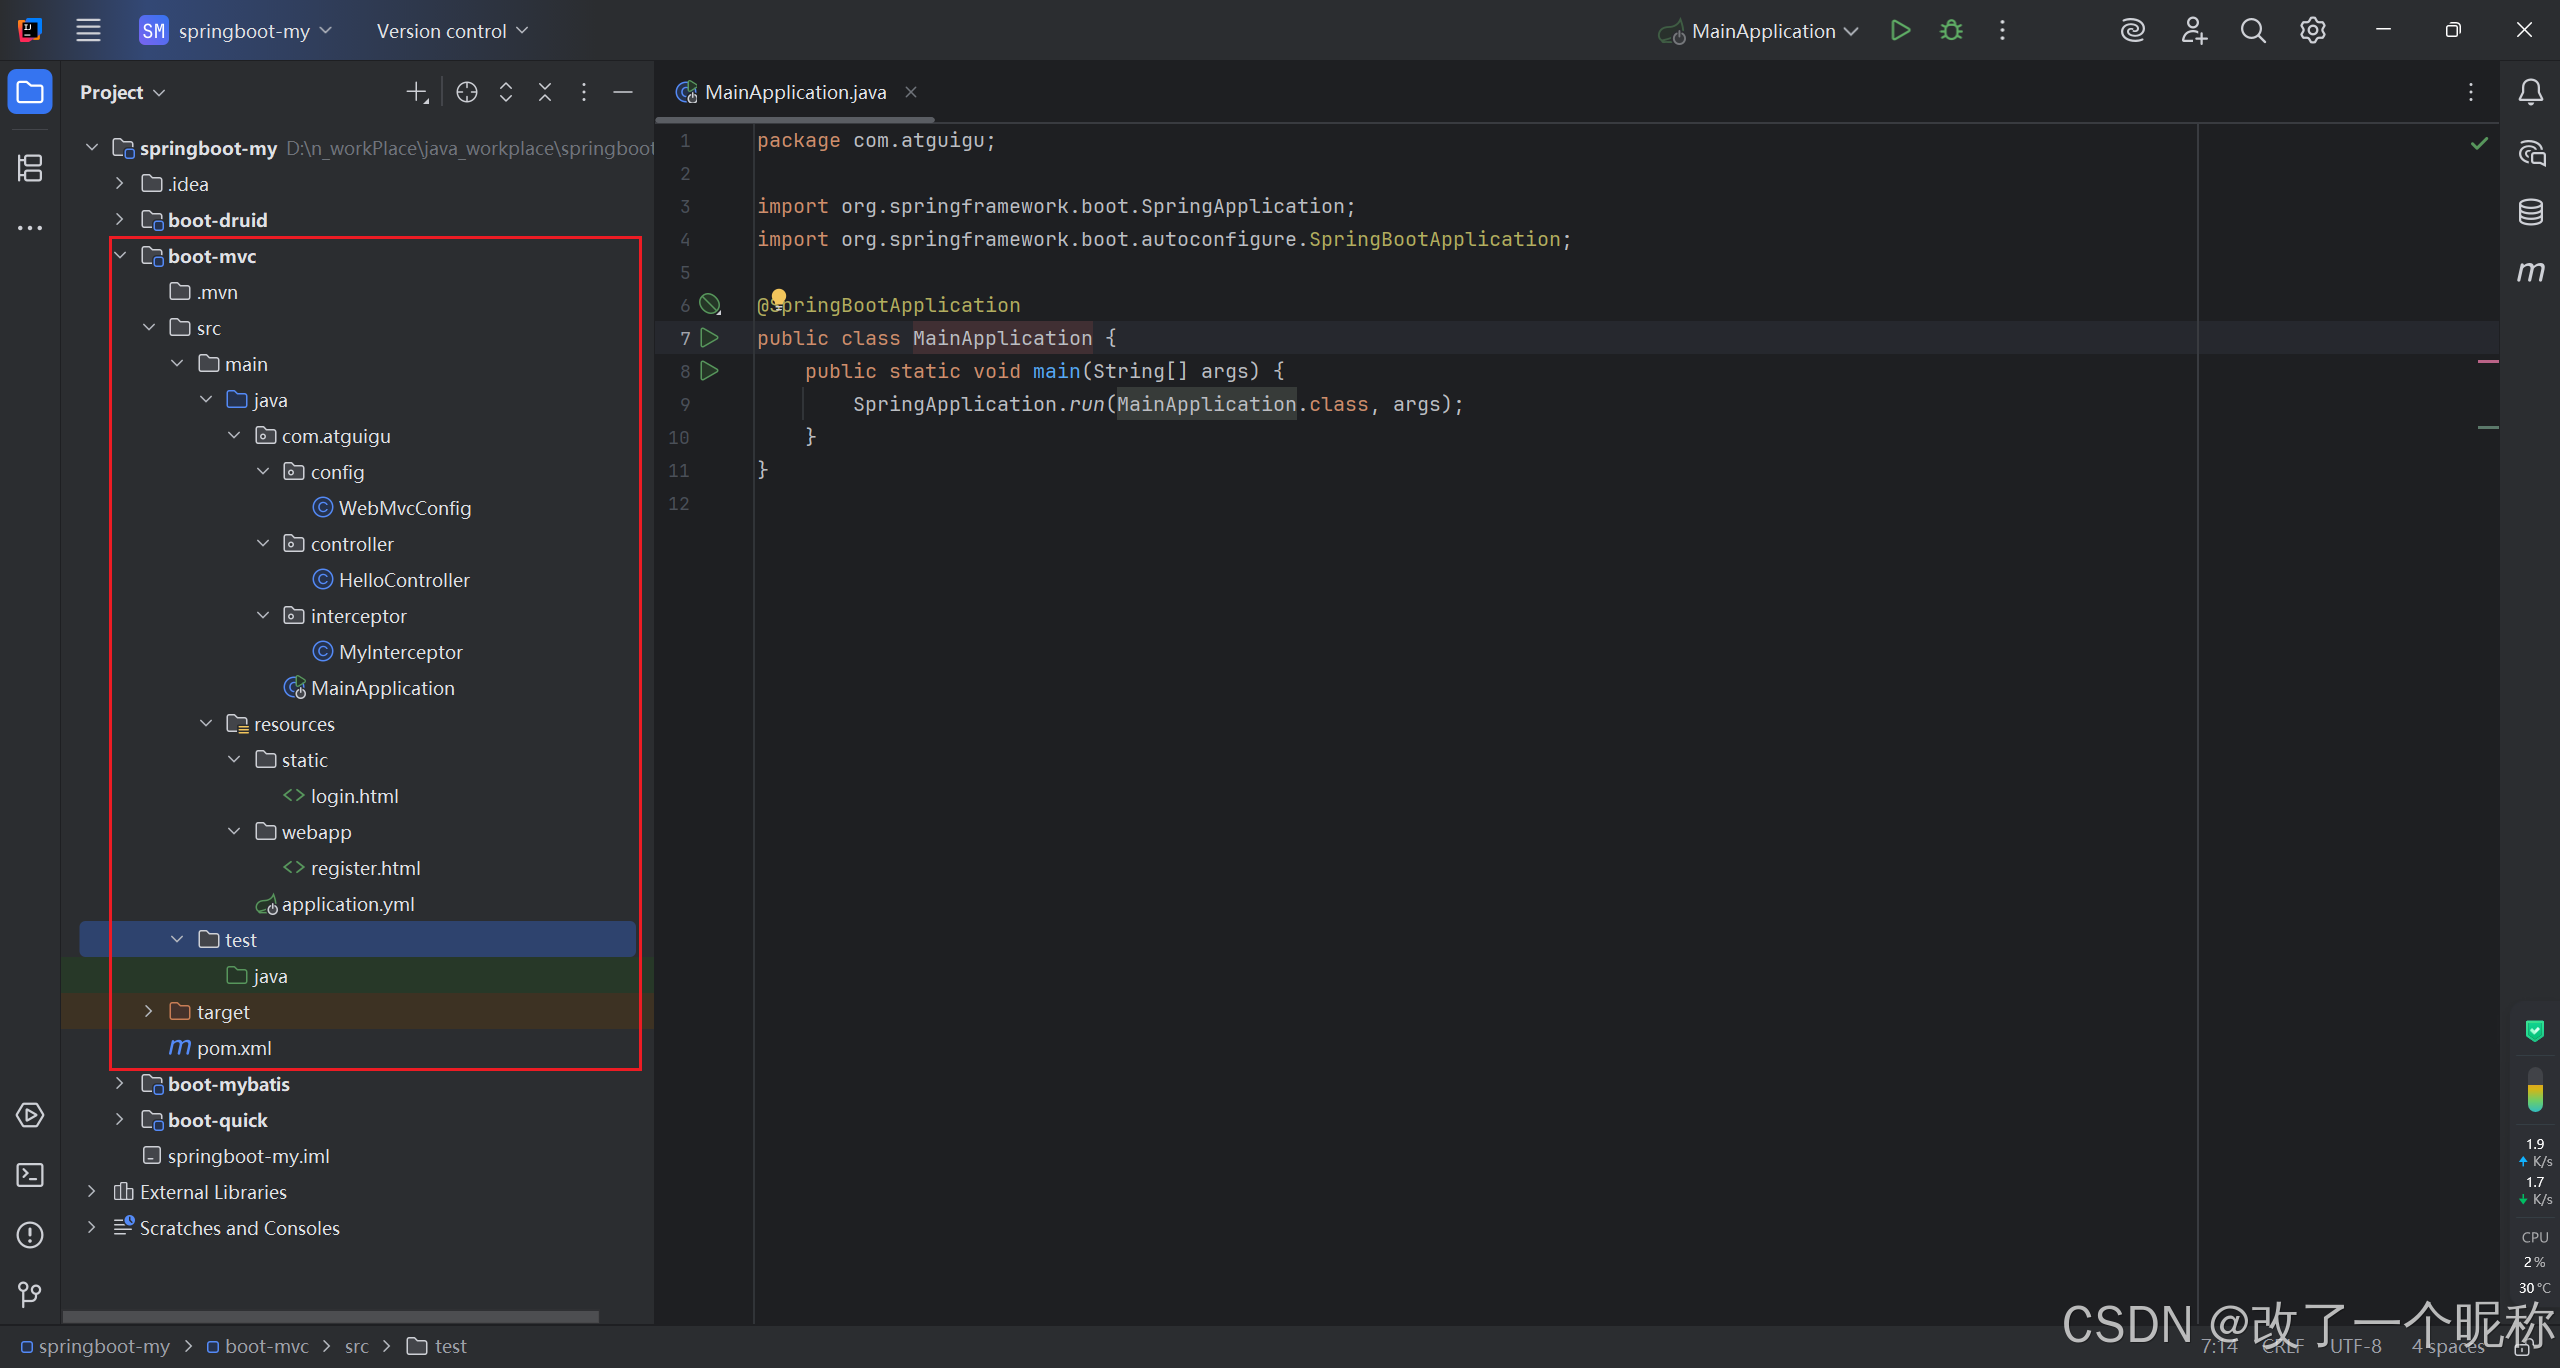
- 项目目录
- pom.xml
- [Main 程序入口](#Main 程序入口)
- 配置文件application.yml
- [resources / static / login.html](#resources / static / login.html)
- [resources / webapp/ register.html](#resources / webapp/ register.html)
- 拦截器
- [springMvc配置文件 WebMvcConfig .java](#springMvc配置文件 WebMvcConfig .java)
- controller
项目目录
pom.xml
xml
<?xml version="1.0" encoding="UTF-8"?>
<project xmlns="http://maven.apache.org/POM/4.0.0"
         xmlns:xsi="http://www.w3.org/2001/XMLSchema-instance"
         xsi:schemaLocation="http://maven.apache.org/POM/4.0.0 http://maven.apache.org/xsd/maven-4.0.0.xsd">
    <modelVersion>4.0.0</modelVersion>

    <!-- 所有springboot项目,都必须继承自 spring-boot-starter-parent -->
    <parent>
        <groupId>org.springframework.boot</groupId>
        <artifactId>spring-boot-starter-parent</artifactId>
        <version>3.0.5</version>
    </parent>

    <groupId>com.atguigu</groupId>
    <artifactId>boot-mvc</artifactId>
    <version>1.0-SNAPSHOT</version>

    <properties>
        <maven.compiler.source>17</maven.compiler.source>
        <maven.compiler.target>17</maven.compiler.target>
        <project.build.sourceEncoding>UTF-8</project.build.sourceEncoding>
    </properties>

    <dependencies>
        <!--
            SpringBoot提供了许多预定义的Starter,如:
                spring-boot-starter-web用于构建Web应用程序,
                spring-boot-starter-data-jpa用于使用JPA进行数据库访问,
                spring-boot-starter-security用于安全认证和授权,
                ...等等

            使用Starter非常简单,只需要在项目的构建文件(例如Maven的pom.xml)中添加所需的Starter依赖,
            SpringBoot会自动处理依赖管理和配置。

            springboot提供的全部启动器地址:
                [https://docs.spring.io/spring-boot/docs/current/reference/html/using.html#using.build-systems.starters](https://docs.spring.io/spring-boot/docs/current/reference/html/using.html#using.build-systems.starters)

            springboot启动器的命名规范:
                官方提供的:命名为:`spring-boot-starter-*`
                第三方提供:命名为:`*-spring-boot-starter`
        -->

        <!--web开发的场景启动器-->
        <dependency>
            <groupId>org.springframework.boot</groupId>
            <artifactId>spring-boot-starter-web</artifactId>
        </dependency>

        <dependency>
            <groupId>org.projectlombok</groupId>
            <artifactId>lombok</artifactId>
            <version>1.18.28</version>
        </dependency>
    </dependencies>

</project>
Main 程序入口
java
package com.atguigu;

import org.springframework.boot.SpringApplication;
import org.springframework.boot.autoconfigure.SpringBootApplication;

@SpringBootApplication
public class MainApplication {
    public static void main(String[] args) {
        SpringApplication.run(MainApplication.class, args);
    }
}
配置文件application.yml
自定义外部资源文件夹的路径
yml
# springMvc相关的配置
server:
port: 80 # 端口号,默认是8080
servlet:
context-path: /boot # 设置项目根路径
spring:
web:
resources:
# 这是默认值
# static-locations: classpath:/META-INF/resources/, classpath:/resources/, classpath:/static/, classpath:/public/
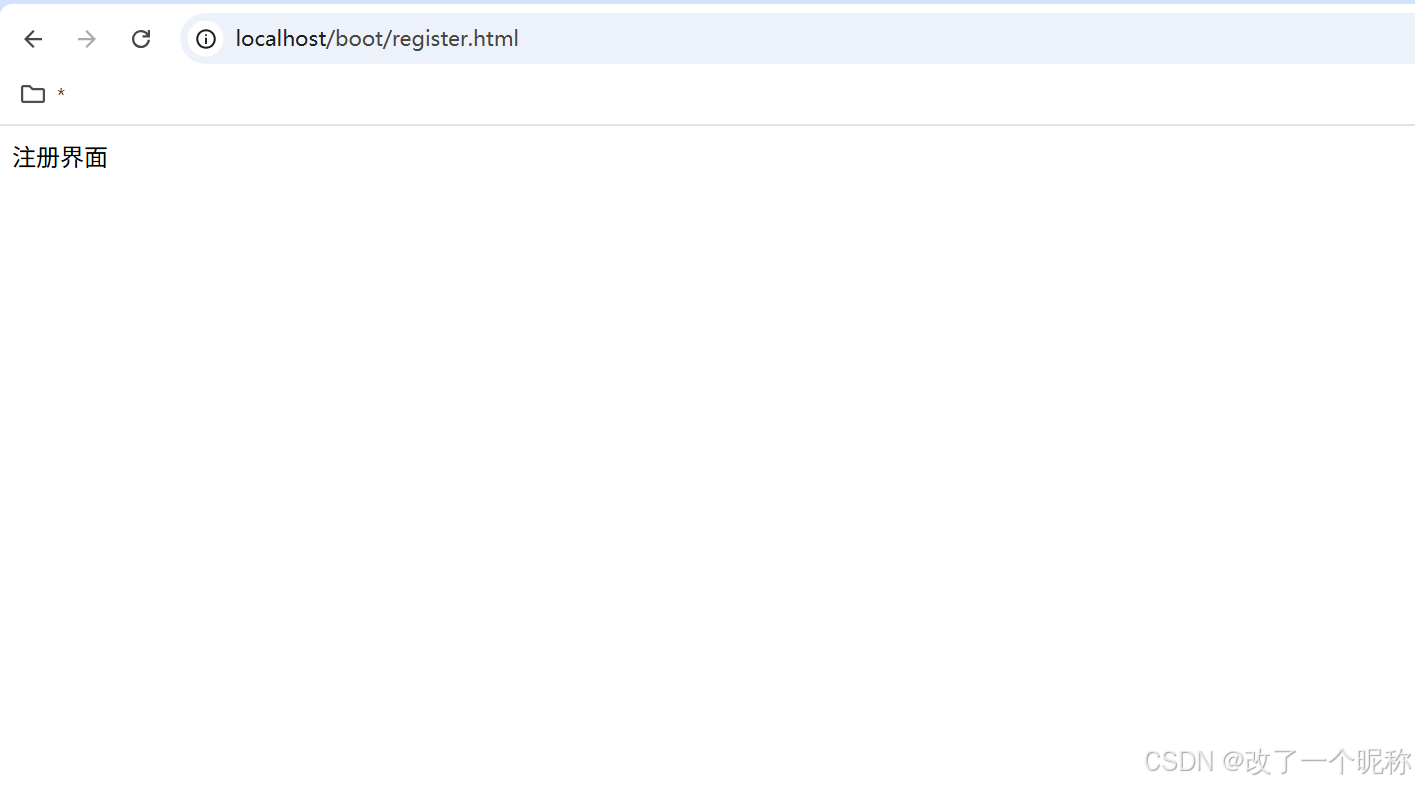
static-locations: classpath:/webapp # 自定义外部资源文件夹的路径
# 一旦自定义外部资源文件夹路径,就覆盖掉默认路径了
# 访问外部资源的时候,不要写外部资源文件夹的名字哦。。。resources / static / login.html
html
<!DOCTYPE html>
<html lang="en">
<head>
    <meta charset="UTF-8">
    <title>登录界面</title>
</head>
<body>
    登录界面
</body>
</html>
resources / webapp/ register.html
html
<!DOCTYPE html>
<html lang="en">
<head>
    <meta charset="UTF-8">
    <title>注册Title</title>
</head>
<body>
    注册界面
</body>
</html>
拦截器
java
package com.atguigu.interceptor;

import jakarta.servlet.http.HttpServletRequest;
import jakarta.servlet.http.HttpServletResponse;
import org.springframework.web.servlet.HandlerInterceptor;

public class MyInterceptor implements HandlerInterceptor {

    @Override
    public boolean preHandle(HttpServletRequest request, HttpServletResponse response, Object handler) throws Exception {
        System.out.println("request = " + request + "response = " + response + "handler = " + handler);
        return true;
    }
}
springMvc配置文件 WebMvcConfig .java
-
springboot 项目中,你 springmvc 的功能,就像之前一样用就行了
-
加上 @Configuration注解
-
只要在
MainApplication.java类所在包及其子包下,就会被@SpringBootApplication注解扫描注册
java
package com.atguigu.config;
import com.atguigu.interceptor.MyInterceptor;
import org.springframework.context.annotation.Configuration;
import org.springframework.web.servlet.config.annotation.InterceptorRegistry;
import org.springframework.web.servlet.config.annotation.WebMvcConfigurer;
/**
* springboot项目中,你springmvc的功能就像之前一样用就行了
*
* 加上 @Configuration注解
*
* 只要在 MainApplication.java类 所在包及其子包下,就会被@SpringBootApplication注解扫描注册
*/
@Configuration
public class WebMvcConfig implements WebMvcConfigurer {
@Override
public void addInterceptors(InterceptorRegistry registry) {
registry.addInterceptor(new MyInterceptor());
}
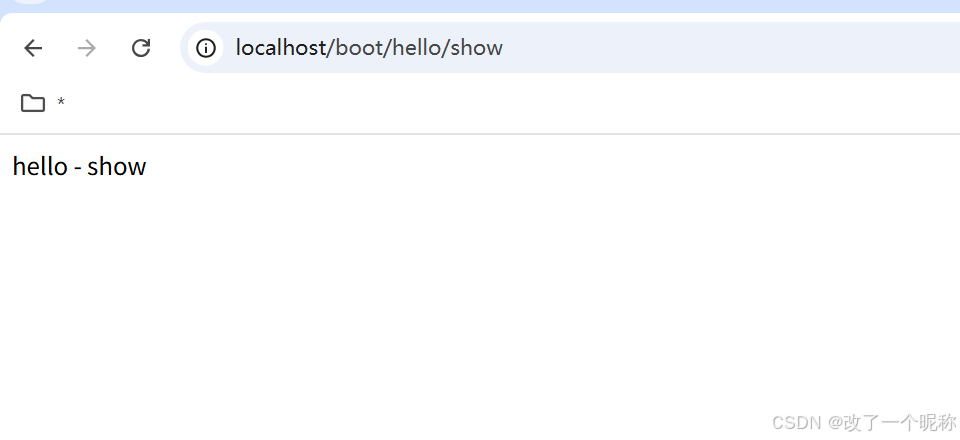
}controller
java
package com.atguigu.controller;

import org.springframework.web.bind.annotation.GetMapping;
import org.springframework.web.bind.annotation.RequestMapping;
import org.springframework.web.bind.annotation.RestController;

@RestController
@RequestMapping("hello")
public class HelloController {

    @GetMapping("show")
    public String show(){
        return "hello - show";
    }
}