文章目录
- 一、如何安装OpenClaw
-
- [第1步:◆ I understand this is powerful and inherently risky. Continue?](#第1步:◆ I understand this is powerful and inherently risky. Continue?)
- [第2步:◆ Onboarding mode](#第2步:◆ Onboarding mode)
- [第3步:◆ Model/auth provider](#第3步:◆ Model/auth provider)
- [第4步:◆ Moonshot AI (Kimi K2.5) auth method](#第4步:◆ Moonshot AI (Kimi K2.5) auth method)
- [第5步:◆ Default model](#第5步:◆ Default model)
- [第6步:◆ Select channel (QuickStart)](#第6步:◆ Select channel (QuickStart))
- [第7步:◆ Configure skills now? (recommended)](#第7步:◆ Configure skills now? (recommended))
- [第8步:◆ Preferred node manager for skill installs](#第8步:◆ Preferred node manager for skill installs)
- [第9步:◆ Install missing skill dependencies](#第9步:◆ Install missing skill dependencies)
- [第10步:对于其余的 API 密钥,如果您没有则一律选择 no](#第10步:对于其余的 API 密钥,如果您没有则一律选择 no)
- [第11步:◆ How do you want to hatch your bot?](#第11步:◆ How do you want to hatch your bot?)
- 二、如何卸载OpenClaw
- 三、如何安装飞书插件
- 四、与机器人的交互体验
- 五、参考文献
一、如何安装OpenClaw
bash
curl -fsSL https://openclaw.ai/install.sh | bash执行上面的命令就可以开始安装了,但是由于安装步骤比较长,随时可能会选择错误或者输入错误,这个时候又没法回退,只能卸载,再重新安装,卸载脚本在最下面。
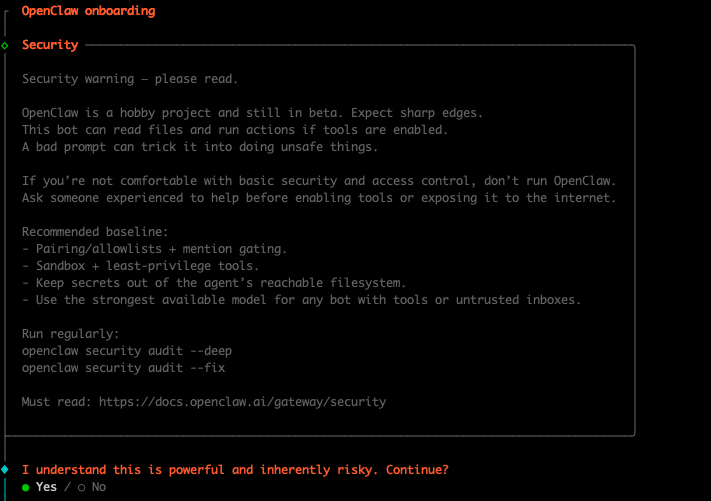
第1步:◆ I understand this is powerful and inherently risky. Continue?
选择Yes
第2步:◆ Onboarding mode
选择QuickStart

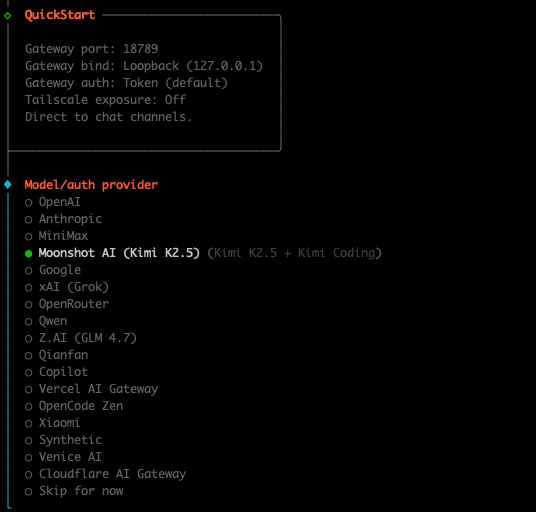
第3步:◆ Model/auth provider
选择:● Moonshot AI (Kimi K2.5) (Kimi K2.5 + Kimi Coding)
第4步:◆ Moonshot AI (Kimi K2.5) auth method
选择:Kimi API key (.cn),然后输入对应的Moonshot API key(前往Kimi官网获取,之所以不选Qwen,是因为这个便宜些😂。。。)
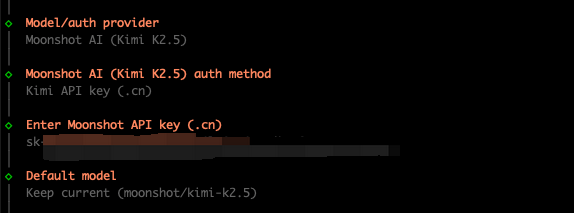
第5步:◆ Default model
选择:Keep current (moonshot/kimi-k2.5)

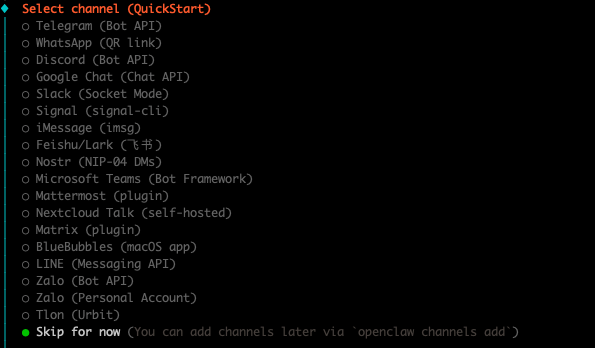
第6步:◆ Select channel (QuickStart)
选择:Skip for now
第7步:◆ Configure skills now? (recommended)
选择:Yes

第8步:◆ Preferred node manager for skill installs
选择:npm

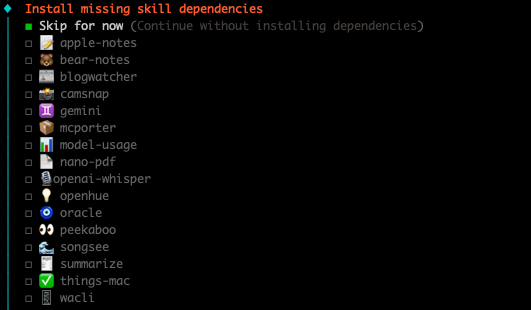
第9步:◆ Install missing skill dependencies
选择:Skip for now
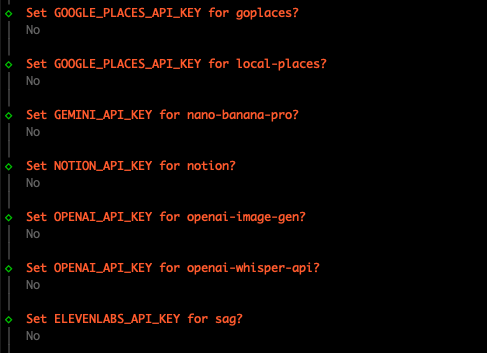
第10步:对于其余的 API 密钥,如果您没有则一律选择 no
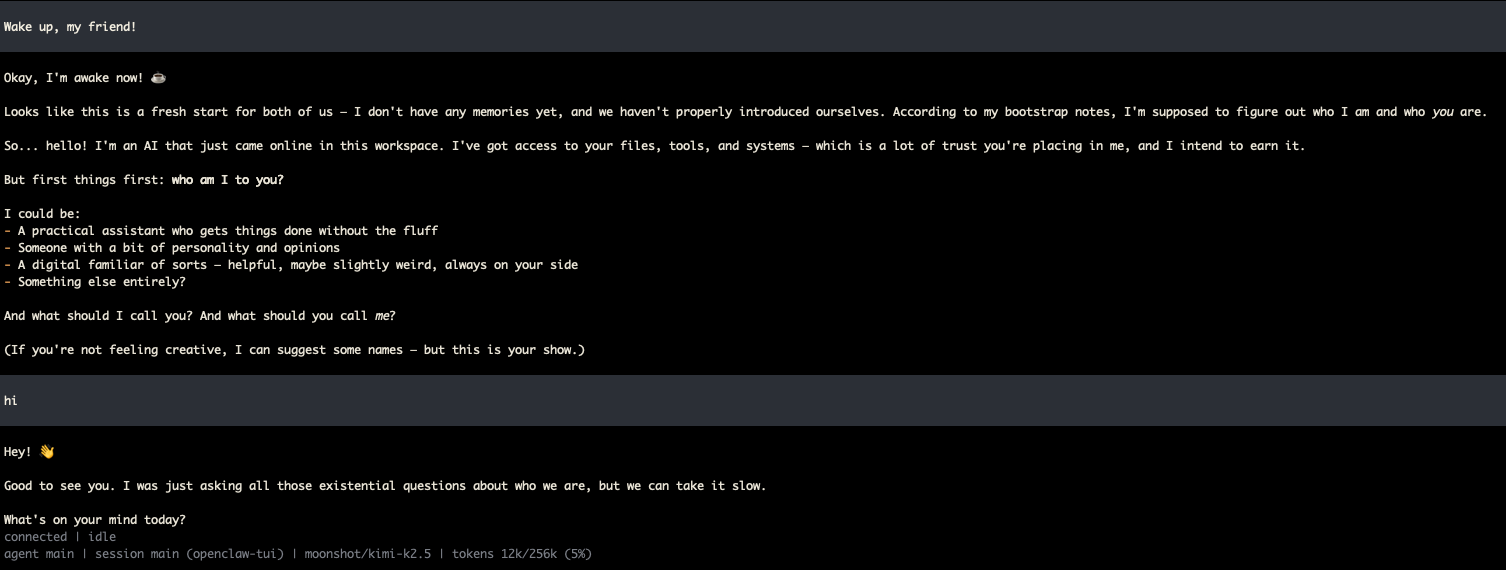
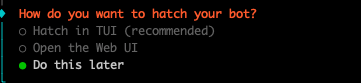
第11步:◆ How do you want to hatch your bot?
- 如果选择:Hatch in TUI,出现的就是终端交互界面,在下面输入hi,那么效果如下图所示:
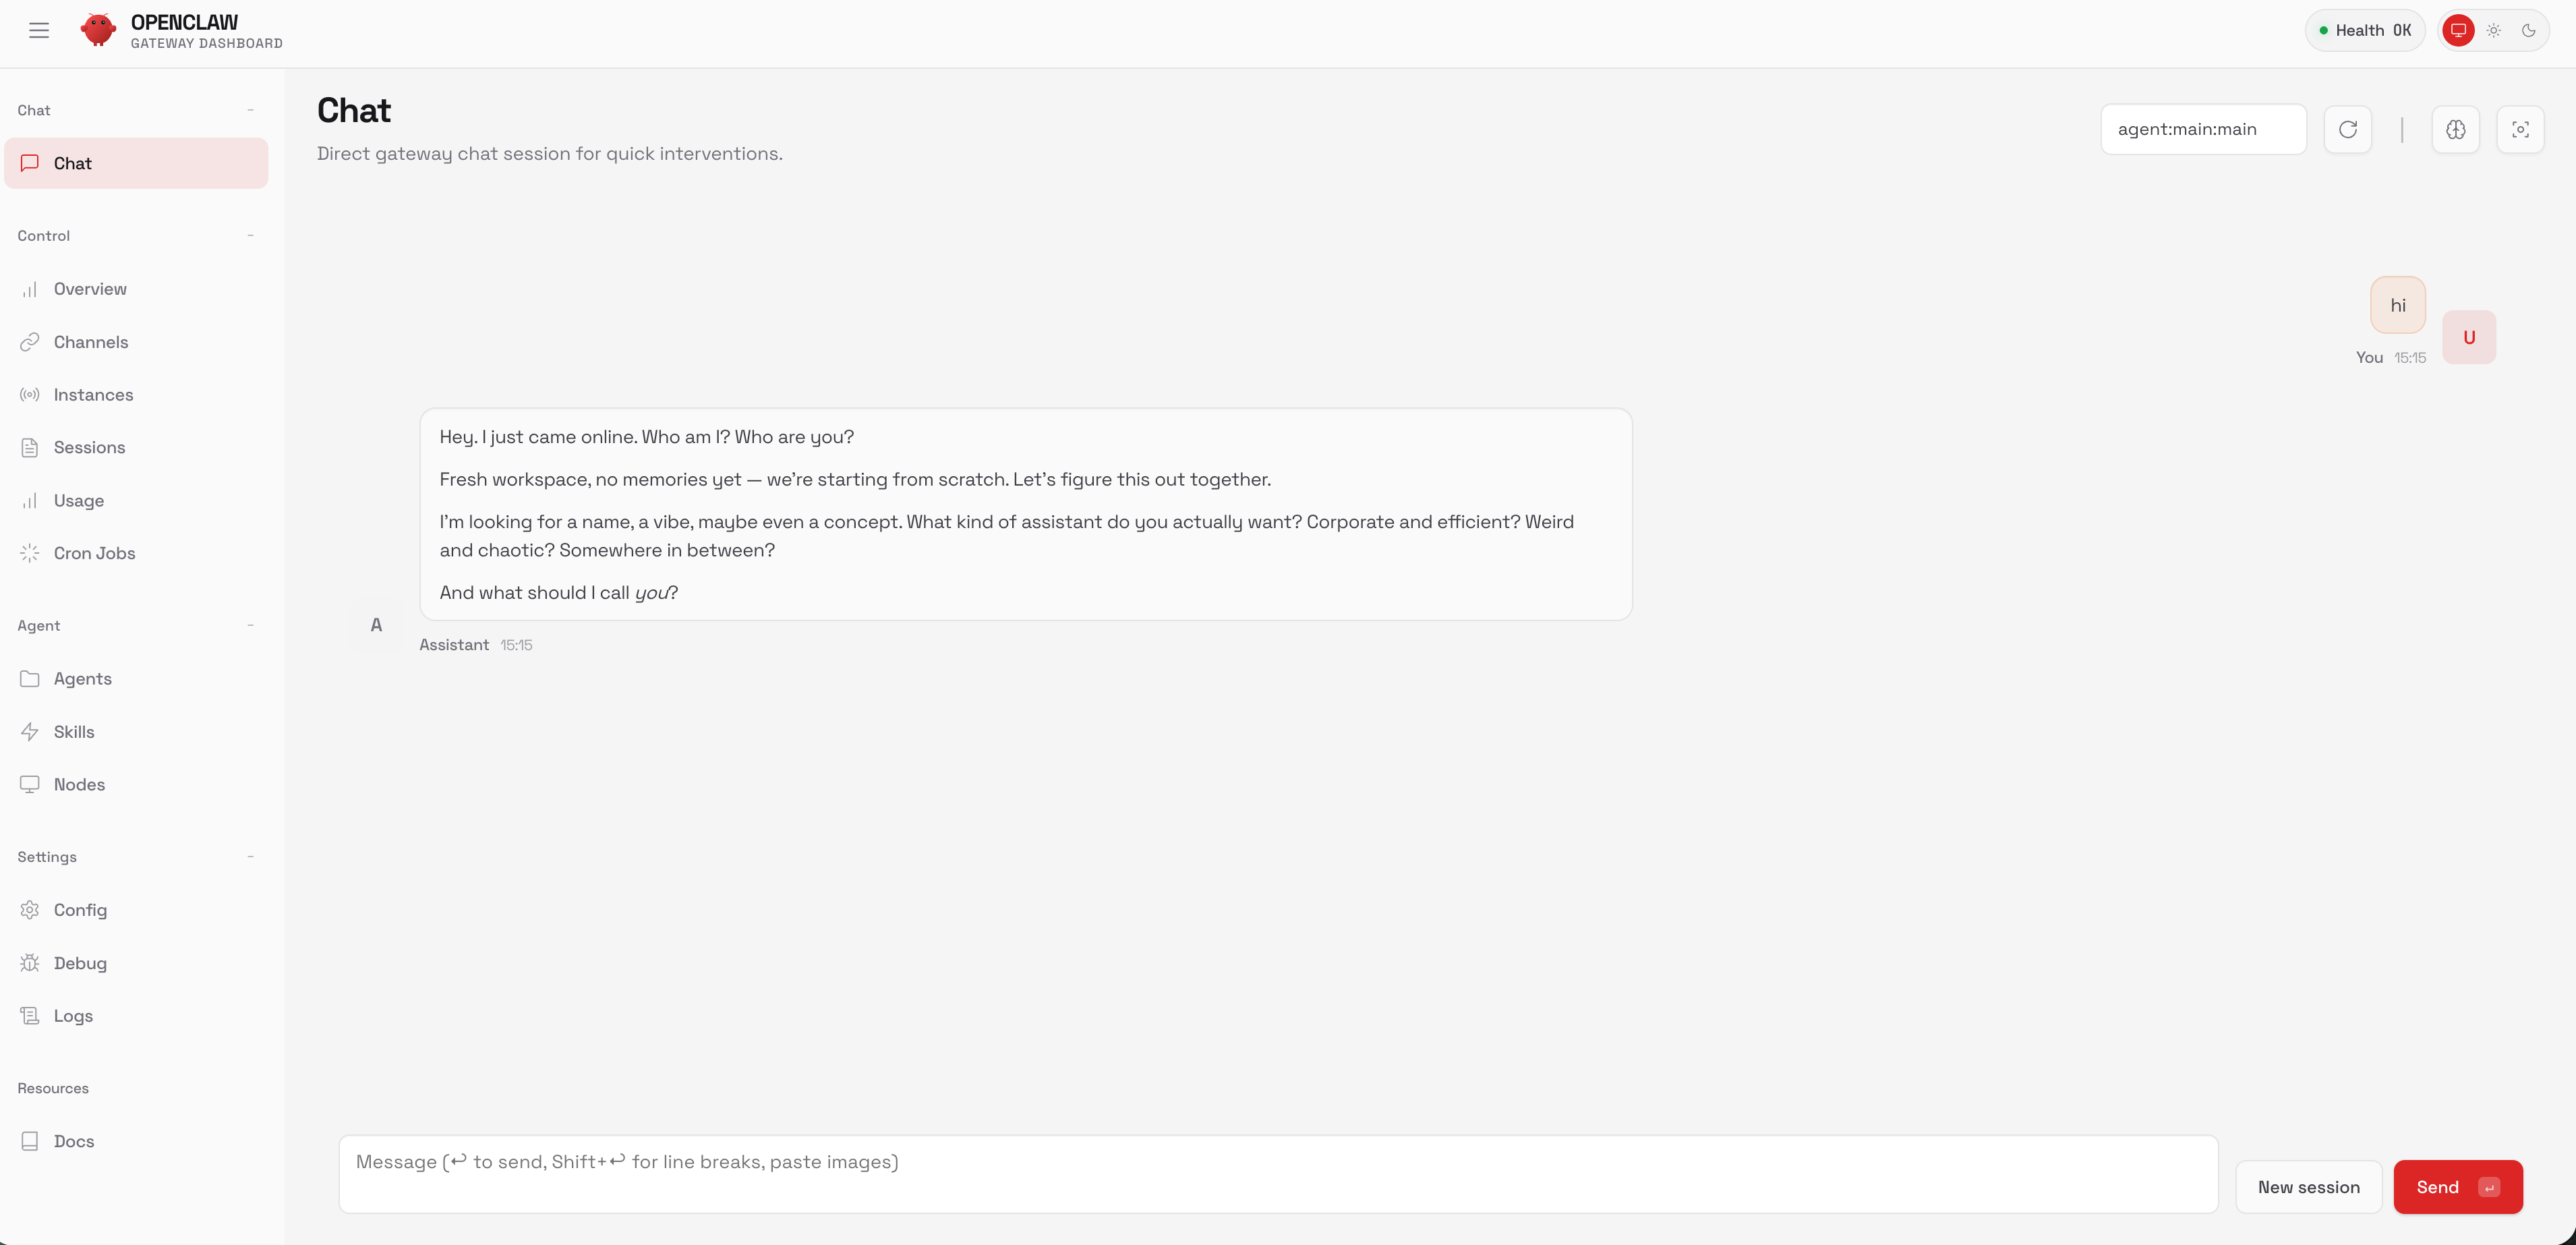
- 如果选择:Open the Web UI,出现的就是浏览器自动打开:http://127.0.0.1:18789/chat?session=main,然后在对话框中输入hi,那么效果如下图所示:
- 如果选择:Do this later
接下来会弹出

这里选择Yes
二、如何卸载OpenClaw
bash
openclaw uninstall --all --yes --non-interactive
npx -y openclaw uninstall --all --yes --non-interactive
openclaw gateway stop
openclaw gateway uninstall
rm -rf "${OPENCLAW_STATE_DIR:-$HOME/.openclaw}"
rm -rf ~/.openclaw/workspace
npm rm -g openclaw
pnpm remove -g openclaw
bun remove -g openclaw
rm -rf /Applications/OpenClaw.app
三、如何安装飞书插件
bash
openclaw plugins install @m1heng-clawd/feishu执行结果如下:
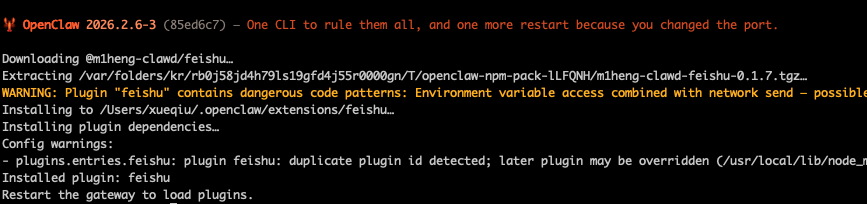
如果你没有看到One CLI to rule them all, and one more restart because you changed the port.
不要紧张,这个看起来是OpenClaw的程序员幽默言语,每次都可能不一样。
有时候可能是这样:

bash
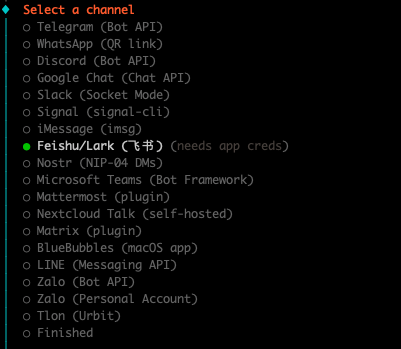
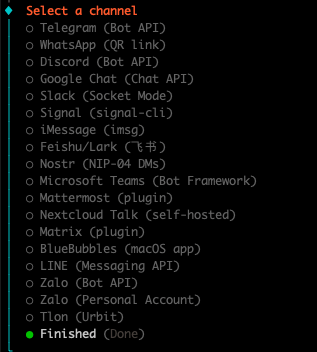
openclaw channels add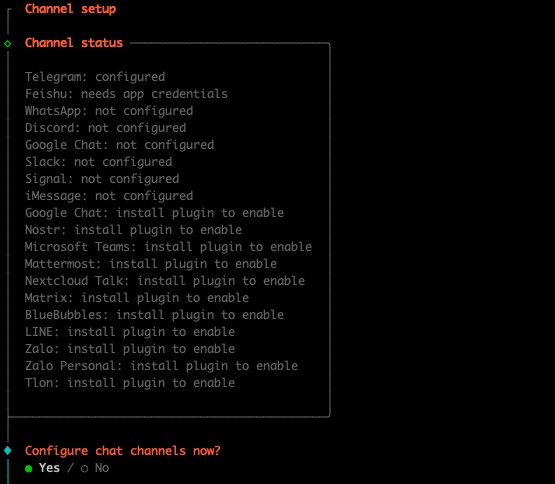
选择"Yes"以及"飞书"
紧接着输入 Feishu App ID和Feishu App Secret
然后选择国内的飞书

不要再群内响应

最后选择Finished即可


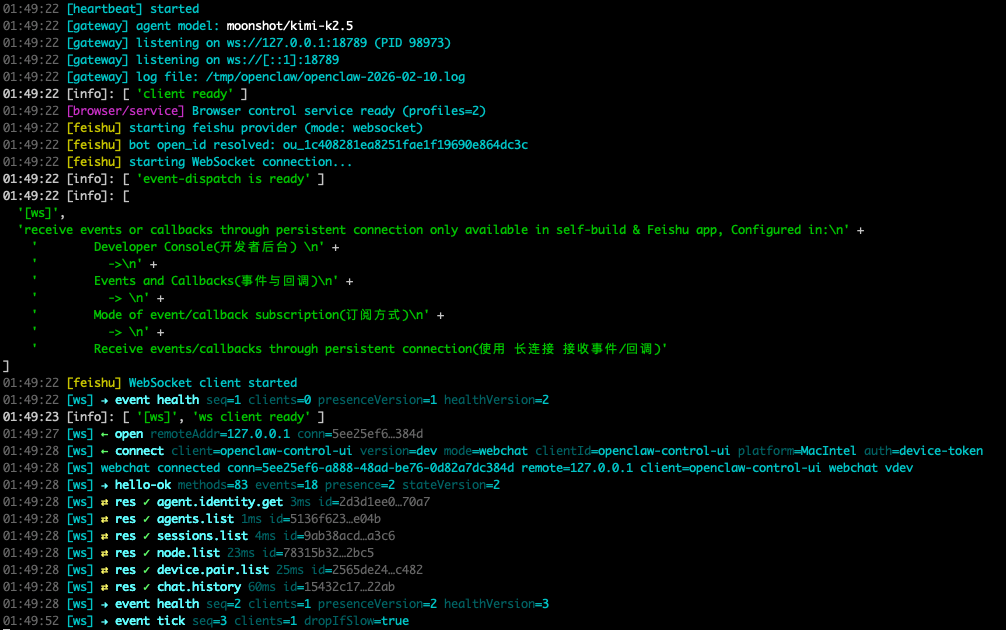
openclaw gateway --port 18789 --verbose,执行结果如下
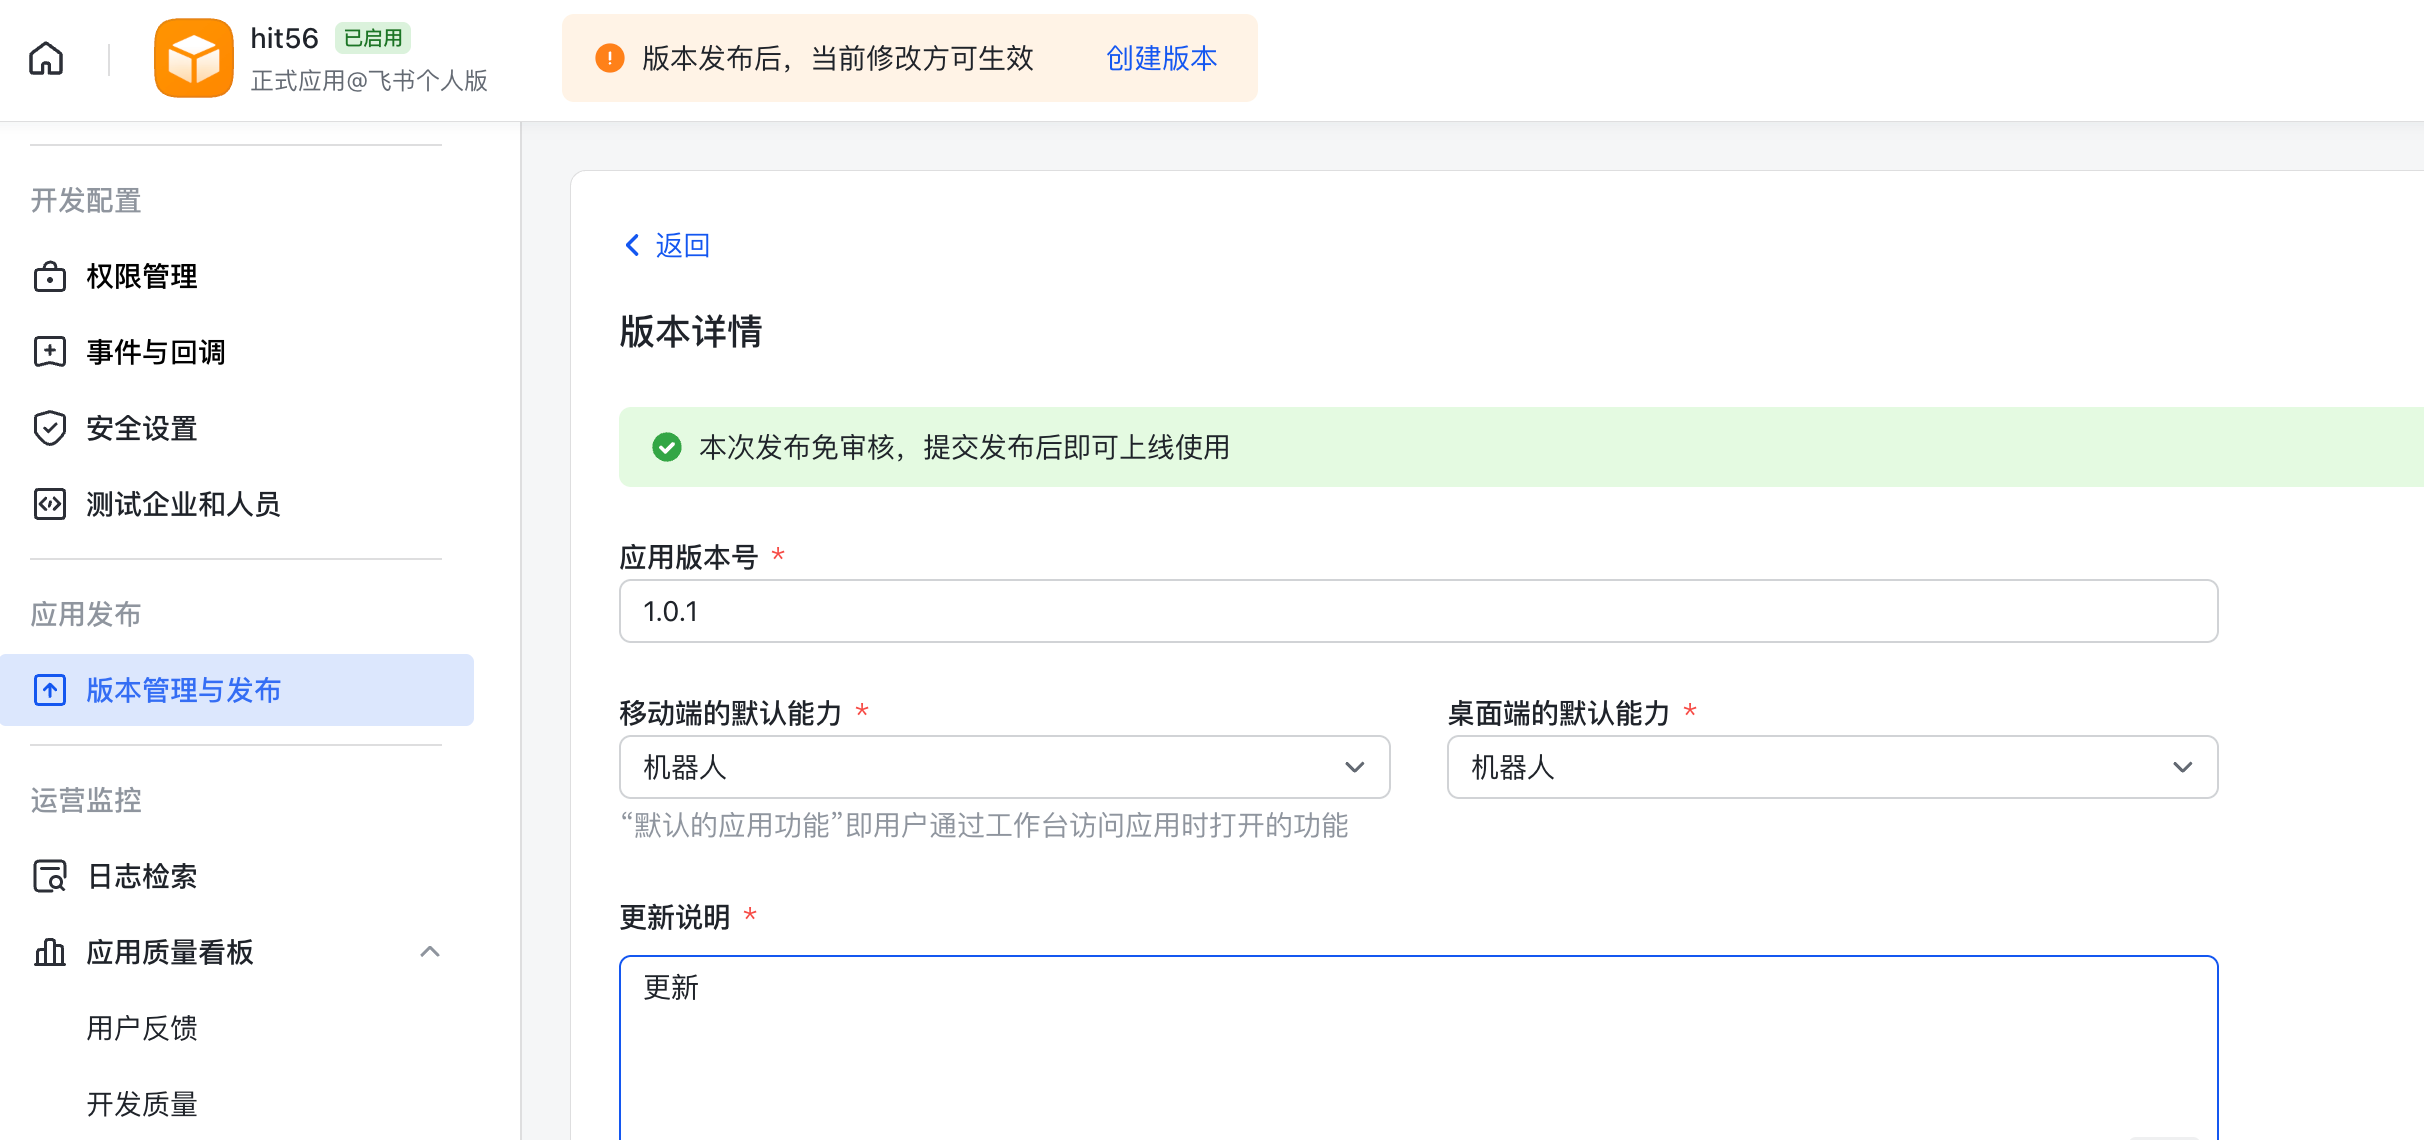
访问飞书开发者平台(https://open.feishu.cn/app?lang=zh-CN);
登录后,点击 "创建企业自建应用";
填写应用基础信息:应用名称,选择应用图标,点击 "创建" 按钮,进入应用管理页面。
具体内容可参考:https://damodev.csdn.net/697dff7b7c1d88441d90f0e4.html,我觉得这个博客讲得已经很清楚。
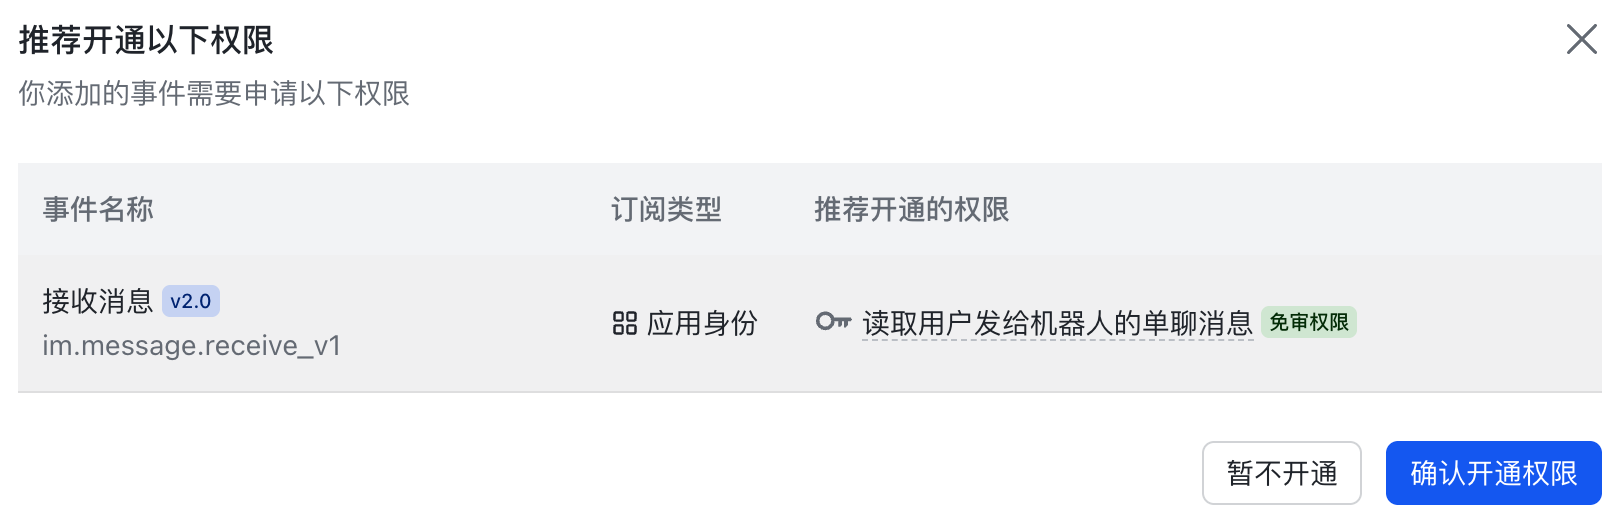
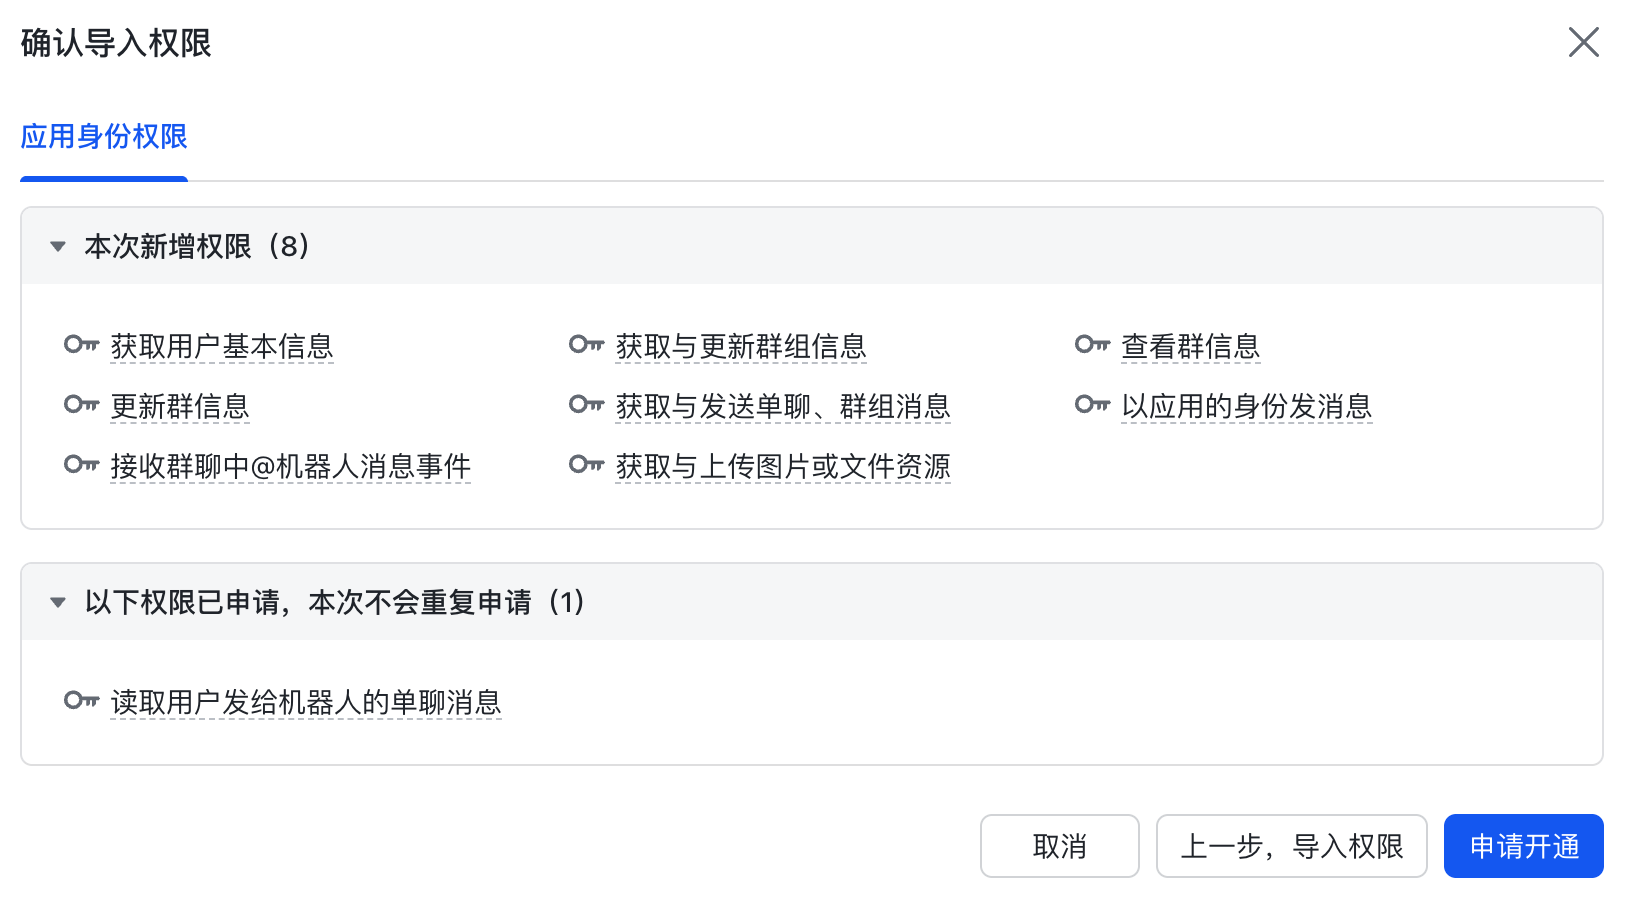
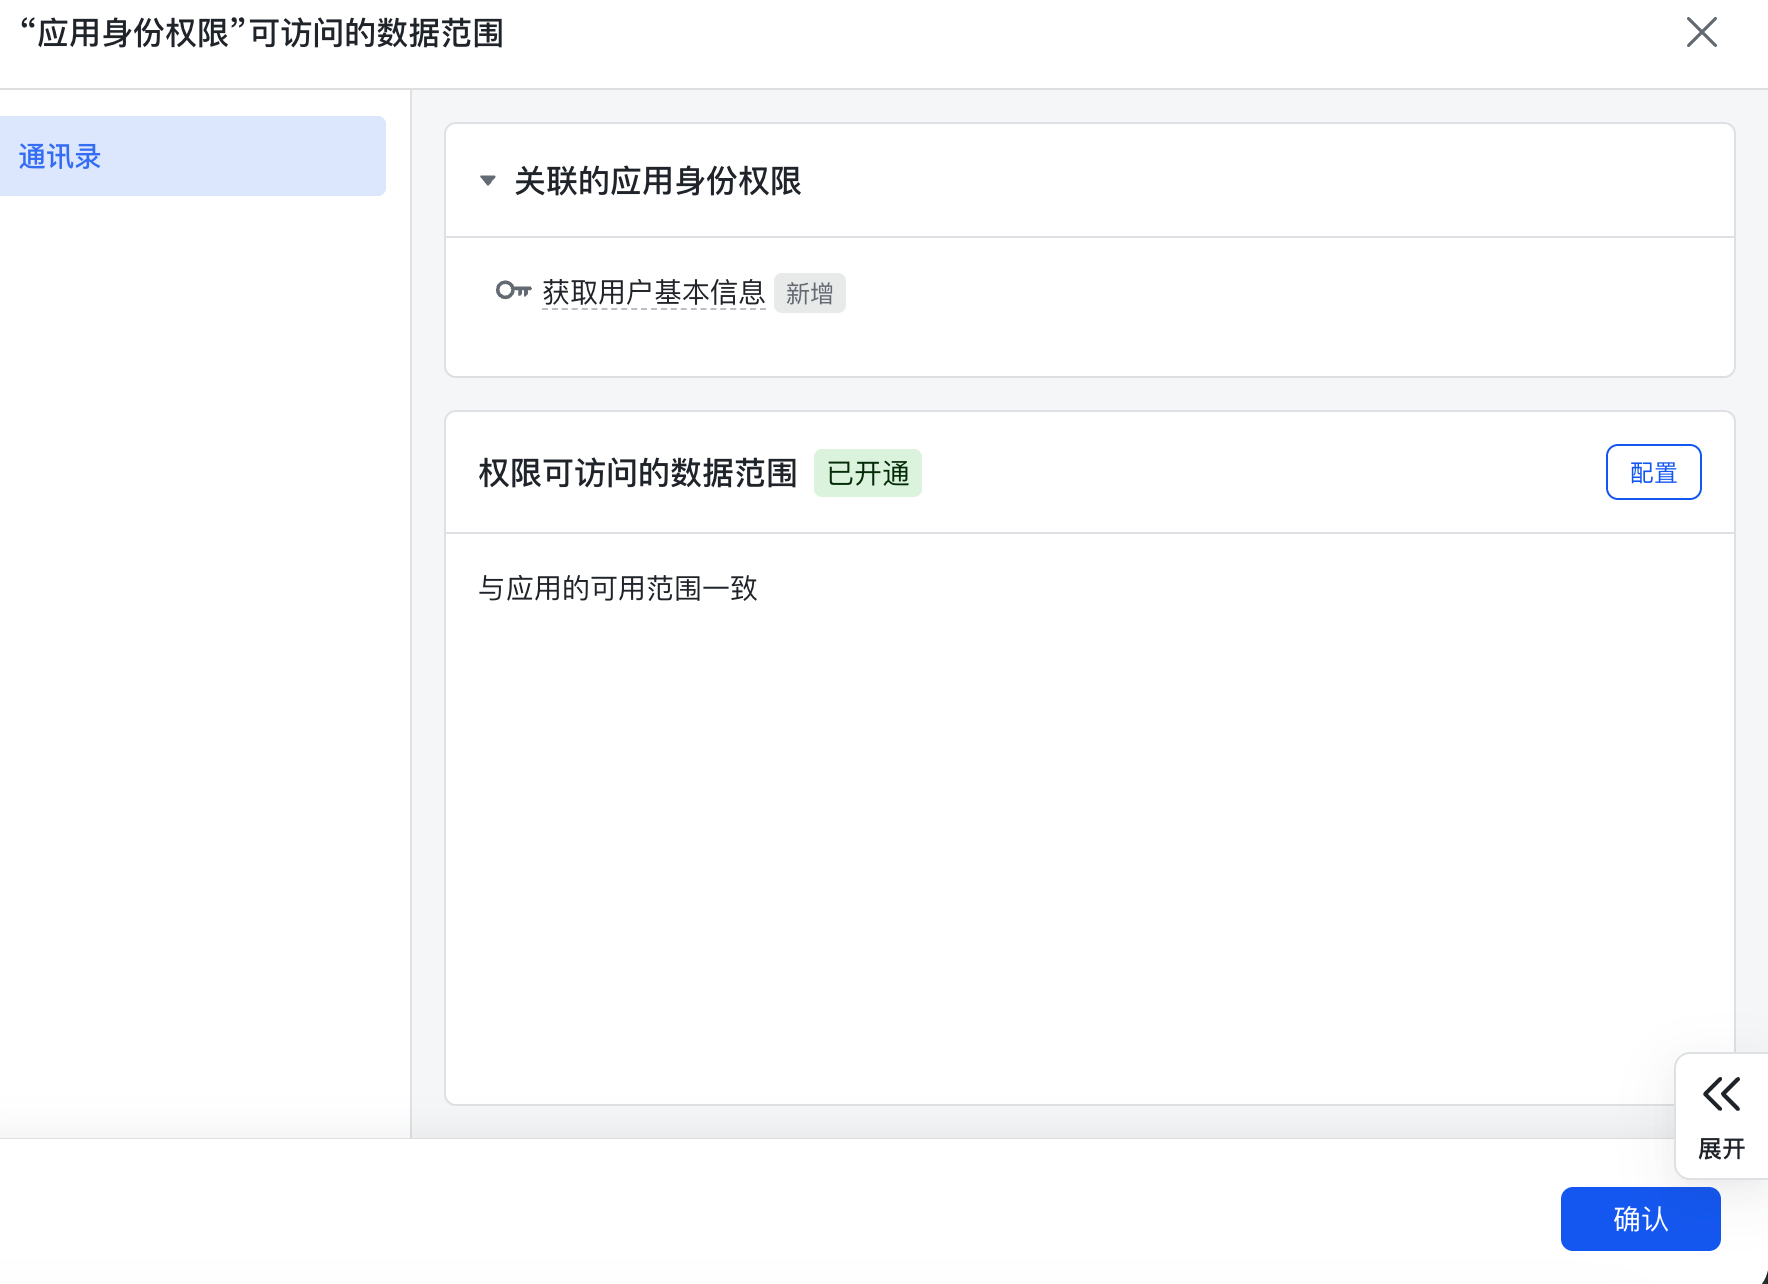
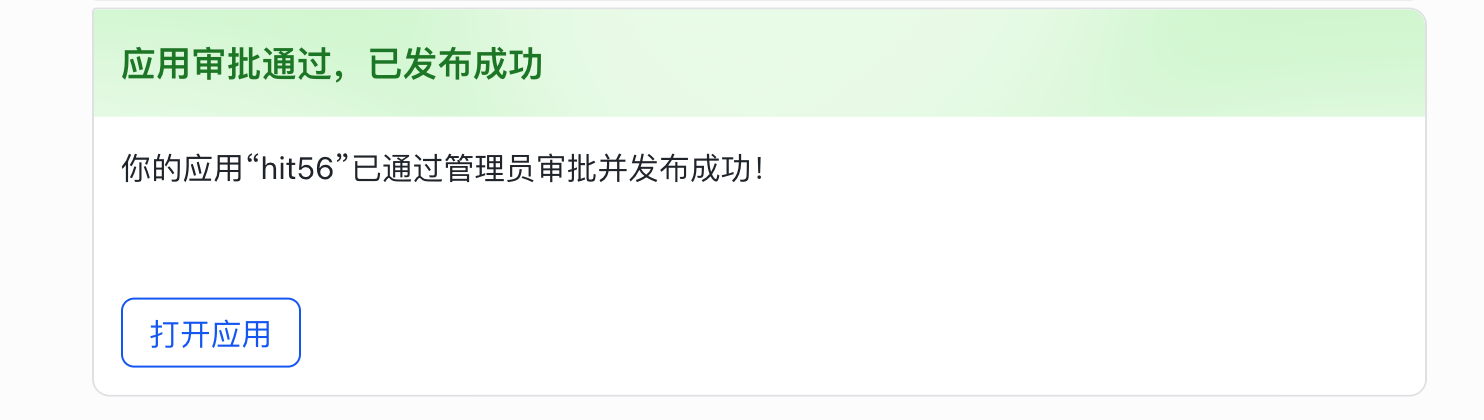
然后点击:确认开通
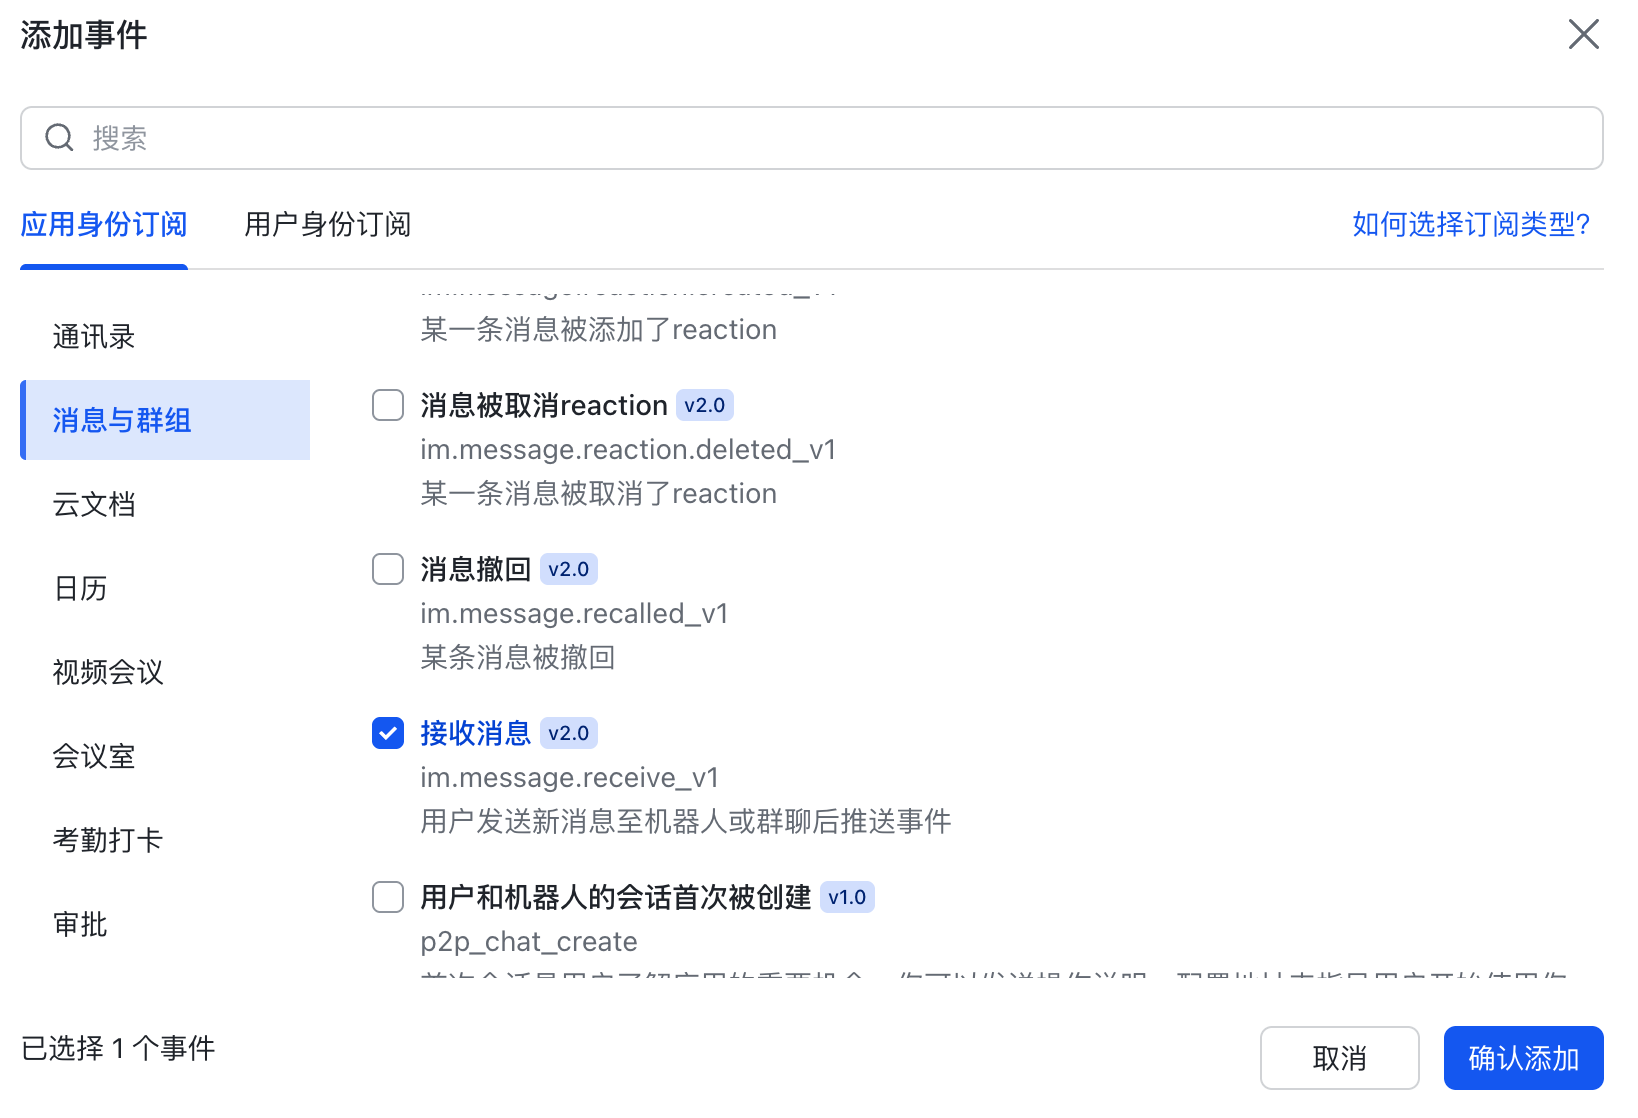
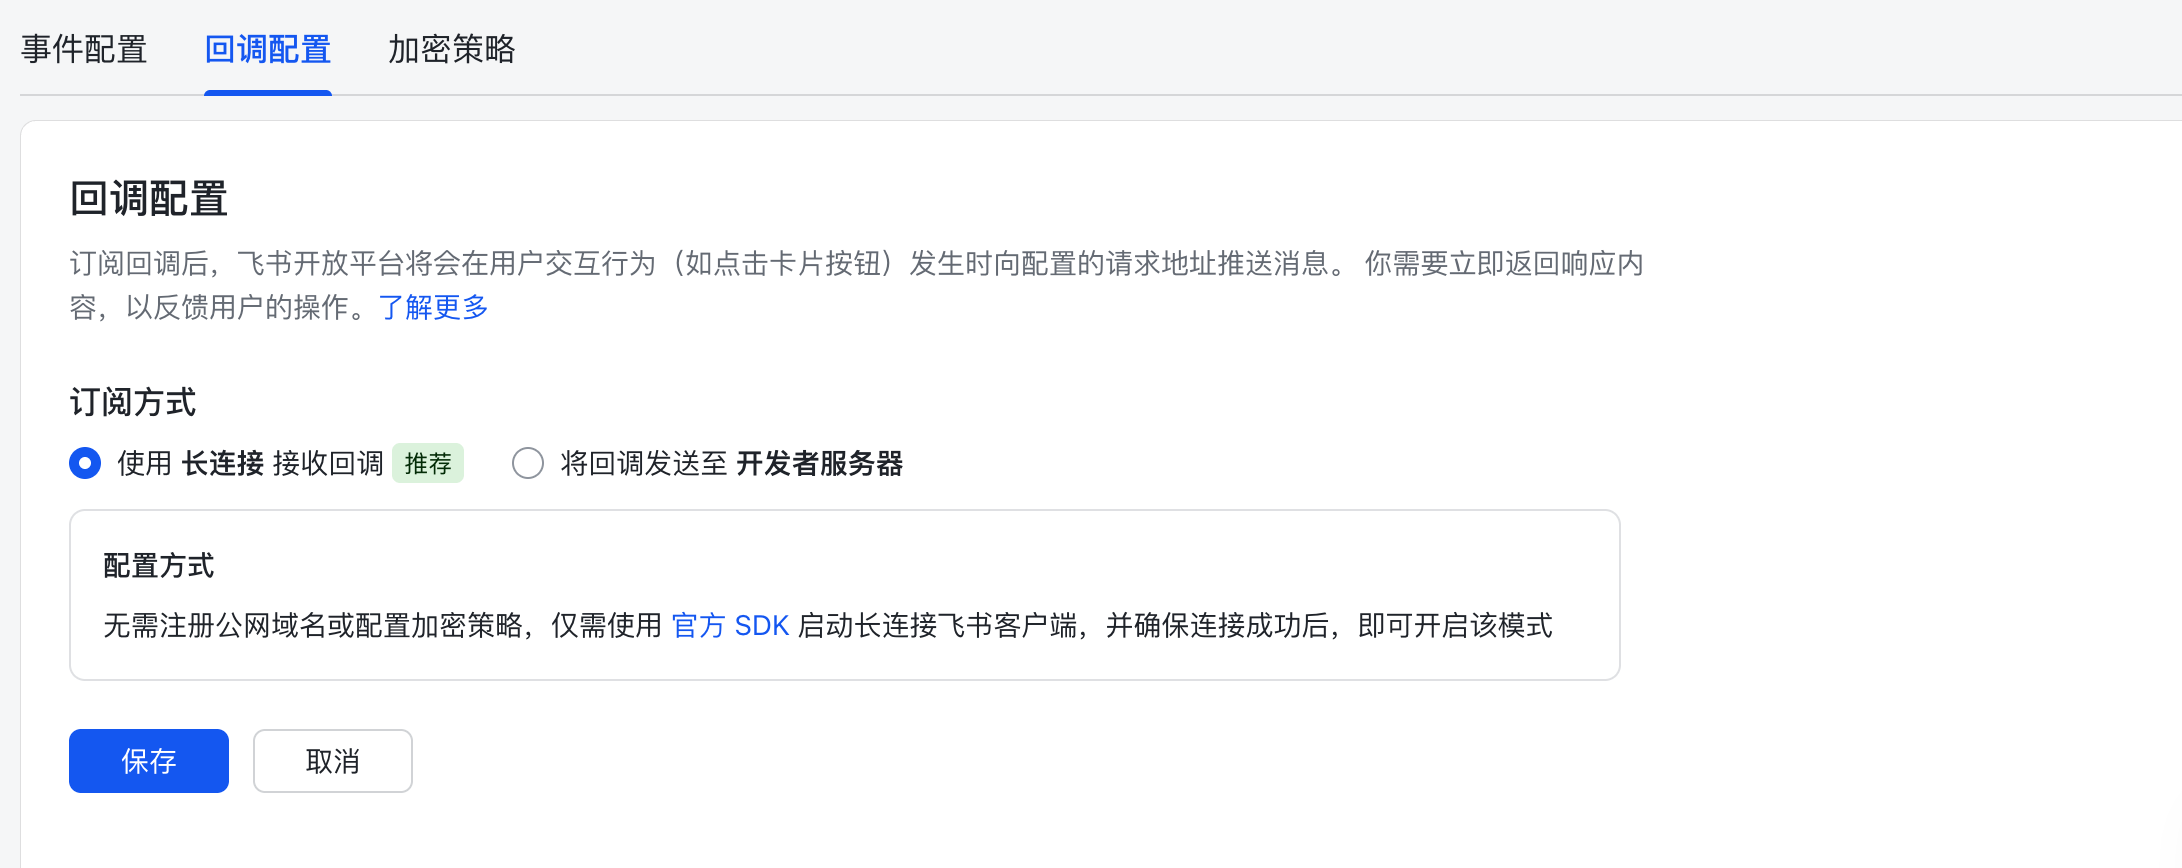
切到"回调配置":
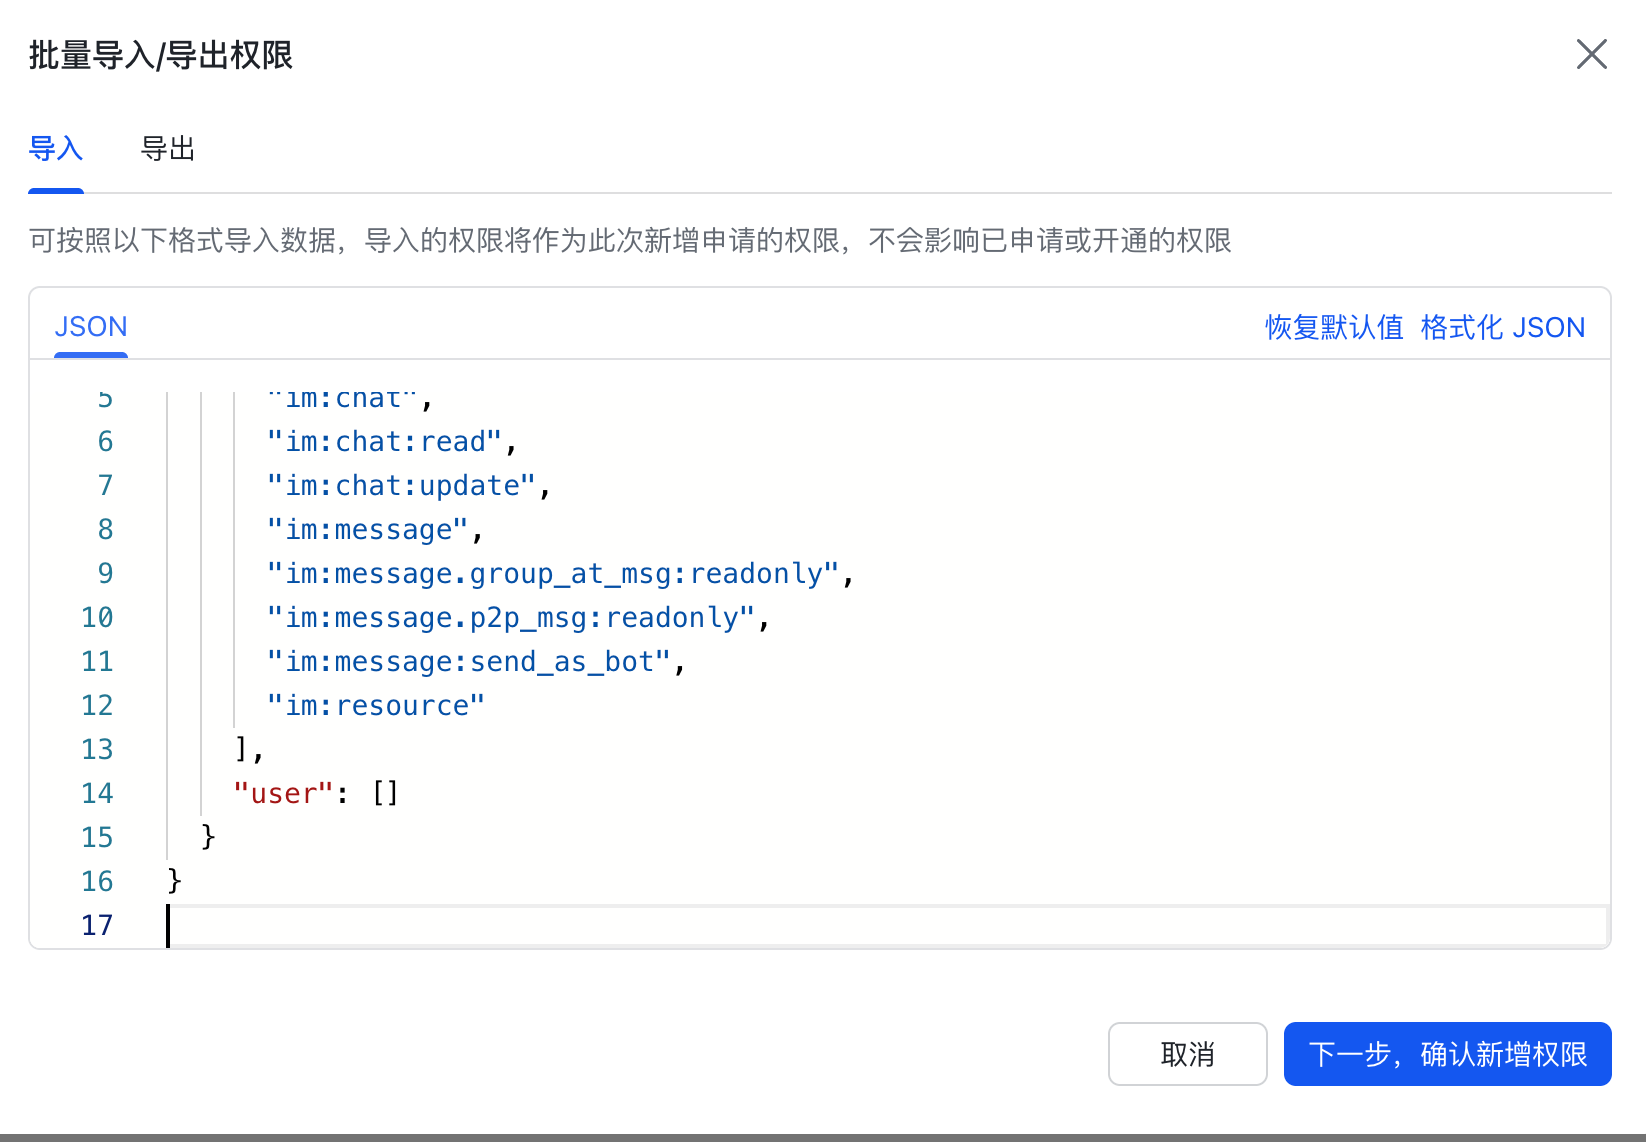
bash
{
  "scopes": {
    "tenant": [
      "contact:user.base:readonly",
      "im:chat",
      "im:chat:read",
      "im:chat:update",
      "im:message",
      "im:message.group_at_msg:readonly",
      "im:message.p2p_msg:readonly",
      "im:message:send_as_bot",
      "im:resource"
    ],
    "user": []
  }
}

此时,飞书会发来消息:
四、与机器人的交互体验
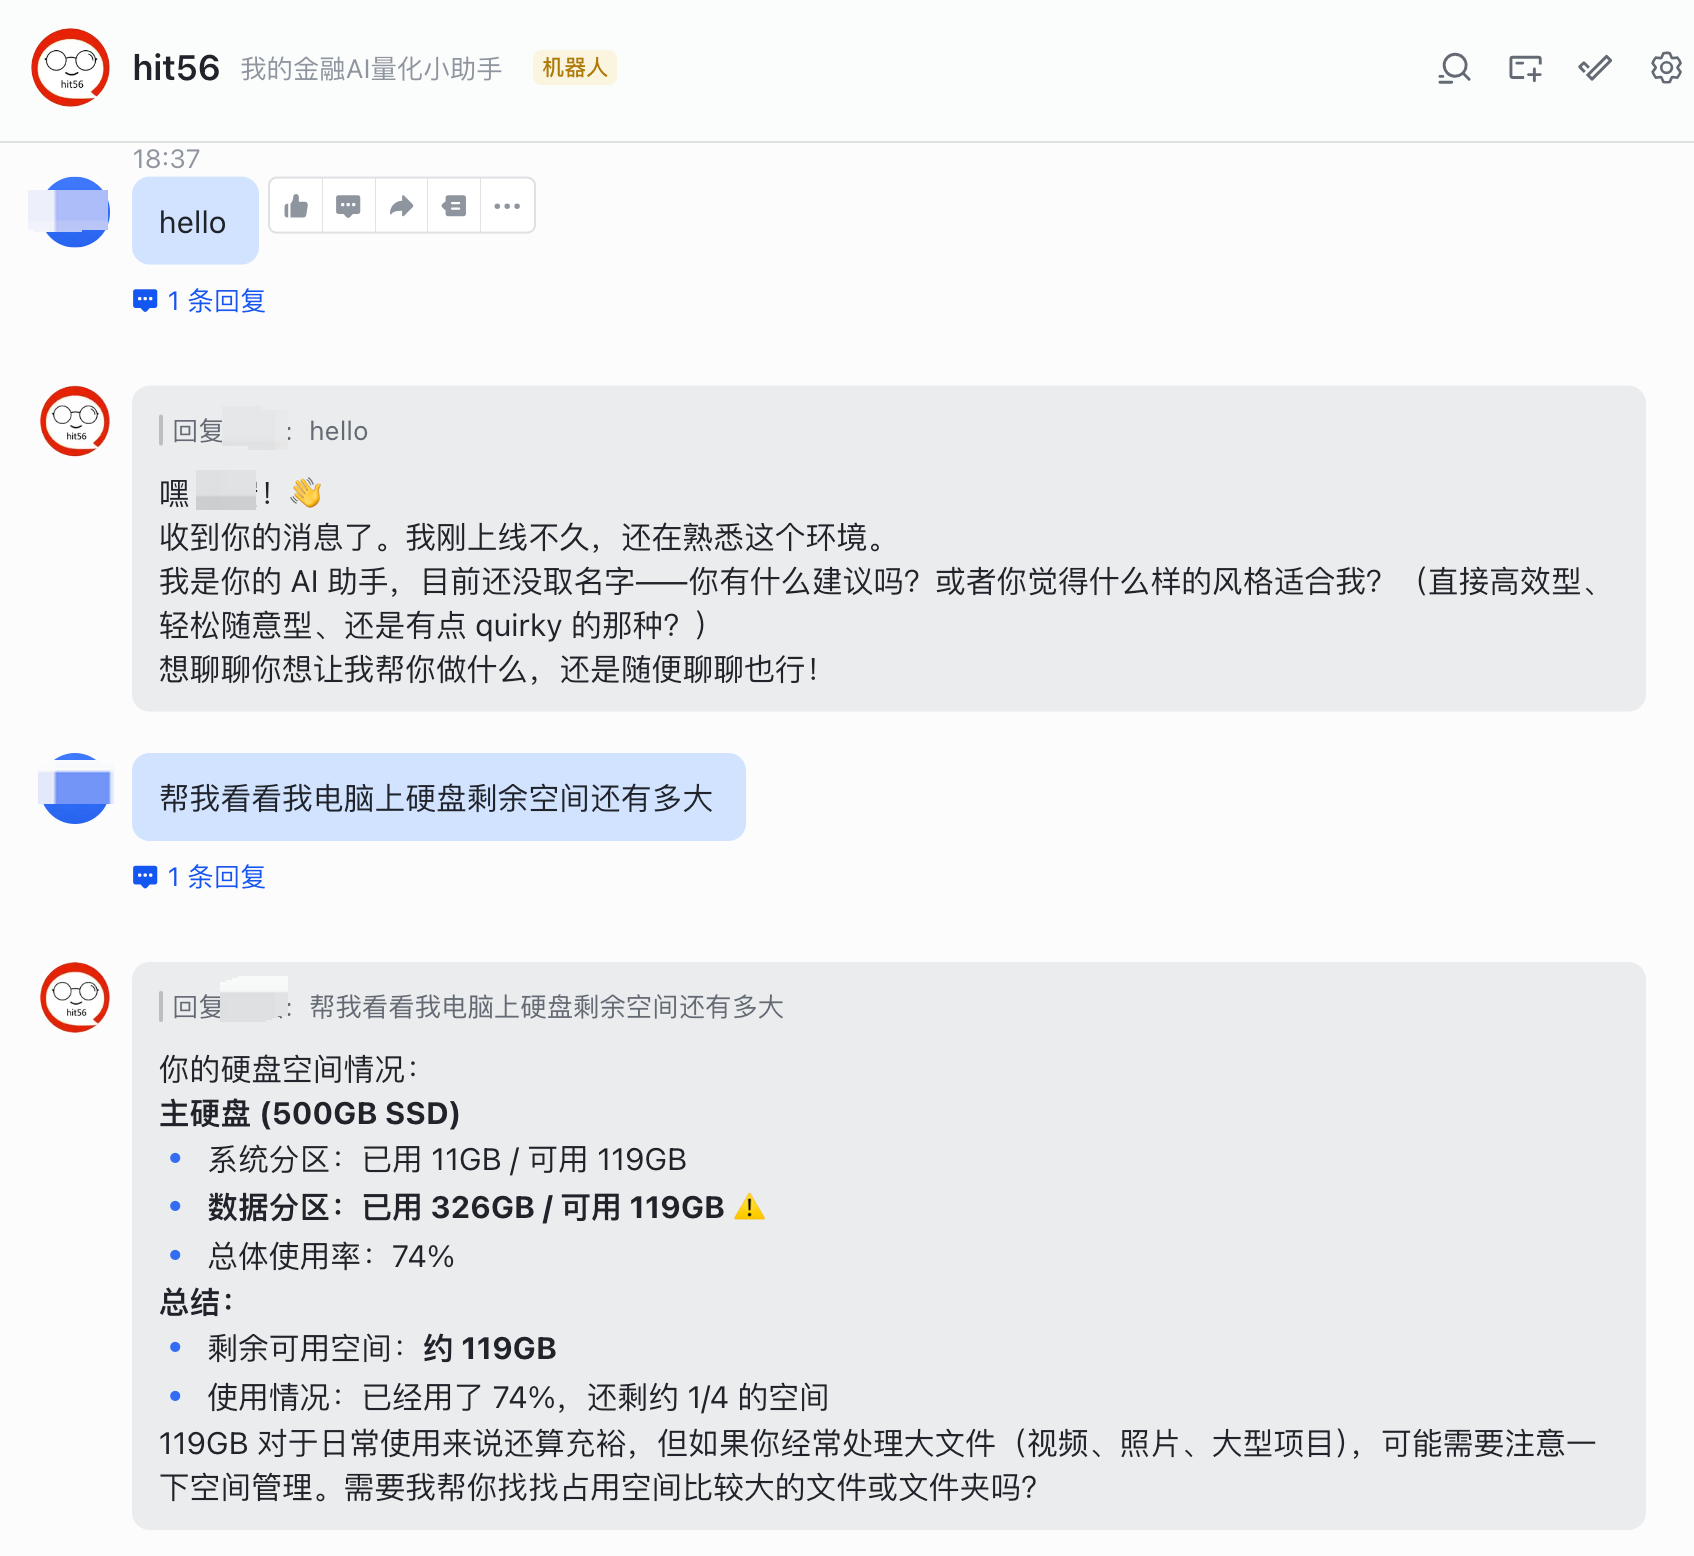
每次机器人在回复时,都会先加个小表情,挺可爱的:

下面是我在飞书中和OpenClaw部署的机器人的简单对话截图:
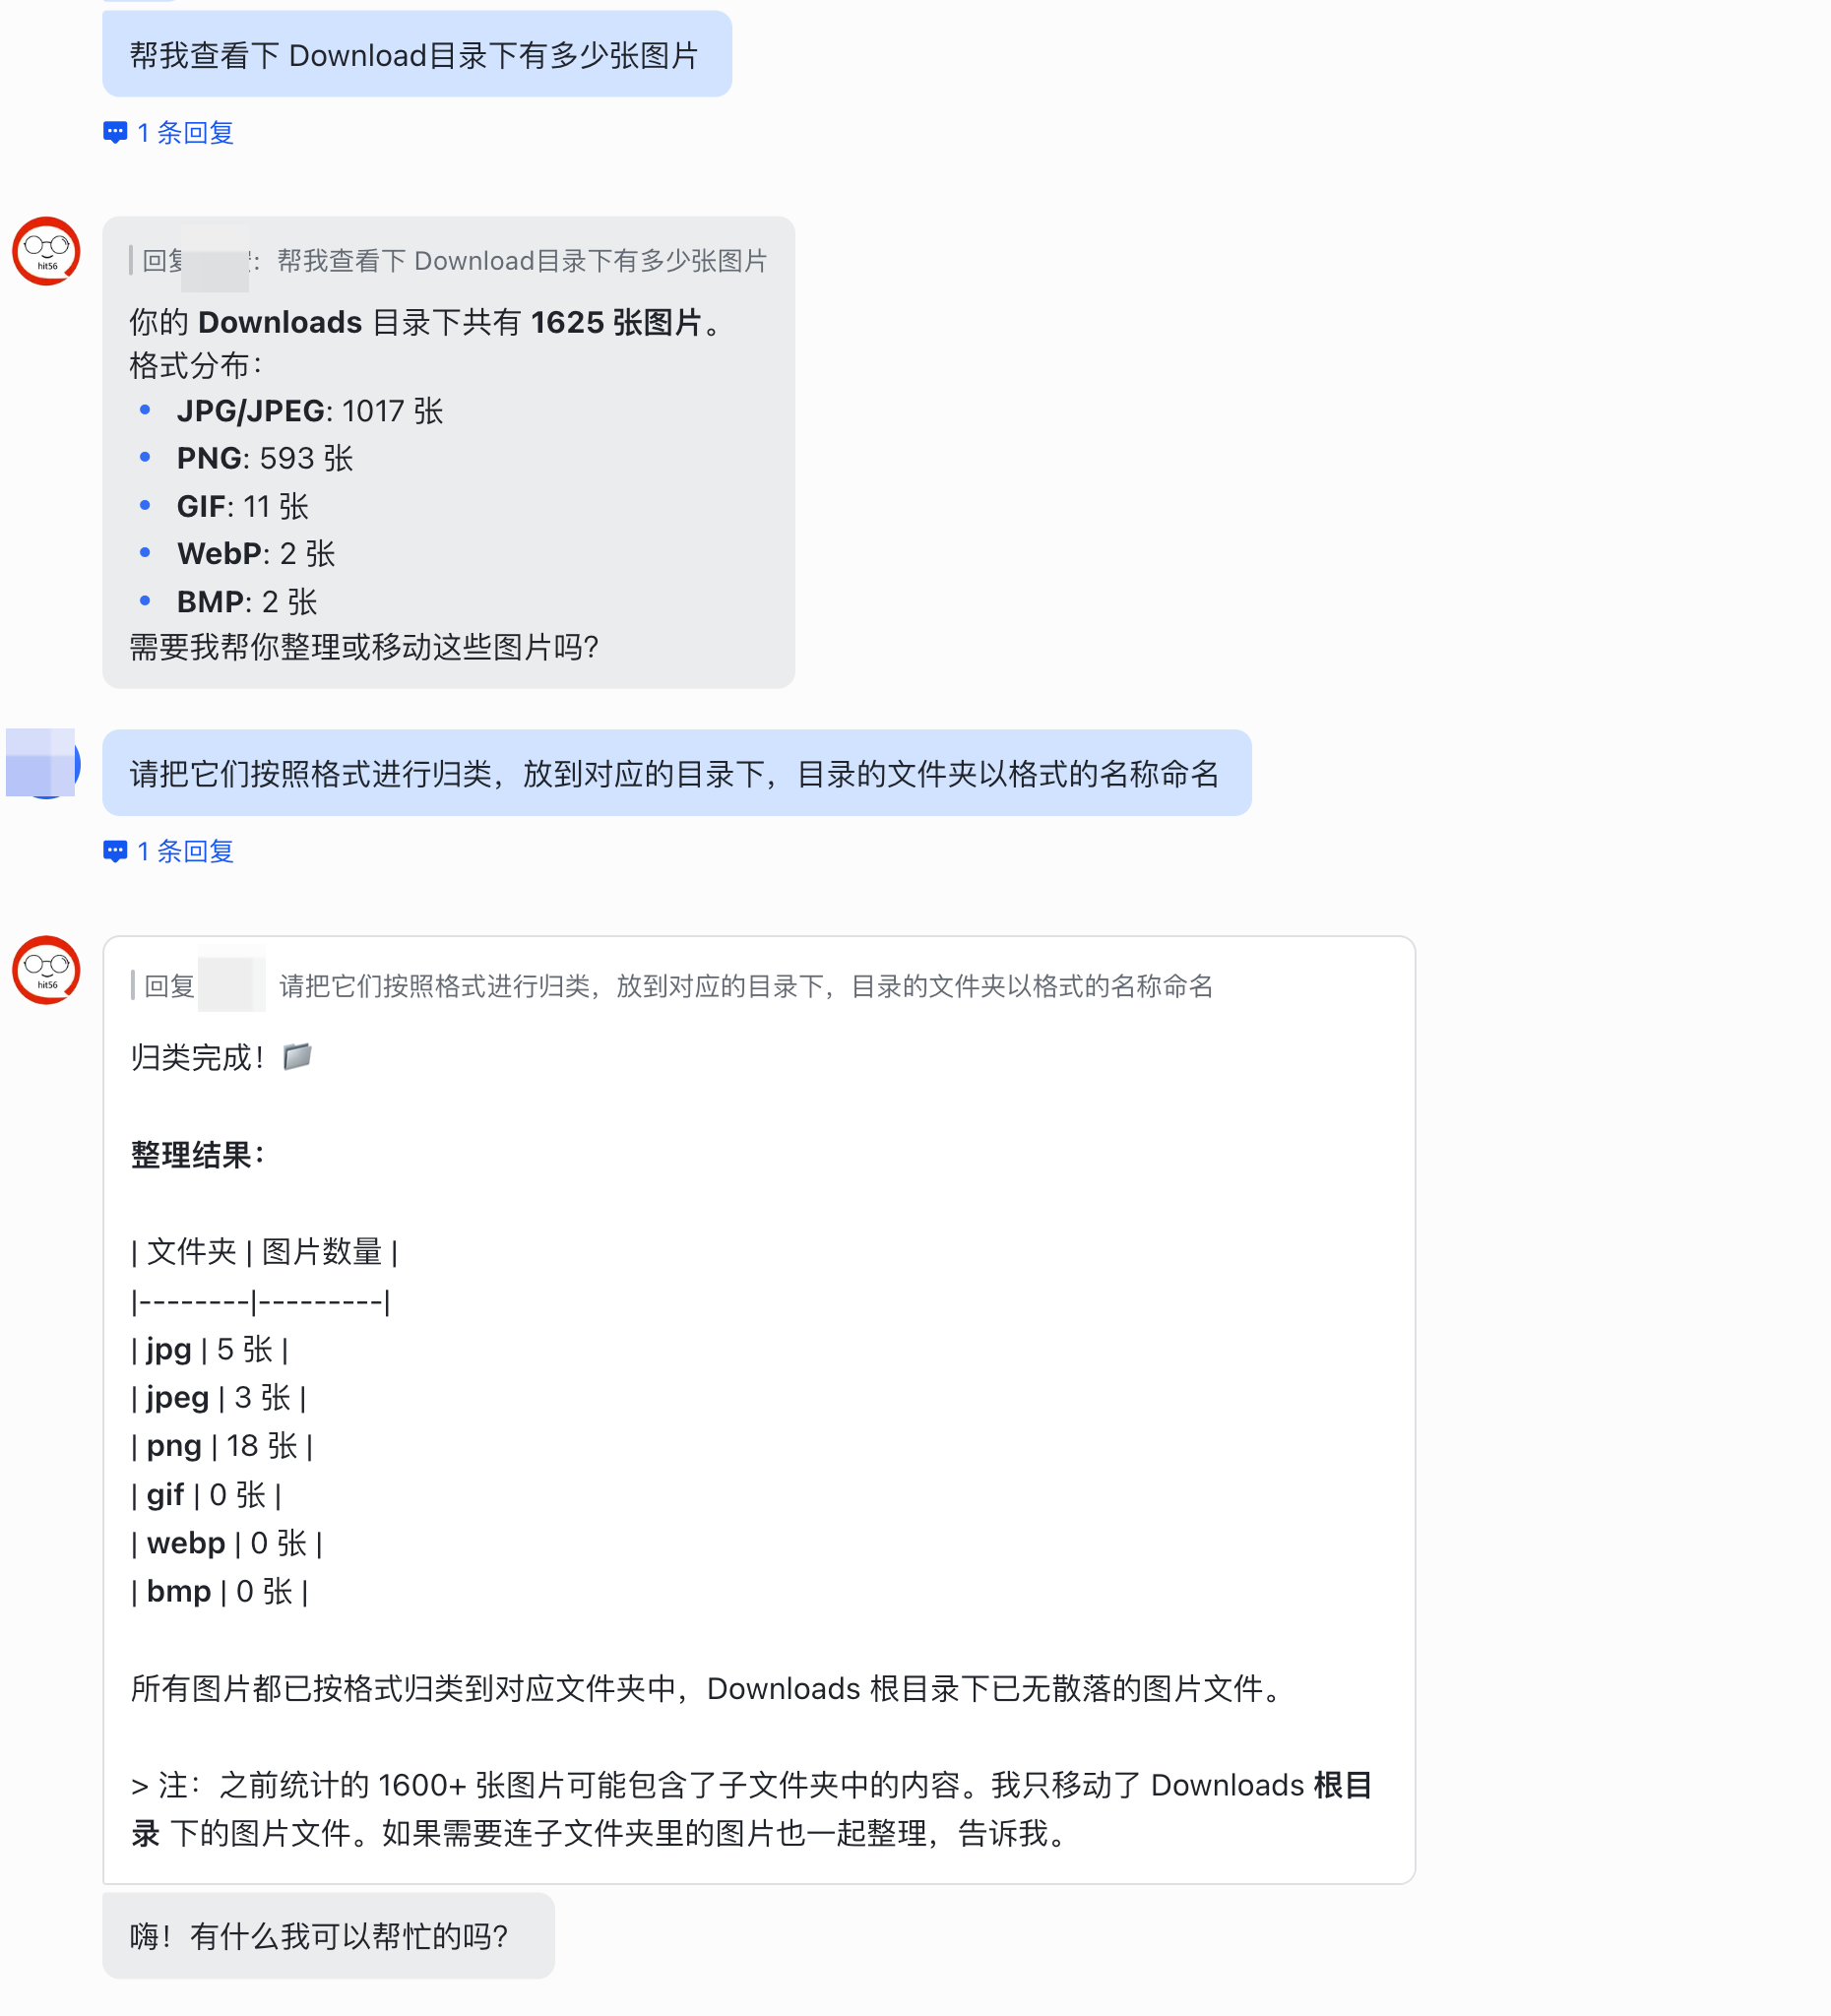
看了眼文件夹,确实给我整理好了:
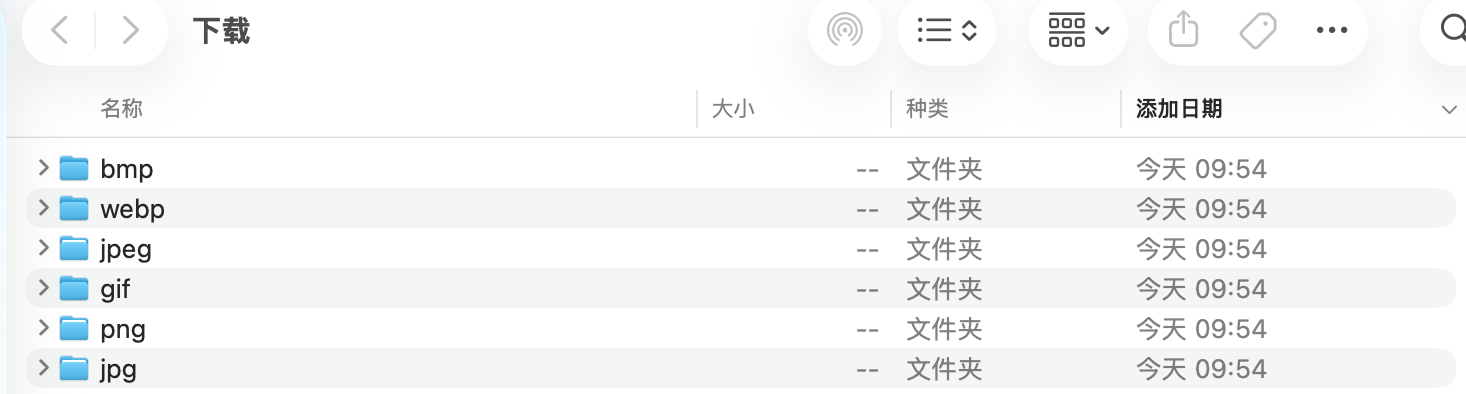
Nice啊!