Spring xml 方式整合第三方框架总结加案例
一、总述
- 将自定义标签的约束 与 物理约束文件与网络约束名称的约束 以键值对形式存储到一个spring.schemas文件里,该文件存储在类加载路径的 META-INF 里,Spring 会自动加载到;
- 将自定义命名空间的名称 与 自定义命名空间的处理器映射关系 以键值对形式存在到一个叫spring.handlers文件里,该文件存储在类加载路径的 META-INF 里,Spring 会自动加载到;
- 准备好 NamespaceHandler,如果命名空间只有一个标签,那么直接在 parse 方法中进行解析即可,一般解析结果就是注册该标签对应的 BeanDefinition。如果命名空间里有多个标签,那么可以在 init 方法中为每个标签都注册一个 BeanDefinitionParser,在执行 NamespaceHandler 的 parse 方法时在分流给不同的 BeanDefinitionParser 进行解析 (重写 doParse 方法即可)。
二、实验
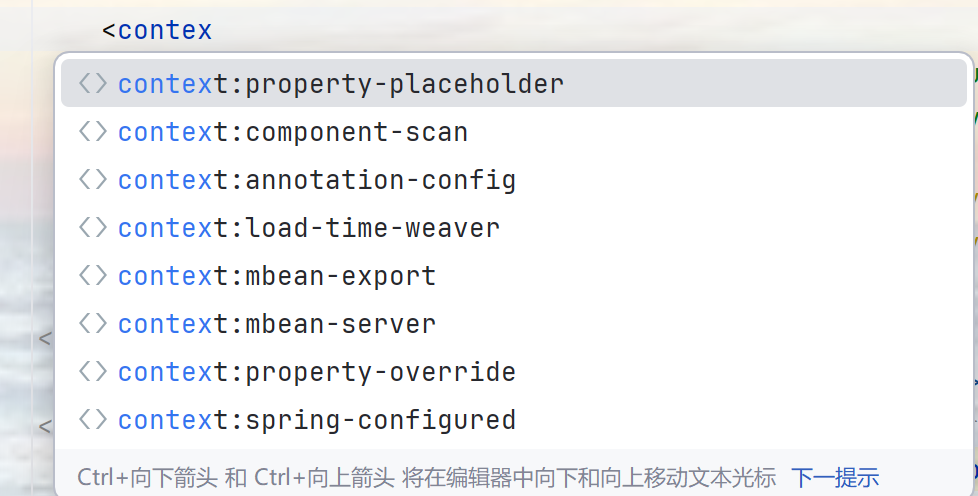
2.1看懂命名空间(以contex为例)
java
<beans xmlns="http://www.springframework.org/schema/beans"
       xmlns:xsi="http://www.w3.org/2001/XMLSchema-instance"
       xmlns:context="http://www.springframework.org/schema/context"
       xsi:schemaLocation="
       http://www.springframework.org/schema/beans
       http://www.springframework.org/schema/beans/spring-beans.xsd
       http://www.springframework.org/schema/context
       http://www.springframework.org/schema/context/spring-context.xsd">
<context:property-placeholder location="classpath:jdbc.properties"/> "http://www.springframework.org/schema/context"是命名空间,不过是虚拟的地址,在spring-context\5.3.7\spring-context-5.3.7.jar!\META-INF\spring.handlers中有与之对应的处理器:
java
http\://www.springframework.org/schema/context=org.springframework.context.config.ContextNamespaceHandler
http\://www.springframework.org/schema/jee=org.springframework.ejb.config.JeeNamespaceHandler
http\://www.springframework.org/schema/lang=org.springframework.scripting.config.LangNamespaceHandler
http\://www.springframework.org/schema/task=org.springframework.scheduling.config.TaskNamespaceHandler
http\://www.springframework.org/schema/cache=org.springframework.cache.config.CacheNamespaceHandler"http://www.springframework.org/schema/context
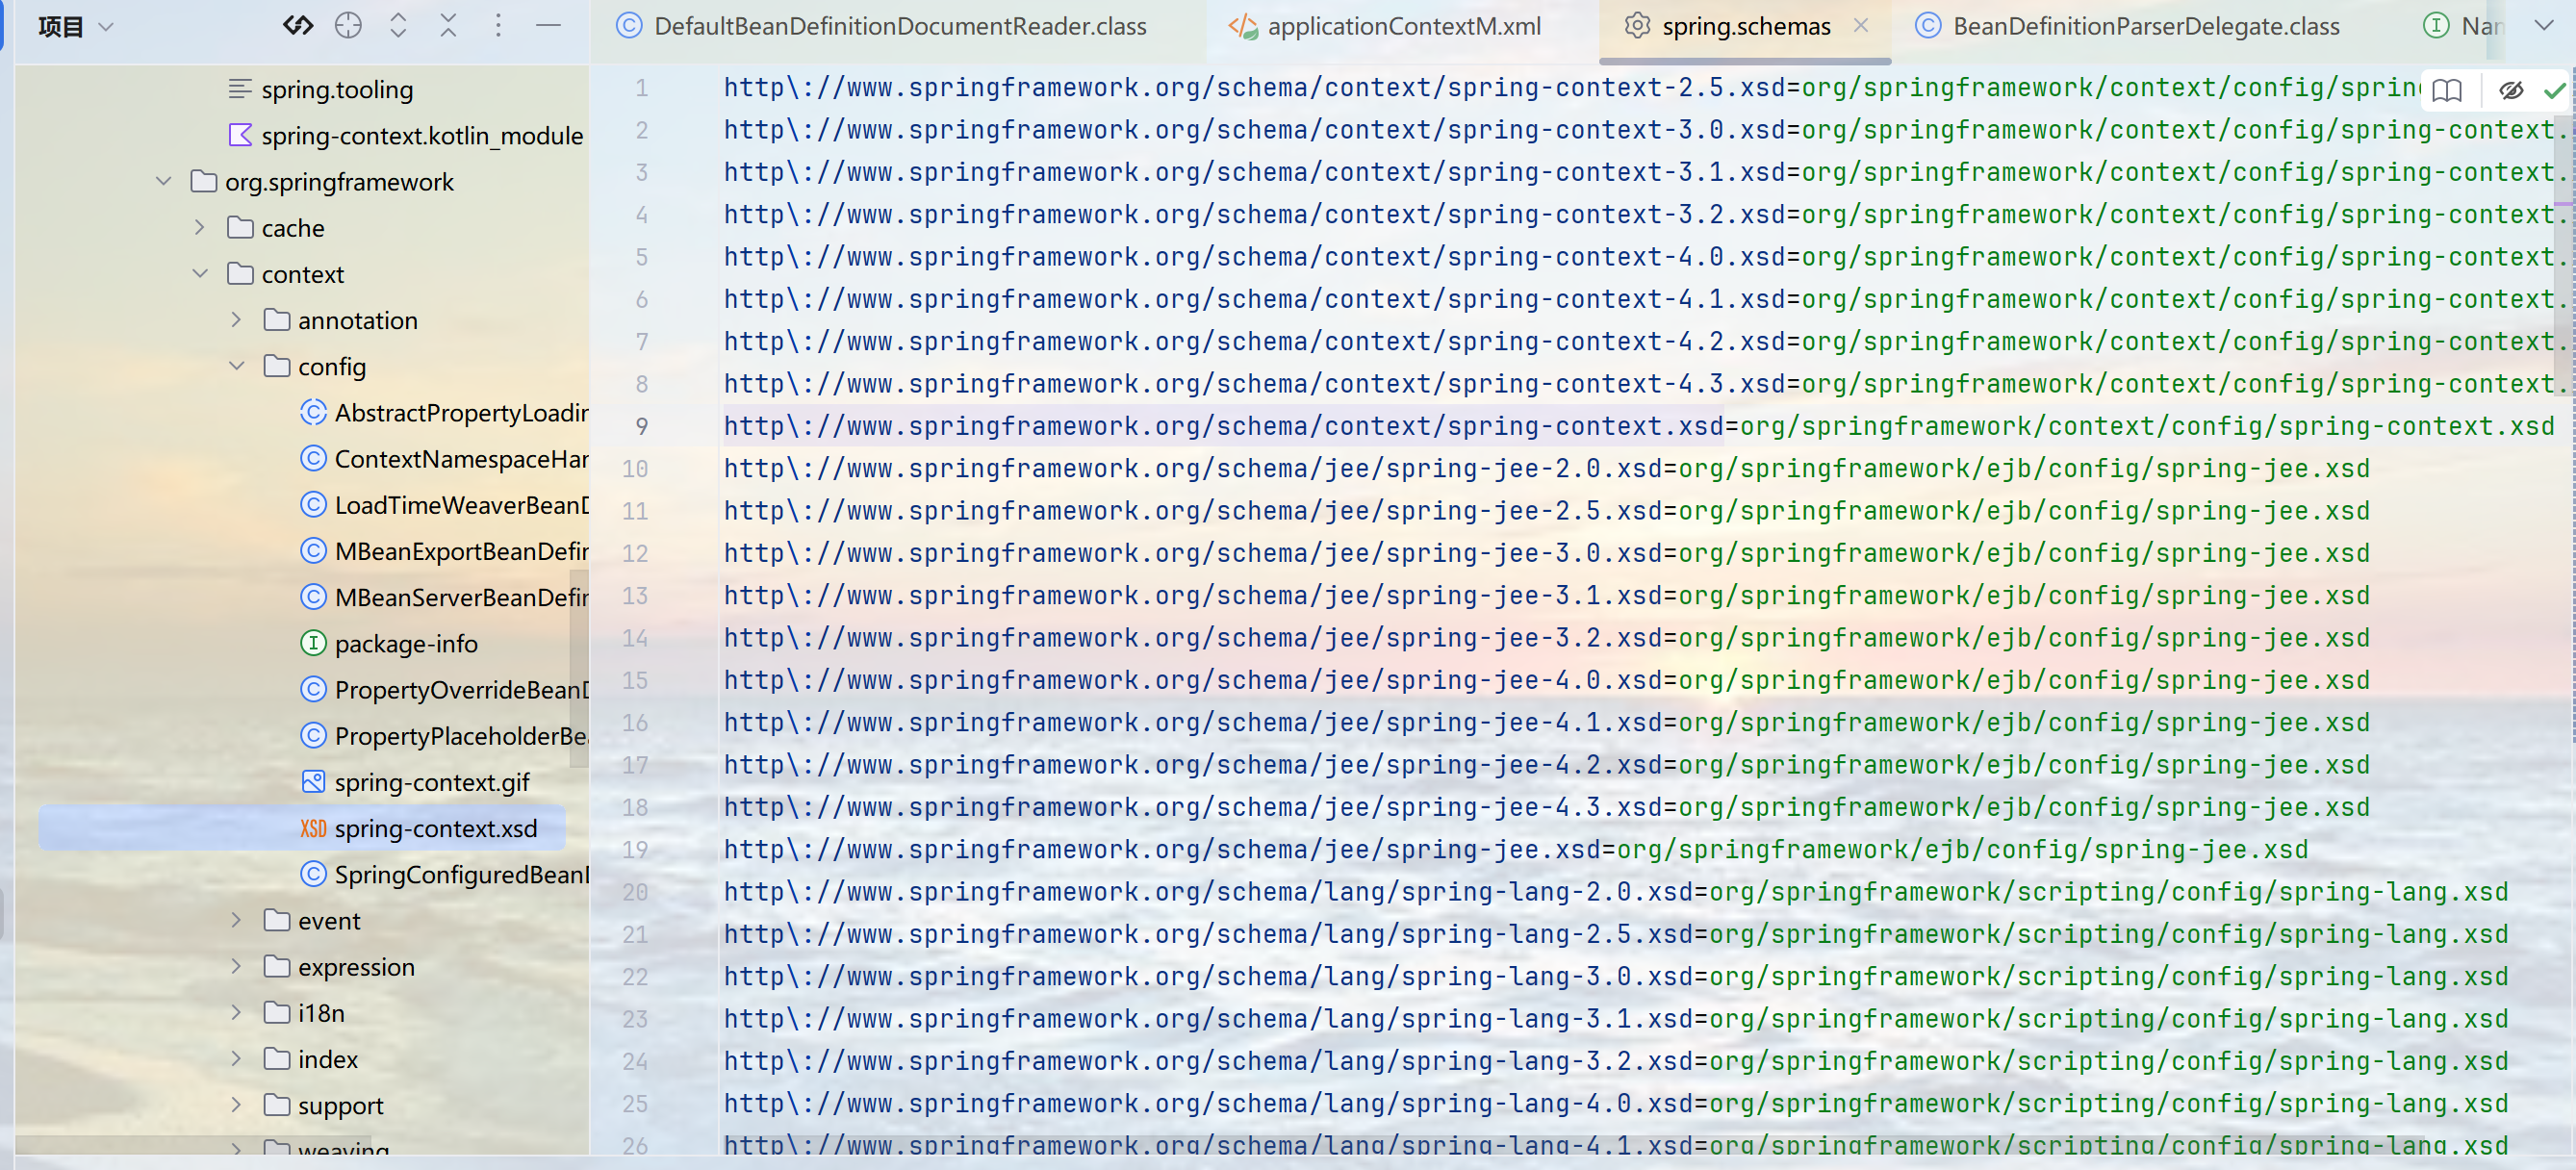
http://www.springframework.org/schema/context/spring-context.xsd""是加载约束的映射地址 ,先是命名空间加空格,再是命名空间加"/spring-context.xsd",(xsd也就是schema地址)其作用是命名空间约束,同时来说就是我们在使用命名空间标签时它会提示改命名空间有哪些标签:
它也是虚拟地址,映射到spring-context\5.3.7\spring-context-5.3.7.jar!\META-INF\spring.schemas:
2.2案例:
设想自己是一名架构师,进行某一个框架与 Spring 的集成开发,效果是通过一个指示标签,向 Spring 容器中自动注入一个 BeanPostProcessor:
java
<beans xmlns="http://www.springframework.org/schema/beans"
       xmlns:xsi="http://www.w3.org/2001/XMLSchema-instance"
       xmlns:haohao="http://www.itheima.com/haohao"
       xsi:schemaLocation="http://www.springframework.org/schema/beans
http://www.springframework.org/schema/beans/spring-beans.xsd
                           http://www.itheima.com/haohao
http://www.itheima.com/haohao/haohao-annotation.xsd">

    <haohao:annotation-driven/>

</beans>
步骤分析:
- 确定命名空间名称、schema 虚拟路径、标签名称;
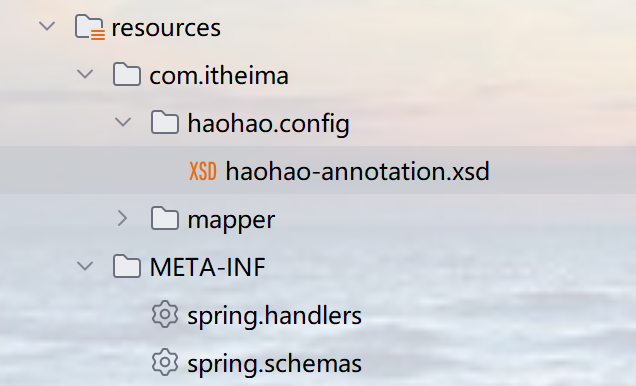
- 编写 schema 约束文件
haohao-annotation.xsd; - 在类加载路径下创建 META 目录,编写约束映射文件
spring.schemas和处理器映射文件spring.handlers; - 编写命名空间处理器
HaohaoNamespaceHandler,在init方法中注册HaohaoBeanDefinitionParser; - 编写标签的解析器
HaohaoBeanDefinitionParser,在parse方法中注册HaohaoBeanPostProcessor; - 编写
HaohaoBeanPostProcessor。
以上五步是框架开发者写的,以下是框架使用者写的
- 在
applicationContext.xml配置文件中引入命名空间; - 在
applicationContext.xml配置文件中使用自定义的标签。
a.步骤一:
命名空间:
java
xmlns:haohao="http://www.itheima.com/haohao"schema 虚拟路径:
java
http://www.itheima.com/haohao
       http://www.itheima.com/haohao/haohao-annotation.xsd
自定义标签:
java
<haohao:annotation-driven></haohao:annotation-driven>b.步骤二:
schema约束文件haohao-annotation.xsd(实际是就是定义好标签):
java
<?xml version="1.0" encoding="UTF-8"?>

<xsd:schema xmlns="http://www.itheima.com/haohao"
            xmlns:xsd="http://www.w3.org/2001/XMLSchema"
            targetNamespace="http://www.itheima.com/haohao">

    <xsd:element name="annotation-driven"></xsd:element>

</xsd:schema>
c.步骤三:
spring.handlers(就是虚拟地址对应实际的处理器位置):
java
http\://www.itheima.com/haohao=com.itheima.handlers.HaohaoNamespaceHandlerspring.schemas(就是虚拟地址对应schema约束文件的实际路径):
java
http\://www.itheima.com/haohao/haohao-annotation.xsd=com/itheima/haohao/config/haohao-annotation.xsdd.步骤四:
HaohaoNamespaceHandler:
java
package com.itheima.handlers;

import org.springframework.beans.factory.xml.NamespaceHandlerSupport;

public class HaohaoNamespaceHandler extends NamespaceHandlerSupport {
    @Override
    public void init() {
//这里的在在进行初始化,一般一个命名空间存在多个标签,那么就会在这里为每一个标签配置一个标签解析器,就是前面所说的分流
        this.registerBeanDefinitionParser("annotation-driven",new  HaohaoBeanDefinitionParser());
    }
}
e.步骤五:
HaohaoBeanDefinitionParser:
java
package com.itheima.handlers;

import org.springframework.beans.factory.config.BeanDefinition;
import org.springframework.beans.factory.support.RootBeanDefinition;
import org.springframework.beans.factory.xml.BeanDefinitionParser;
import org.springframework.beans.factory.xml.ParserContext;
import org.w3c.dom.Element;

public class HaohaoBeanDefinitionParser implements BeanDefinitionParser {
    @Override
    public BeanDefinition parse(Element element, ParserContext parserContext) {
//        注入一个BeanPostProcessor
//        先是注册为beandifinition
        BeanDefinition beanDefinition = new RootBeanDefinition();
        beanDefinition.setBeanClassName("com.itheima.processor.HaohaoBeanPostProcessor");
//        然后先获取一个解析器
        parserContext.getRegistry().registerBeanDefinition("haohaoBeanPostProessor",beanDefinition);
        return beanDefinition;
    }
}
f.步骤六:
HaohaoBeanPostProcessor:
java
package com.itheima.processor;

import org.springframework.beans.BeansException;
import org.springframework.beans.factory.config.BeanPostProcessor;

public class HaohaoBeanPostProcessor implements BeanPostProcessor {
    @Override
    public Object postProcessAfterInitialization(Object bean, String beanName) throws BeansException {
        System.out.println("HaohaoBeanPostProcessor执行....");
        return bean;
    }
}
测试:
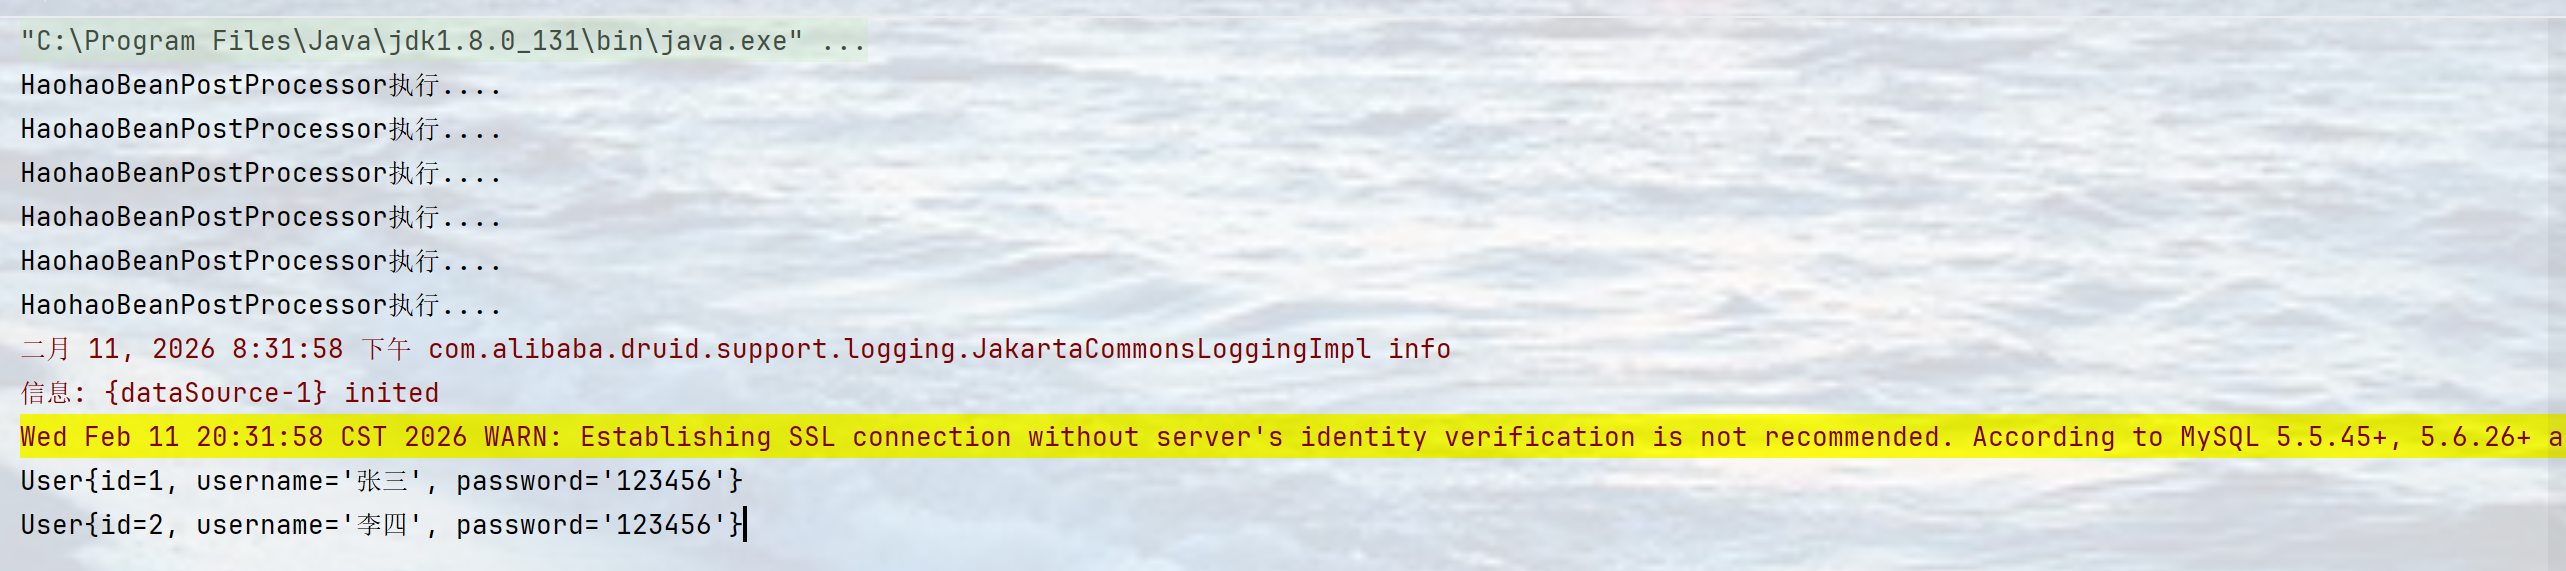
由于是注册了BeanPostProcessor,然后重写了postProcessAfterInitialization方法,又因为BeanPostProcessor是进入到了其他Bean的生命周期,所以在获取其他的Bean时就会执行重写的postProcessAfterInitialization方法,就会打印"HaohaoBeanPostProcessor执行..."。
结果:
上述步骤每一步都是紧密相连的,逻辑清晰,实际上并不难,不懂的代码是可以参考别的已用的,比如说是上一节我们讲的Contex。当然如果想了解其底层原理的话可以看我的另一篇博文,里面详细剖析了引入第三方框架命名空间的底层源码:https://blog.csdn.net/2301_80749359/article/details/157971591?fromshare=blogdetail&sharetype=blogdetail&sharerId=157971591&sharerefer=PC&sharesource=2301_80749359&sharefrom=from_link