上一篇文章我们把用户系统搭好了,能注册、能登录、能退出。但用户进来之后干嘛?啥也干不了。所以本篇文章就一个目标:让用户能写博客。
具体三件事:发文章、看文章、管理文章。管理文章包括编辑和删除,核心原则就一条------只能动自己的,不能碰别人的。
这期做完,SimpleBlog 就算真正"能用"了。
一、本期功能规划
本篇文章就围着博客打转,把内容发布的基础流程跑通。不多折腾,够用就行。
核心功能就四个:
1. 发布博客
登录用户可写文章,标题+内容,存进数据库。
2. 查看博客
- 首页 :按时间倒序列出所有人的文章。
- 个人中心 :只展示自己的文章。
3. 编辑博客
作者本人能修改文章标题和内容。
4. 删除博客
作者本人能删除自己的文章,清掉不要的内容。
技术目标:把模型关联(一对多)、CURD操作、控制器权限校验这些知识点串起来,跑通一个完整的内容管理流程。
二、第一步:数据库与模型关联
博客功能,需要围绕表:blog_user 和 blog_post。一个用户可以发多篇文章,这是典型的一对多关联。
我们先创建博客模型,再给用户模型加上关联方法。
1. 创建博客模型
在 app/model 目录下新建 Post.php:
php
<?php
declare (strict_types = 1);

namespace app\model;

use think\Model;
use app\model\User;

class Post extends Model
{
    // 自动写入时间戳
    protected $autoWriteTimestamp = true;
    protected $createTime = 'created_at';
    protected $updateTime = 'updated_at';

    // 关联用户(多对一)
    public function user()
    {
        return $this->belongsTo(User::class, 'user_id');
    }
}
2. 用户模型补充关联
打开上一期创建的 User.php,加上关联博客的方法:
php
<?php
declare (strict_types = 1);

namespace app\model;

use think\Model;
use app\model\Post;

class User extends Model
{
    // ...前面代码不变...

    // 关联博客(一对多)
    public function posts()
    {
        return $this->hasMany(Post::class, 'user_id');
    }
}关键点说明:
1. belongsTo 和 hasMany:这是 ThinkPHP 常用的一对关联。
- belongsTo 用在"多"的一方(博客表),表示属于某个用户;
- hasMany 用在"一"的一方(用户表),表示拥有多篇博客。
2. 外键 user_id:两张表通过该字段连接。定义关联时,第二个参数必须写对,默认是当前模型名+_id,但显式指定更稳妥。
数据库和模型的关系打通了,下一步就可以写"发布文章"的功能了。
三、第二步:博客发布
本节就做一件事:让用户把文章存进数据库。
1. 路由定义
在 route/app.php 里,找到第一期创建的那个需要登录的路由组,往里面加两条路由:
php
// 显示发布博客表单页面
Route::get('post/create', 'Post/create');
// 处理发布博客逻辑
Route::post('post/save', 'Post/save')->token();
2. 控制器方法
创建 app/controller/PostController.php,编写路由中这两个方法:
php
<?php
namespace app\controller;

use app\BaseController;
use think\facade\Request;
use app\model\Post;
use think\facade\Validate;

class PostController extends BaseController
{
    // 显示发布页面
    public function create()
    {
        return view('post/create');
    }

    // 处理发布
    public function save()
    {
        // 只接收 title 和 content,忽略其他字段
        $data = Request::only(['title', 'content']);
        // 获取当前登录用户ID
        $data['user_id'] = session('user_id');

        // 简单验证:标题和内容不能为空
        $validate = Validate::rule([
            'title'   => 'require|max:255',
            'content' => 'require'
        ]);
        if (!$validate->check($data)) {
            // 验证失败,携带错误信息返回发布页
            return redirect('/post/create')
                ->with('errors', $validate->getError())
                ->with('old', $data); // 保留已输入的内容
        }

        // 写入数据库
        Post::create($data);

        return redirect('/')->with('success', '文章发布成功!');
    }
}
3. 在 view 目录下新建 post/create.html:
html
{extend name="layout"}

{block name="title"}发布文章 - SimpleBlog{/block}

{block name="content"}
<div class="row justify-content-center">
    <div class="col-md-8">
        <h2 class="mb-4">发布新文章</h2>

        <form method="post" action="{:url('post/save')}">
            <!-- CSRF 令牌 -->
            <input type="hidden" name="__token__" value="{:token()}" />

            <div class="mb-3">
                <label for="title" class="form-label">标题</label>
                <input type="text"
                       class="form-control"
                       id="title"
                       name="title"
                       value="{$old.title|default=''}"
                       required>
            </div>

            <div class="mb-3">
                <label for="content" class="form-label">内容</label>
                <textarea class="form-control"
                          id="content"
                          name="content"
                          rows="8"
                          required>{$old.content|default=''}</textarea>
            </div>

            <button type="submit" class="btn btn-primary">发布</button>
            <a href="{:url('/')}" class="btn btn-outline-secondary ms-2">取消</a>
        </form>
    </div>
</div>
{/block}关键点说明:
1. 从 session 里获取 user_id 并手动赋值给 data\['user_id'\]。这是外键字段,缺了它插入会报错,文章也跟作者对不上号。
**2. 表单回显** :验证失败时,用 old 把之前填的内容带回去,不用重新敲一遍。
现在可以开始做首页列表了。
四、第三步:博客列表展示
文章能发了,但发完就没影了,这哪行。这节要将文章展示出来------分两块:首页展示所有人博客,个人中心只展示自己的博客。
1. 首页列表
修改 app/controller/IndexController.php:
php
<?php
namespace app\controller;

use app\BaseController;
use app\model\Post;

class IndexController extends BaseController
{
    public function index()
    {
        // 预加载作者信息,按时间倒序,每页10条
        $posts = Post::with(['user'])
                    ->order('created_at', 'desc')
                    ->paginate(10);

        return view('/index', ['posts' => $posts]);
    }
}
2. 个人中心列表
在 app/controller/UserController.php 里加一个方法:
php
// 我的文章列表
public function myPosts()
{
    $userId = session('user_id');
    $posts = Post::where('user_id', $userId)
                ->order('created_at', 'desc')
                ->paginate(10);

    return view('user/posts', ['posts' => $posts]);
}
路由(加到需要登录的分组里):
php
// 我的文章列表
Route::get('user/posts', 'User/myPosts');
3. 视图模板
首页模板 view/index.html:
html
{extend name="layout"}

{block name="title"}首页 - SimpleBlog{/block}

{block name="content"}
<div class="d-flex justify-content-between align-items-center mb-4">
    <h2>最新文章</h2>
    {if $Request.session.user_id}
    <a href="{:url('post/create')}" class="btn btn-success">写文章</a>
    {/if}
</div>

{volist name="posts" id="post"}
<div class="card mb-3">
    <div class="card-body">
        <h5 class="card-title">{$post.title}</h5>
        <p class="card-text">{:mb_substr($post.content, 0, 200)}...</p>
        <div class="d-flex justify-content-between align-items-center">
            <small class="text-muted">
                作者:{$post.user.username} |
                发布于:{$post.created_at|date='Y-m-d H:i'}
            </small>
            <a href="{:url('post/read', ['id'=>$post.id])}" class="btn btn-sm btn-primary">阅读全文</a>
        </div>
    </div>
</div>
{/volist}

<div class="mt-4">
    {$posts|raw}
</div>
{/block}
个人中心文章列表 view/user/posts.html:
html
{extend name="layout"}

{block name="title"}我的文章 - SimpleBlog{/block}

{block name="content"}
<div class="d-flex justify-content-between align-items-center mb-4">
    <h2>我的文章</h2>
    <a href="{:url('post/create')}" class="btn btn-success">写新文章</a>
</div>

{volist name="posts" id="post"}
<div class="card mb-3">
    <div class="card-body">
        <h5 class="card-title">{$post.title}</h5>
        <p class="card-text">{:mb_substr($post.content, 0, 150)}...</p>
        <div class="d-flex justify-content-between align-items-center">
            <small class="text-muted">发布于:{$post.created_at|date='Y-m-d H:i'}</small>
            <div>
                <a href="{:url('post/edit', ['id'=>$post.id])}" class="btn btn-sm btn-outline-primary">编辑</a>
                <a href="{:url('post/delete', ['id'=>$post.id])}"
                   class="btn btn-sm btn-outline-danger"
                   onclick="return confirm('确定删除吗?')">删除</a>
            </div>
        </div>
    </div>
</div>
{/volist}

<div class="mt-4">
    {$posts|raw}
</div>
{/block}关键点说明:
1. with('user')预加载:如果不加这行,循环里每篇博客都要单独查一次作者信息(N+1问题)。加上后,框架一次性把关联的用户数据全查出来,性能提升明显。
2. 分页直接用 paginate():ThinkPHP 的分页非常简单,paginate(10) 自动处理好 limit 和分页链接。模板里 {$posts|raw} 直接输出带样式的页码条。
3. 个人中心列表多了编辑删除按钮:因为这是"我的文章",作者本人,所以可以操作。
下一步:开始写作者改文章、删文章的代码。
五、第四步:博客编辑与删除
文章列表有了,但写错了不能改、不想要了删不掉,这不行。
这一节把编辑和删除补上,顺带给权限控制打个补丁------只能动自己的,不能碰别人的。
1. 路由定义
在 route/app.php 的登录路由组里加三条:
php
// 显示编辑表单
Route::get('post/edit/:id', 'Post/edit');
// 提交更新
Route::post('post/update/:id', 'Post/update');
// 删除文章(用POST更安全,这里为了省事,用了GET)
Route::get('post/delete/:id', 'Post/delete');
2. 控制器方法
在 PostController.php 里追加:
php
// 封装一个私有方法:检查文章是否存在 + 是否是作者本人
private function checkPostOwner($id)
{
    $post = Post::find($id);
    if (!$post) {
        return null; // 文章不存在
    }
    // 检查是否是作者本人
    if ($post->user_id != session('user_id')) {
        return false; // 权限不足
    }
    return $post; // 验证通过,返回文章对象
}

// 显示编辑页面
public function edit($id)
{
    $post = $this->checkPostOwner($id);
    if ($post === null) {
        return redirect('/')->with('errors', '文章不存在');
    }
    if ($post === false) {
        return redirect('/')->with('errors', '没有权限编辑此文章');
    }

    return view('post/edit', ['post' => $post]);
}

// 处理更新
public function update($id)
{
    $post = $this->checkPostOwner($id);
    if ($post === null || $post === false) {
        return redirect('/')->with('errors', '无权操作');
    }

    $data = Request::only(['title', 'content']);
    // 简单验证
    $validate = Validate::rule([
        'title'   => 'require|max:255',
        'content' => 'require'
    ]);
    if (!$validate->check($data)) {
        return redirect('/post/edit/' . $id)
            ->with('errors', $validate->getError())
            ->with('old', $data);
    }

    $post->save($data);
    return redirect('/post/read/' . $id)->with('success', '文章更新成功');
}

// 处理删除
public function delete($id)
{
    $post = $this->checkPostOwner($id);
    if ($post === null || $post === false) {
        return redirect('/')->with('error', '无权操作');
    }

    $post->delete();
    return redirect('/')->with('success', '文章已删除');
}
3. 新建 view/post/edit.html:
html
{extend name="layout"}

{block name="title"}编辑文章 - SimpleBlog{/block}

{block name="content"}
<div class="row justify-content-center">
    <div class="col-md-8">
        <h2 class="mb-4">编辑文章</h2>

        <form method="post" action="{:url('post/update', ['id'=>$post.id])}">
            <input type="hidden" name="__token__" value="{:token()}" />

            <div class="mb-3">
                <label for="title" class="form-label">标题</label>
                <input type="text"
                       class="form-control"
                       id="title"
                       name="title"
                       value="{$old.title|default=$post.title}"
                       required>
            </div>

            <div class="mb-3">
                <label for="content" class="form-label">内容</label>
                <textarea class="form-control"
                          id="content"
                          name="content"
                          rows="8"
                          required>{$old.content|default=$post.content}</textarea>
            </div>

            <button type="submit" class="btn btn-primary">保存修改</button>
            <a href="javascript:history.back()" class="btn btn-outline-secondary ms-2">返回</a>
        </form>
    </div>
</div>
{/block}关键点说明:
1. 权限校验是底线 :checkPostOwner 把"查文章"和"验作者"打包,避免每个方法里都写一遍重复代码。只要操作别人的文章,一律拦下并提示"无权操作"。这条必须守住,不然博客就乱套了。
2. find($id) 获取模型实例 :拿到后可以直接 save() 更新或 delete() 删除。
3. 删除用 POST :模板里本来应该放个表单,但为了省事,个人中心列表页我直接用了 <a> 加 onclick 确认。
编辑删除功能完成,完整的**博客 C(创建)U(更新)D(删除)**就齐了。
还差一个 R(阅读)------文章详情页。下期补上,还有把评论功能也做了。
六、效果演示
这一期代码写得不少,看看成果咋样。
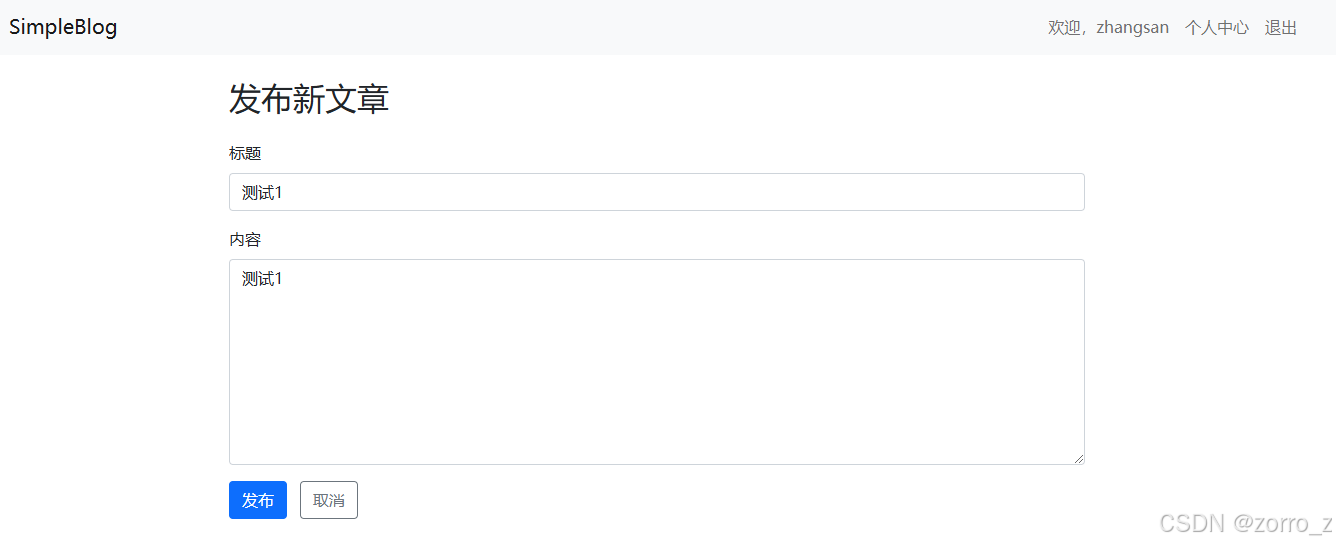
1. 发布文章
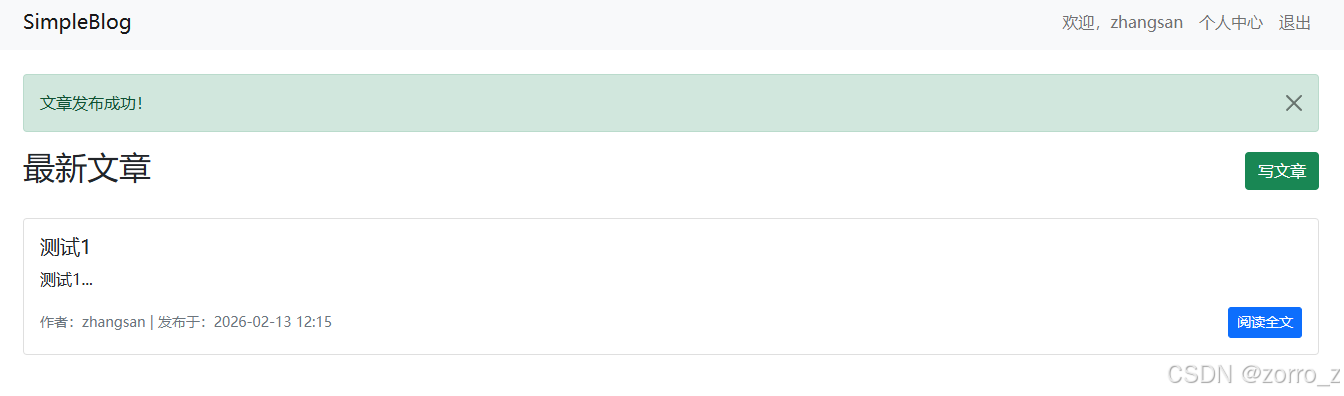
登录后点导航栏的"写文章",进到 /post/create。填个标题,写几行内容,点发布。页面跳转,跳回首页,顶部弹出绿色提示:"文章发布成功!"
首页不再是白板,文章按时间倒序排下来,一条一条整整齐齐。
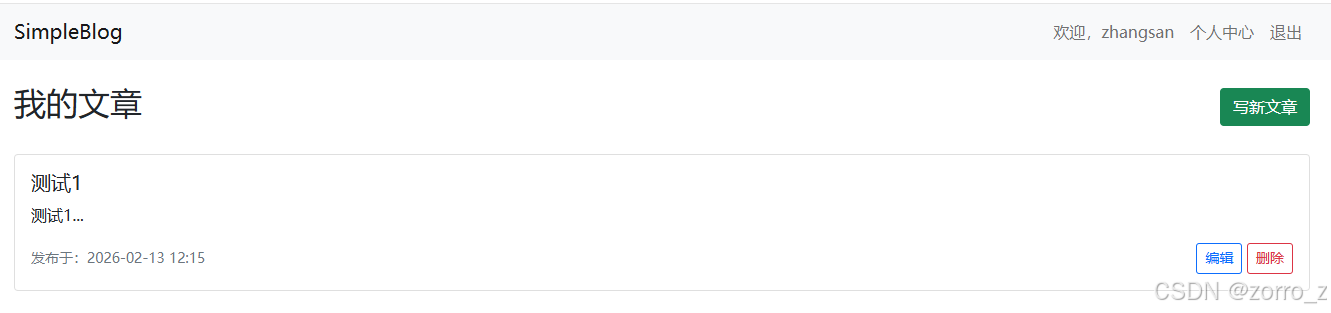
2. 个人中心列表
点右上角"个人中心",再点"我的文章",显示出来全是我自己发的。
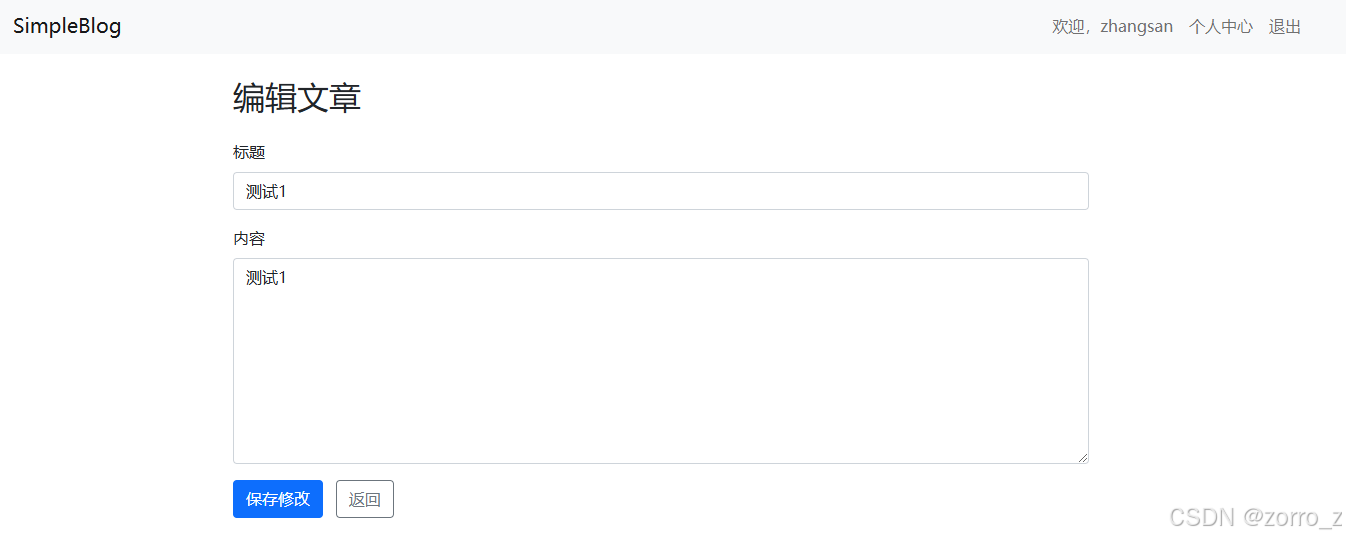
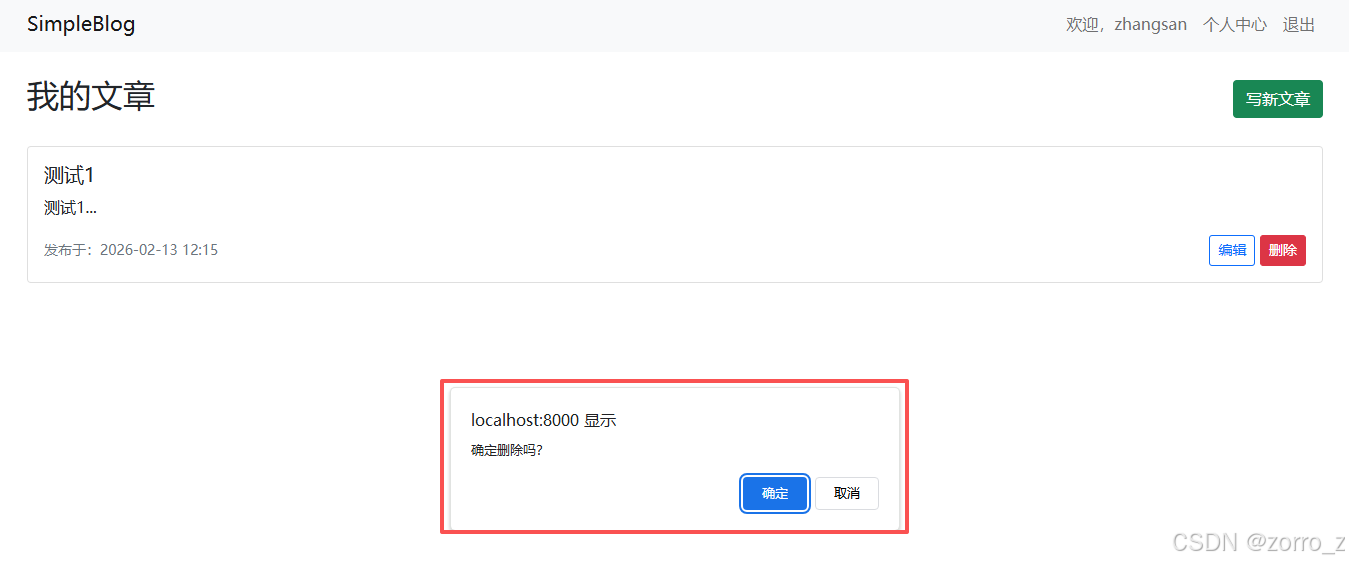
3. 编辑与删除
点"编辑",表单里已经把原标题和内容填好了。改几个字,点保存,提示"更新成功"。
点"删除",弹个确认框,确定后文章消失,提示"文章已删除"。干净利落。
七、代码仓库
仓库地址:
html
https://gitee.com/little_z/simple-blog.git本篇文章对应的代码在 02 目录下。