文章目录
- 一、快速搭建环境,创建项目
-
- [1、快速搭建 PixiJS + Vite 环境](#1、快速搭建 PixiJS + Vite 环境)
- 2、创建入门项目
一、快速搭建环境,创建项目
1、快速搭建 PixiJS + Vite 环境
快速创建项目:
bash
# 创建项目(选择 Vanilla 和 JavaScript)
npm create vite@latest pixi-master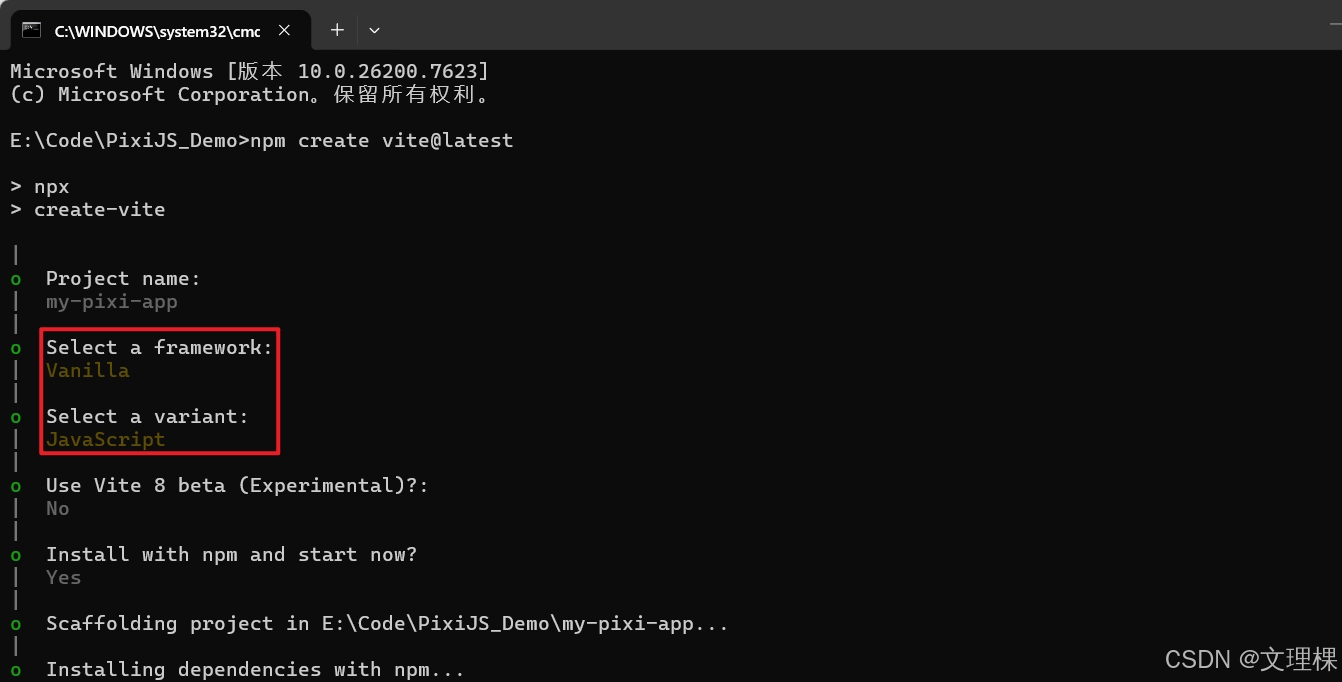
安装pixi.js:
bash
npm install pixi.js2、创建入门项目
在main.js中添加如下代码:
js
import { Application, Assets, Sprite } from 'pixi.js';

// 1. 创建应用实例
const app = new Application();

async function setup() {
    // 2. 初始化 Application (v8 必须异步初始化)
    await app.init({
        width: 800,
        height: 400,
        backgroundColor: 0x1099bb,
        antialias: true, // 开启抗锯齿
        resolution: window.devicePixelRatio || 1, // 适配高分屏
    });

    // 将生成的 canvas 添加到页面
    document.body.appendChild(app.canvas);

    // 3. 加载资源 (Assets 管理器)
    const texture = await Assets.load('https://pixijs.com/assets/bunny.png');

    // 4. 创建精灵并加入舞台
    const bunny = new Sprite(texture);
    bunny.anchor.set(0.5); // 设置中心点
    bunny.x = app.screen.width / 2;
    bunny.y = app.screen.height / 2;

    app.stage.addChild(bunny);

    // 5. 动画循环
    app.ticker.add((time) => {
        // time.deltaTime 是平滑帧率参数
        bunny.rotation += 0.1 * time.deltaTime;
    });
}

setup();
然后启动项目:
bash
npm run dev运行效果: