OpenClaw 完整安装与配置全攻略
一、 系统环境初始化
在 Windows 上安装 OpenClaw 前,必须先配置 PowerShell 的执行权限和编码格式,否则后续安装脚本会因权限或乱码问题中断。
-
- 解锁 PowerShell 执行策略:
code__pre
Set-ExecutionPolicy -ExecutionPolicy RemoteSigned -Scope CurrentUser -Force-
- 解决中文乱码,强制使用 UTF-8 编码:
code__pre
$OutputEncoding = [Console]::InputEncoding = [Console]::OutputEncoding = [System.Text.Encoding]::UTF8-
- 切换活动代码页:
code__pre
chcp 65001二、 基础依赖工具安装
使用 Windows 自带的包管理器 winget 安装 Git 和 Node.js 环境。
-
- 安装 Git 工具:
code__pre
winget install --id Git.Git -e --source winget-
- 安装 Node.js (LTS 版):
code__pre
winget install --id OpenJS.NodeJS.LTS -e --source winget-
- 配置 Git 用户信息 (以用户
leo为例):
- 配置 Git 用户信息 (以用户
code__pre
git config --global user.name "leo"
git config --global user.email "leo@example.com"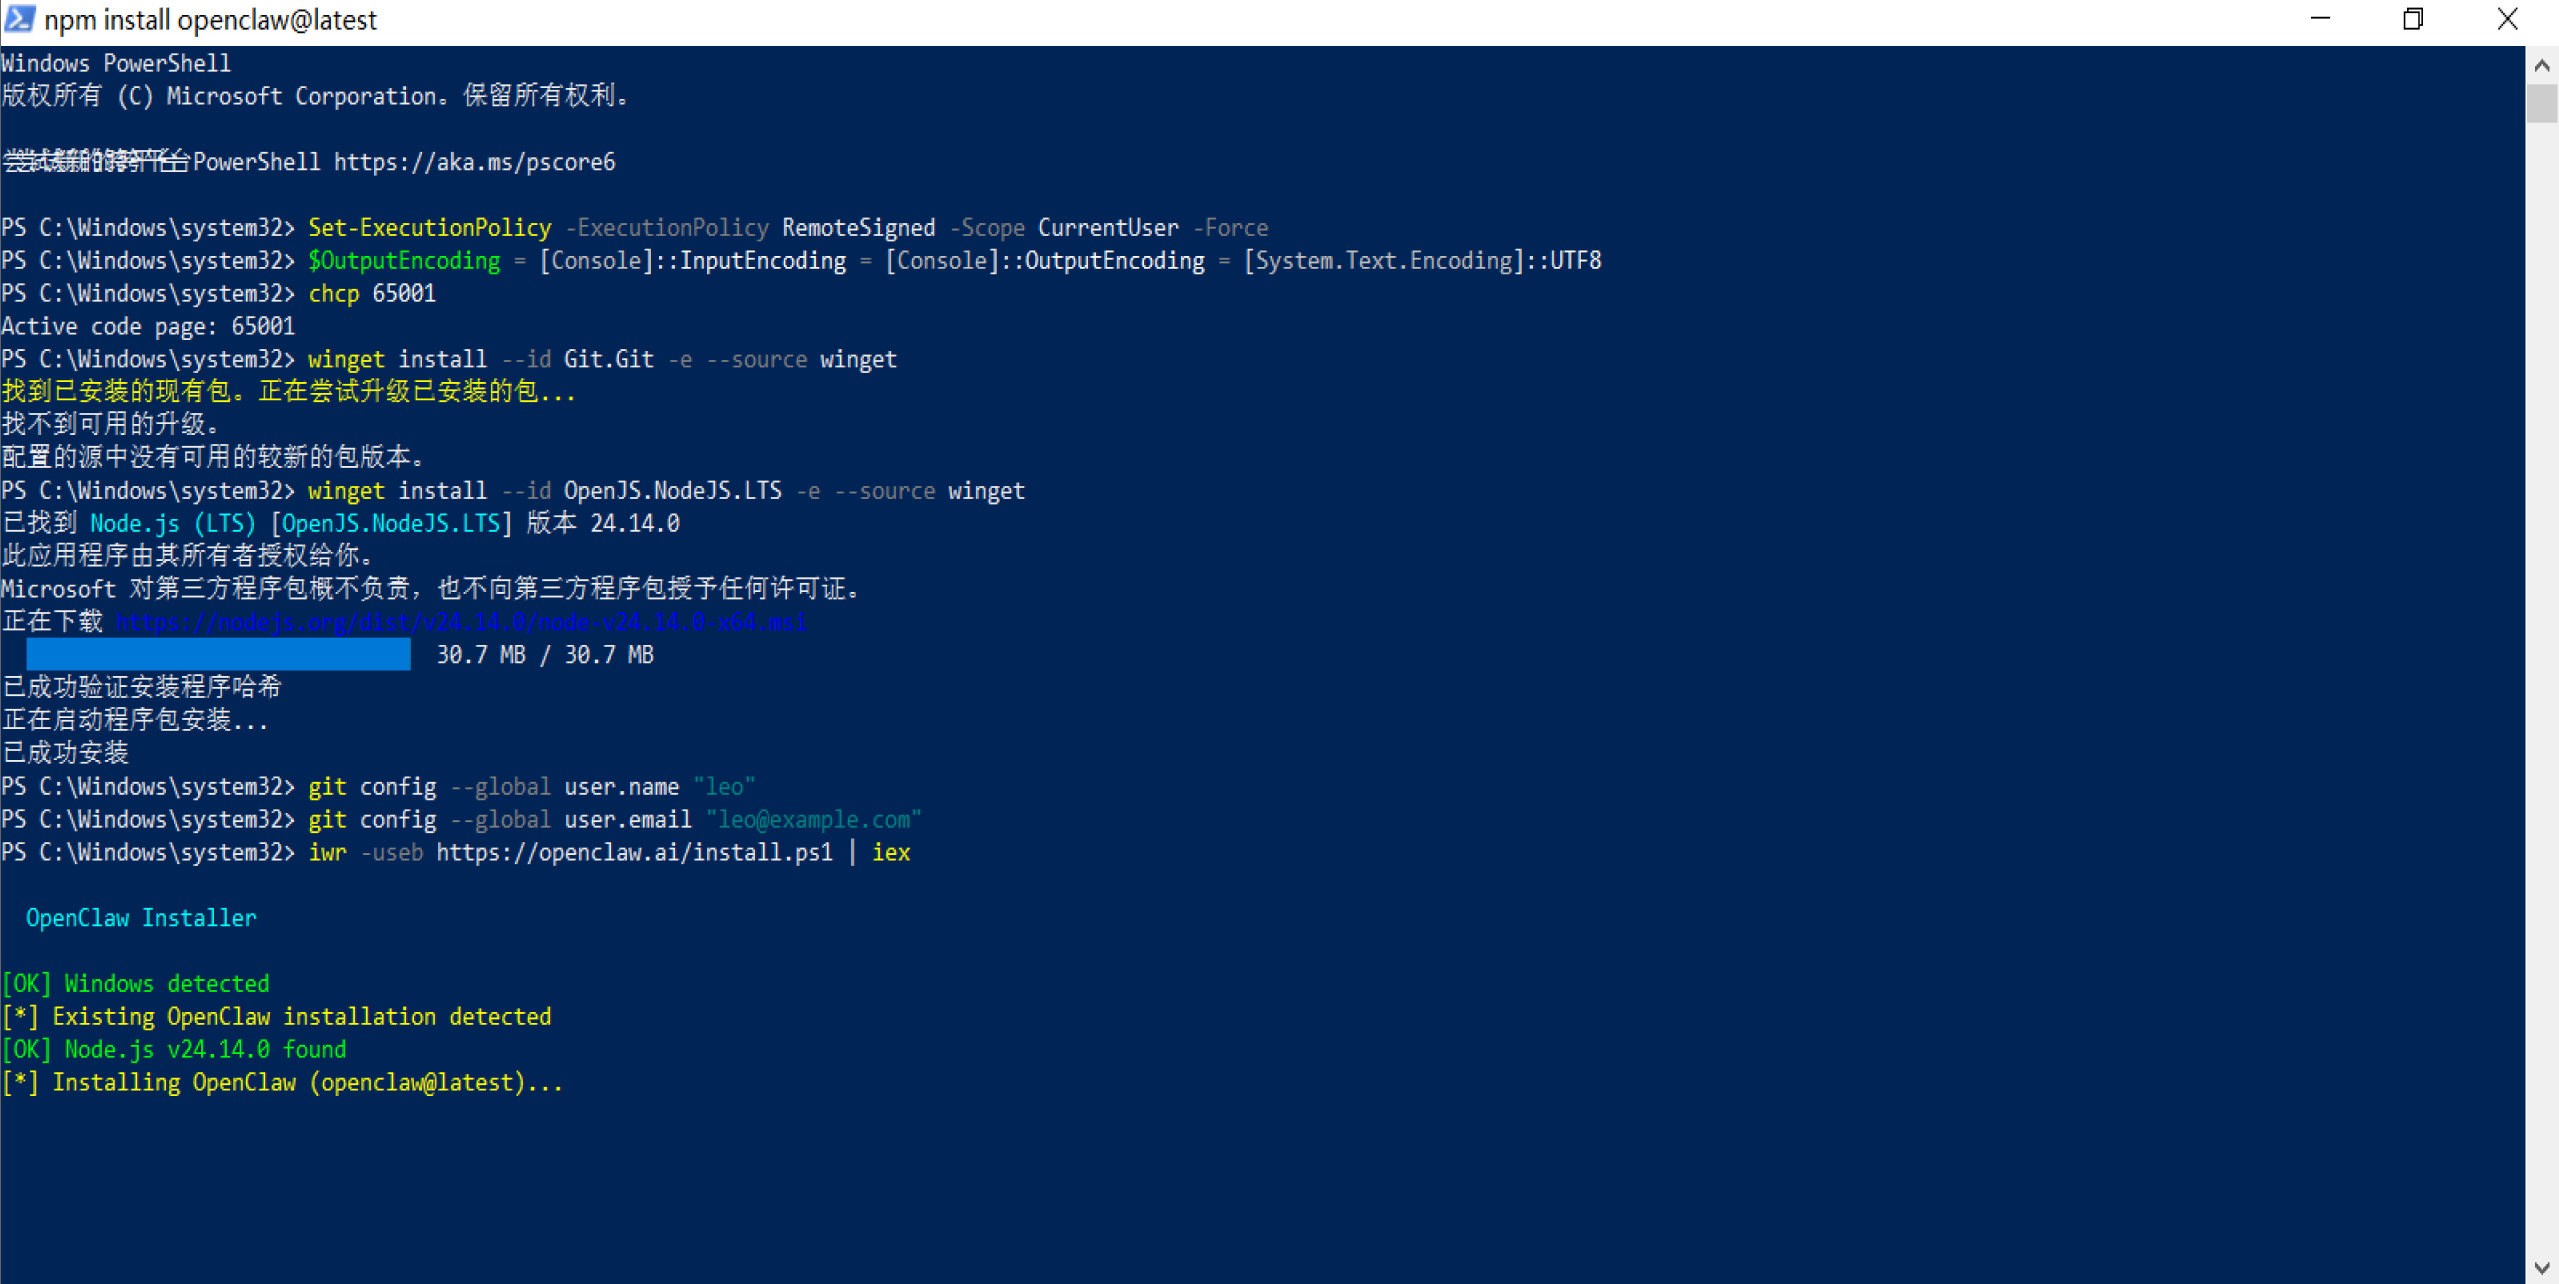
图一:Windows依赖安装界面
三、 OpenClaw 安装与 QuickStart 详细配置过程

图二:OpenClaw配置界面
1. 进入 QuickStart 交互配置
注:在终端界面请使用 ↑ ↓ ← → 切换选项,空格 选中,回车确定。
-
- 执行 OpenClaw 安装脚本:
code__pre
iwr -useb https://openclaw.ai/install.ps1 | iex-
- 进入 QuickStart 交互配置(以下为你需要点击/选择的选项):
- • 确认隐私协议 :I understand this is personal-by-default... Continue? -> Yes
- • 选择模式 :Onboarding mode -> QuickStart
- • 网关配置(无需改动):
- • Gateway port: 18789
- • Gateway bind: Loopback (127.0.0.1)
- • Tailscale exposure: Off
四、 核心 API 配置与获取
这是 Agent 能够运行的关键,你需要为它提供"大脑"和"眼睛",大家可以按照图二配置进行选择。
1. 模型配置 (LLM)
API 获取链接 :MiniMax 开放平台
- • Model/auth provider -> MiniMax
- • MiniMax auth method -> MiniMax M2.5 (CN)
- • How do you want to provide this API key? -> Paste API key now
- • Enter MiniMax China API key -> 粘贴你从上方链接获取的 Key
- • Default model -> Keep current (minimax-cn/MiniMax-M2.5)
2. 联网搜索配置 (Search)
API 获取链接 :Moonshot (Kimi) 开放平台
- • Search provider -> Kimi (Moonshot)
- • Kimi (Moonshot) API key -> 粘贴你从上方链接获取的 Key
五、 技能、依赖与自动化钩子
1. 技能安装 (Skills)
- • Configure skills now? -> Yes
- • Install missing skill dependencies -> 🧩 clawhub
- • Preferred node manager for skill installs -> npm
- • 以下 API 环境变量均选择跳过:
- • Set GOOGLE_PLACES_API_KEY? -> No
- • Set GEMINI_API_KEY? -> No
- • Set NOTION_API_KEY? -> No
- • Set OPENAI_API_KEY? -> No
- • Set ELEVENLABS_API_KEY? -> No
2. 自动化钩子 (Hooks)
- • Enable hooks? -> 🚀 boot-md, 📎 bootstrap-extra-files, 📝 command-logger, 💾 session-memory
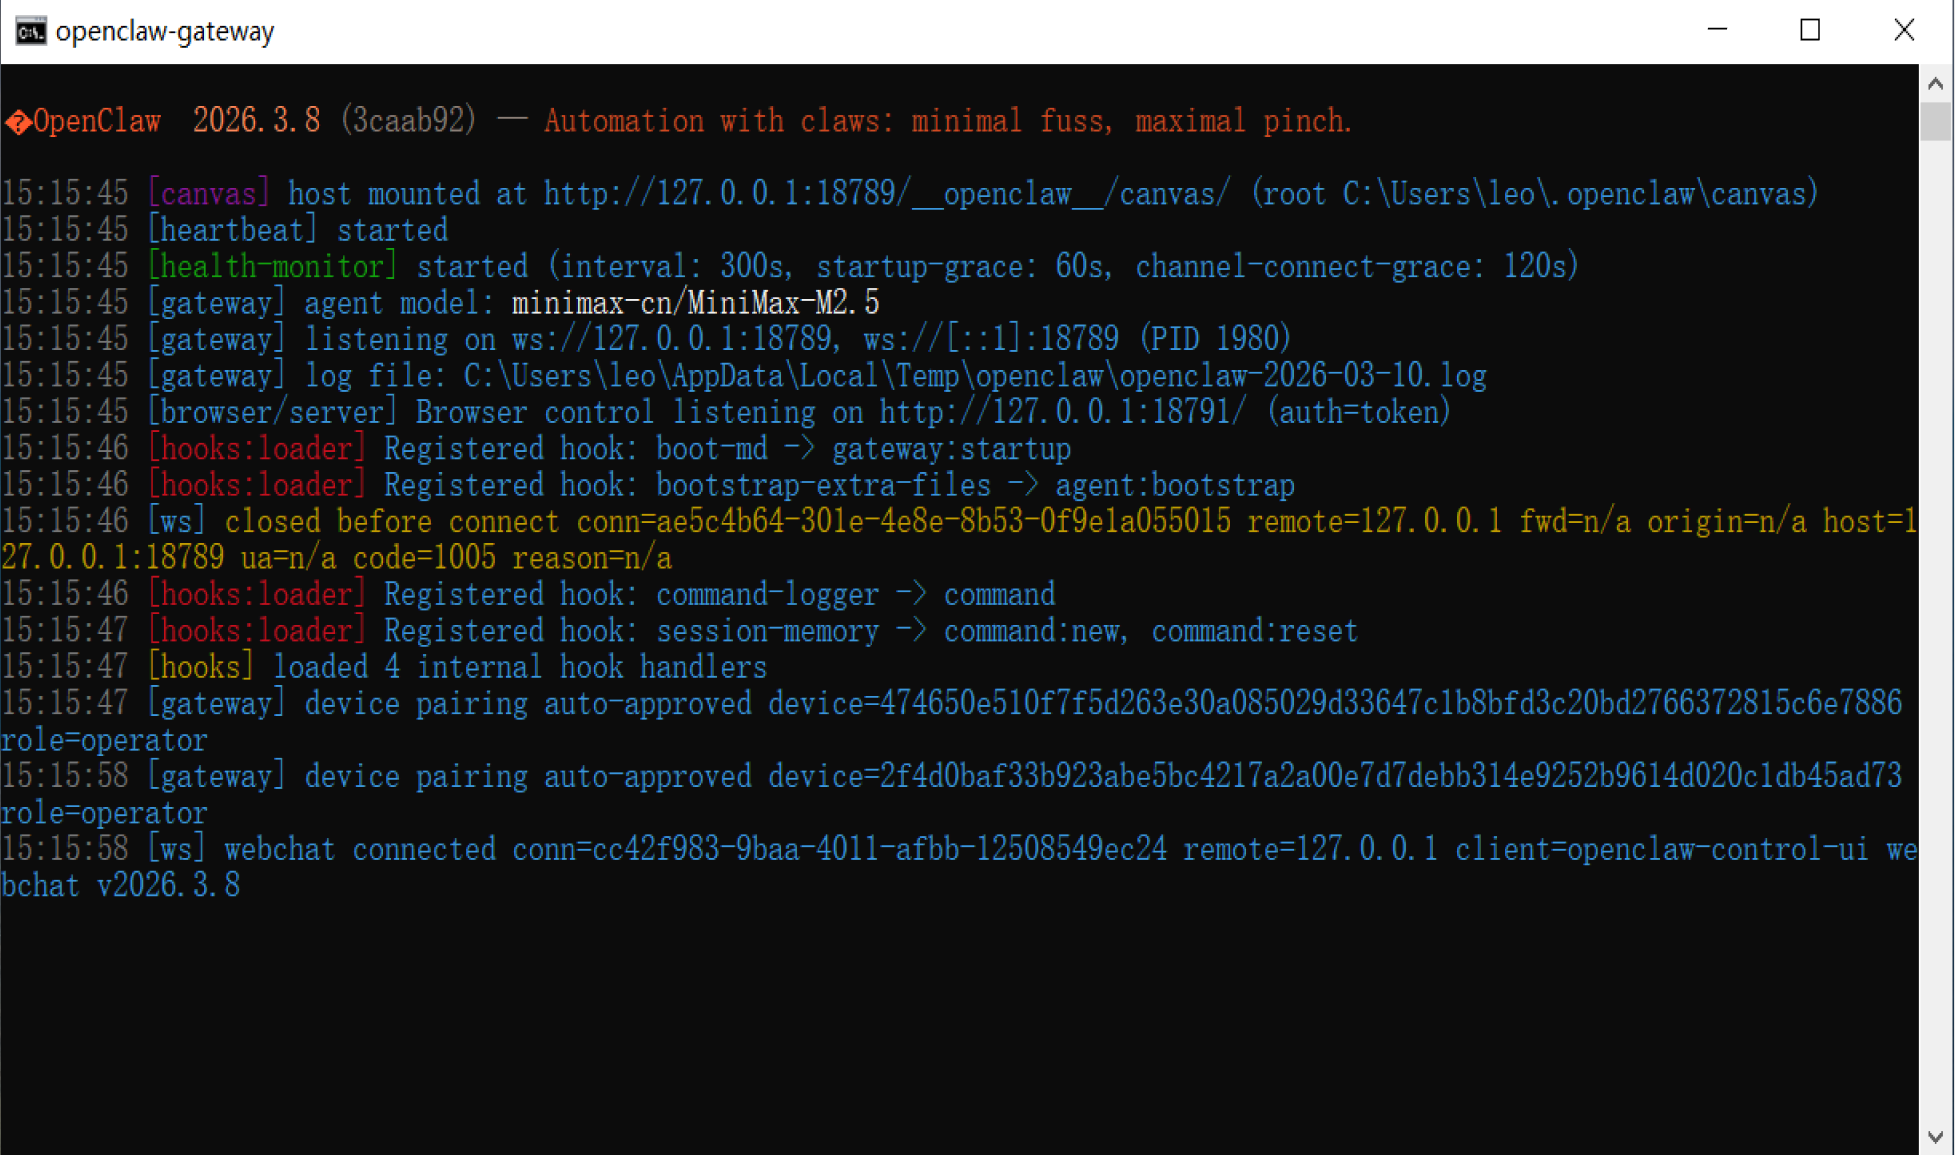
图三:OpenClaw启动成功界面
3. 进入交互界面 (Hatch)
- • How do you want to hatch your bot? -> Open the Web UI
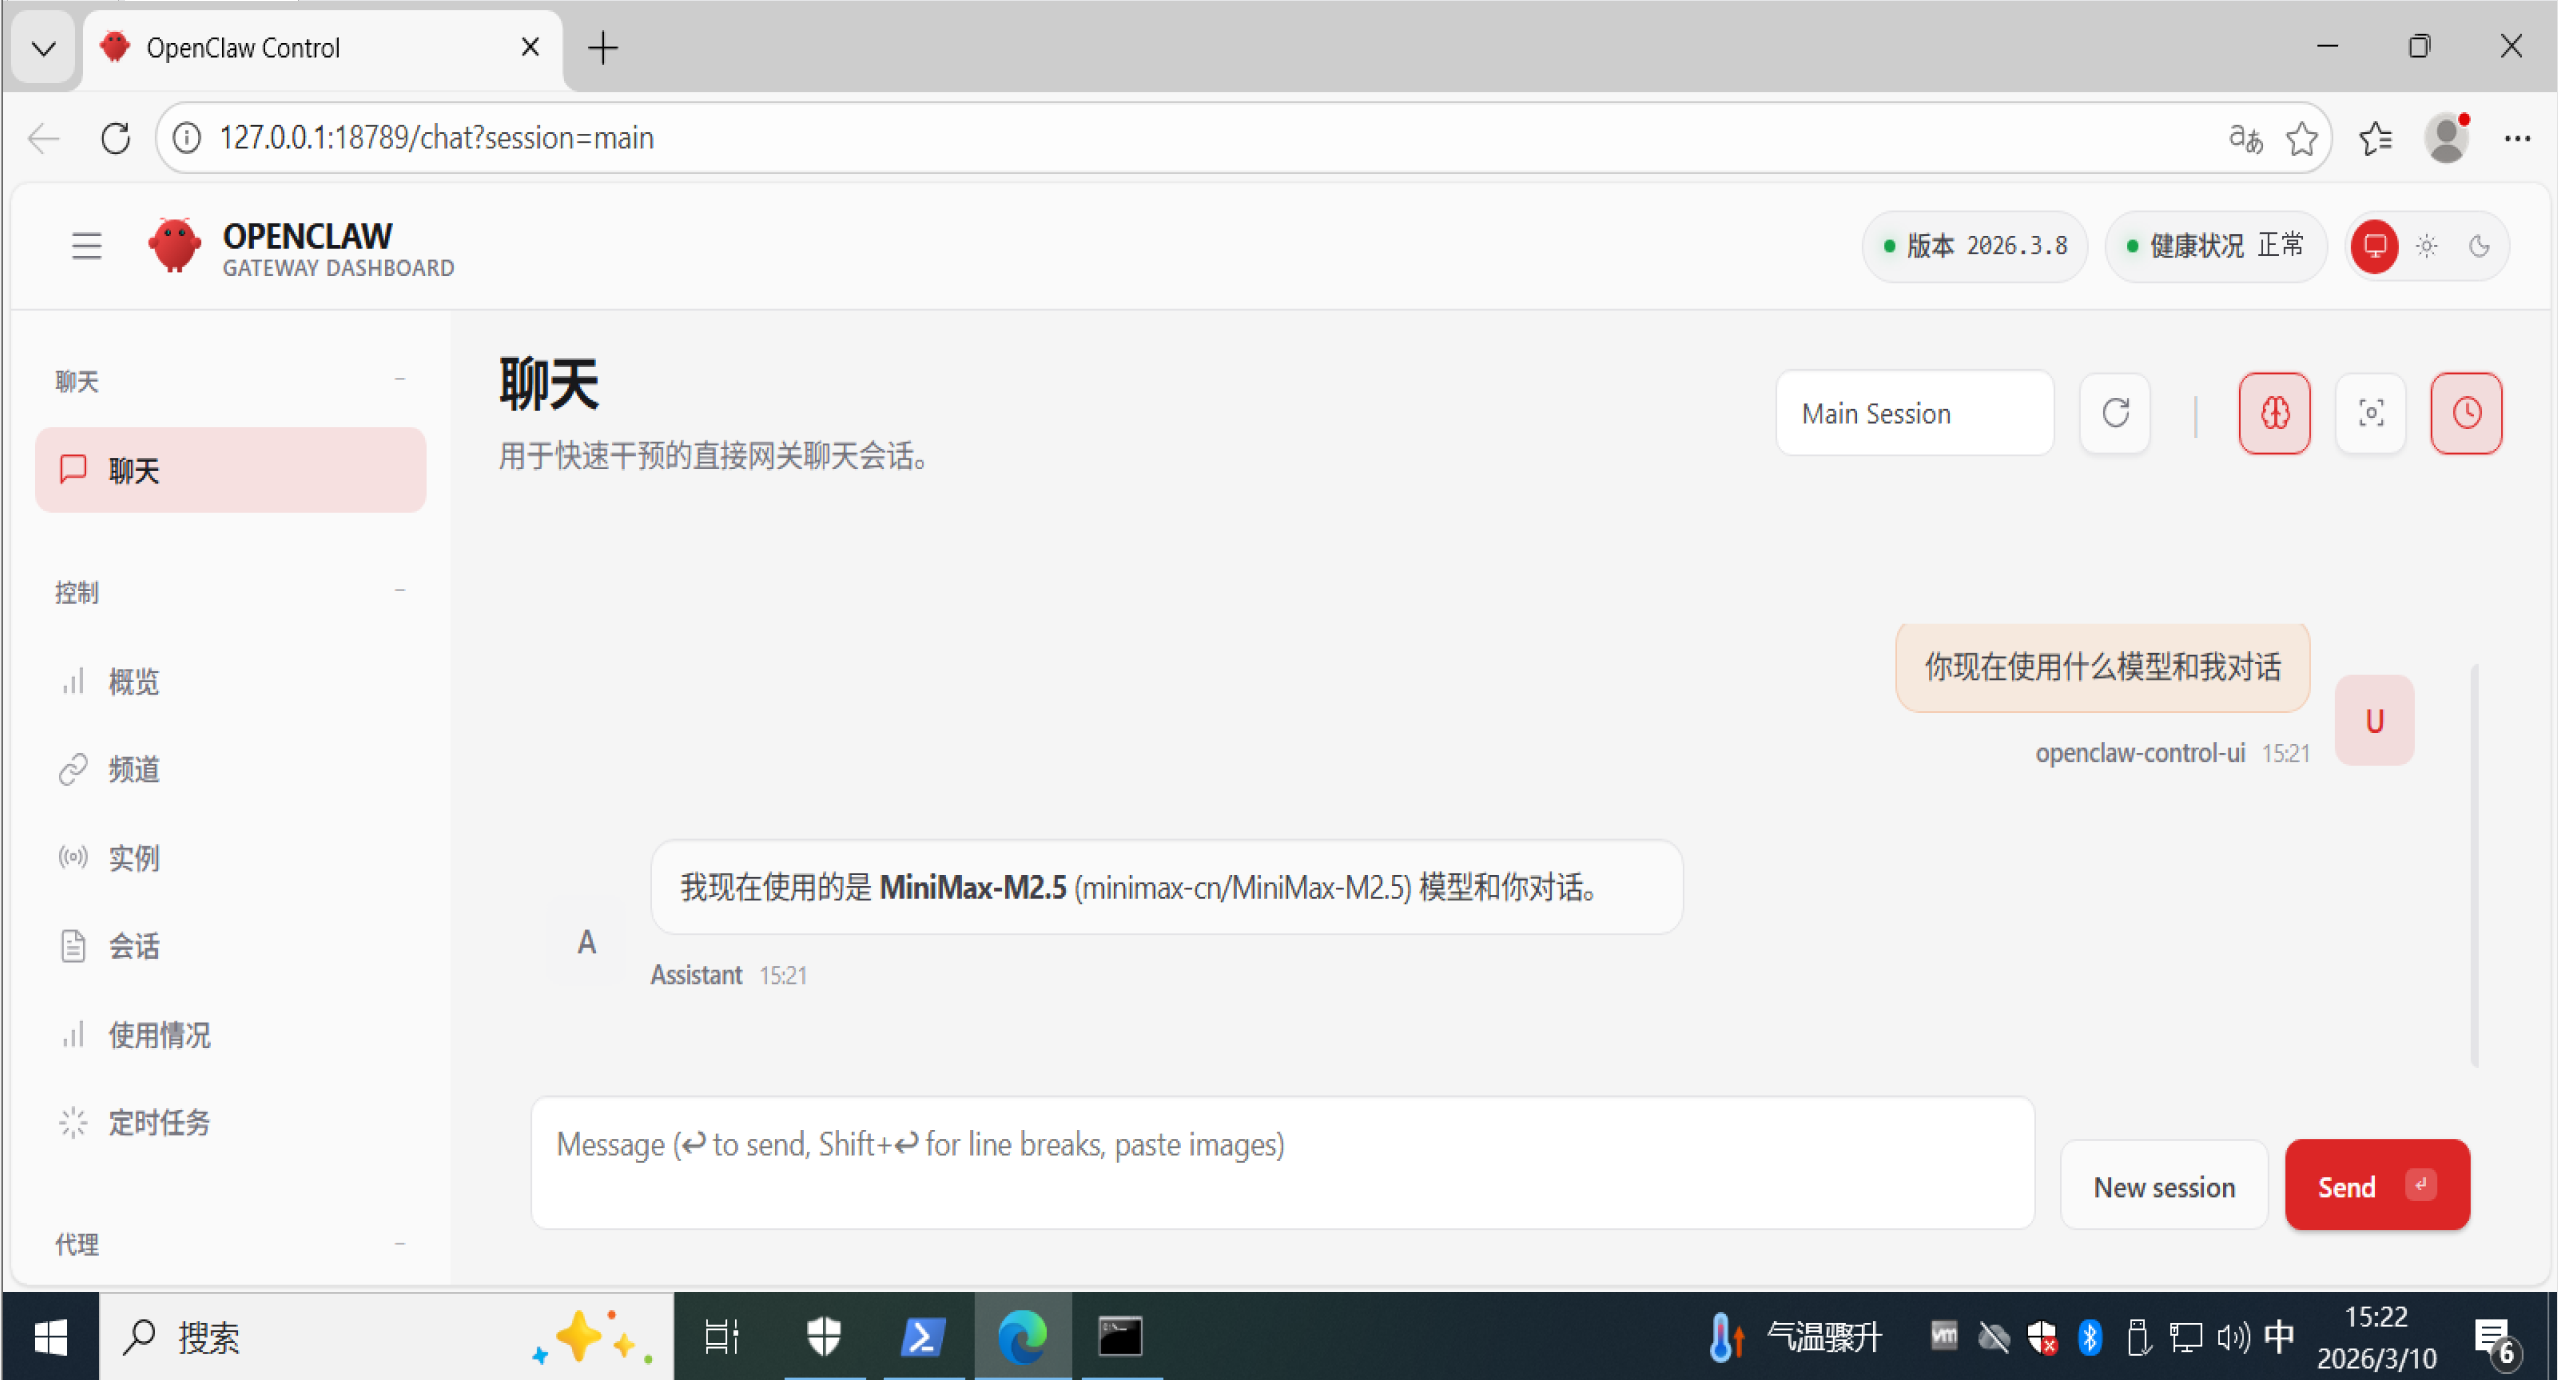
图四:OpenClaw对话界面
4. 安装 Chrome 浏览器扩展 (Browser Relay)
为了让 OpenClaw 能够直接与你的浏览器交互(如读取网页内容、实现网页自动化操作),必须安装并配置对应的 Chrome 插件。
1. 安装插件
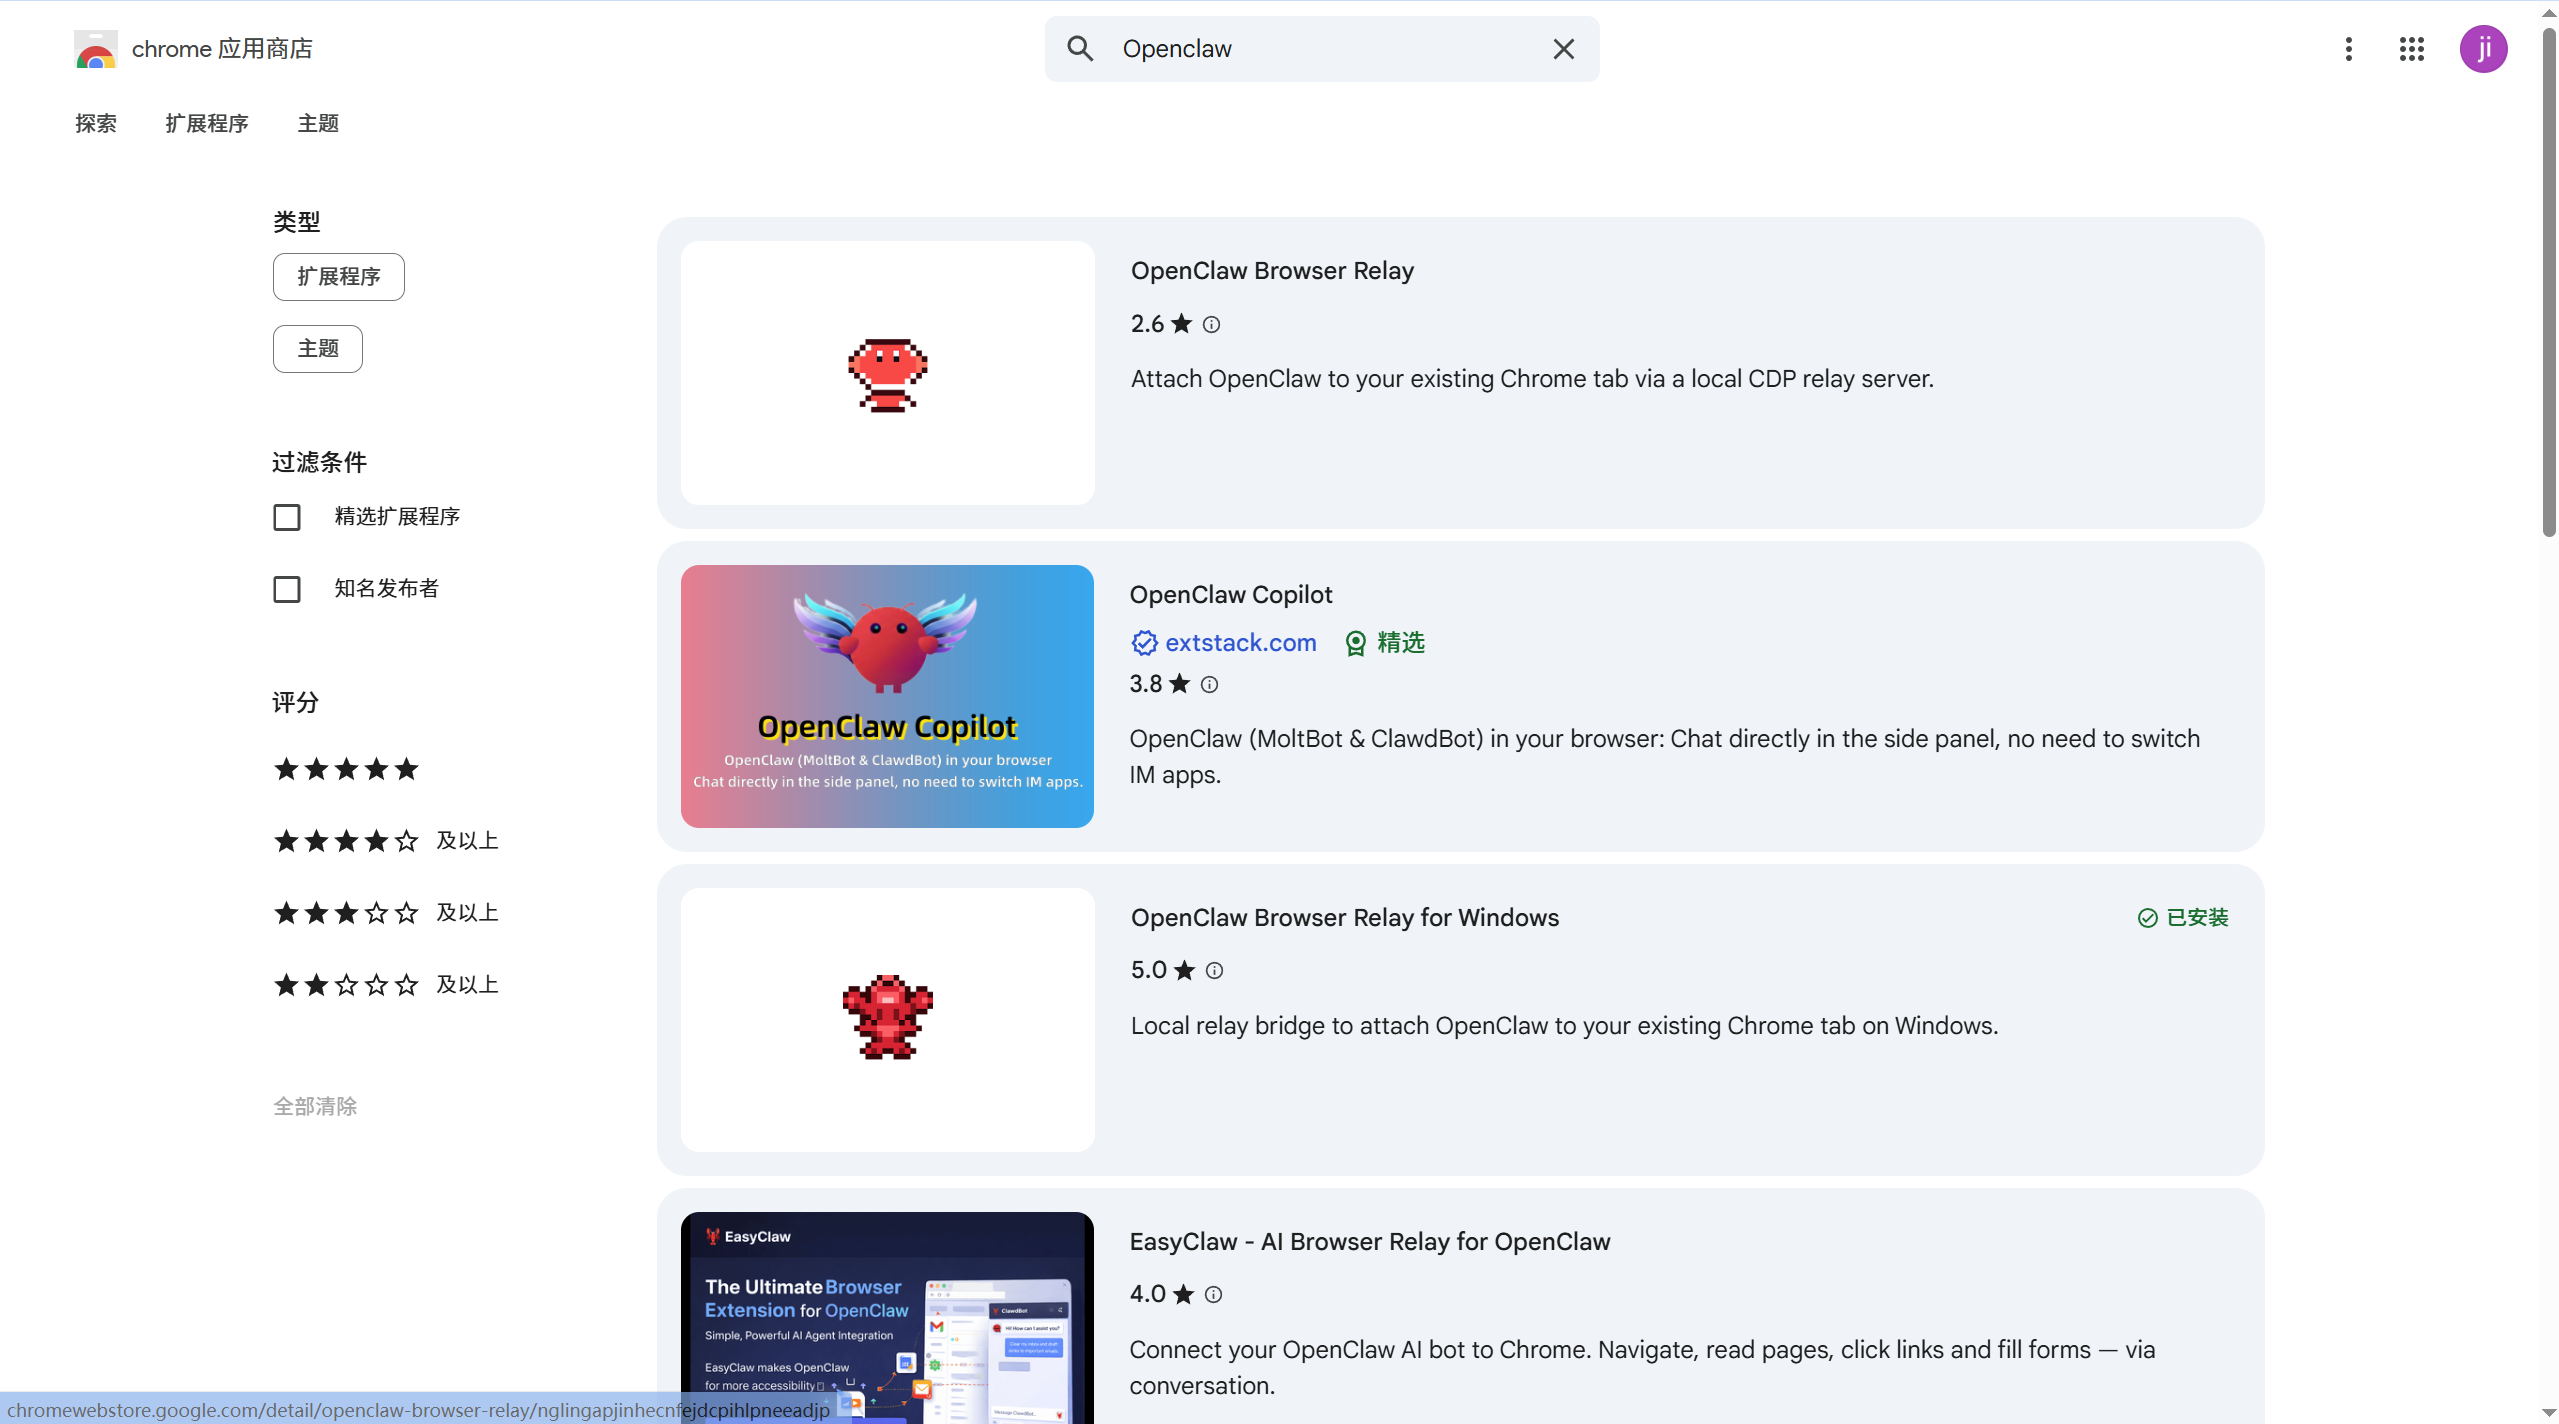
图五:Chrome插件页面
访问 Chrome 应用商店 - OpenClaw 搜索页面,在搜索结果中找到并点击安装 OpenClaw Browser Relay for Windows。
2. 获取 Gateway Token

图六:OpenClaw Token获取配置
插件需要身份验证才能连接到你的本地网关。请在 PowerShell 中运行以下命令来获取你的唯一令牌:
code__pre
(Get-Content "$HOME\.openclaw\openclaw.json" | ConvertFrom-Json).gateway.auth.token3. 配置插件 
图七:OpenClaw Browser Relay配置界面
安装完成后,点击浏览器右上角的扩展程序图标(小红螃蟹图标),进入配置界面进行如下设置:
- • Port (端口) :默认填入 18792 。 注意:这是 Relay 的默认通信端口。计算逻辑通常为:网关端口 。
- • Gateway token :填入你刚才通过上述命令获取到的 Token 字符串。
- • 保存连接 :点击 Save 按钮。
如何判断连接成功?
观察浏览器工具栏的插件图标:如果图标由红色 变为绿色,说明插件已成功识别到本地服务并完成握手。
六、 电脑重启后的运维操作
1. 启动服务
如果你重启了电脑,OpenClaw 网关服务通常会通过 Windows 计划任务自动运行。如果需要手动启动:
code__pre
openclaw gateway或者直接运行安装生成的脚本:
code__pre
C:\Users\leo\.openclaw\gateway.cmd2. 管理与调试命令
- • 打开 Web UI/控制面板:
code__pre
openclaw dashboard- • 查看网关认证 Token:
code__pre
(Get-Content "$HOME\.openclaw\openclaw.json" | ConvertFrom-Json).gateway.auth.token- • 系统状态诊断:
code__pre
openclaw doctor