最近的openclaw爆火,看它功能牛逼,我也想部署一个
考虑到windows长期运行不给力,所以还得是linux。
本想在云端部署一个,想到有一台老笔记本还在吃灰,正好拿出来部署linxu,翻出来一看:CPU=i7-3520四核,SSD=256G,RAM=8G,这可比云端配置强多了,关键还不花钱,爽歪歪,马上开干!
1.从Ubuntu官网下载最新LTS版iso
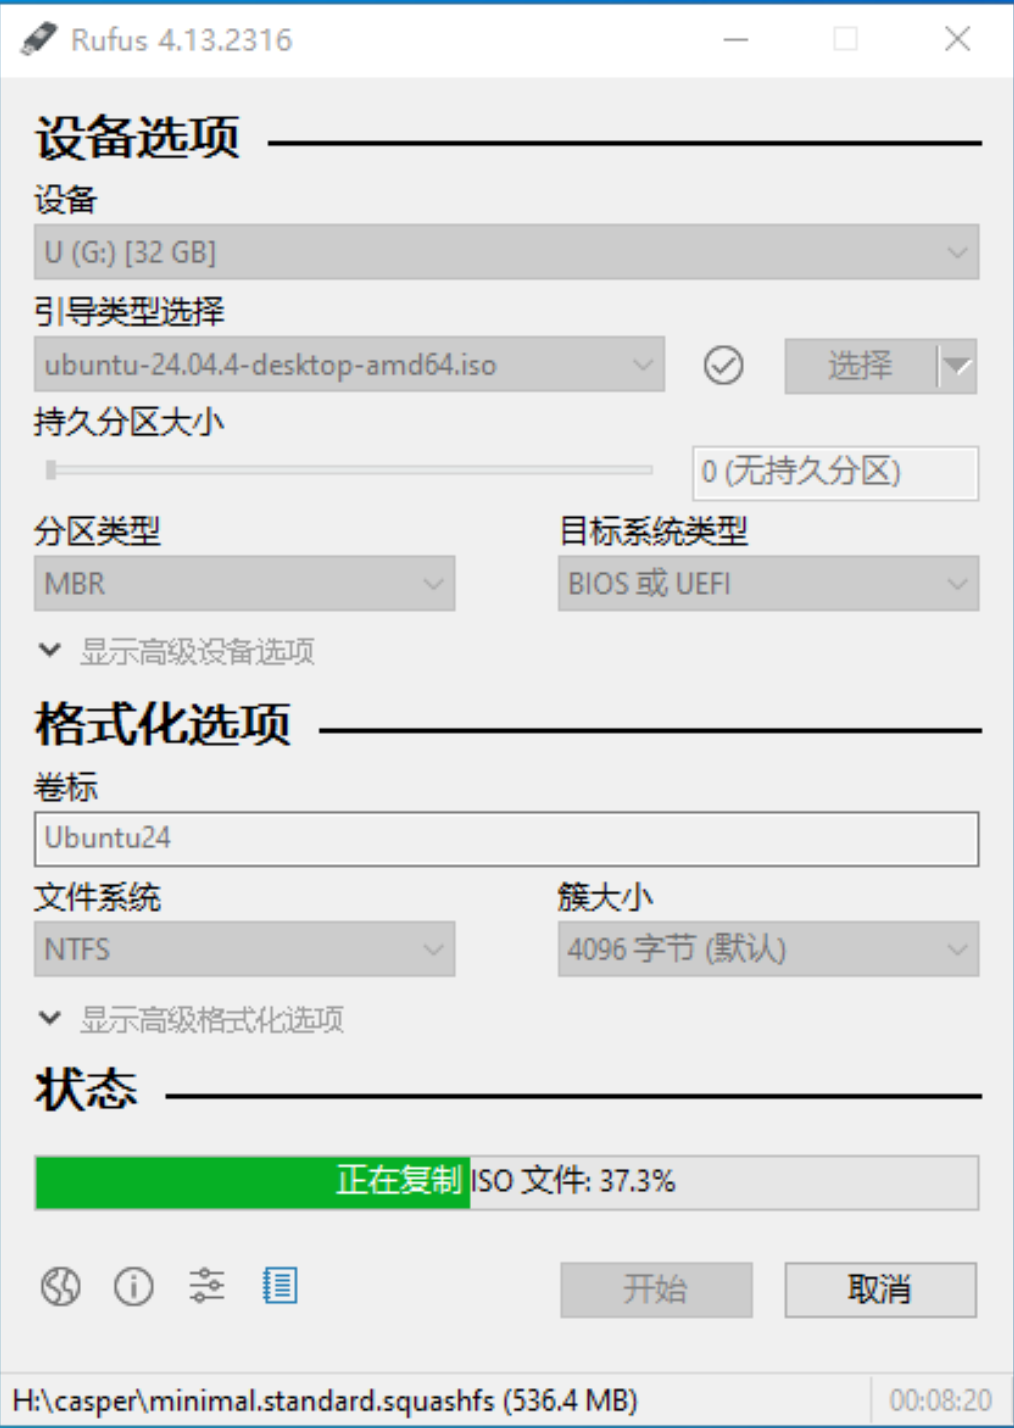
2.安装盘制作:Rufus ,老旧笔记本推荐选项:
3. U盘启动安装:
BIOS禁止Secure Boot,CSM改为UEFI启动,进入U盘安装界面,极简4分区
/:80GB,ext4/boot/efi:1GB,FAT32(添加根分区后自动生成)- Swap:8GB
/home:166GB,ext4(剩余容量都放到这里)
4.安装成功,执行基础维护(暂不开启防火墙):
4.1.开启ssh
bash
sudo apt upgrade -y
sudo apt install -y openssh-server
sudo ufw allow 22/tcp
sudo systemctl enable --now ssh
sudo systemctl start ssh
4.2.开启ubuntu自带的远程桌面:设置/系统/远程桌面-->桌面共享和远程控制都开启
win11运行mstsc远程桌面 , 填入计算机:192.168.1.6:3389,用户名:yg,点连接
消除警告: Default.rdp复制到桌面,记事本编辑,最后加一行 use redirection server name:i:1
双击运行Default.rdp
4.3.安装清理工具BleachBit,在应用中心运行,执行清理
bash
sudo apt install bleachbit4.3.安装备份工具Timeshift,在应用中心运行,执行原始备份
bash
sudo apt install timeshift5.在ubuntu上部署openclaw:参考文章
5.1.安装与验证:
bash
# 安装基础依赖(编译工具、网络工具等,避免卡在 node-gyp rebuild)
sudo apt update && sudo apt upgrade -y
sudo apt install -y curl wget git python3 build-essential libssl-dev ufw

# 安装 Node.js 和 npm(npm 用于包管理)
curl -fsSL https://deb.nodesource.com/setup_22.x | sudo -E bash -
sudo apt install -y nodejs
npm install -g npm@latest
# 验证Node.js 和 npm(显示版本号即正常)
node --version  # 需显示 v22.x.x
npm --version   # 需显示 10.x.x 及以上

# 全局包目录放到用户目录并加入环境变量(避免大量的sudo 和 npm error code EACCES 权限问题)
mkdir -p ~/.npm-global
npm config set prefix '~/.npm-global'
npm config get prefix
echo 'export PATH=~/.npm-global/bin:$PATH' >> ~/.profile
source ~/.profile

# 配置 npm 国内镜像
npm config set registry https://registry.npmmirror.com
npm config get registry  # 显示 https://registry.npmmirror.com 即成功

# 安装openclaw
npm install -g openclaw@latest
# 验证openclaw
openclaw --version
5.2.配置
bash
#!/bin/bash
# 交互配置
openclaw configure
# 启动网关
openclaw gateway restart
# 启动对话
openclaw tui

# 放行 18789 端口(可选,防火墙暂未开启)
sudo ufw allow 18789/tcp
sudo ufw reload
sudo ufw status | grep 18789  # 显示"ALLOW"即成功


# 高级后台守护:PM2进程管理器(可选)
npm install -g pm2
# 注意:若已执行过此命令,不要重复执行,避免启动多个openclaw进程(导致端口冲突、UI无法访问)
pm2 start "openclaw gateway" --name openclaw  # 仅启动1个进程
pm2 startup
pm2 save
# 验证服务状态(显示"online"且只有1个openclaw进程即正常)
pm2 status openclaw
# 若出现多个openclaw进程,执行以下命令清理(补充)
# pm2 stop openclaw && pm2 delete openclaw && pm2 start "openclaw gateway" --name openclaw
# 若服务一直重启,执行 pm2 logs openclaw 查看错误日志,定位重启原因