目录
前言
- 前面写过一篇把Jar包上传到GitHub仓库,有个弊端就是必须先声明
repository地址才能把jar包拉下来,这次直接把jar包上传到中央仓库,就没这个烦恼了,直接声明pom坐标即可。
准备
中央仓库
-
打开中央仓库 https://central.sonatype.com/ 注册帐号,建议直接使用GitHub登陆,
Namespace会自动验证好。
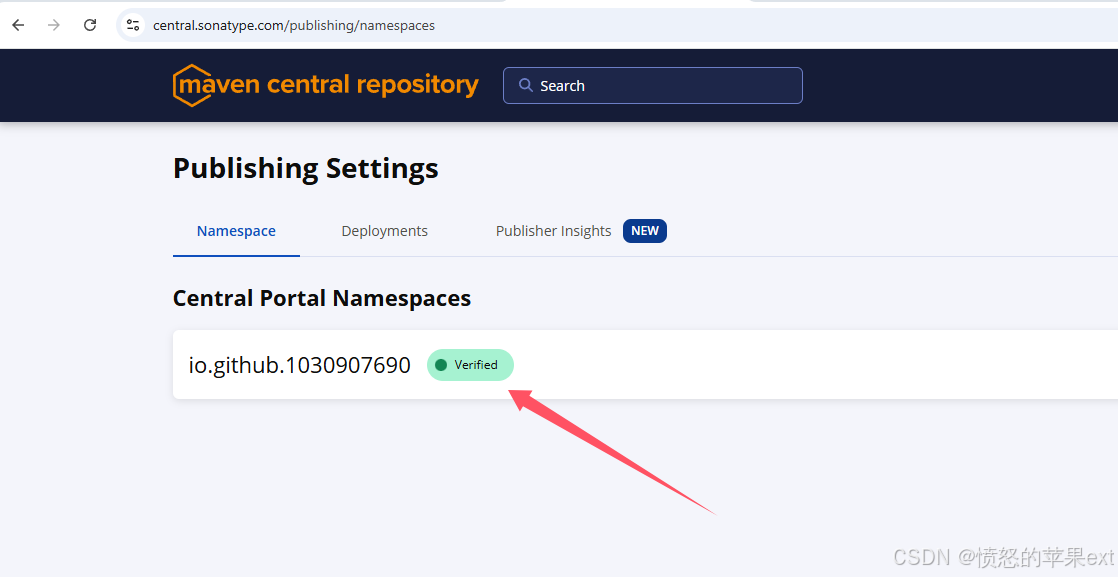
-
pom.xml的
groupId就写这个已验证的Namespace。 -
创建
token

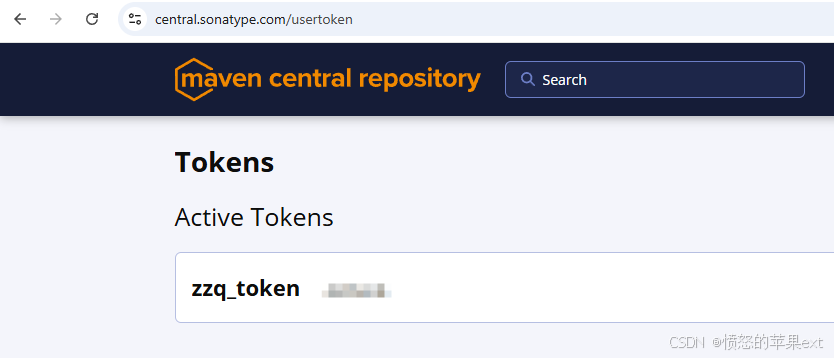
-
配置到maven
settings.xml文件中
xml
 ...省略...
  <servers>
    <server>
      <id>central</id>
      <username>生成的Token用户名</username>
      <password>生成的Token密码</password>
    </server>
    ..省略...
  </servers>
 ...省略...
生成 GPG 密钥
上传到中央仓库的二进制文件都必须经过签名,以证明它们没有被篡改
- 下载软件:Windows地址 https://www.gpg4win.org
- 生成密钥对
shell
gpg --full-generate-key密钥类型:
RSA and RSA密钥长度:
4096其余按自己情况填写
- 上传公钥
shell
#先查看 ID
gpg --list-keys --keyid-format LONG- 上传到公钥服务器( Key ID是
rsa4096/后面16个字符)
shell
gpg --keyserver keyserver.ubuntu.com --send-keys 你的KeyID项目配置
- 我以自己的项目https://github.com/1030907690/flink-sql-connector-elasticsearch8为例。
- pom.xml要配置项目的描述信息(根据自己的情况替换掉相应描述信息),还有插件。
xml
  <groupId>io.github.1030907690</groupId>
    <artifactId>flink-sql-connector-elasticsearch8</artifactId>
    <version>${revision}</version>
    <name>${project.artifactId}</name>
    <url>https://github.com/1030907690/flink-sql-connector-elasticsearch8</url>
    <description>flink-sql-connector-elasticsearch8</description>


    <licenses>
        <license>
            <name>The Apache Software License, Version 2.0</name>
            <url>http://www.apache.org/licenses/LICENSE-2.0.txt</url>
        </license>
    </licenses>

    <developers>
        <developer>
            <name>Zhou Zhongqing</name>
            <email>g1030907690@gmail.com</email>
            <organization>Zhou Zhongqing</organization>
            <organizationUrl>https://github.com/1030907690</organizationUrl>
        </developer>
    </developers>

   <scm>
        <connection>scm:git:git://github.com/1030907690/flink-sql-connector-elasticsearch8.git</connection>
        <developerConnection>scm:git:ssh://github.com:1030907690/flink-sql-connector-elasticsearch8.git</developerConnection>
        <url>https://github.com/1030907690/flink-sql-connector-elasticsearch8/tree/main</url>
    </scm>

    <properties>
        ...省略...
        <java.version>17</java.version>
        <revision>1.0.3</revision>
        <project.build.sourceEncoding>UTF-8</project.build.sourceEncoding>
    </properties>
<dependencies>
...省略依赖信息...
</dependencies>

<build>
        <plugins>
            <plugin>
                <groupId>org.apache.maven.plugins</groupId>
                <artifactId>maven-shade-plugin</artifactId>
                <version>3.2.4</version>
                <executions>
                    <execution>
                        <phase>package</phase>
                        <goals>
                            <goal>shade</goal>
                        </goals>
                        <configuration>
                            <artifactSet>
                                <excludes>
                                    <exclude>org.apache.flink:*</exclude>
                                    <exclude>org.slf4j:*</exclude>
                                    <exclude>log4j:*</exclude>
                                </excludes>
                            </artifactSet>
                            <filters>
                                <filter>
                                    <artifact>*:*</artifact>
                                    <excludes>
                                        <exclude>META-INF/*.SF</exclude>
                                        <exclude>META-INF/*.DSA</exclude>
                                        <exclude>META-INF/*.RSA</exclude>
                                    </excludes>
                                </filter>
                            </filters>
                            <transformers>
                                <transformer implementation="org.apache.maven.plugins.shade.resource.ServicesResourceTransformer"/>
                            </transformers>
                        </configuration>
                    </execution>
                </executions>
            </plugin>

            <!--     生成源javadocs文件       -->
            <plugin>
                <groupId>org.apache.maven.plugins</groupId>
                <artifactId>maven-compiler-plugin</artifactId>
                <version>3.11.0</version>
                <configuration>
                    <source>${java.version}</source>
                    <target>${java.version}</target>
                </configuration>
            </plugin>
            <!--     生成源文件       -->
            <plugin>
                <groupId>org.apache.maven.plugins</groupId>
                <artifactId>maven-source-plugin</artifactId>
                <version>3.3.0</version>
                <executions>
                    <execution>
                        <id>attach-sources</id>
                        <goals>
                            <goal>jar-no-fork</goal>
                        </goals>
                    </execution>
                </executions>
            </plugin>

            <plugin>
                <groupId>org.apache.maven.plugins</groupId>
                <artifactId>maven-javadoc-plugin</artifactId>
                <version>3.6.3</version>
                <executions>
                    <execution>
                        <id>attach-javadocs</id>
                        <goals>
                            <goal>jar</goal>
                        </goals>
                    </execution>
                </executions>
            </plugin>
            <!--    签名插件        -->
            <plugin>
                <groupId>org.apache.maven.plugins</groupId>
                <artifactId>maven-gpg-plugin</artifactId>
                <version>3.1.0</version>
                <executions>
                    <execution>
                        <id>sign-artifacts</id>
                        <phase>verify</phase>
                        <goals>
                            <goal>sign</goal>
                        </goals>
                    </execution>
                </executions>
            </plugin>
            <!--    Maven插件发布    -->
            <plugin>
                <groupId>org.sonatype.central</groupId>
                <artifactId>central-publishing-maven-plugin</artifactId>
                <version>0.4.0</version>
                <extensions>true</extensions>
                <configuration>
                    <publishingServerId>central</publishingServerId>
                    <tokenAuth>true</tokenAuth>
                </configuration>
            </plugin>
            <!-- 替换变量 ${revision} -->
            <plugin>
                <groupId>org.codehaus.mojo</groupId>
                <artifactId>flatten-maven-plugin</artifactId>
                <version>1.5.0</version>
                <configuration>
                    <updatePomFile>true</updatePomFile>
                    <flattenMode>resolveCiFriendliesOnly</flattenMode>
                </configuration>
                <executions>
                    <execution>
                        <id>flatten</id>
                        <phase>process-resources</phase>
                        <goals>
                            <goal>flatten</goal>
                        </goals>
                    </execution>
                    <execution>
                        <id>flatten.clean</id>
                        <phase>clean</phase>
                        <goals>
                            <goal>clean</goal>
                        </goals>
                    </execution>
                </executions>
            </plugin>

        </plugins>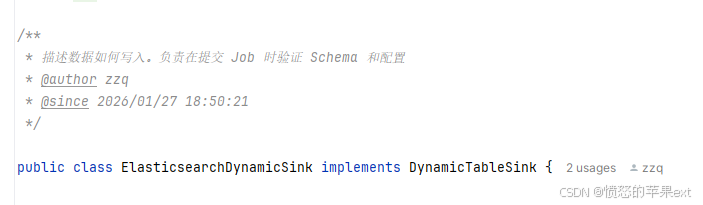
</build>- 注意:每个类要有注释,否则执行deploy时会报错:
上传jar包
- 我将版本号改为
1.0.4 - 点击
deploy
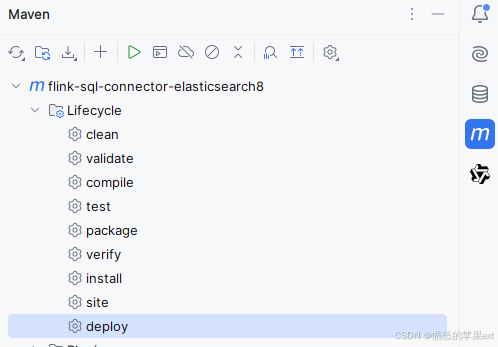
- 中途会弹窗输入密钥密码。
- 上传成功后在中央仓库后台就能看到如下信息。
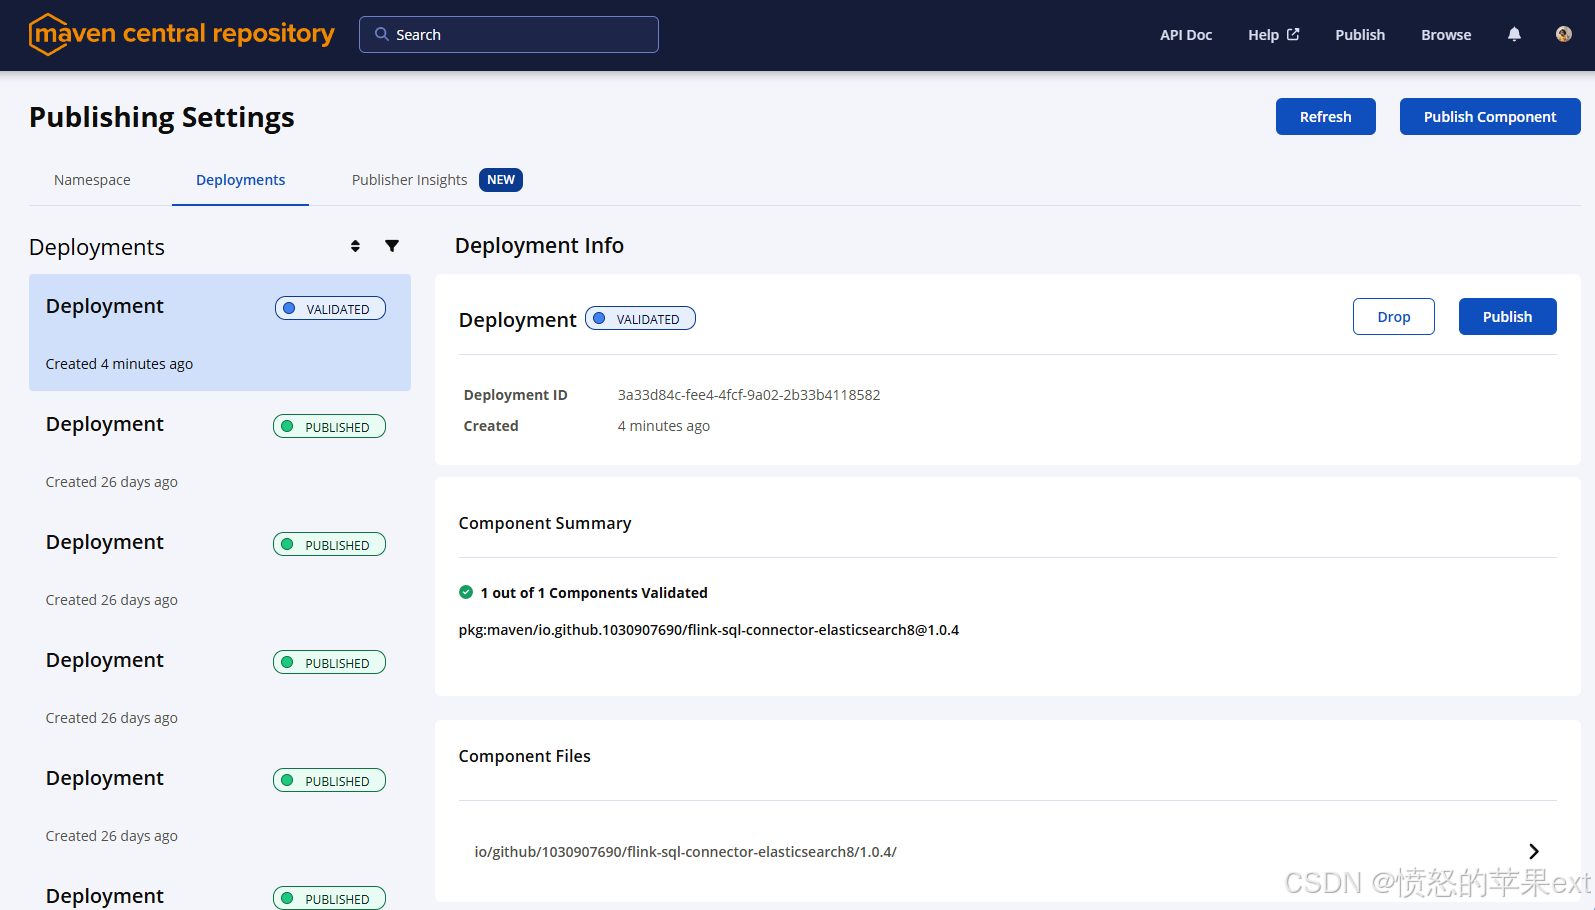
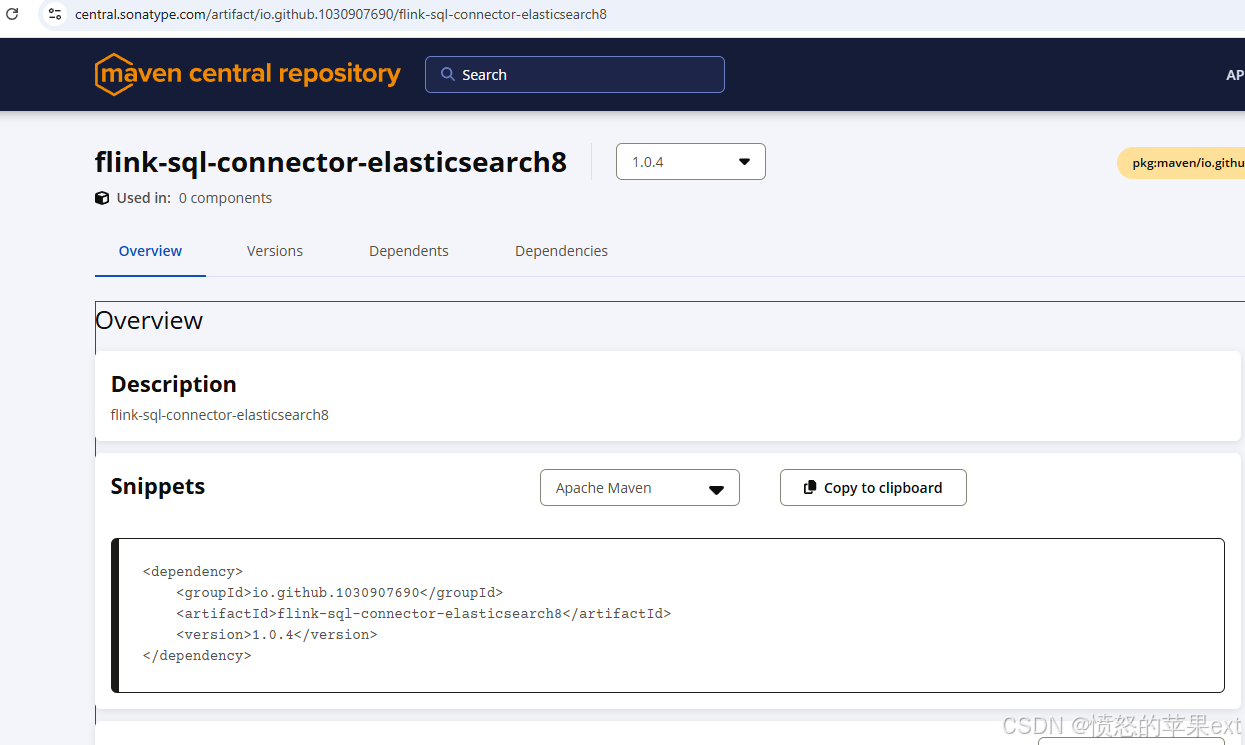
- 点击
Publish按钮后,稍侯再搜索便能查到此版本的pom坐标了。
其他
- 如果你有两台电脑,都想使用同一个密钥,可以使用
Kleopatra先备份私钥,然后另一台电脑再导入即可使用。