一、查找LLVM
1、当前你使用的xcode对应的LLVM版本
✗ swift --version
swift-driver version: 1.127.14.1 Apple Swift version 6.2.1 (swiftlang-6.2.1.4.8 clang-1700.4.4.1)
Target: arm64-apple-macosx15.0
可以看出我们使用的swift版本在6.2之后
✗ clang --version
Apple clang version 17.0.0 (clang-1700.4.4.1)
Target: arm64-apple-darwin24.6.0
Thread model: posix
InstalledDir: /Applications/Xcode.app/Contents/Developer/Toolchains/XcodeDefault.xctoolchain/usr/bin
说明我们使用的clang在17.0
2、找到相同的版本源码
可以看到其使用的llvm版本为17
llvm_version_major = 17
llvm_version_minor = 0
llvm_version_patch = 6
llvm_version = "$llvm_version_major.$llvm_version_minor.$llvm_version_patch"从https://github.com/swiftlang/llvm-project/tags?after=swift-6.3-DEVELOPMENT-SNAPSHOT-2025-12-01-a
选择我们的的llvm源码下载:
https://github.com/swiftlang/llvm-project/releases/tag/swift-6.2.3-RELEASE 现在zip后解压出llvm-project-swift-6.2.3-RELEASE文件
二、编译llvm和插件
1、插件
插件放在在llvm-project-swift-6.2.3-RELEASE/llvm/lib/Transforms目录下,如果是有我们自己定义的插件(MyPlugin),需要在CMakeLists.txt增加add_subdirectory(MyPlugin)
2、cmake
在根目录下创建build目录,cd到该目录下,执行命令(或者写一个sh文件去运行):
cmake -G Xcode\
  -DCMAKE_BUILD_TYPE=Release \
  -DLLVM_ENABLE_PROJECTS='clang;clang-tools-extra' \
  -DLLVM_ENABLE_PLUGINS=ON \
  -DLLVM_BUILD_LLVM_DYLIB=ON \
  -DCLANG_BUILD_EXAMPLES=OFF \
  -DLLVM_TARGETS_TO_BUILD=Native \
  -DCMAKE_INSTALL_PREFIX=/usr/local/llvm-26 \
  ../llvm
会在目录下生成一个xcode工程
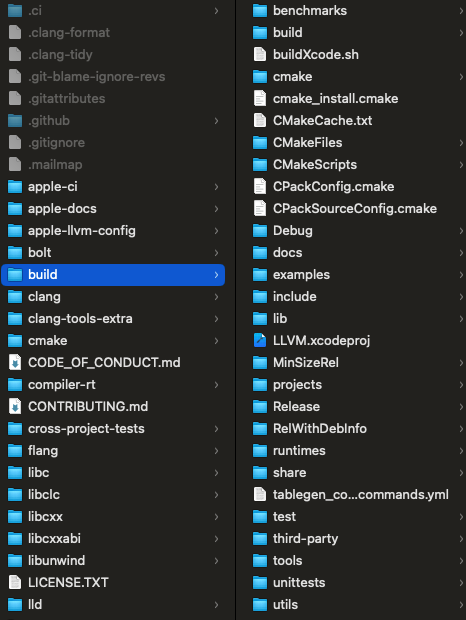
3、编译
打开LLVM.xcodeproj文件,选中Manage Schemes ,选择llvm、MyPlugin创建target

然后分别build,编译出产物
build/Release/lib/MyPlugin.dylib
build/Release/bin/clang
build/Release/bin/clang++
三、替换xcode编译器
在我们业务工程的podfie中设置post hook,在pod install后修改xcconfig配置环境变量,指定为我们编译出来的clang产物
 # 获取插件路径
  llvm_plugin_path = "....llvm-project-swift-6.2.3-RELEASE/build/Release/lib/MyIRPlugin.dylib"
  llvm_clang_path = "...llvm-project-swift-6.2.3-RELEASE/build/Release/bin/clang"
  llvm_clangpp_path = "...lllvm-project-swift-6.2.3-RELEASE/build/Release/bin/clang++"

  # 遍历所有 Pod 目标
  installer.pods_project.targets.each do |target|

    # 为每个目标设置编译器和插件选项
    target.build_configurations.each do |config|
      # 获取当前配置
      xcconfig_path = config.base_configuration_reference.real_path
      xcconfig = File.read(xcconfig_path)

      # 添加 LLVM 插件配置
      new_xcconfig = xcconfig + <<~EOF

        CC=#{llvm_clang_path}
        CXX=#{llvm_clangpp_path}
        OTHER_CFLAGS = $(inherited) -fpass-plugin=#{llvm_plugin_path} -O1
        OTHER_CPLUSPLUSFLAGS = $(inherited) -fpass-plugin=#{llvm_plugin_path} -O1

      EOF

      # 写回配置文件
      File.write(xcconfig_path, new_xcconfig)
    end
  end
pod install后重启xcode生效