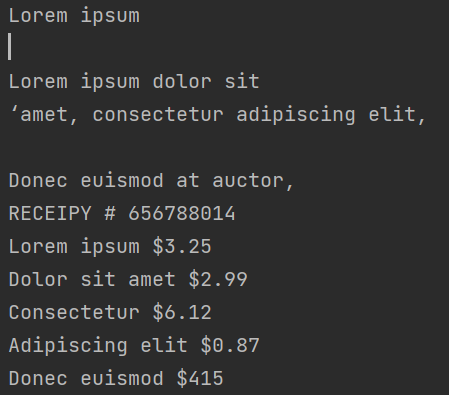
主要对图片进行预处理,然后调用ocr接口
1,灰度图
gray=cv.cvtColor(image,cv.COLOR_BGR2GRAY)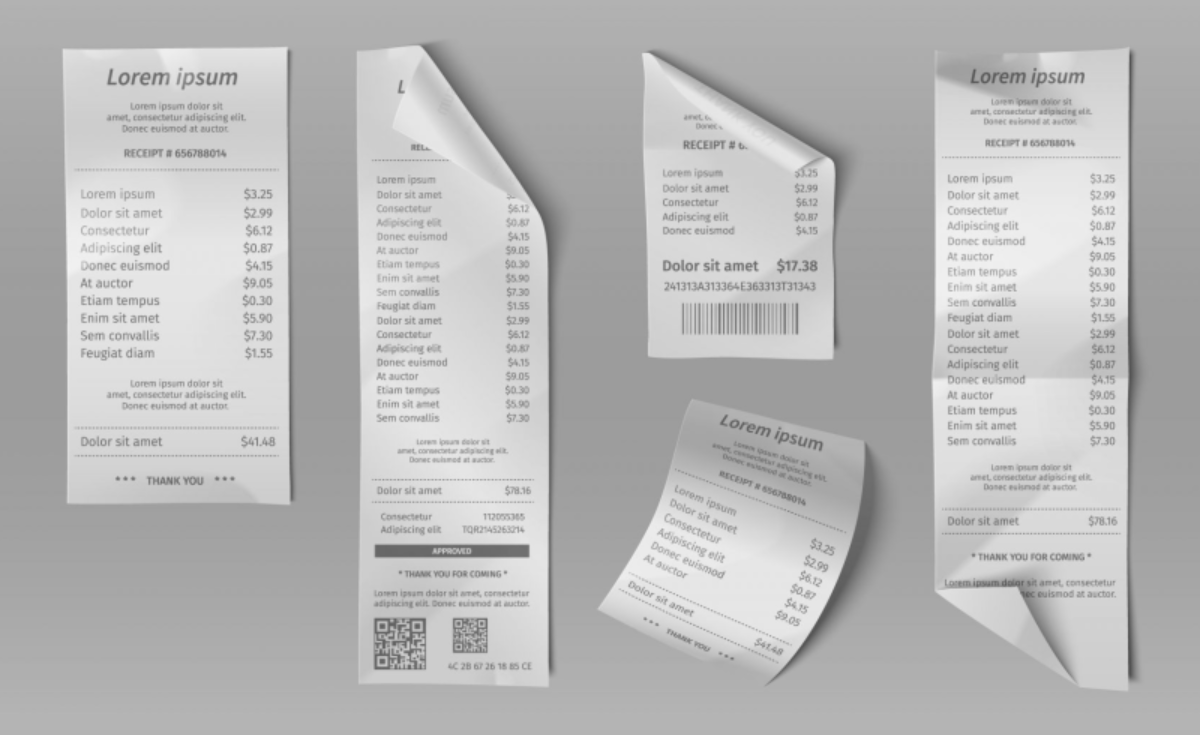
2,高斯去噪
gray=cv.GaussianBlur(gray,(3,3),0)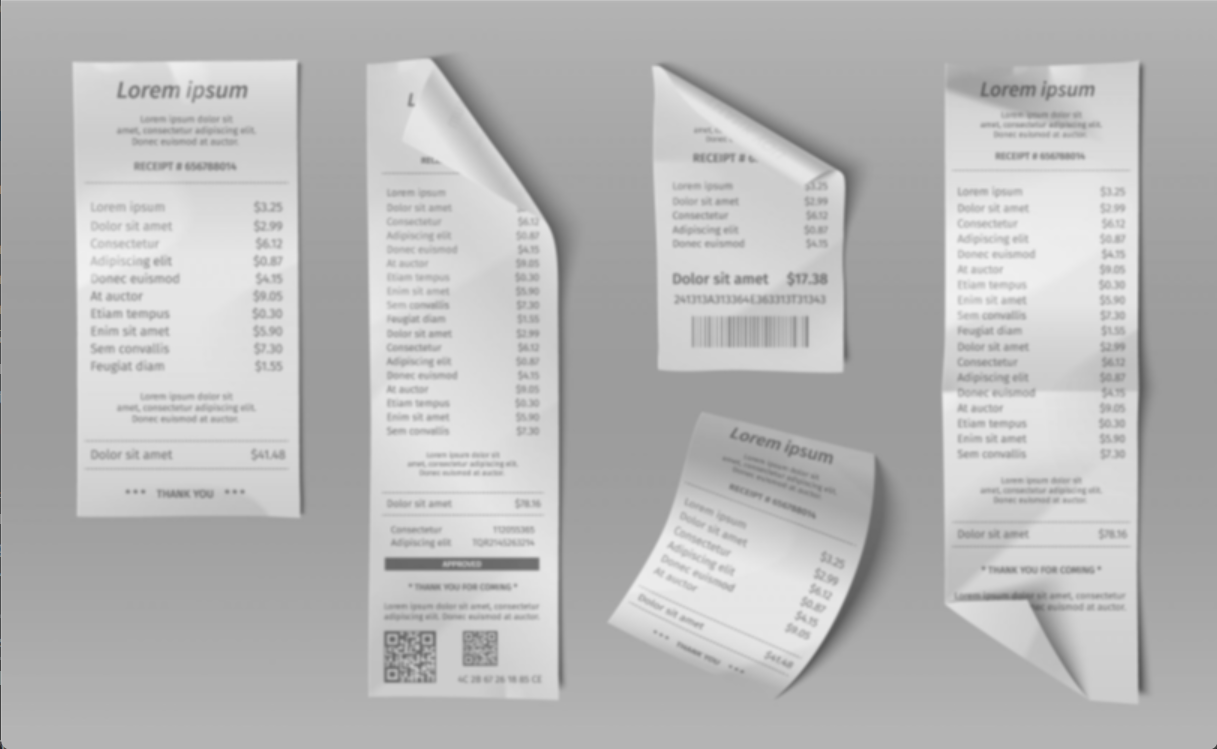
3,边缘检测
edged=cv.Canny(gray,60,260)
4,轮廓检测
cnts=cv.findContours(edged.copy(),cv.RETR_EXTERNAL,cv.CHAIN_APPROX_SIMPLE)[0]
5,查找轮廓面积最大的五个
cnts=sorted(cnts,key=cv.contourArea,reverse=True)[:5]
6,近似轮廓,调整其形状
screenCnts=[]
#遍历轮廓
for c in cnts:
    peri=cv.arcLength(c,True)
    approx=cv.approxPolyDP(c,0.02*peri,True)
    # cv.drawContours(image,[approx],-1,(0,255,0),1)
    # cv_show(image)
    if len(approx)==4:
screenCnts.append(approx)7,透视变换
先对应好四个角点的坐标,然后按四边形的最长宽和长将多边形拉成矩形,最后利用变换矩阵进行透视变换
#透视变换
#对应每个坐标
def order_points(pts):
    #一共4个坐标点
    rect=np.zeros((4,2),dtype="float32")

    #j计算左上,右下
    #x+y
    s=pts.sum(axis=1)
    rect[0]=pts[np.argmin(s)]
    rect[2]=pts[np.argmax(s)]

    #计算右上和左下
    #x-y
    diff=np.diff(pts,axis=1)
    rect[1]=pts[np.argmin(diff)]
    rect[3]=pts[np.argmax(diff)]

    return rect

def four_point_transform(img,pts):
    #获取坐标点
    rect=order_points(pts)
    (tl,tr,br,bl)=rect

    #计算输入的w和h值,选择四边形中的最长宽和长作为矫正后矩形的宽和长
    widthA=np.sqrt(((br[0]-bl[0])**2)+((br[1]-bl[1])**2))
    widthB=np.sqrt(((tr[0]-tl[0])**2)+((tr[1]-tl[1])**2))
    maxwidth=max(int(widthA),int(widthB))

    heightA=np.sqrt(((bl[0]-tl[0])**2)+((bl[1]-tl[1])**2))
    heightB=np.sqrt(((br[0]-tr[0])**2)+((br[1]-tr[1])**2))
    maxheight=max(int(heightA),int(heightB))

    #变换后对应坐标坐标
    dst=np.array([
        [0,0],
        [maxwidth-1,0],
        [maxwidth-1,maxheight-1],
        [0,maxheight-1]],dtype="float32"
    )

    #计算变换矩阵
    M=cv.getPerspectiveTransform(rect,dst)
    warped=cv.warpPerspective(img,M,(maxwidth,maxheight))

    return warped


for (i,sc) in enumerate(screenCnts):
    warped = four_point_transform(orig, sc.reshape(4,2)*ratio)
    cv_show(warped)
    warped=cv.cvtColor(warped,cv.COLOR_BGR2GRAY)
    # cv_show(warped)
    ref=cv.threshold(warped,190,255,cv.THRESH_BINARY)[1]
    cv_show(ref)
    cv.imwrite(f'./data/reciept/scan{i+1}.jpg',ref)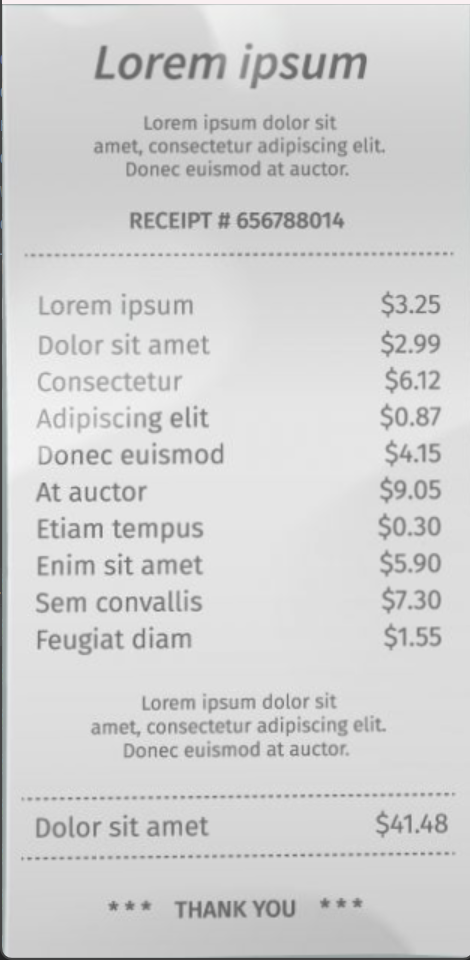
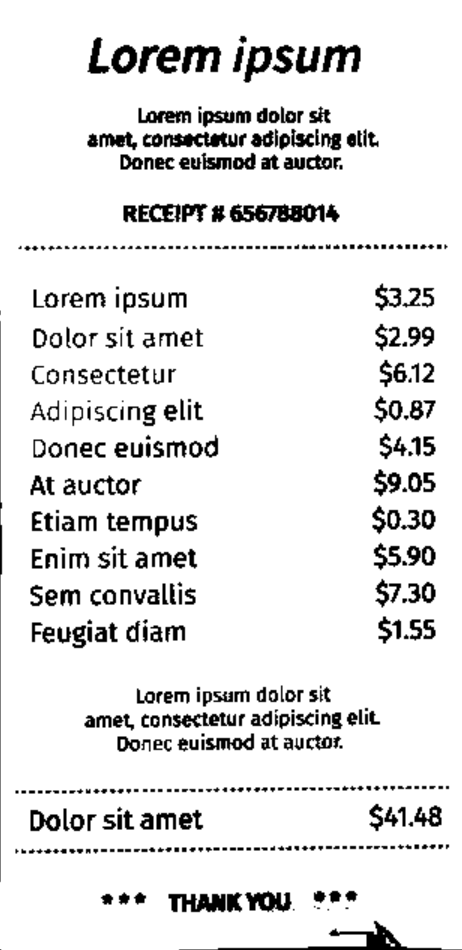
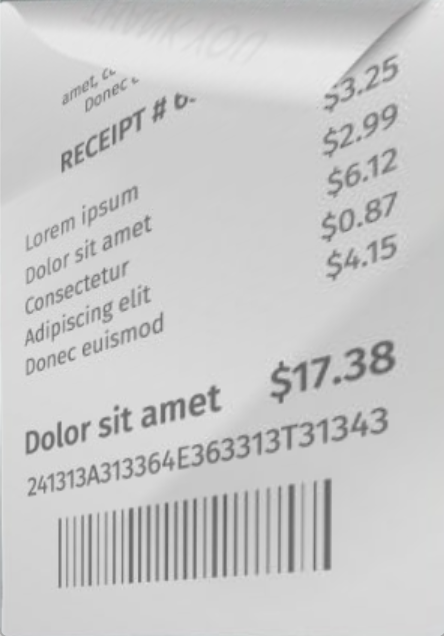
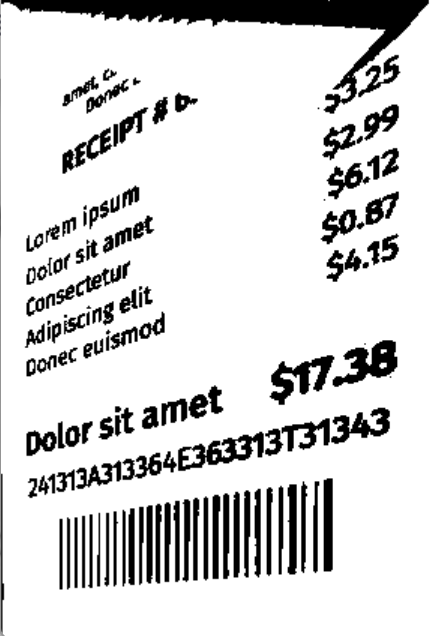
8,调用ocr
import cv2
import pytesseract
from PIL import Image

# 基本识别
text = pytesseract.image_to_string(Image.open('./data/reciept/scan1.jpg'))
print(text)

img=cv2.imread('./data/reciept/scan1.jpg')
cv2.imshow('image',img)
cv2.waitKey(0)
cv2.destroyAllWindows()