WebSocket实战项目(结合Socket.IO)
- [1. 前言(为什么使用 Scoket.IO)](#1. 前言(为什么使用 Scoket.IO))
- [2. 创建 WebScoket 聊天室服务器](#2. 创建 WebScoket 聊天室服务器)
- [3. 创建 WebScoket 聊天室客户端(Vue3为例)](#3. 创建 WebScoket 聊天室客户端(Vue3为例))
- [4. 优化](#4. 优化)
1. 前言(为什么使用 Scoket.IO)
对 Webcoket 不了解的同学,可以查看我之前的一篇文章《第24章 网络请求与远程资源(下)》。本篇文章承接上篇文章,主要针对相关库 Socket.IO 进行介绍。
虽然,WebSocket 的 API 已经足够简单,只需要掌握onopen、onmessage、onclose 几个基础事件,基本就能完成开发。但是在实际应用中仍然会有许多麻烦,比如你需要区分数据的类型和给谁发送的问题。
http 是请求-响应模型,通过接口的路径可以解决请求和响应数据类型的场景问题。
但是 WebScoket 是全双工通信,你需要通过自行书写类型和判断用户才能解决这个问题,相对麻烦,所以使用成熟的库 Socket.IO 就会方便许多。
接下来,我们将要使用这个库进行一个 WebSocket 聊天室的创作。
2. 创建 WebScoket 聊天室服务器
通常这一步交给后端来做,我们简单实现一遍,作为了解,同时配合下一步的聊天室客户端。
(1)初始化 server 项目:
shell
mkdir chat-server
cd chat-server
npm init --y
(2)安装 socket.io
shell
pnpm add socket.io(3)创建 chat.js(聊天室服务器文件):
javascript
const { Server } = require("socket.io");

const history = []; // 存储聊天记录 { name: string, content: string, date: number }
let nextId = 1; // 下一个用户的id
const users = new Set(); // 存储当前在线用户数组

const io = new Server({
  path: "/",
  cors: {
    origin: "*",
    methods: ["GET", "POST"],
  },
});

io.on("connection", (socket) => {
  // 分配用户名
  const username = `游客${nextId++}`;
  users.add(username);
  // 广播所有用户(包括自己)
  io.emit("$updateUser", [...users]);
  // 发送聊天记录
  socket.emit("$history", history);
  // 告知用户名
  socket.emit("$name", username);

  // 监听聊天记录
  socket.on("$message", (content) => {
    const msg = {
      name: username,
      content,
      date: Date.now(),
    };
    history.push(msg);
    // 广播消息,通知所有用户
    socket.broadcast.emit("$message", msg);
  });
});

io.listen(9528);
console.log(`Socket.io 聊天室已启动,端口号:9528`);
(4)创建 index.js:
javascript
require("./chat");方便后续做扩展,如果需要创建其他服务器,创建同级js文件,一同引入即可。
(5)修改package.json,加入启动命令:
javascript
{
  "name": "chat-server",
  "version": "1.0.0",
  "description": "",
  "main": "index.js",
  "scripts": {
    "serve": "node index.js",
    "start": "node index.js"
  },
  "keywords": [],
  "author": "",
  "license": "ISC",
  "dependencies": {
    "socket.io": "^4.8.3"
  }
}
(6)终端启动。
shell
pnpm serve3. 创建 WebScoket 聊天室客户端(Vue3为例)
(1)创建 vue3 项目 chat-client
shell
npm create vue@latest根据提示创建 vue3 项目 chat-client。
(2)下载需要的npm包
shell
pnpm add sass
pnpm add socket.io-client
pnpm add moment
(3)创建聊天室组件 components/ChatRoom.vue:
javascript
<template>
  <div class="container">
    <div class="users">
      <p>聊天室成员</p>
      <ul>
        <li v-for="user in users" :key="user">{{ user }}</li>
      </ul>
    </div>
    <div class="main">
      <div class="content-area" ref="info">
        <div class="item" :class="{ mine: me === h.name }" v-for="(h, i) in history" :key="i">
          <div class="name">{{ h.name }}</div>
          <div class="content">{{ h.content }}</div>
          <div class="date">{{ formatDate(h.date) }}</div>
        </div>
      </div>
      <div class="input-area form">
        <textarea v-model="value" @keydown.enter="handleEnter"></textarea>
      </div>
    </div>
  </div>
</template>

<script setup>
import { ref } from 'vue'
import moment from 'moment'
moment.locale('zh-cn')
const { users, history, me } = defineProps({
  users: {
    type: Array,
    default: () => ['Alice', 'Bob', 'Charlie'],
  },
  history: {
    type: Array,
    default: () => [],
  },
  me: {
    type: String,
    required: true,
  },
})

const emit = defineEmits(['chat'])
const value = ref('')

const formatDate = (date) => {
  return moment(date).fromNow().replace(/\s/g, '')
}

const handleEnter = () => {
  const v = value.value.trim()
  if (v) {
    value.value = ''
    emit('chat', { name: me, content: v, date: Date.now() })
  }
}
</script>

<style lang="scss" scoped>
.container {
  background: #fff;
  width: 665px;
  height: 522px;
  display: flex;
  border-radius: 5px;
  box-shadow: -2px 2px 2px rgba(0, 0, 0, 0.5);
  overflow: hidden;
}
.users {
  width: 150px;
  border-right: 1px solid #ccc;
  line-height: 30px;
  overflow: auto;
  flex: 0 0 auto;
}
.users p {
  text-align: center;
  border-bottom: 1px solid #ccc;
}
.users li {
  padding: 0 10px;
  font-size: 12px;
  border-bottom: 1px solid #ccc;
  background: #f1f1f1;
}
.users li:nth-child(2n) {
  background: #fff;
}

.main {
  flex: 1 1 auto;
  background: #f1f1f1;
  display: flex;
  flex-direction: column;
}
.content-area {
  height: 400px;
  padding: 1em;
  overflow: auto;
  border-bottom: 1px solid #ccc;
  font-size: 14px;
  line-height: 1.5;
  flex: 0 0 auto;
  scroll-behavior: smooth;
}
.item {
  float: left;
  max-width: 70%;
  clear: both;
  margin-bottom: 1em;
}
.name {
  font-size: 12px;
  color: #666;
}
.date {
  color: #bbb;
  font-size: 12px;
  text-align: right;
}
.content {
  background: #fff;
  border-radius: 5px;
  padding: 10px;
  margin: 5px 0;
}
.mine.item {
  float: right;
}
.mine .content {
  background: #a9e97a;
}
.mine .name {
  text-align: right;
}
.mine .date {
  text-align: left;
}
.form {
  flex: 1 1 auto;
}
.form textarea {
  width: 100%;
  height: 100%;
  resize: none;
  border: none;
  outline: none;
  padding: 20px;
}
</style>(4)使用聊天室组件,并且引入socket.io,连接聊天服务器。views/HomeView.vue:
javascript
<template>
<div class="hone-container">
<ChatRoom :me="me" :users="users" :history="history" @chat="handleChat" />
</div>
</template>
<script setup>
import ChatRoom from '@/components/ChatRoom.vue'
import { ref, onMounted, onBeforeUnmount } from 'vue'
import { io } from 'socket.io-client'
const me = ref('')
const users = ref([])
const history = ref([])
const socket = io('ws://localhost:9528') // 连接,握手
onMounted(() => {
socket.on('$updateUser', (newUsers) => {
users.value = newUsers
})
socket.on('$name', (name) => {
me.value = name
})
socket.on('$history', (newHistory) => {
history.value = newHistory
})
socket.on('$message', (message) => {
history.value.push(message)
})
})
onBeforeUnmount(() => {
socket.disconnect() // 断开连接
})
const handleChat = (msg) => {
history.value.push(msg)
socket.emit('$message', msg.content)
}
</script>
<style lang="scss" scoped>
.hone-container {
width: 100wh;
height: 100vh;
display: flex;
justify-content: center;
align-items: center;
}
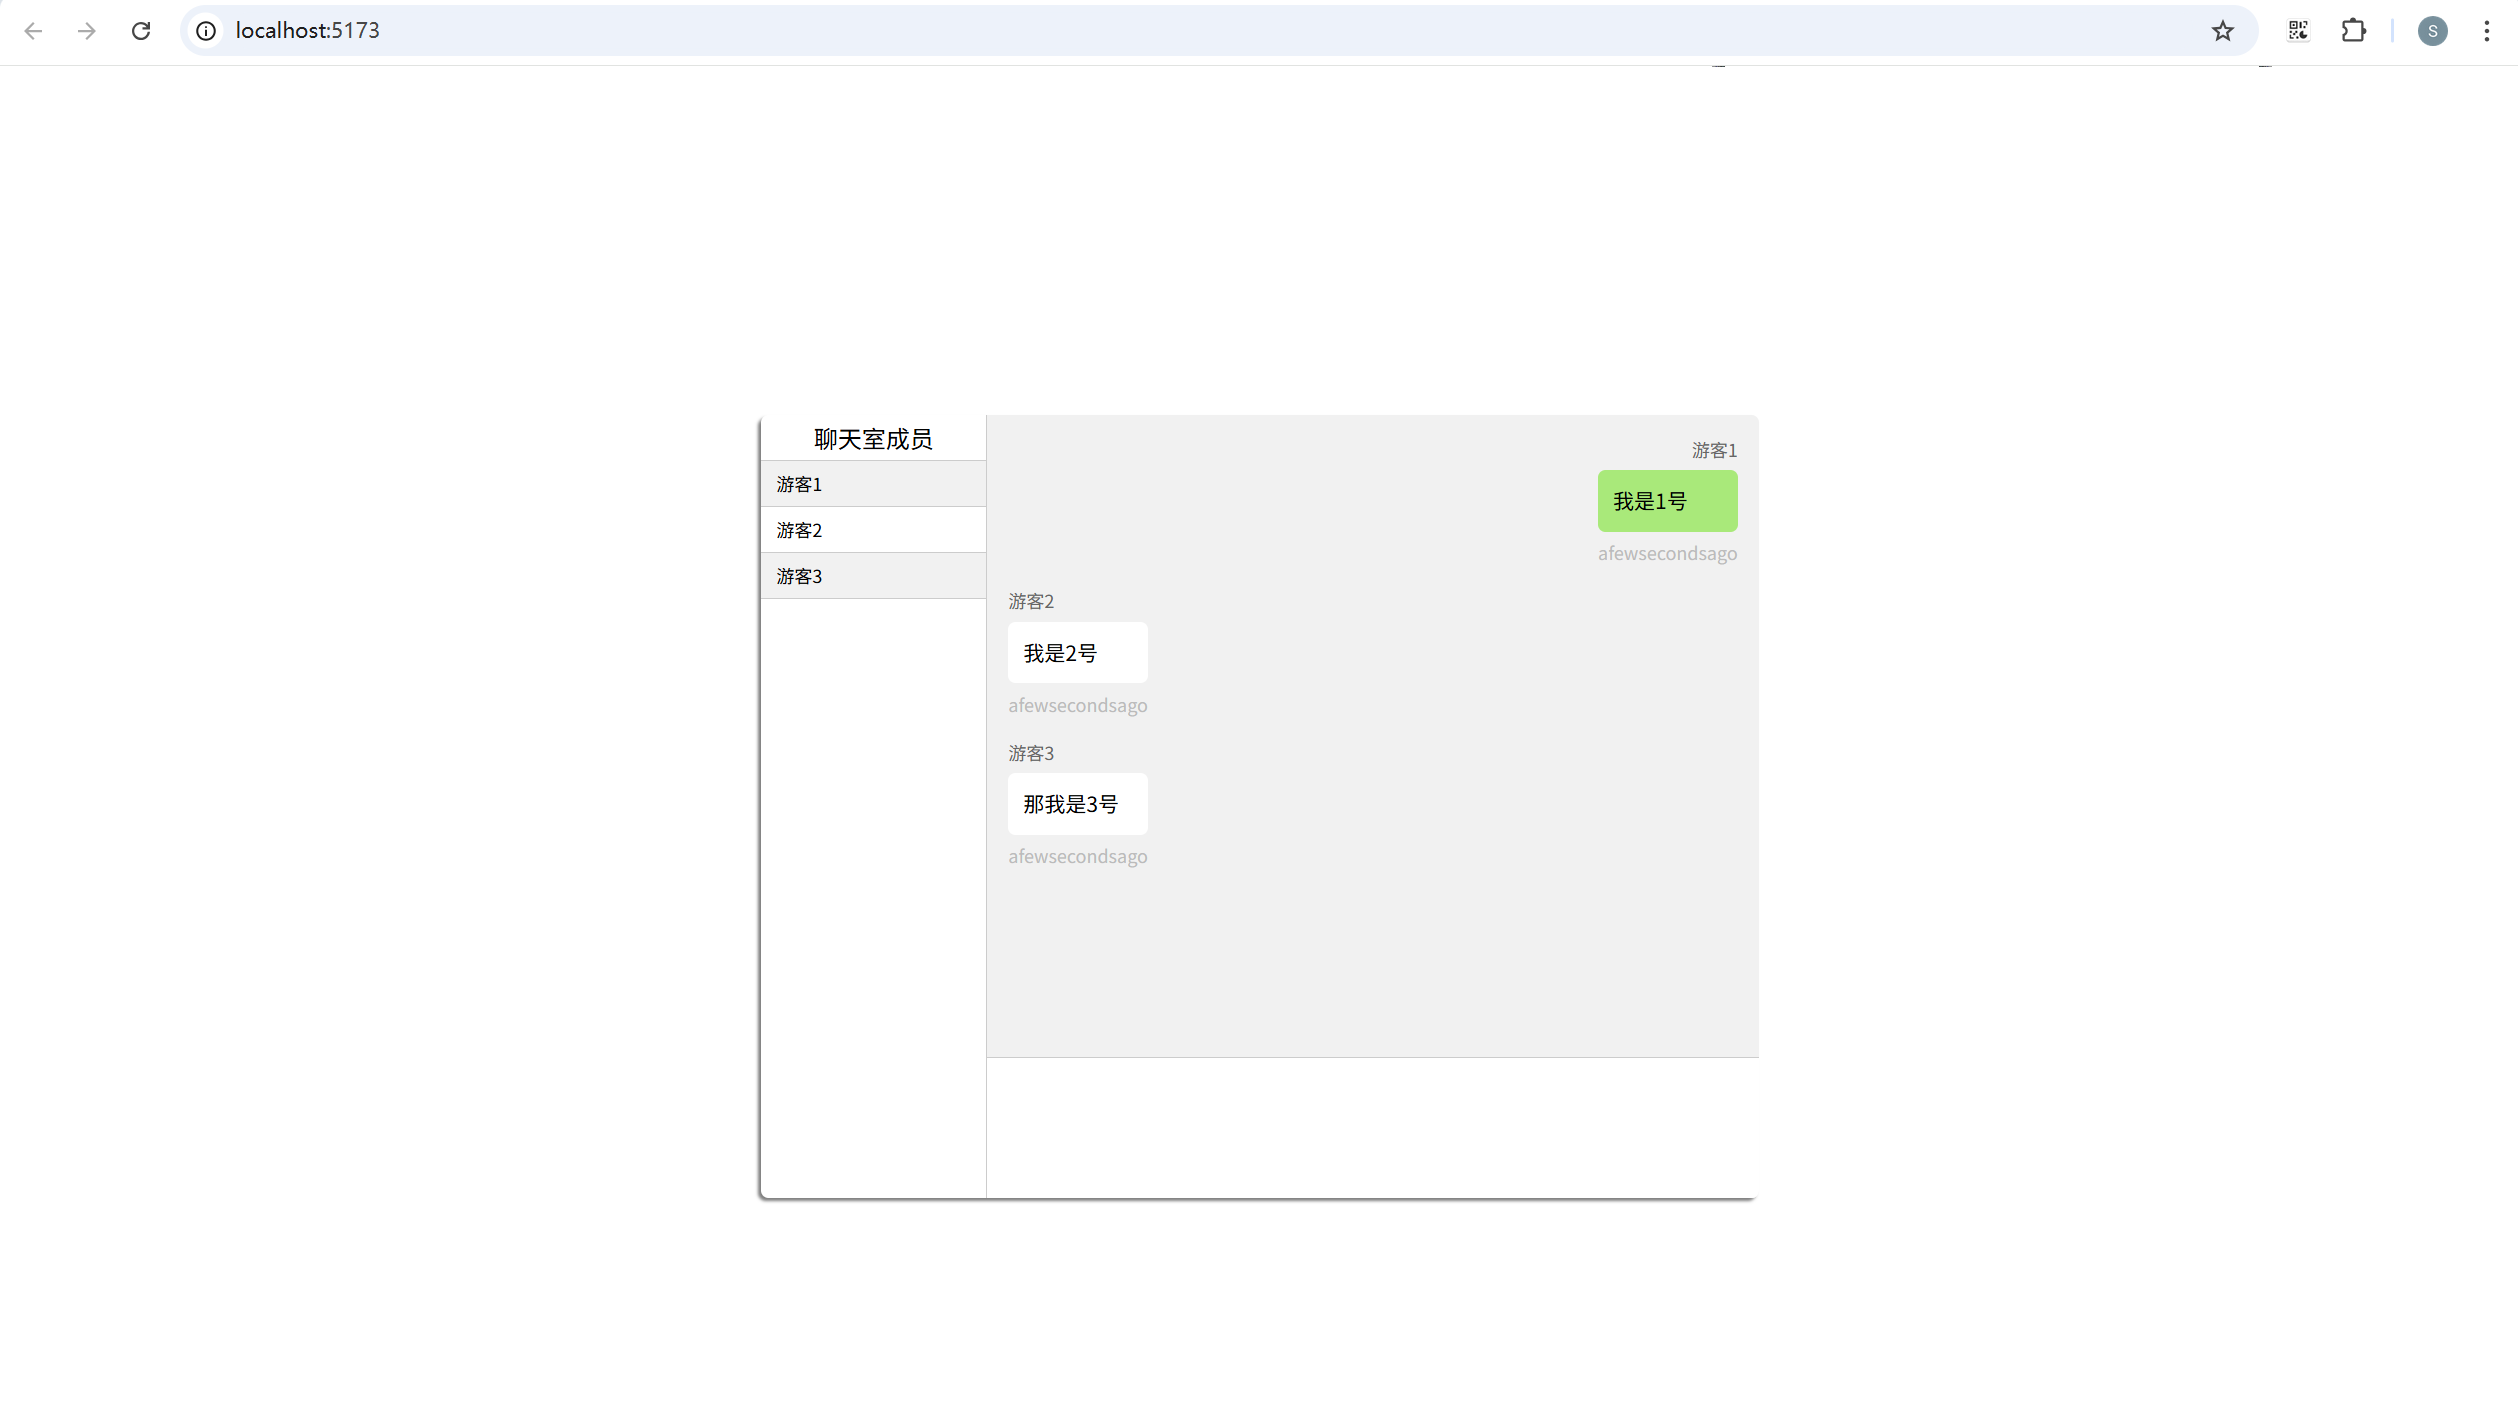
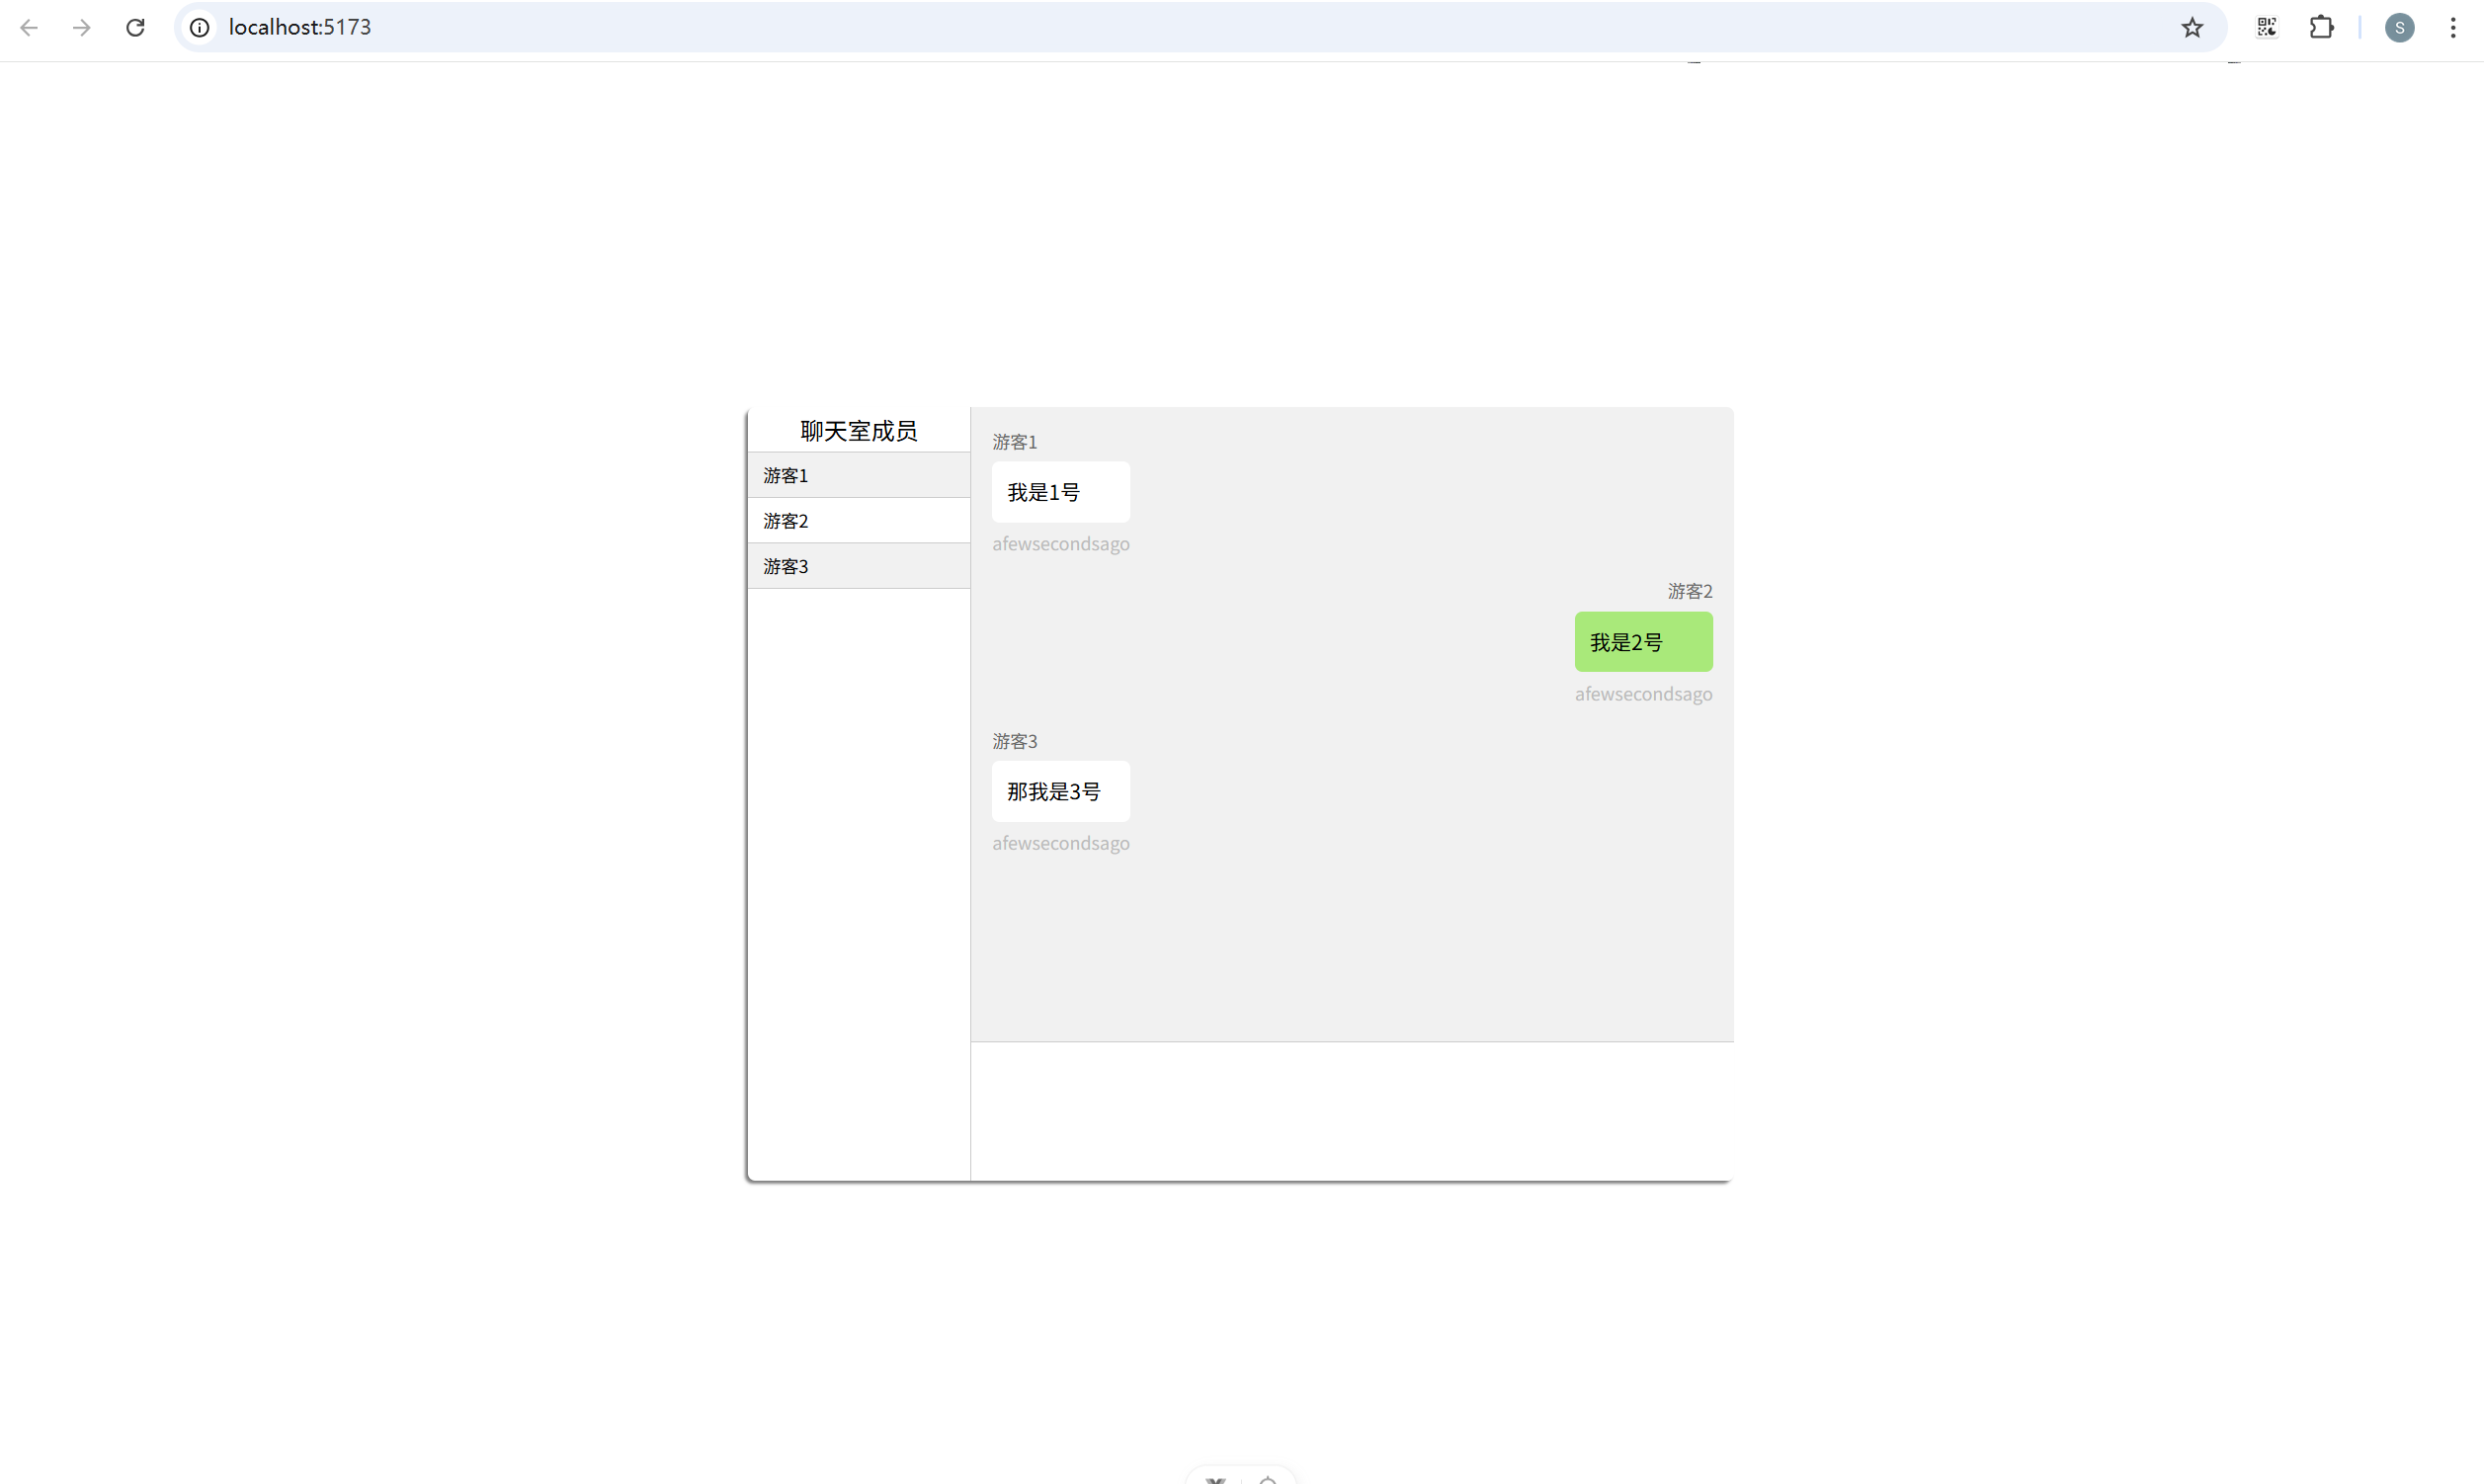
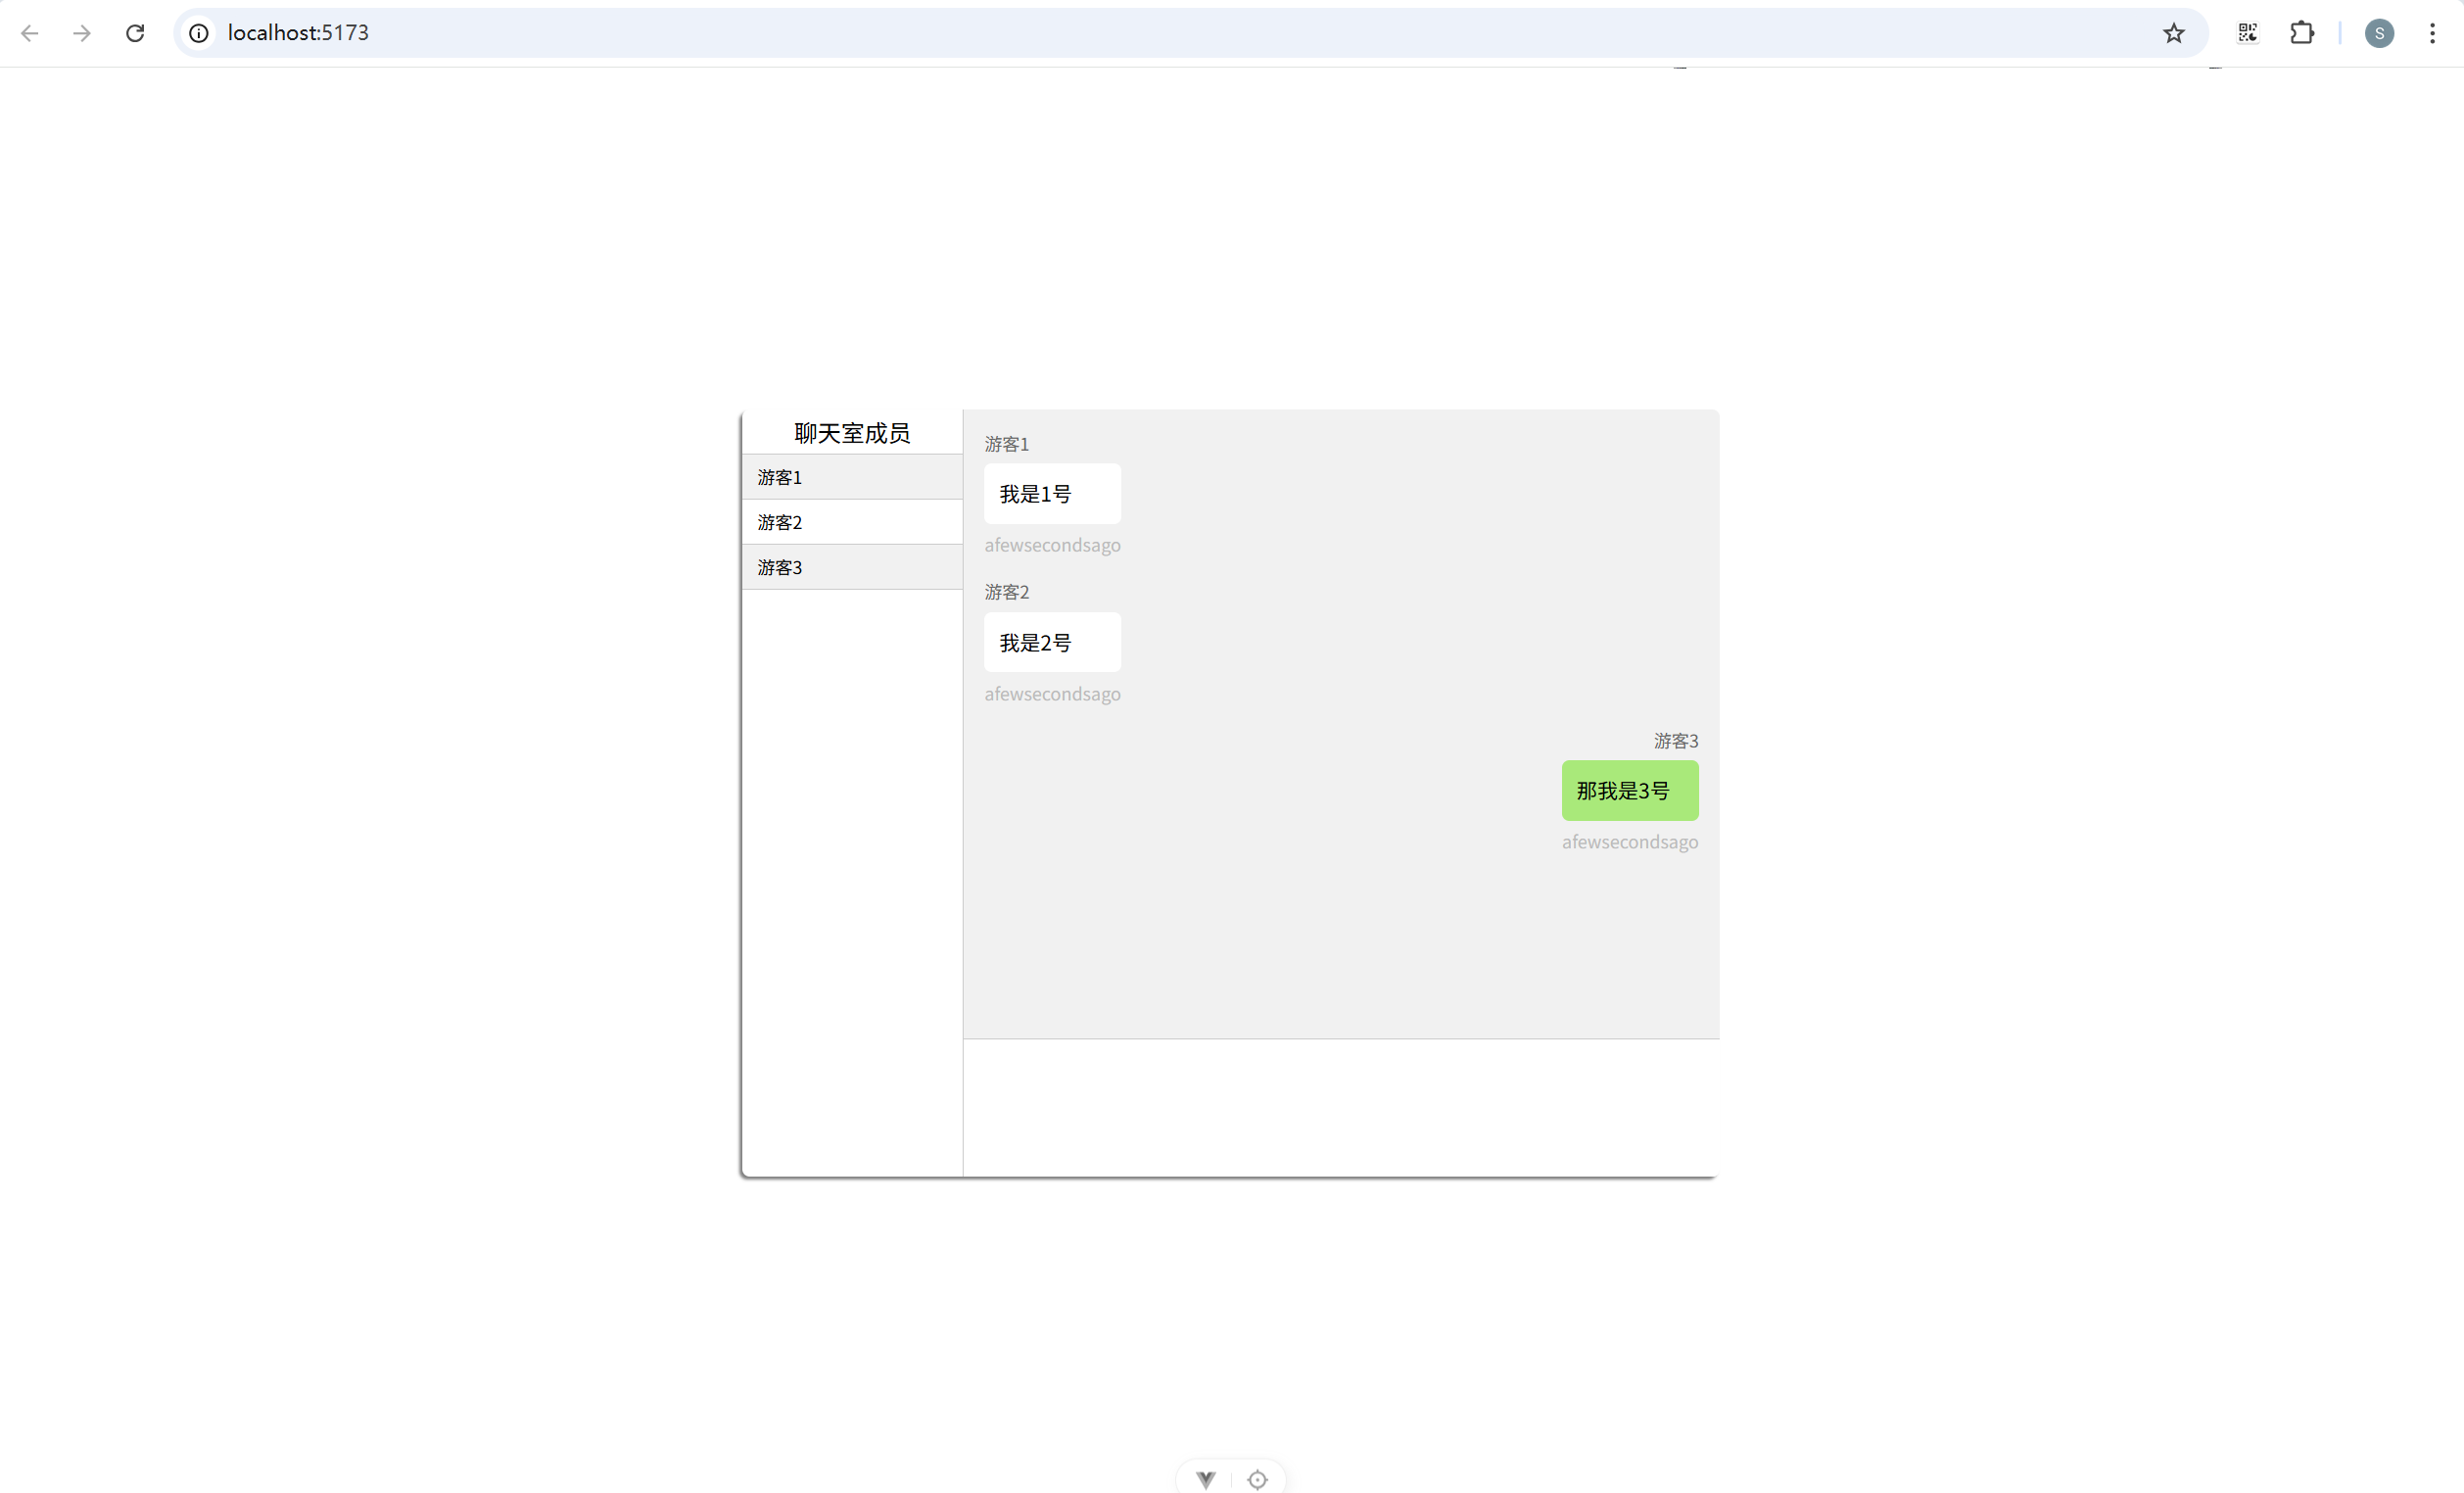
</style>打开不同的页签,或者浏览器,就能够使用不同游客身份进行对话了
4. 优化
上面只是一个十分简化的例子。真正的项目中,我们需要考虑的还有很多。比如:
(1)服务器通常需要存储用户的详细信息,并且使用用户的唯一标识(比如用户id)作为数组进行存储,而非不断创建游客;
(2)websocket 断线后需要进行重连;
(3)聊天数据需要存储在数据库中。
...
相关文章 《第24章 网络请求与远程资源(下)》